DIY play kitchen

Today I'm going to be sharing how I made a DIY play kitchen using leftover plywood from our DIY arch bed. You can check out week three of our One Room Challenge here. I had a couple different ideas on what I wanted the kitchen to look like, but like 90% of my other builds, I wanted to wing the entire thing. Here is how I created a DIY play kitchen for our daughter's room for the ORC!
First:
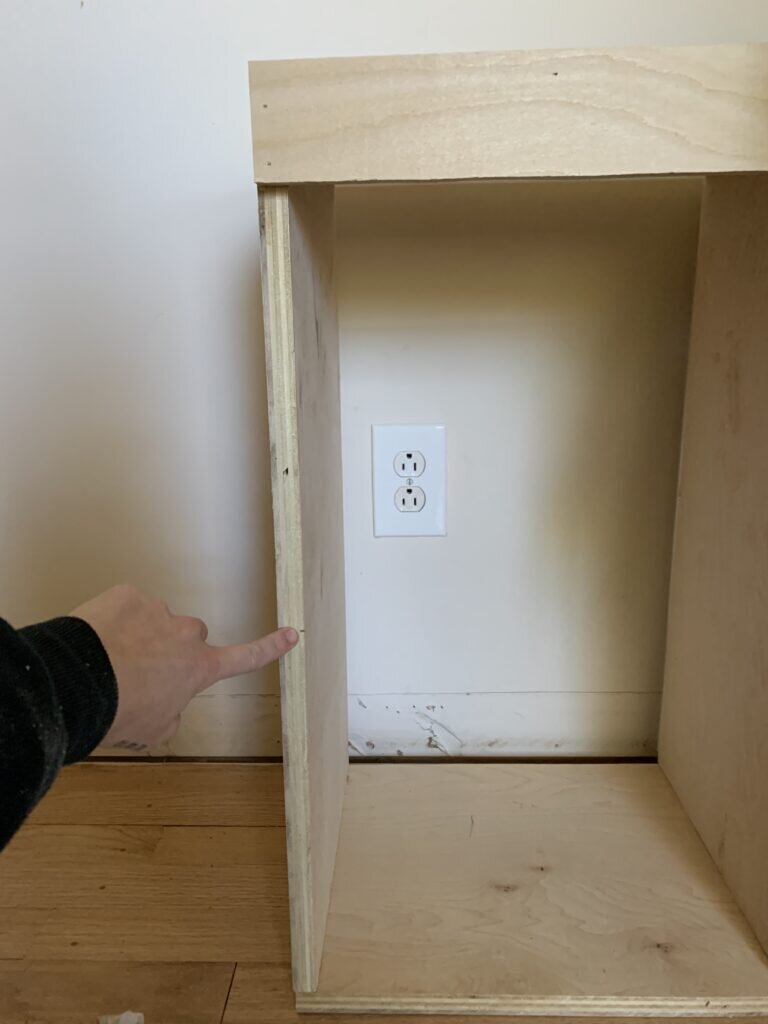
I started with the leftover scrap wood we used to create her fun DIY arch bed! Every do it yourself kitchen will be custom to the person you're making it for. I took both our daughter's height into account, along with the small available space she had in her bedroom.
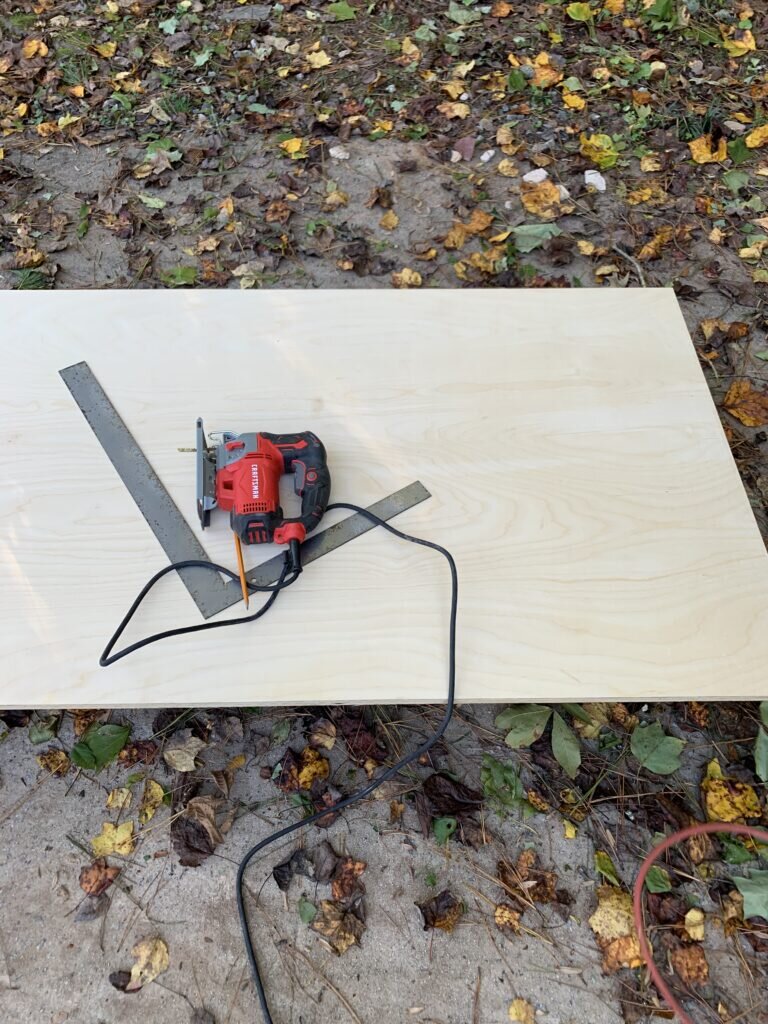
Next I drew a rectangle using my square and pencil.
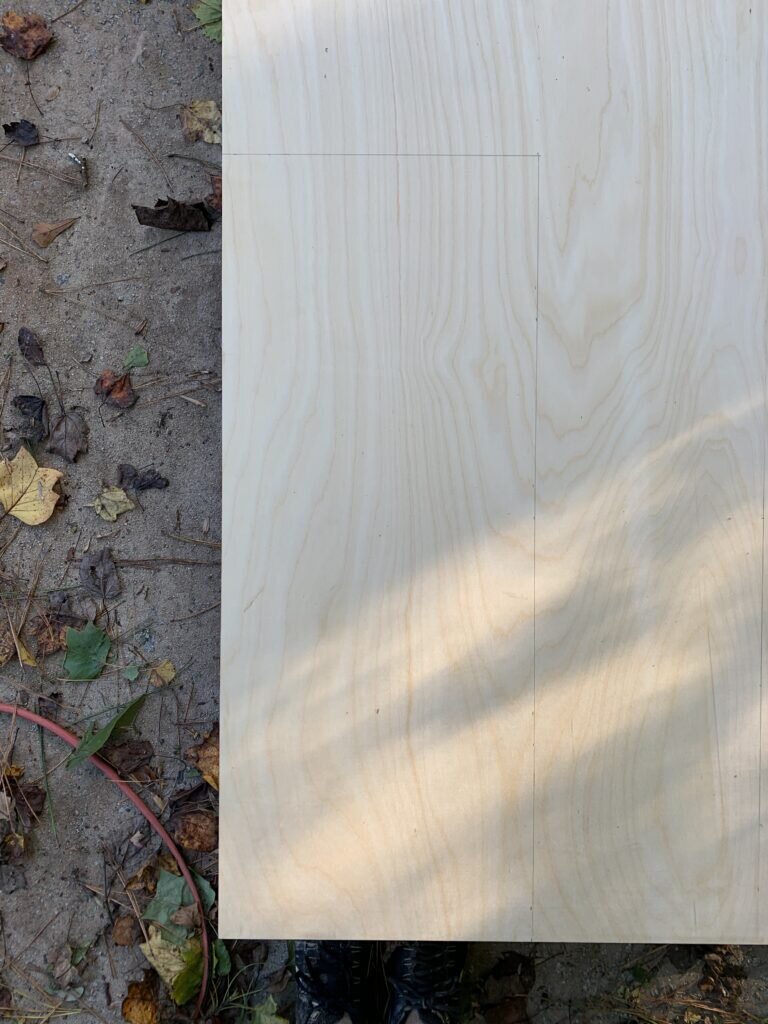
I cut the pieces out using my new jigsaw. For this kitchen I cut an identical top and bottom piece as seen below.
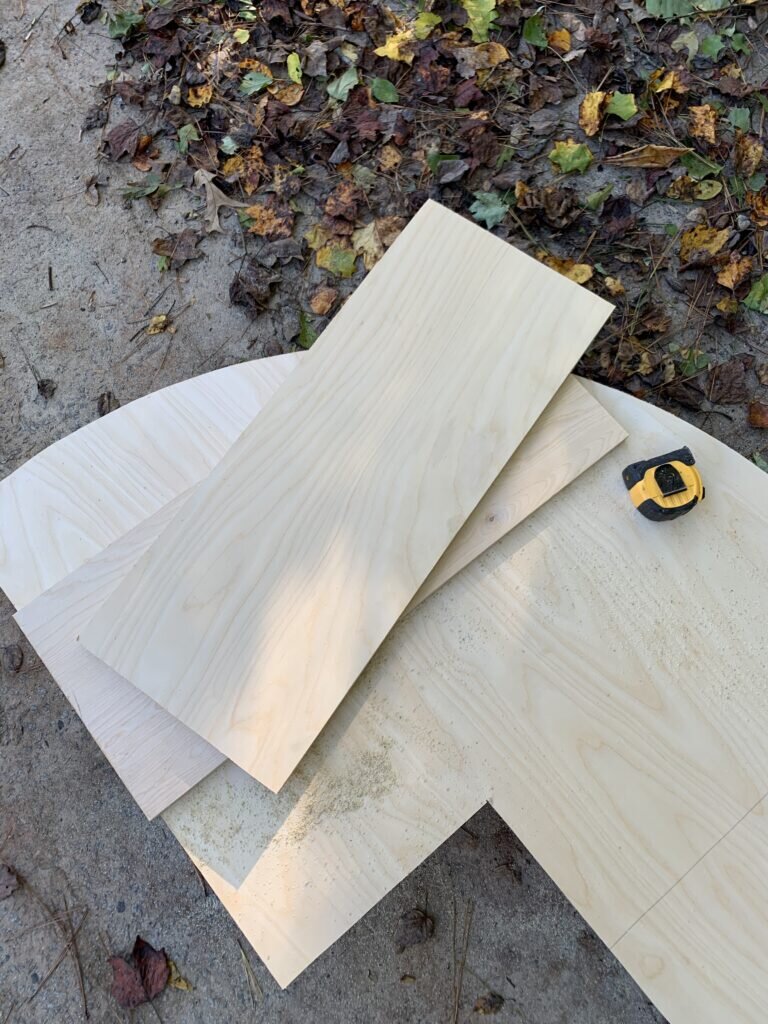
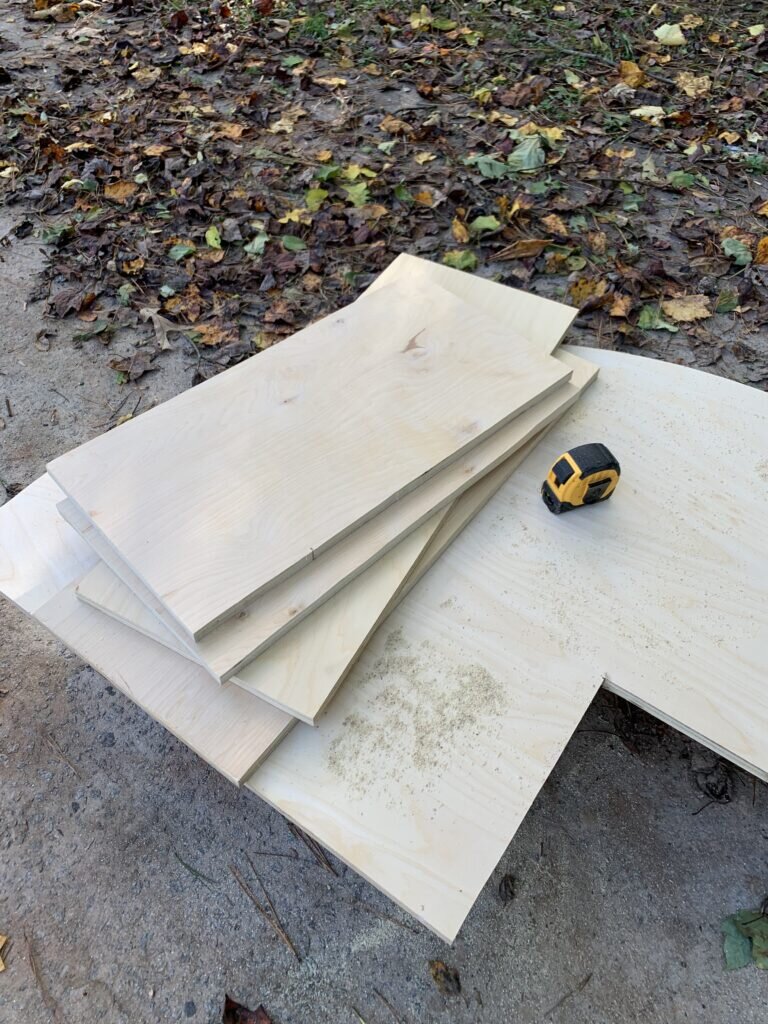
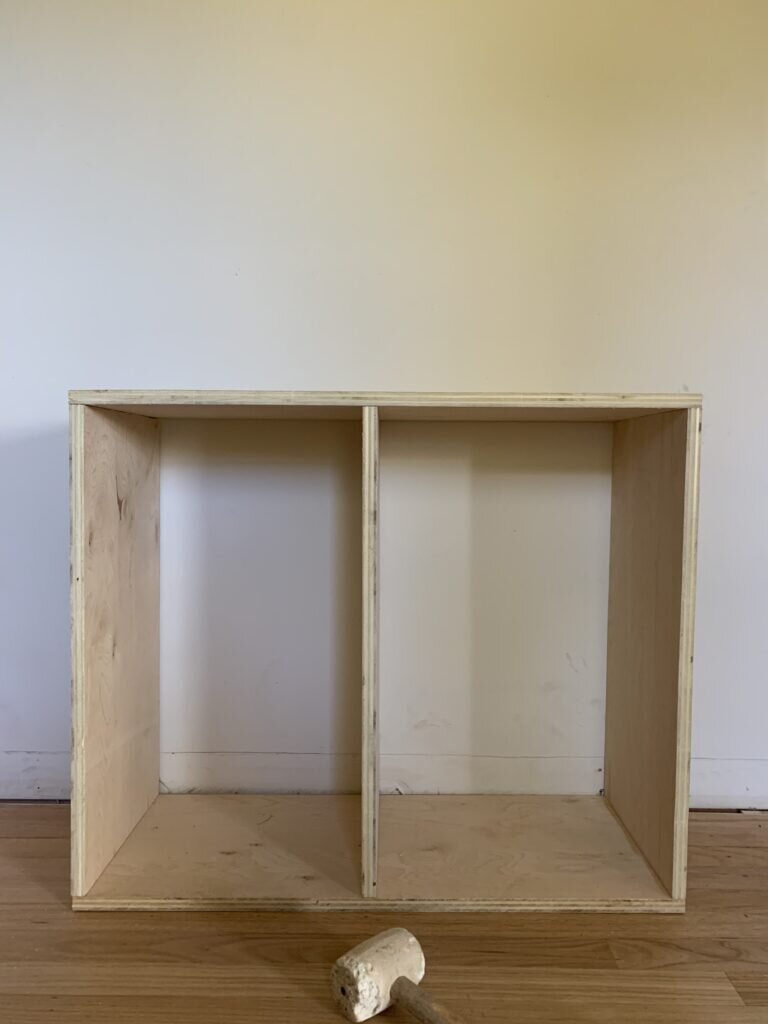
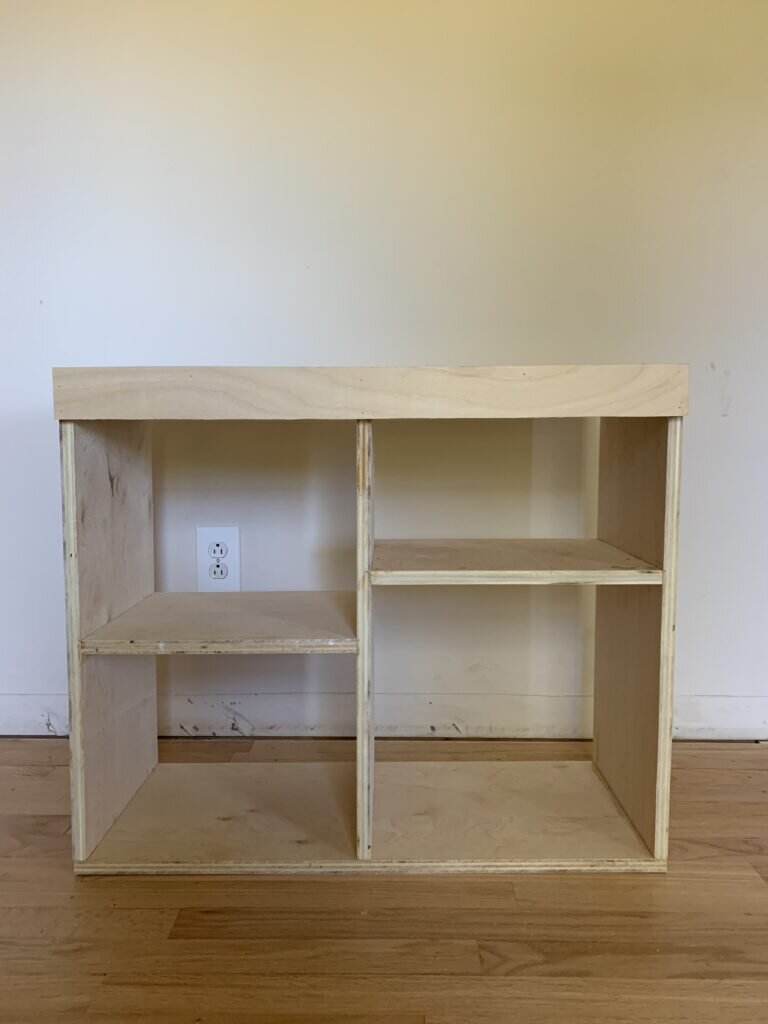
Next I drew two sides onto the plywood and cut them out. This is where our daughter's height measurements came into play. I made the height of the kitchen 24 inches. Below are my top, bottom, and side pieces.
I secured these four pieces with wood glue and my nail gun.


I wanted the kitchen to have a divider down the center so that I could start building additional parts, like the oven and storage cabinet. The next thing I did was measure and cut a divider for the center of the base.

After the divider was cut, I attached it with my nail gun.
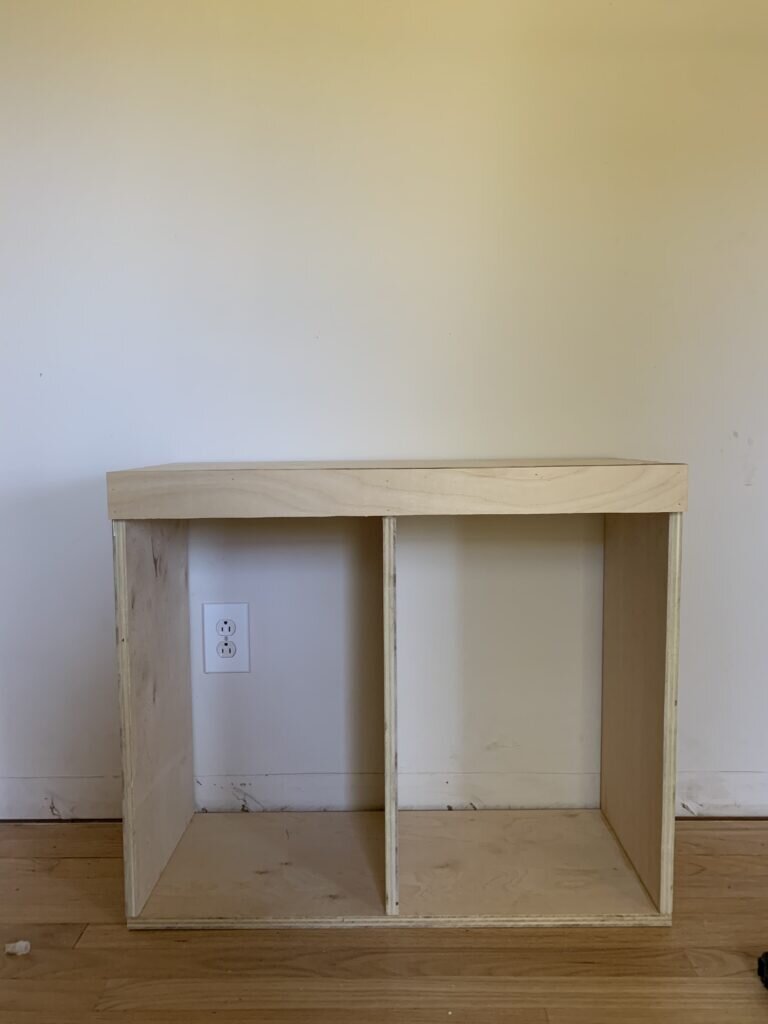
I knew I would be placing knobs on the front of the kitchen, so I decided to add a 2.5 inch strip of wood to the front of the kitchen.

I attached this strip with wood glue and my nail gun.

Below is what the kitchen looked like once the front knob strip was installed.
Next, I wanted to add another divider on the left side of the DIY play kitchen. This would divide the left side into the oven (which I am putting on top) and cookie pan storage on the bottom!

Below is what the divider looked like once it was glued and nailed into place. After that, I measured the right side of the kitchen to add a divider/shelf to the right side.
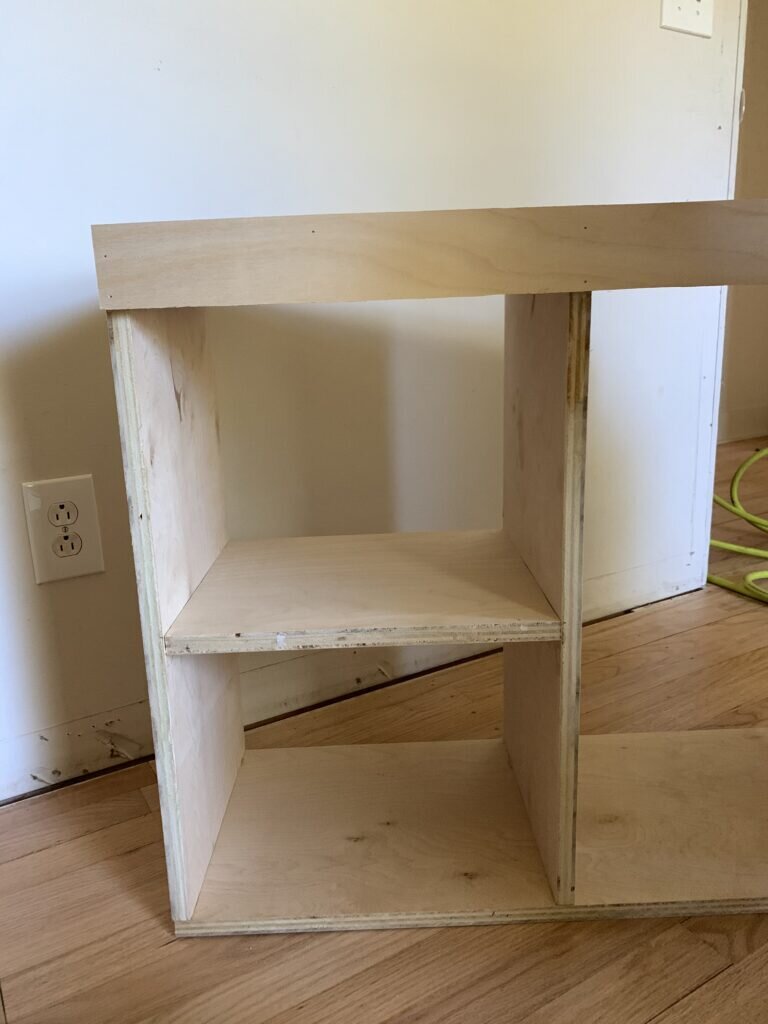
This is what the base of my diy play kitchen looks like below. The oven will be on the top left, cookie pan storage on the bottom left, storage cabinets on the right.
To create my oven door, I measured the opening of the top left cubby and made the cut with my jigsaw. I attached the oven front using some of these magnet catches.
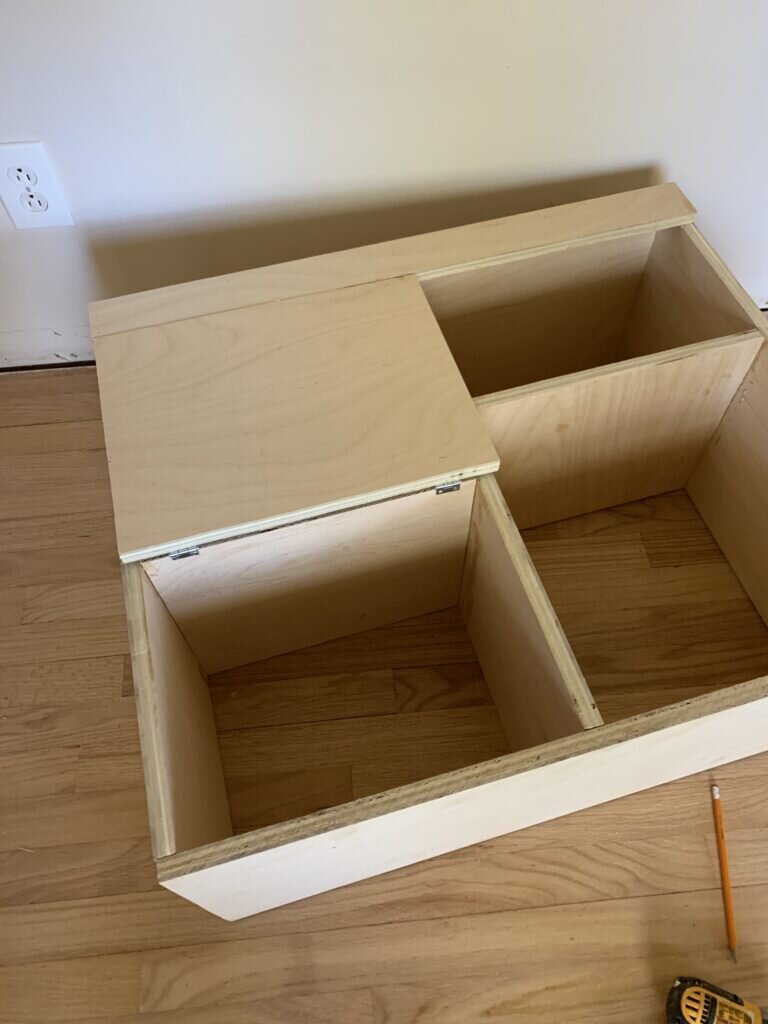
Below you'll notice that I attached the hardware for the magnet catch to the bottom of the oven door.

This is what the kitchen looked like once the oven front was installed. Cuts were kind of wonky because I was using my jigsaw. I'm not stressing over the perfection of this project, and instead enjoying it!
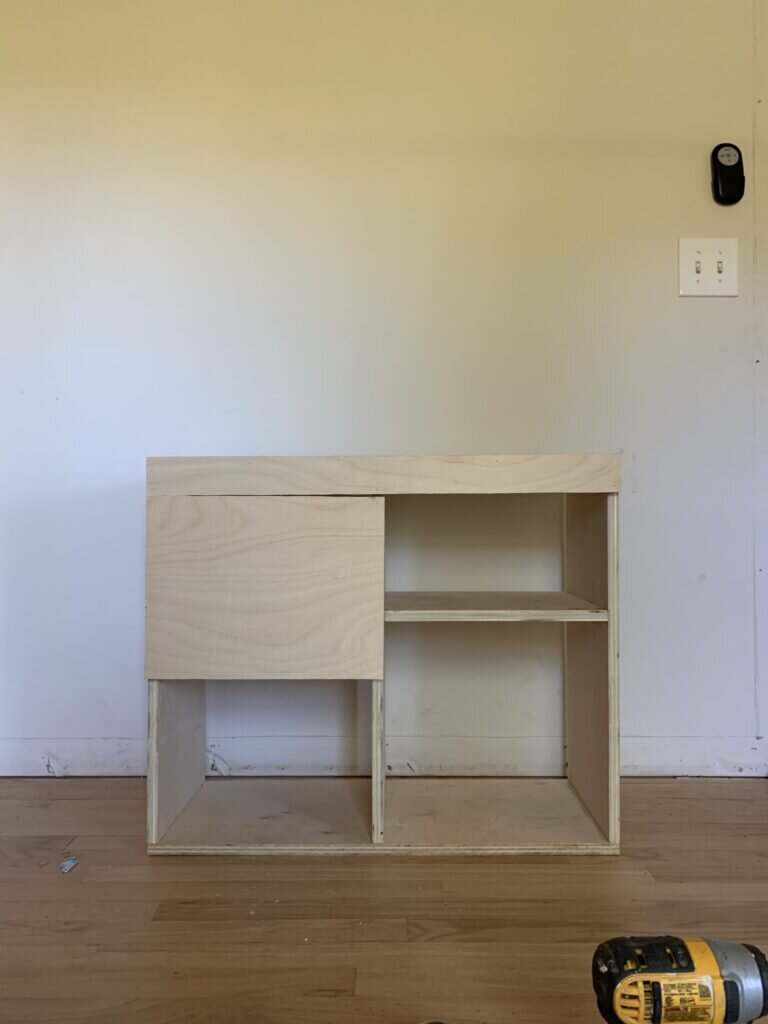
Next it was time to move onto some of the fun aspects of the kitchen. For instance, the burners, stove knobs, and oven handle.
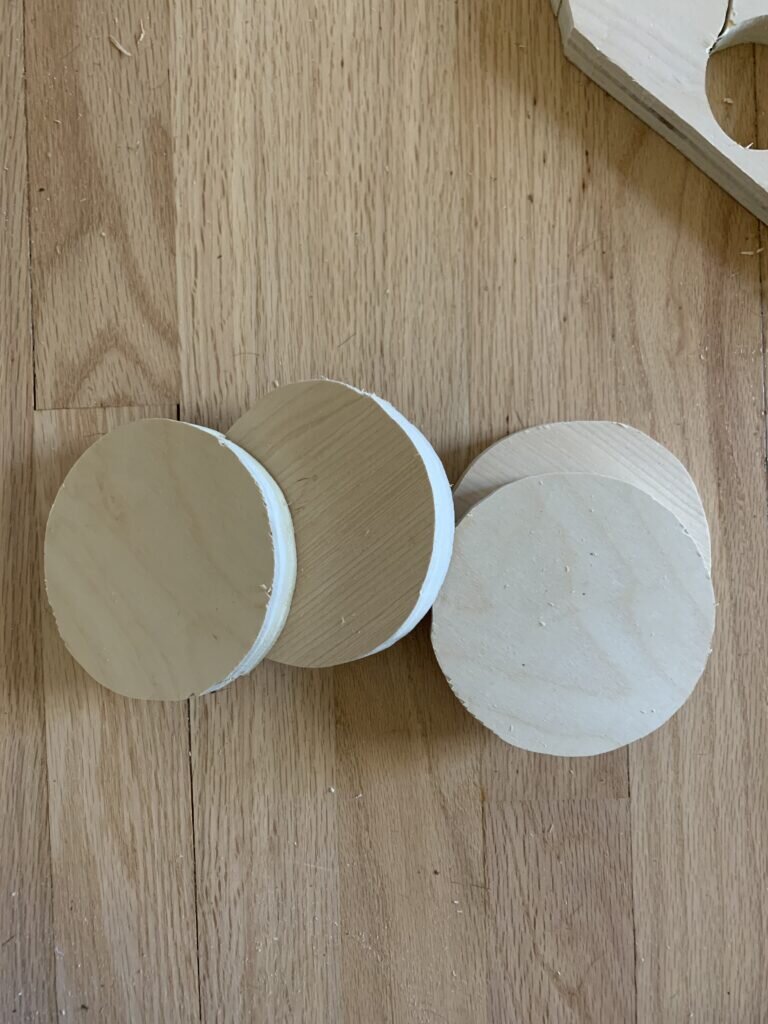
For the kitchen stove top burners, I used a tumbler cup top for my stencil.
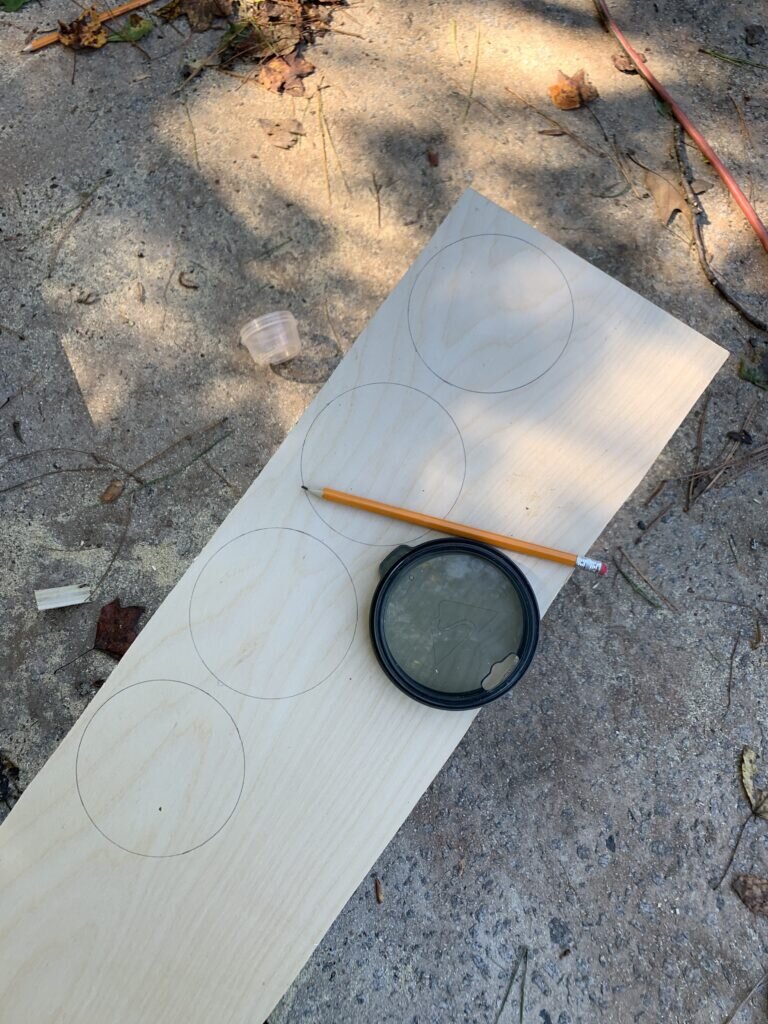
Cutting circles out with a jigsaw result in imperfect cuts. Don't stress over it. Grab some sand paper and lightly sand them down.
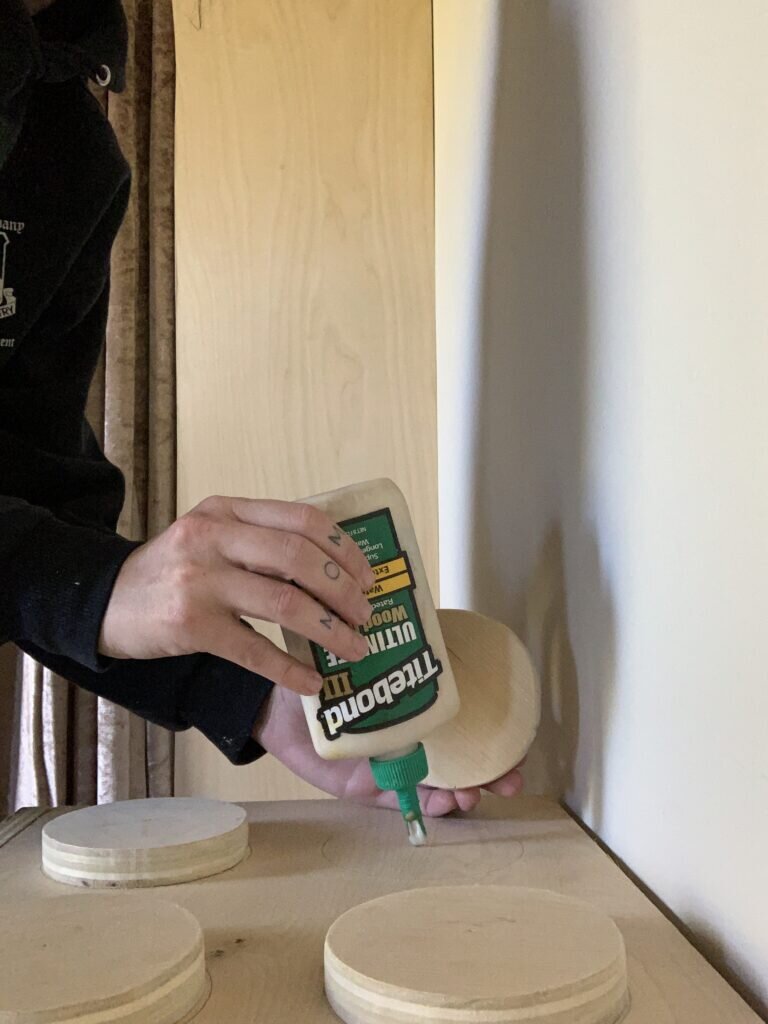
Again, I attached the stove burners to the kitchen base using some wood glue and a nail gun.

Next I created oven knobs using this smaller Tupperware container as my stencil. Like the stove top burners, these will also not be perfect cuts. Again, just grab some sand paper and sand them down!
Handle:
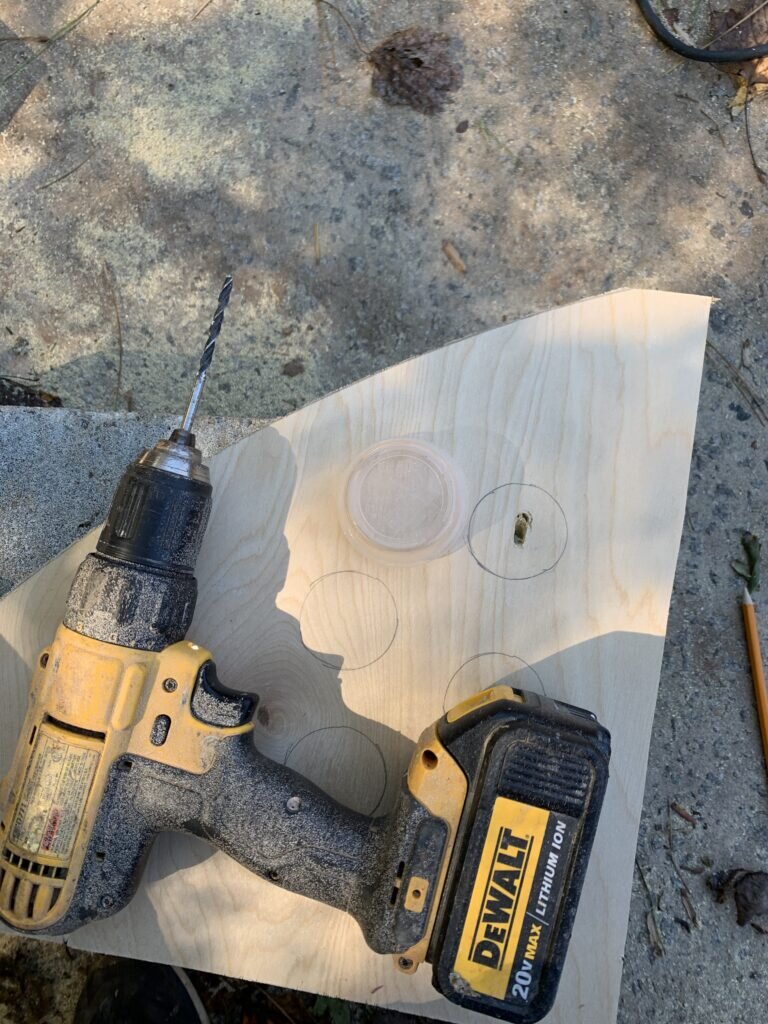
Before I added the knobs, I grabbed a leftover Ikea cabinet pull and attached it to the oven front. First, I measured to find the center of the oven door. Then, I measured to find the center of the Ikea handle. Once I found both of those, I used a drill bit to drill where it would be installed and then attached it.
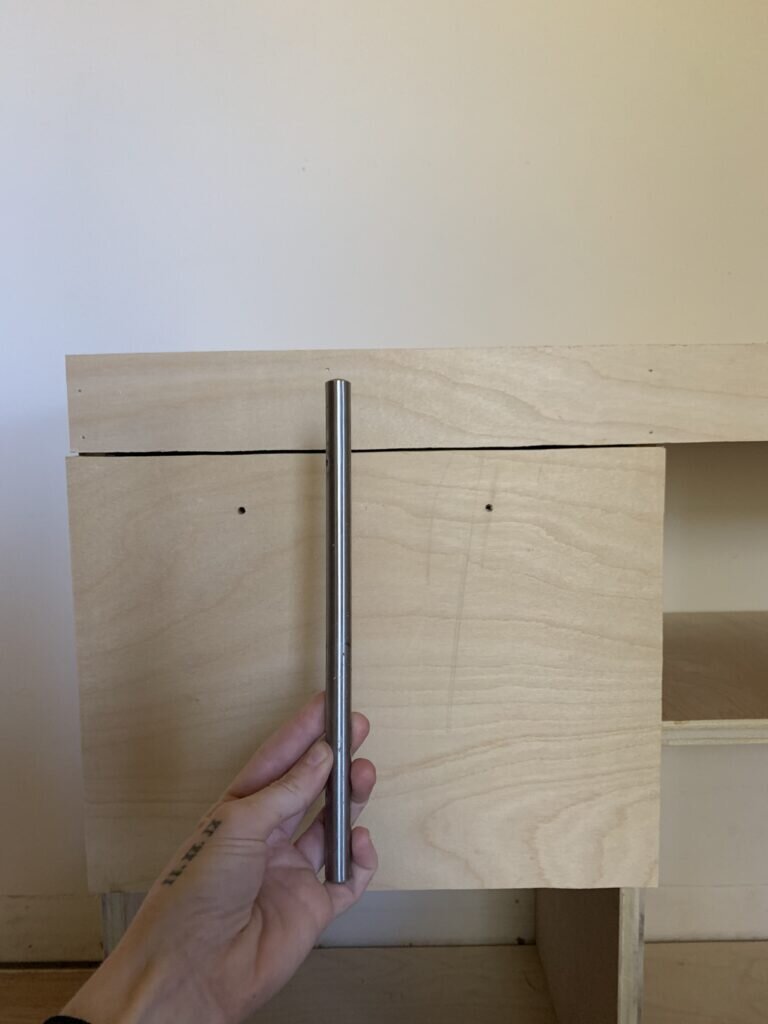
Below is what the play kitchen currently looks like with the burners, knobs, and oven handle.

In conclusion:
Thanks so much for stopping by and checking out part one of my DIY play kitchen build! I'm so excited to be sharing this! We have a "play kitchen" and "play kitchen 2" highlight saved on Instagram in case you wanted to check that out! Follow us on Instagram to check that out!
Giveaway:
We are SO close to 10k on Instagram. When we reach our goal we will be giving away a Tiki Brand fire pit bundle! So hop on over to Instagram and give us a follow!
Make sure to pin the graphic below to save this DIY play kitchen for later! We love sharing our current DIY projects and what's inspiring us over on our Pinterest! Follow us here!
