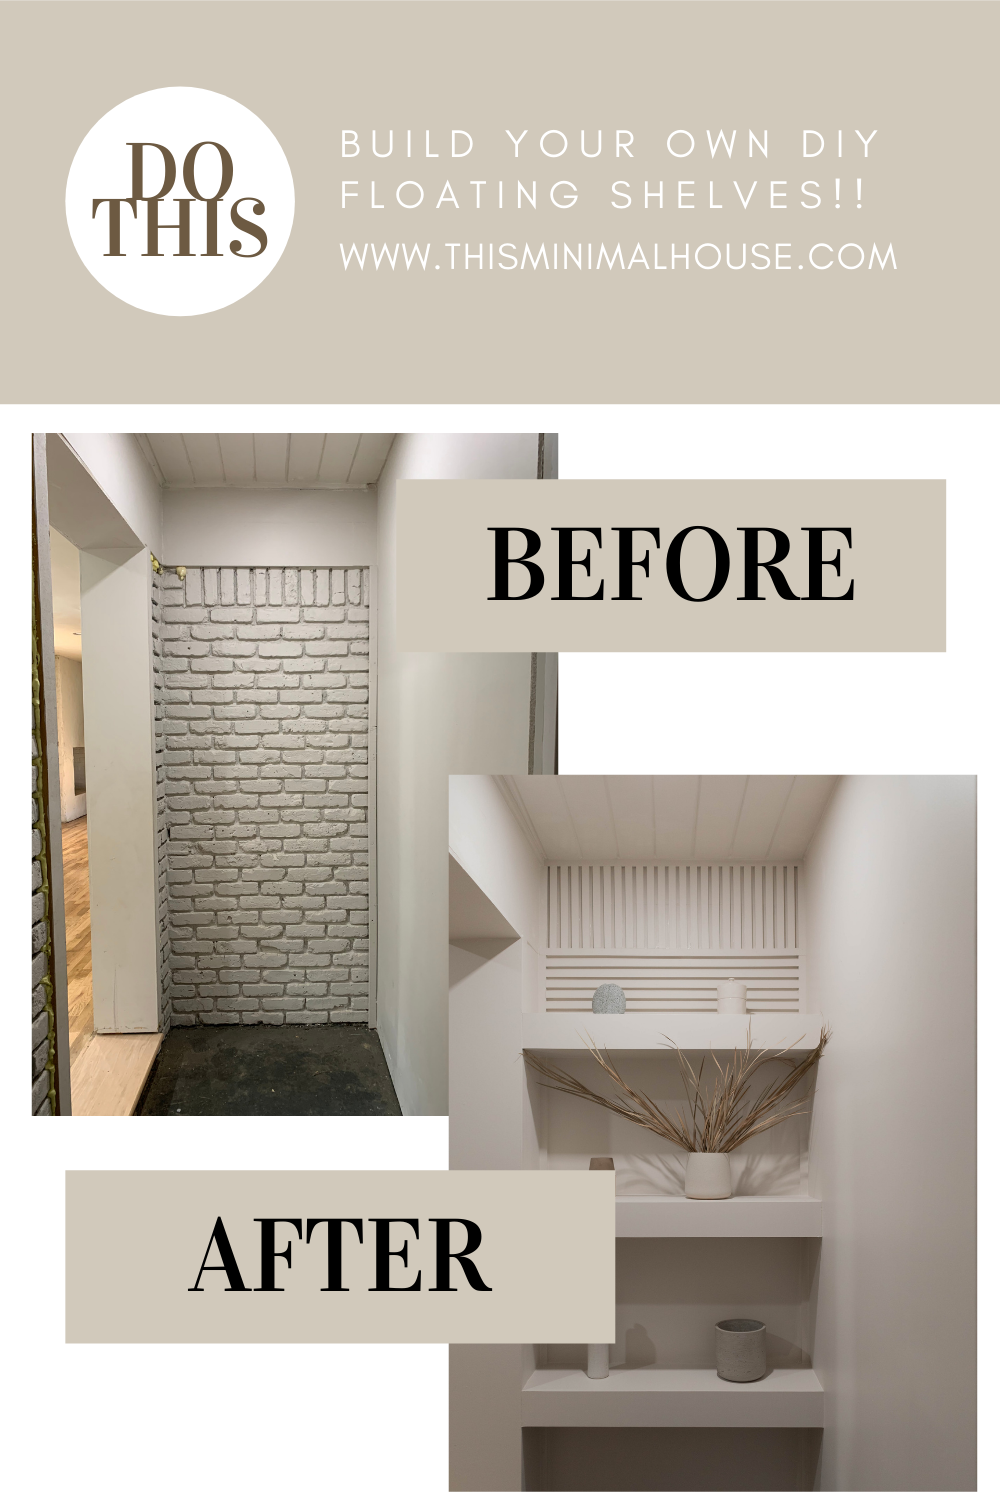
DIY floating shelves tutorial

Yesterday we began working on our sons hallway. If you've been around for awhile, than you already know we converted our garage into a shared bedroom. Since their bedroom used to be our garage, the entryway to their room (what we call the hallway) still resembled the old garage. There was still brick in the hallway. Originally I planned to do bagged brick, but after brainstorming, Scot and I decided that DIY floating shelves would be the best fit for this space. Floating shelves can be practical, functional, and a beautiful addition to any space. We did the same project for our DIY floating kitchen shelves, check out that tutorial here!
How to:
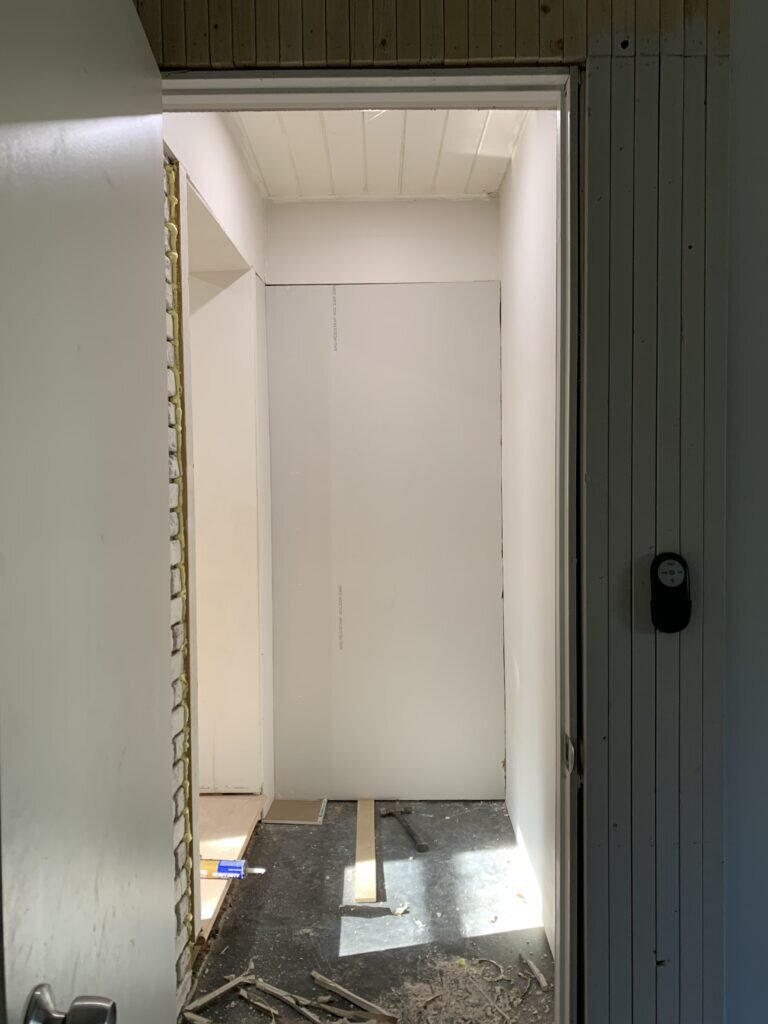
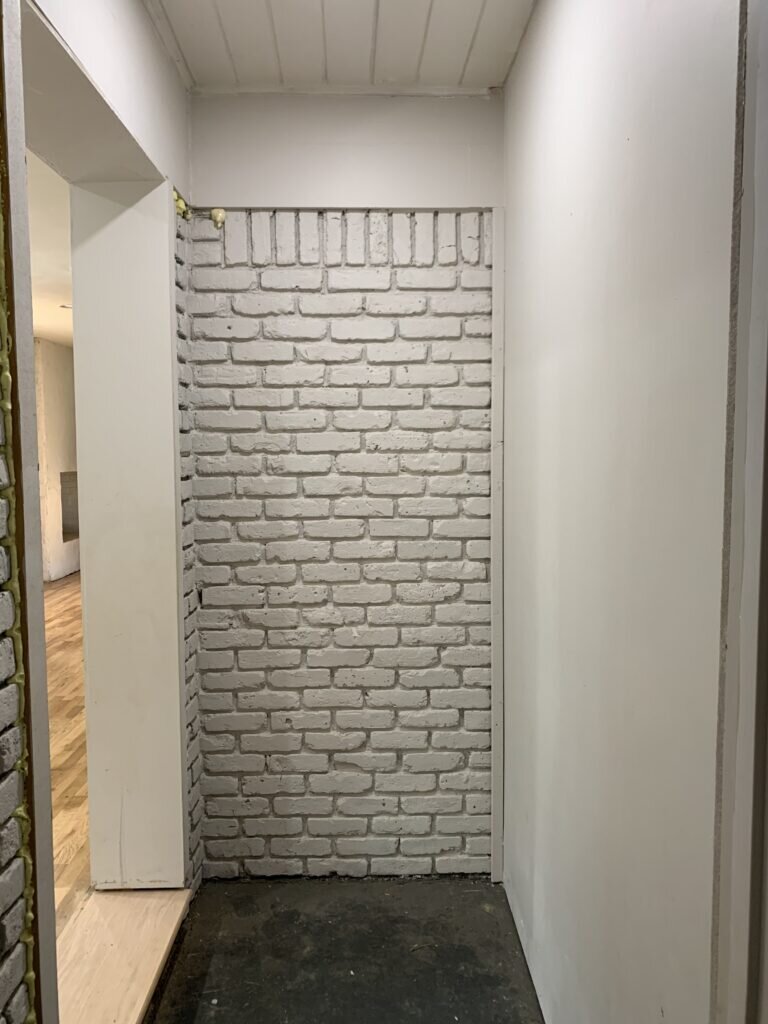
First, let's begin with some before photos. Like I mentioned above, their hallway still had brick in it.

[show_shopthepost_widget id="4280935"]
You'll notice above the brick is pine boards. This is just how they constructed our garage. There used to be a ramp in our garage leading up to the garage door, now we just have a small step down into the bedroom. We installed a stair tread in place of the door frame.
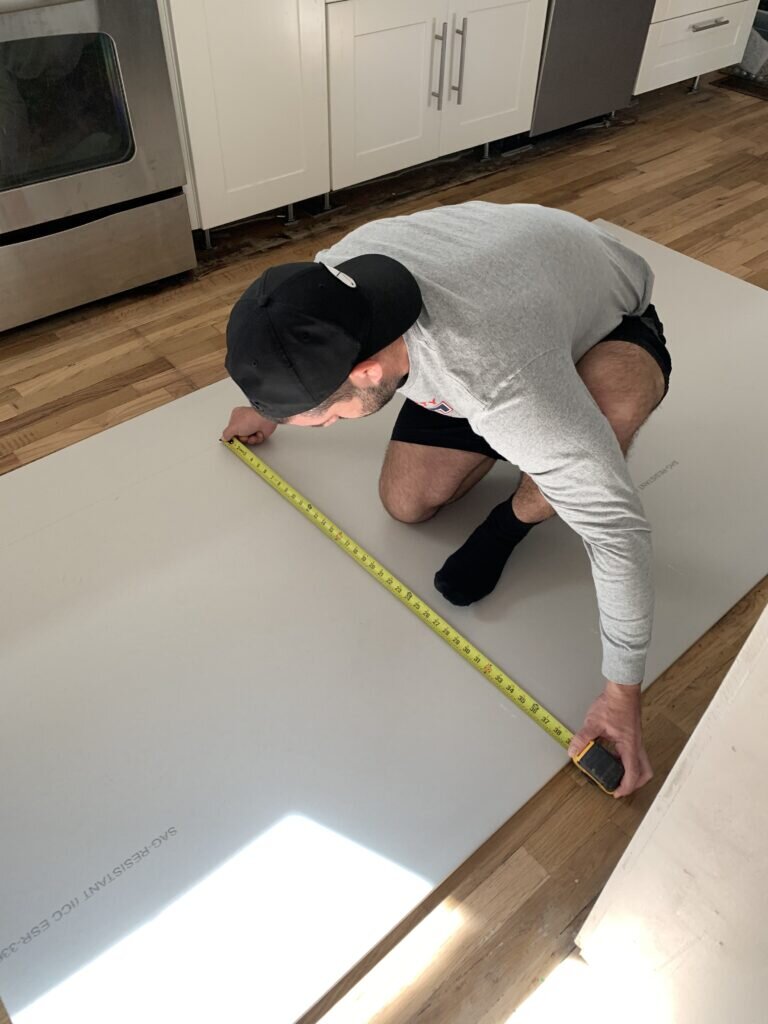
The first thing we did was remove the 1x2 to the right, and removed the yellow great stuff foam with a knife. Next we grabbed our drywall and cut it to size.
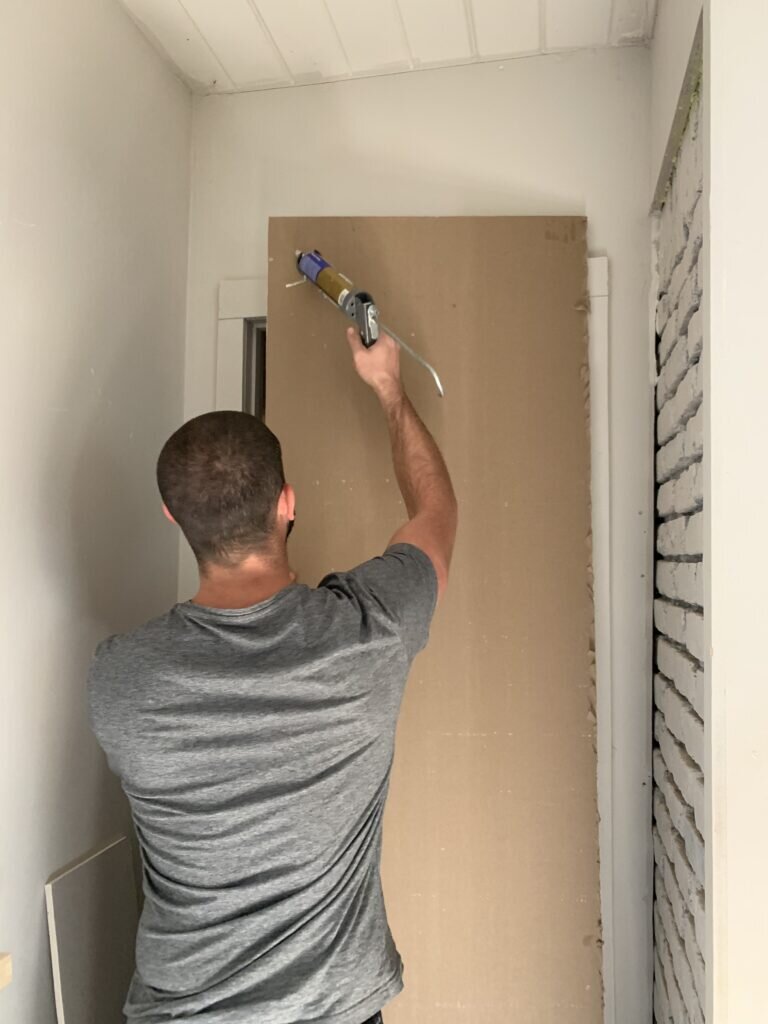
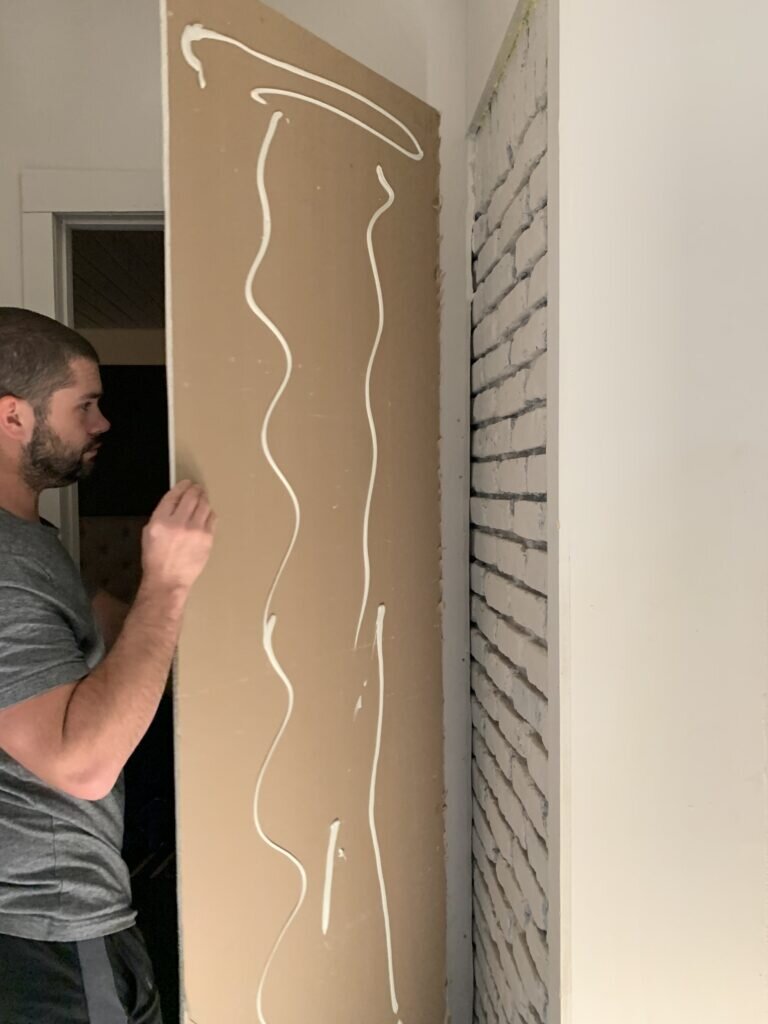
After we cut down the drywall to size, we applied liquid nail to the back of the drywall. We picked this up at The Home Depot.
Drywall:
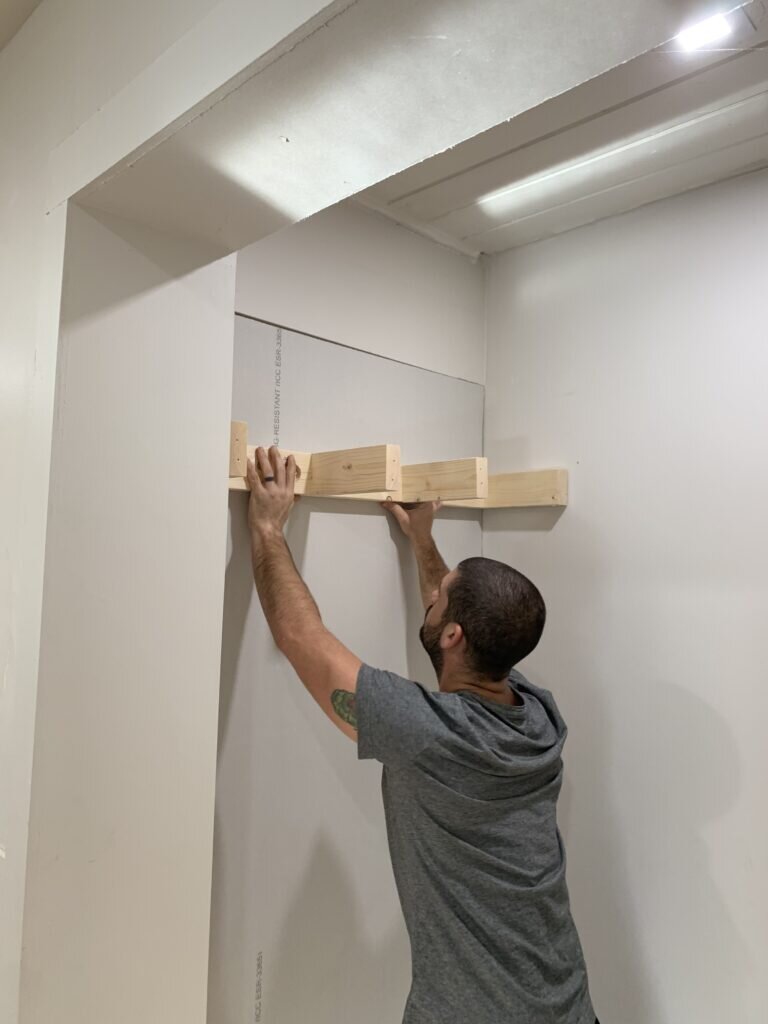
The liquid nail will allow the drywall to adhere to the surface you're placing it on. I do want to note, this is the first time we've attached drywall to a brick surface. We we're curious how well it would hold up with the brick being painted. However, after allowing it to cure/dry overnight it worked perfectly. The next thing we did was install both pieces of drywall to the brick wall like so.
[show_shopthepost_widget id="4280935"]
Shelf brackets:
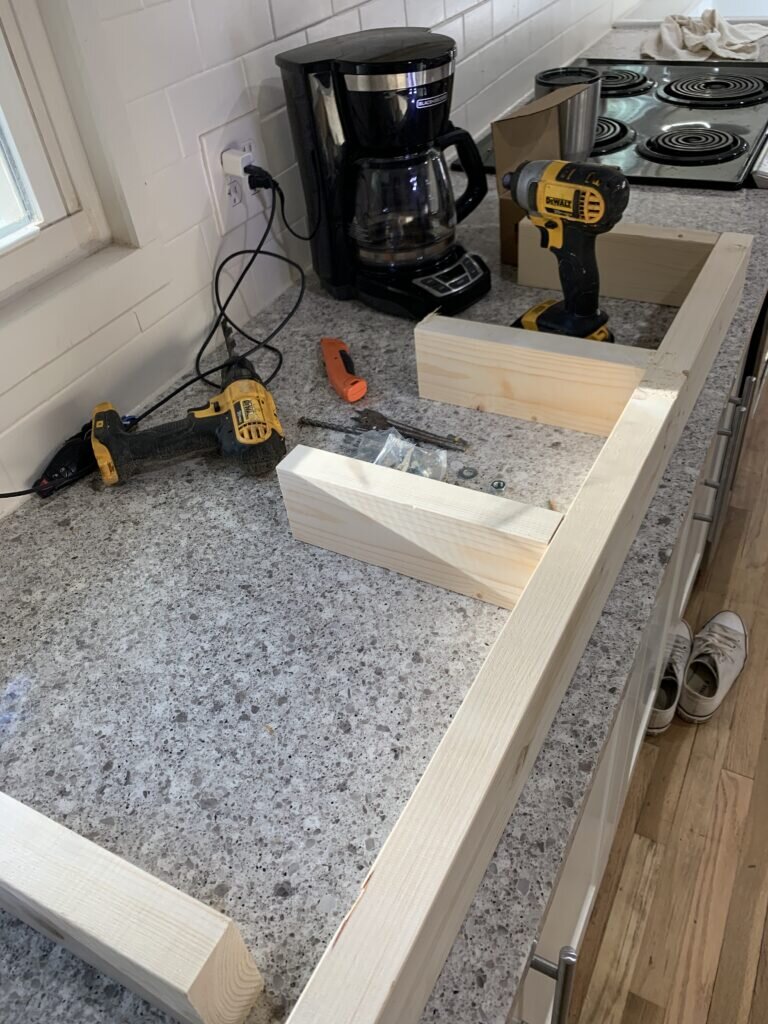
Next we got to work on the DIY floating shelves. The plan was to create three floating shelves. You'll notice the shelves are constructed out of 2x4's and construction screws. You'll first measure the space you're going to install your shelves, cut down your back 2x4. Finally, you'll determine the depth you want your floating shelf to be, in our case the shelves were 10.5 inches deep.
Next hold your shelf bracket up to the wall to determine the height. In this case, we wanted these hallway shelves to mimic the kitchen floating shelves. Scot held it up and we eyeballed it/used the level to determine the height.
Sleeve anchors:
Since we would be hanging these DIY floating shelves on a brick wall, we needed heavy duty sleeve anchors to secure them in place. We originally bought a less bulky sleeve anchor, but they weren't long enough. We swapped those out with these bad boys and they did more than get the job done. They're SOLID anchors. Theses sleeve anchors are suitable for brick, concrete, and block!

[show_shopthepost_widget id="4280935"]
Here's how you install these sleeve anchors! First hold your shelf up to the wall and mark where your holes will be. Scot created the holes in the shelf brackets with a 5/8 inch spade drill bit.

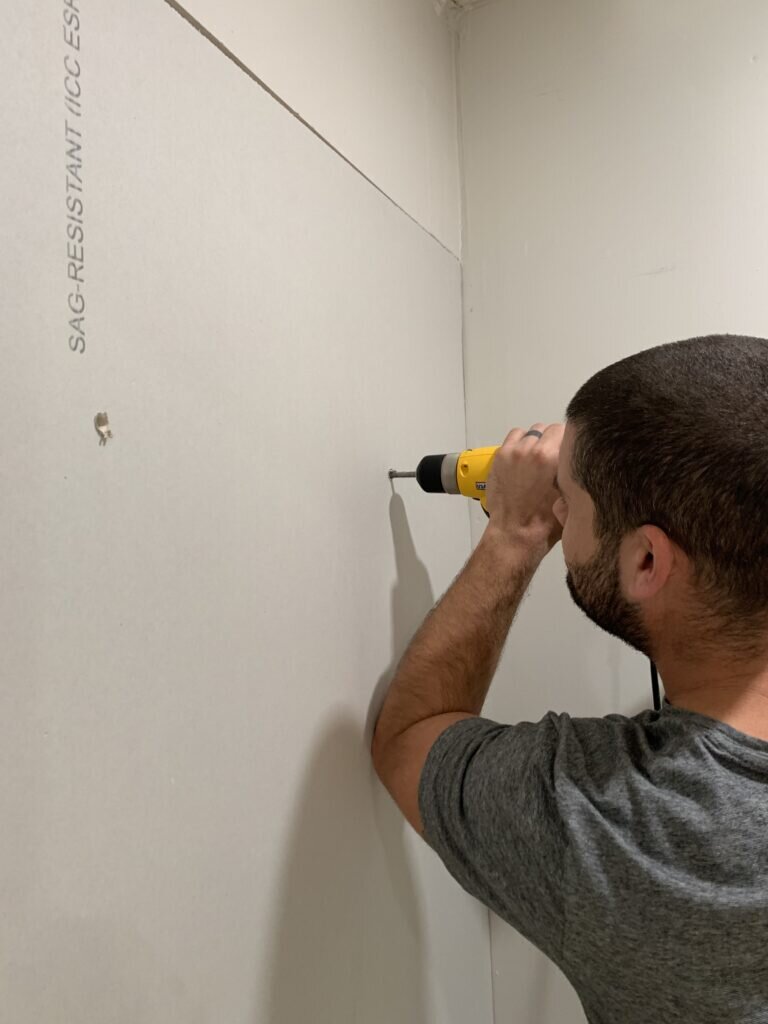
Next you'll grab a drill and pre drill where your sleeve anchors will be going. We purchased this corded Dewalt drill specifically for this project. When drilling into brick you'll want to make sure you use a masonry drill bit. We used this one.
After your holes have been created, it's time to install your sleeve anchors and shelf brackets. First you'll insert your sleeve anchors into your shelf bracket. You might need a hammer to do this.

Once the anchors are in, hold your shelf up to the wall and use your drill and socket to secure the bolts into place.

You will repeat this process for each shelf that you hang on the wall. Here's how all three of our shelf brackets looked once they were installed on the wall.

[show_shopthepost_widget id="4280935"]
MDF:
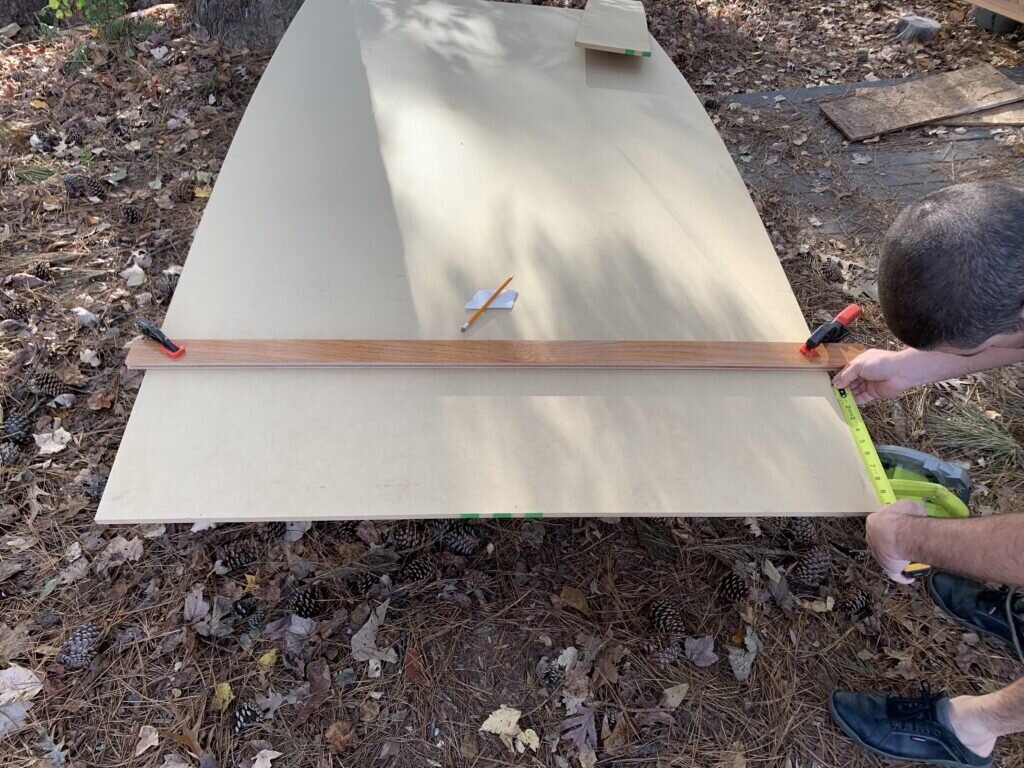
Next it's time to cover the shelf brackets. For our shelf material we used this MDF. Measure the width and tops of your shelf brackets with a tape measure, and then cut down the finishing MDF pieces with a table saw or circular saw.


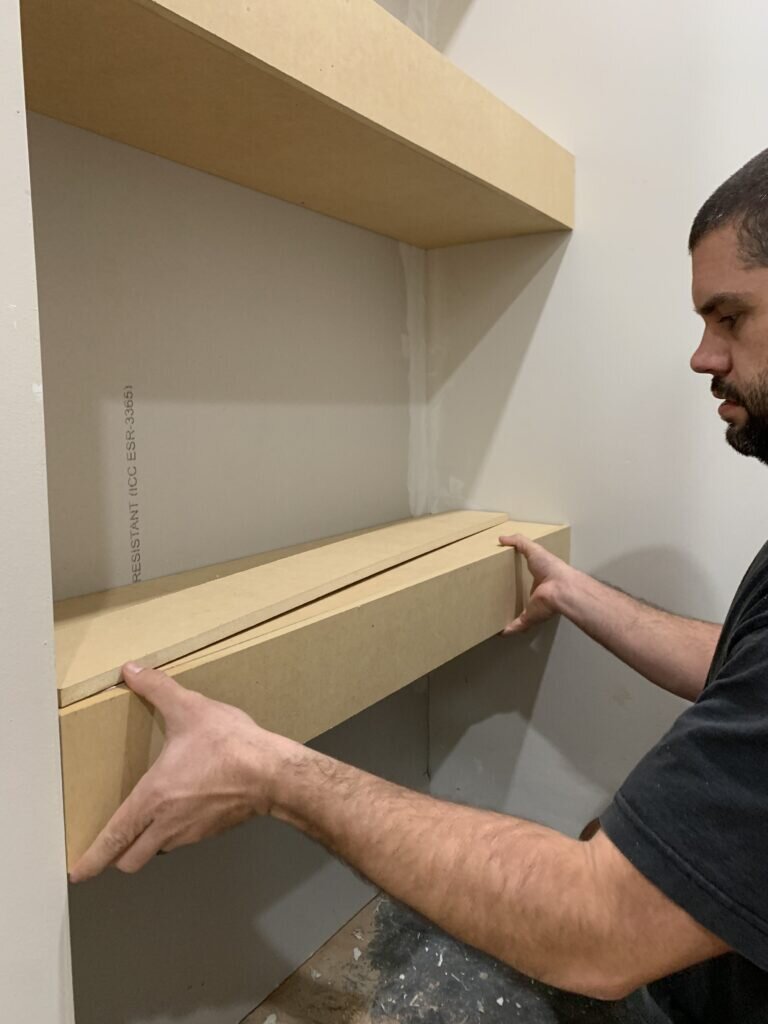
After your MDF pieces are cut for your shelf brackets, you'll install them using a nail gun with finishing nails into the 2x4's.

[show_shopthepost_widget id="4280935"]

Below is what your DIY floating shelves will look like once the tops and bottoms are attached.

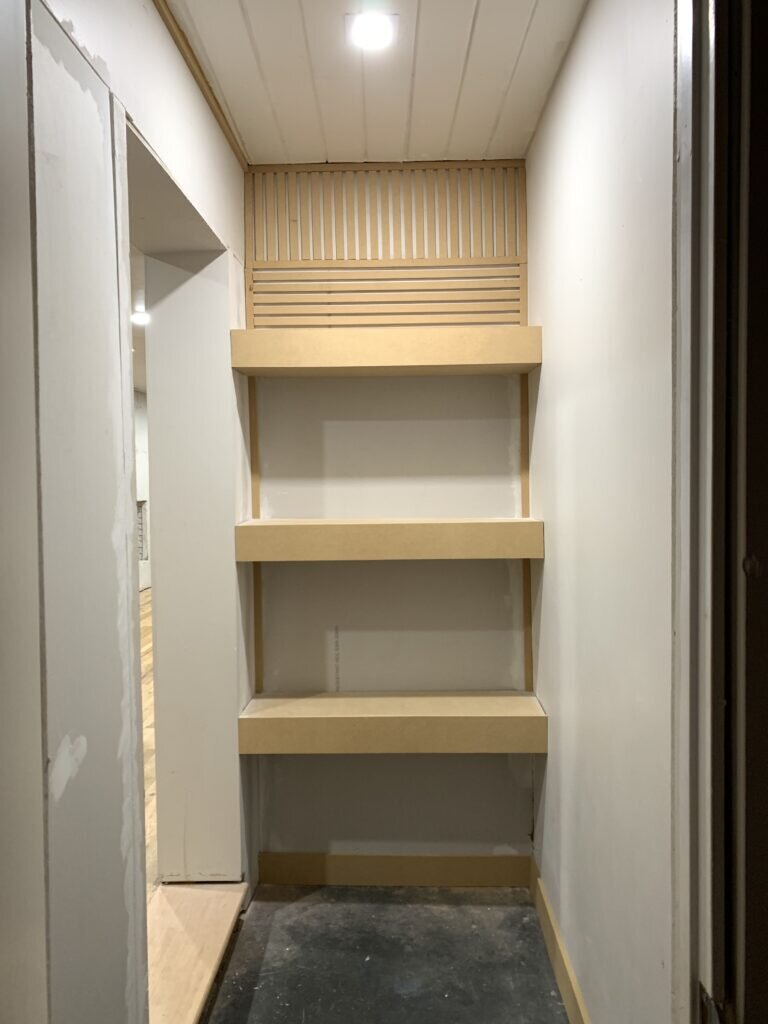
Next, grab your tape measure again and measure the fronts of your shelves. Once you have your measurements, cut the MDF fronts and install with your nail gun.
Instagram:
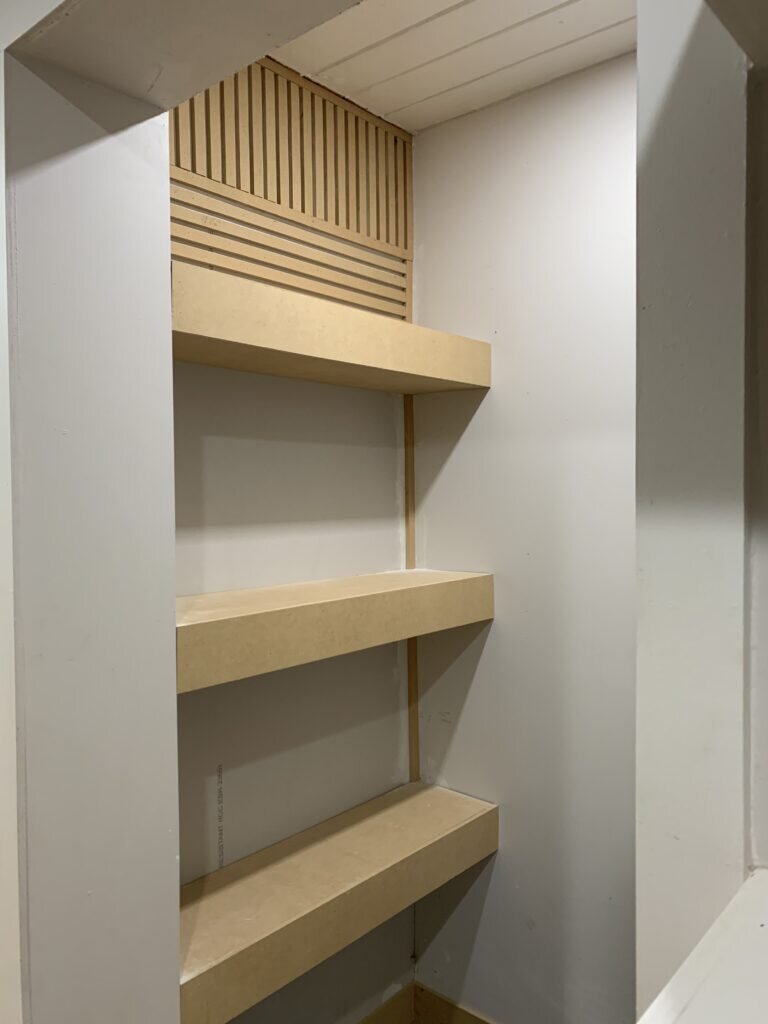
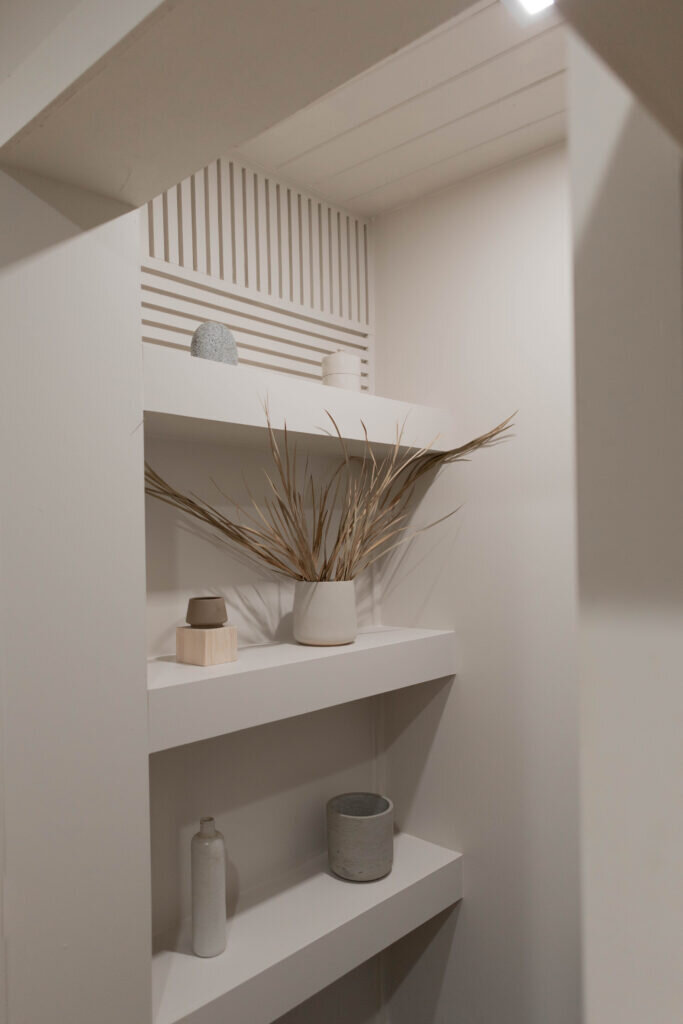
If you guys follow us on Instagram, than you've already seen the photos below because we did behind the scenes of this DIY project on stories. Follow us here, and check out our "BOYS HALLWAY" highlight on Instagram! I decided to add some wood slat details with leftover MDF boards!
[show_shopthepost_widget id="4280935"]
Finishing touches:
Finally, for the finishing touches. All our DIY floating shelves needed was caulk and paint.
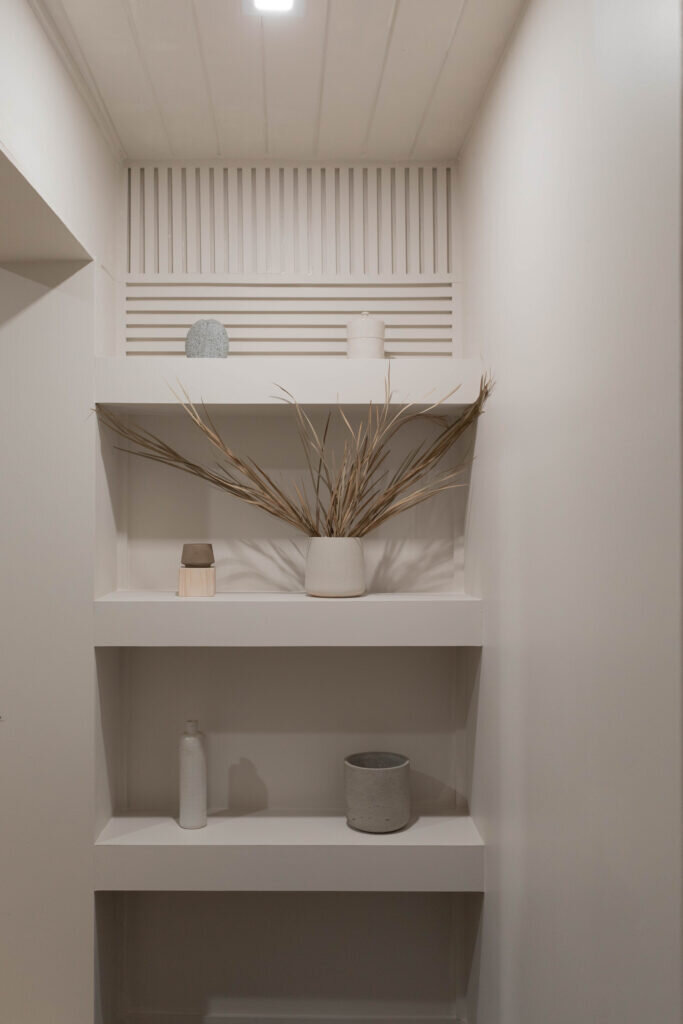
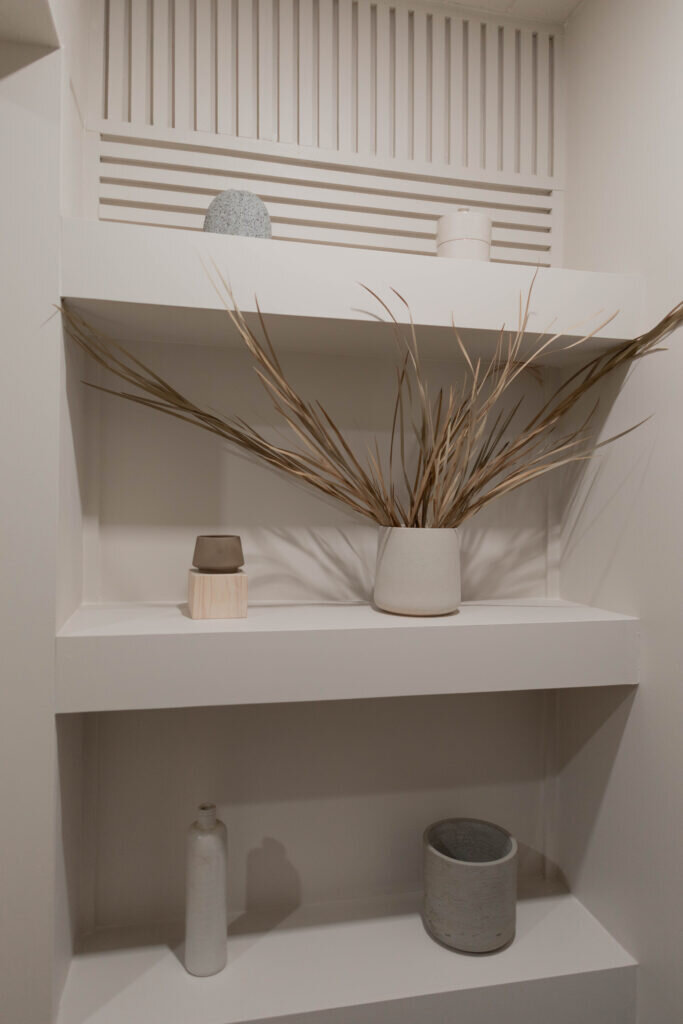
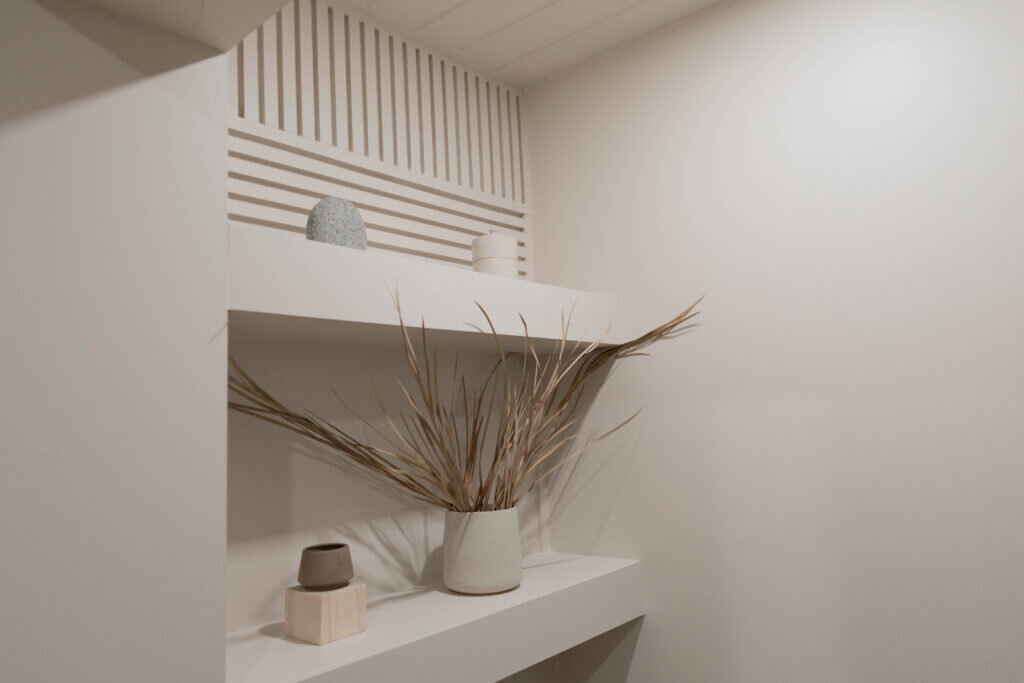
Do you guys want to see the after? All we have left for this space is to style the shelves with functional and practical pieces, and add flooring over the old garage concrete floor. Here's some finishing photos! Enjoy!


[show_shopthepost_widget id="4280935"]
I shopped our house to style the shelves for these after photos. These items won't be on the finalized styling, but I just love how it all looks on the DIY floating shelves!
In conclusion:
Thank you so much for stopping by and checking out our DIY floating shelves tutorial. We hope we inspired you guys to tackle an intimidating wall in your home, in this case brick! You can work with what you have in your home, and turn it into something beautiful! For more behind the scenes follow us on Instagram and Pinterest where we love sharing our DIY projects and what's currently inspiring us.
Save this DIY floating shelves tutorial for later by pinning the graphics below!