Installing kitchen cabinets

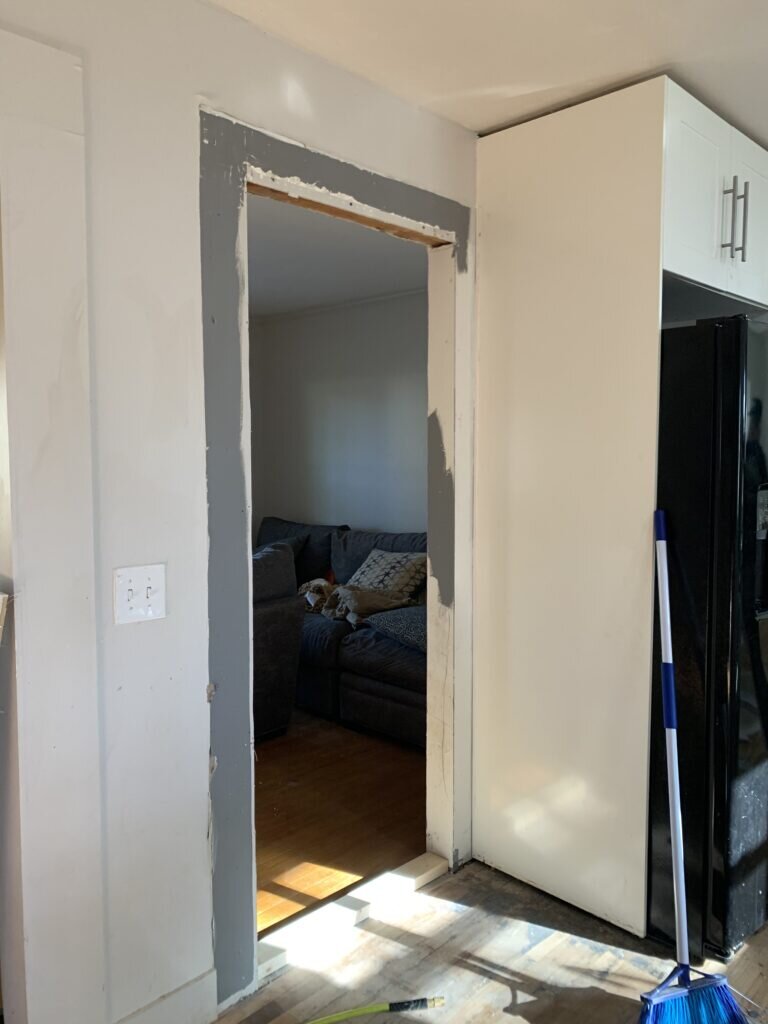
When we moved into our home a few years ago, we had three solid doors separating each one of our rooms. We had a dining room, front room, and hallway. One of our first DIY projects was removing the center wall of our home to give our ranch more of an open concept. Up until now, we've still been dealing with the doorways. Below is what the doorway looked like separating the old kitchen and the front room. It's been in our kitchen for years, and our couch sits in the corner of our front room, which looked absolutely ridiculous. Today I'm going to be talking about installing kitchen cabinets, and how we did it!

We decided to finally close off this doorway. I'm actually glad we waited because we had started rearranging/removing our upper cabinets last year, and this project was made possible because of all the cabinets we had sitting around. The only thing we ended up needing from The Home Depot for this project was drywall and a couple 2x4's.
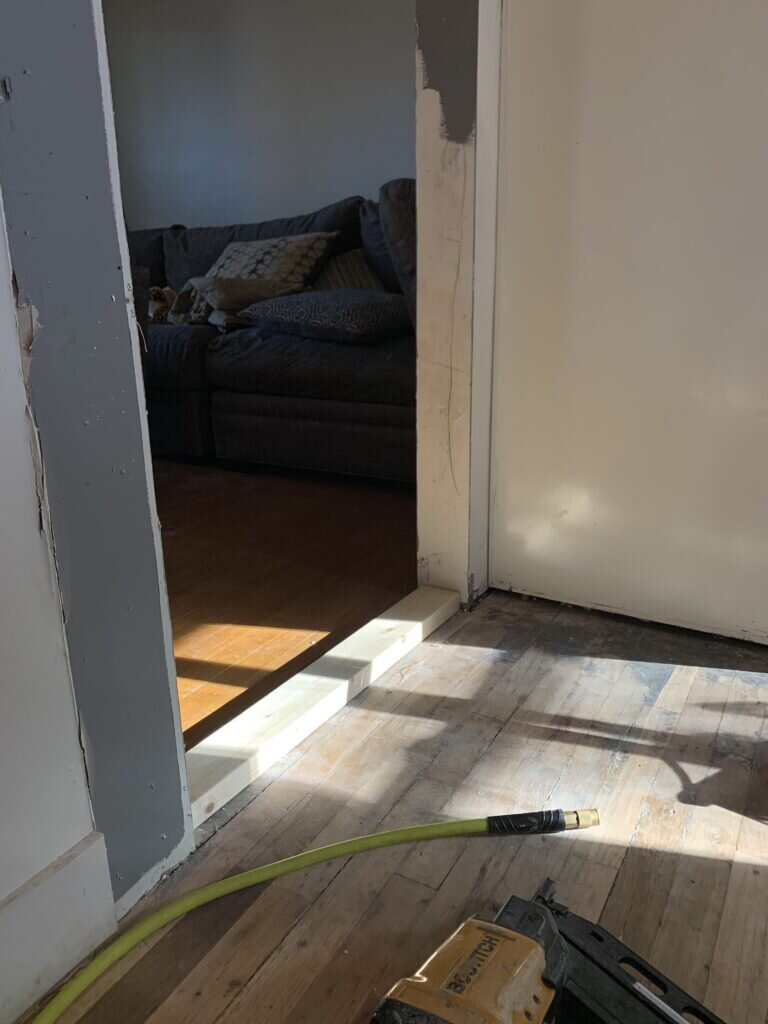
The first thing we did to close off the doorway was install 2x4 blocking on the floor in the doorway, one vertical, and some blocking along the sides. This part of the project went super fast with our framing nailer. Below are some step by step progress photos.
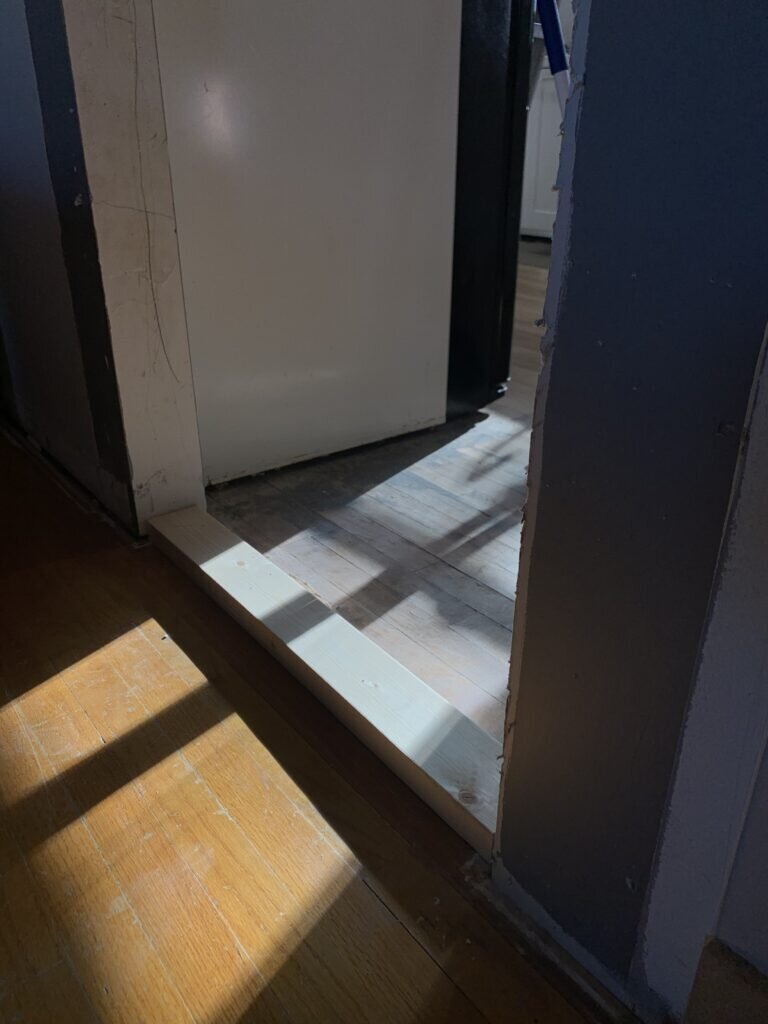

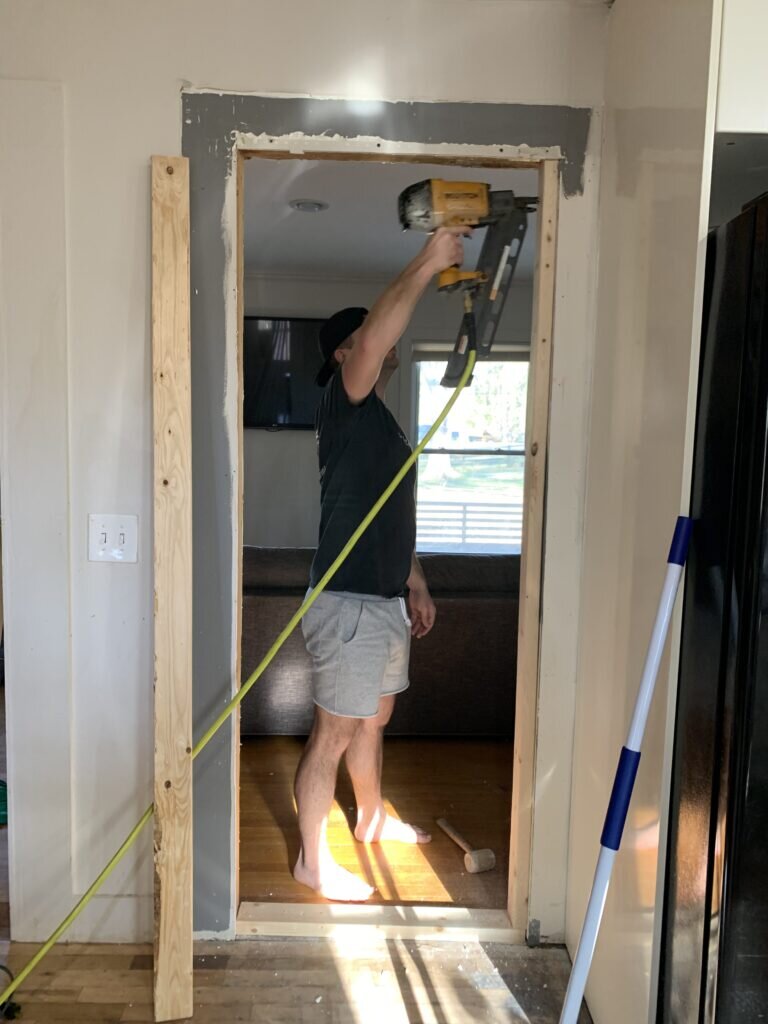

Once we had the side supports installed, we added the side blocking using 2x4's.
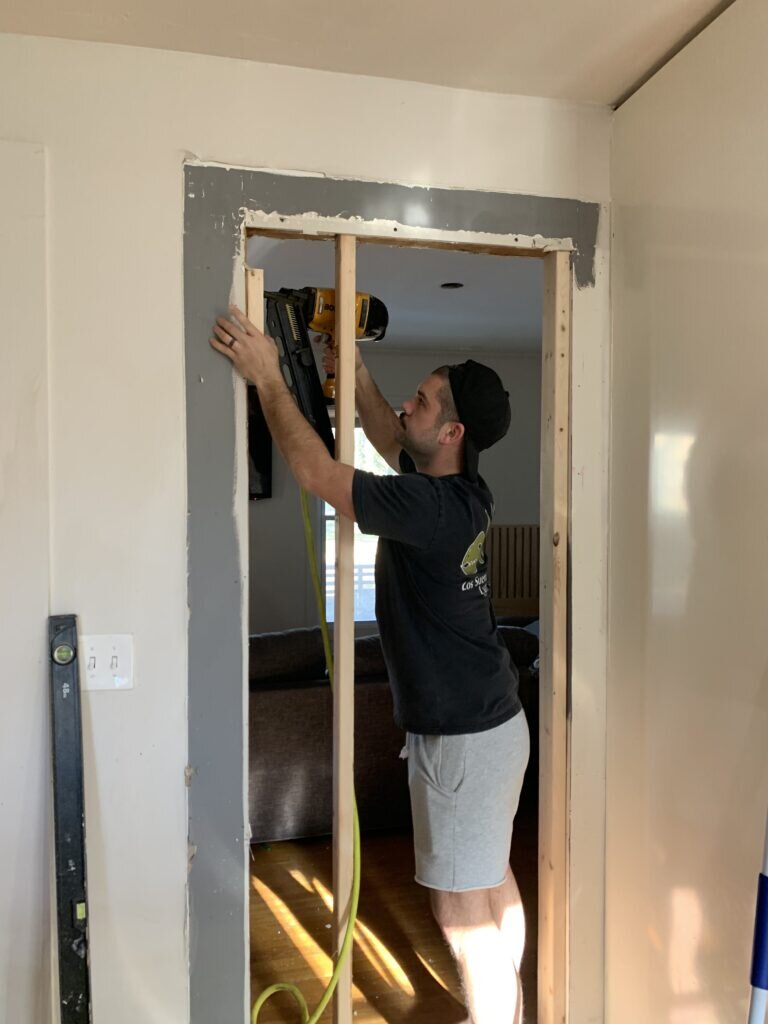
I had to properly document the infamous mustache.

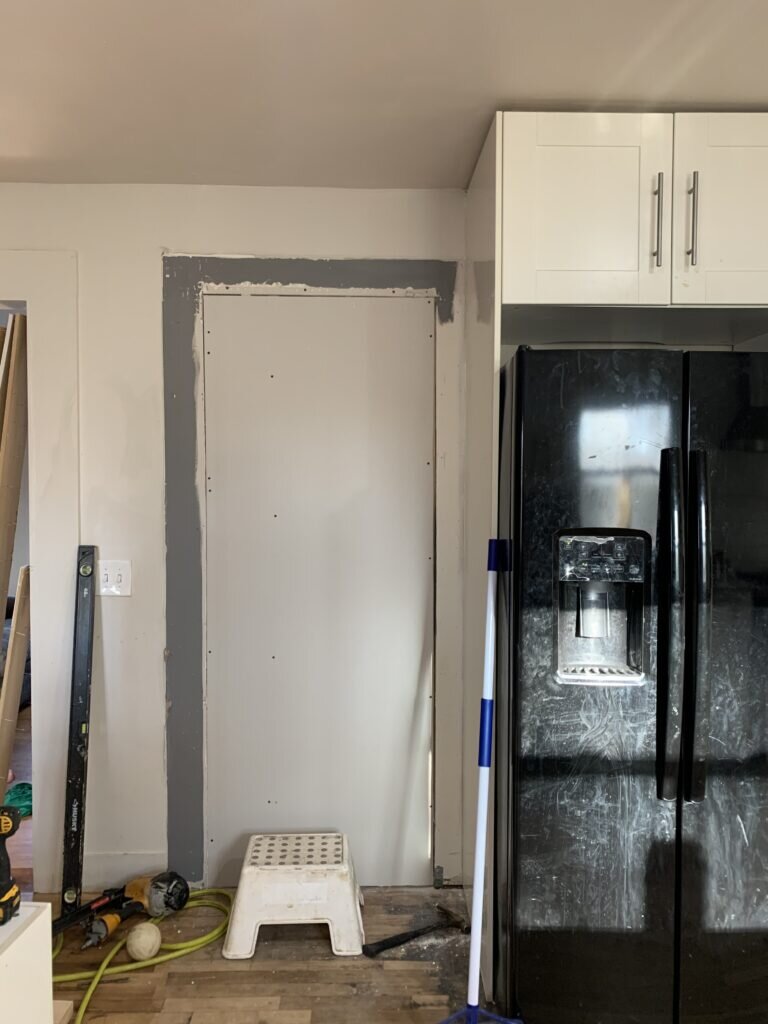
After that we were able to attach the drywall to the studs.

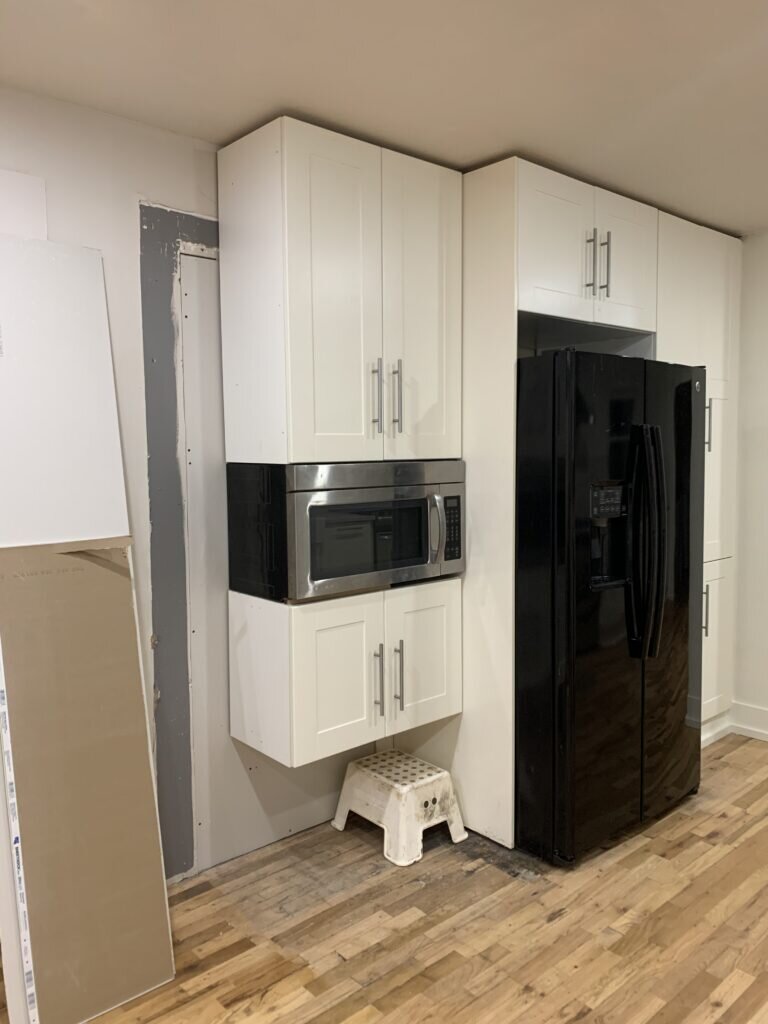
The doorway looked so much better once the drywall was installed. Below is what it looked like prior to cabinet install.
If you're not familiar with Ikea cabinets, they come with tracks to hang on the wall. We strategically placed the blocking to accommodate the cabinets. We started with the taller cabinet on top.
First we attached the track to the studs, then we hung the Ikea cabinet on the track.
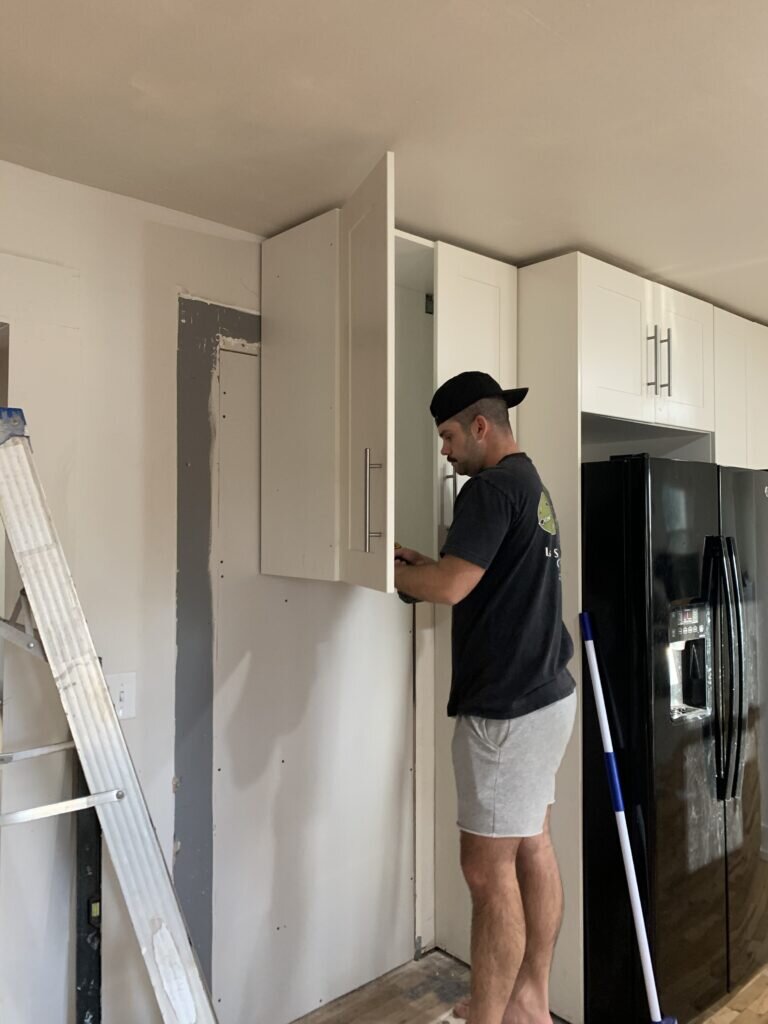
Next we hung our Ikea microwave and lower cabinet on their tracks.
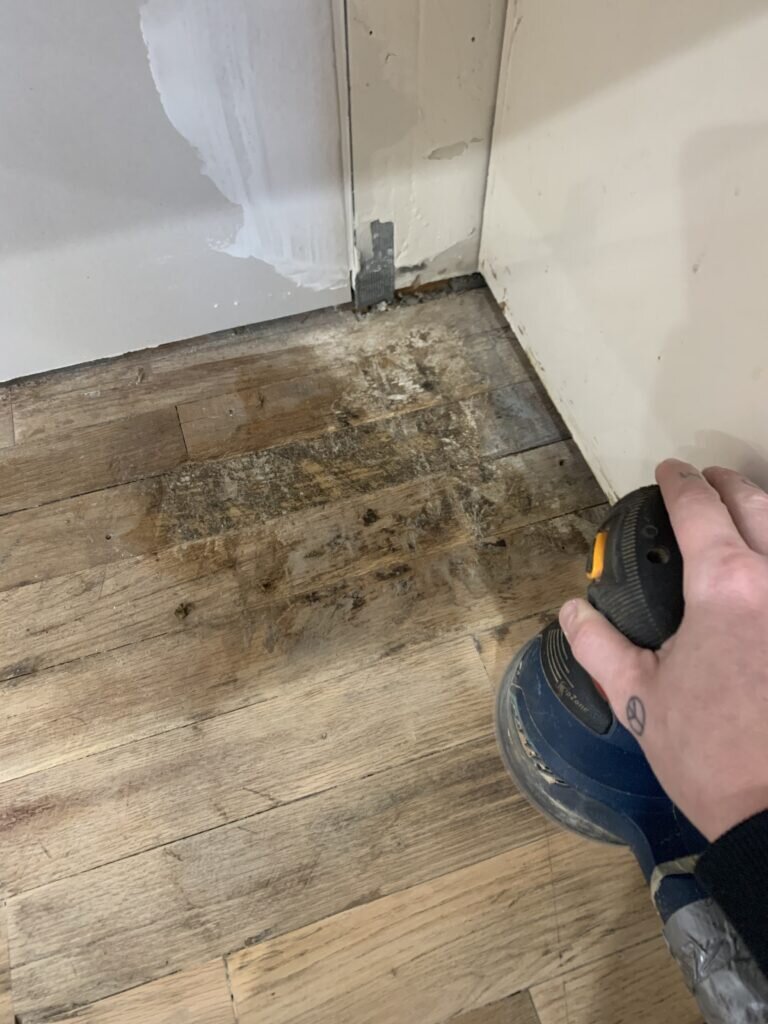
When we removed the tile in our kitchen and refinished our hardwoods, we didn't think we would leave the floor under that bottom cabinet exposed. We changed our game plan to accommodate a stool and the dogs water bowl, so we needed to apply floor adhesive remover (this is our favorite low VOC remover), hand sand, and cover with poly.
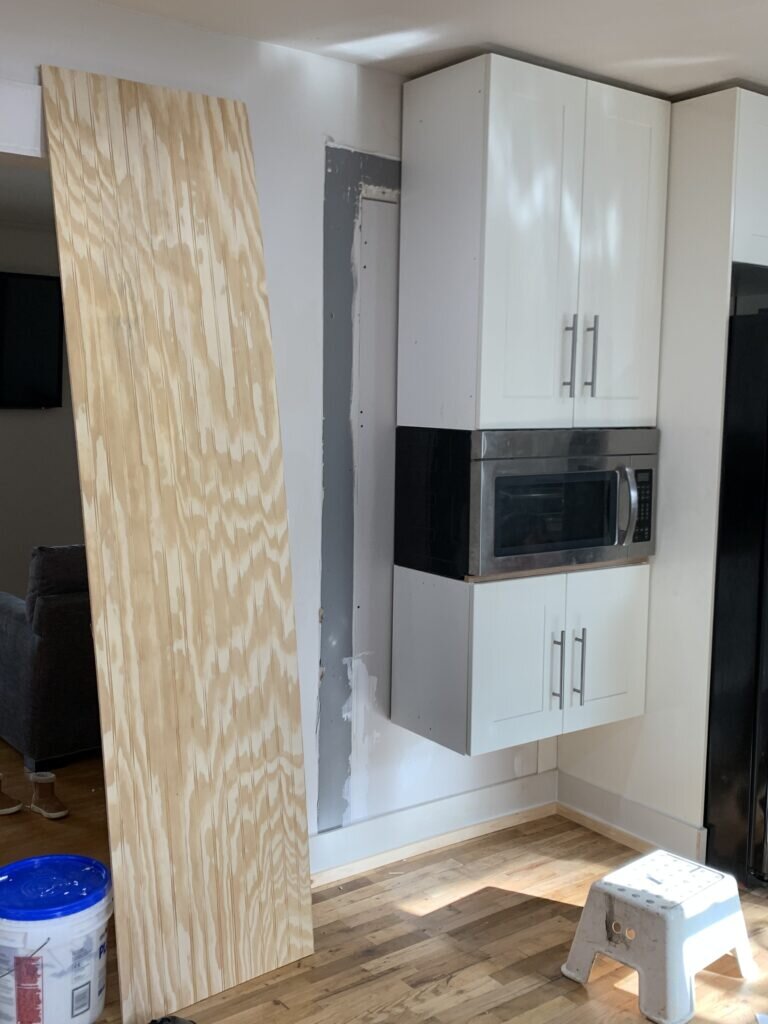
After that it was time to install the beadboard. We opted for beadboard because we didn't want to spend all of our time patching with mud. We measured and made appropriate cuts and then nailed it onto the wall using our nail gun. Also because we loved how it turned out in our hallway one room challenge!


Finally we gave the beadboard a nice coat of paint, installed the MDF baseboards, and square corner round.

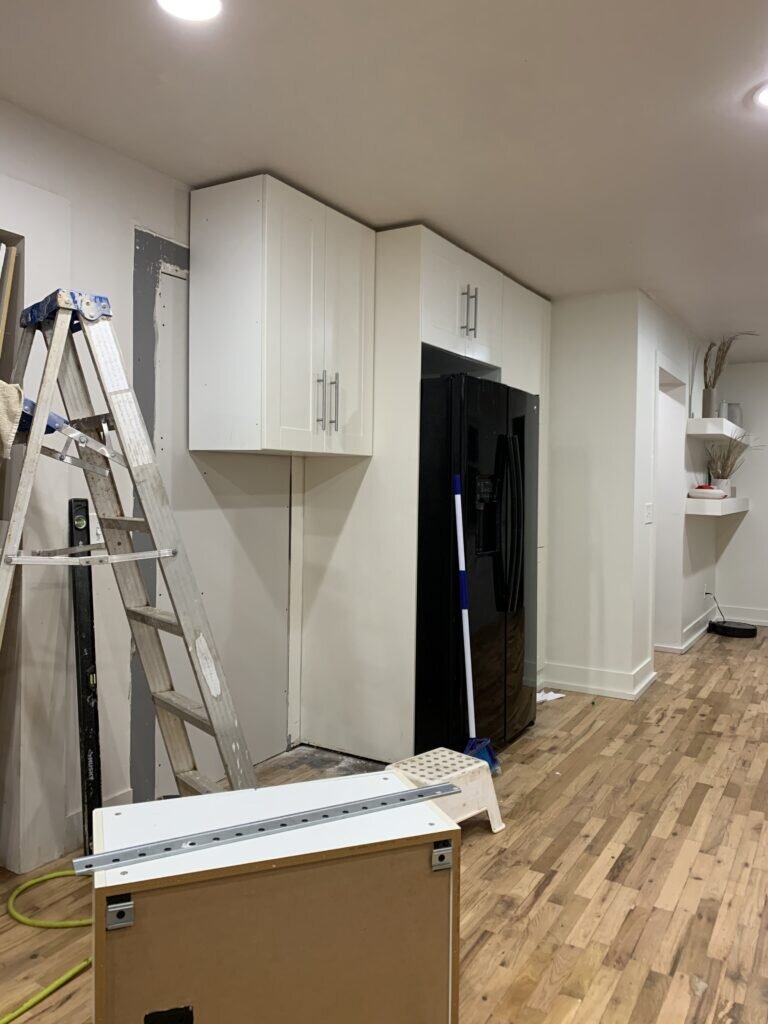
The plan is to continue the beadboard all the way down into the dining room. For now we absolutely LOVE how this quick, and inexpensive project turned out. It's always a great idea to use what you have on hand. Reusing these cabinets allowed us to save $800+ dollars on a matching pantry (what's to the right of the refrigerator).
Here's a fun before and after photo!


What do you guys think? Installing kitchen cabinets is so easy! Do you have a random doorway in your home that doesn't serve a purpose? If so, maybe this will inspire you to do something a little different and unique!
Are you guys following along on Instagram? We post behind the scenes of our projects over there all the time! Follow us here! While you're at it, pin the graphic below to save this inspiration project for later. We love sharing our DIY projects on our Pinterest. Follow us here!
