Installing an Ikea Pax wardrobe in our hallway

Hey guys!! We are finally bringing an updated hallway renovation post your way, after dealing with this hallway project for a solid two weeks now! Here are some before photos after I removed old board and batten in our hallway. They were pine boards and they left quite the impression on the drywall, so we have a plan specifically for this right wall.
The left wall, with the darker shiplap, is the wall that is going to be removed leading down into the basement.


Here is a during progress of the hallway renovation.

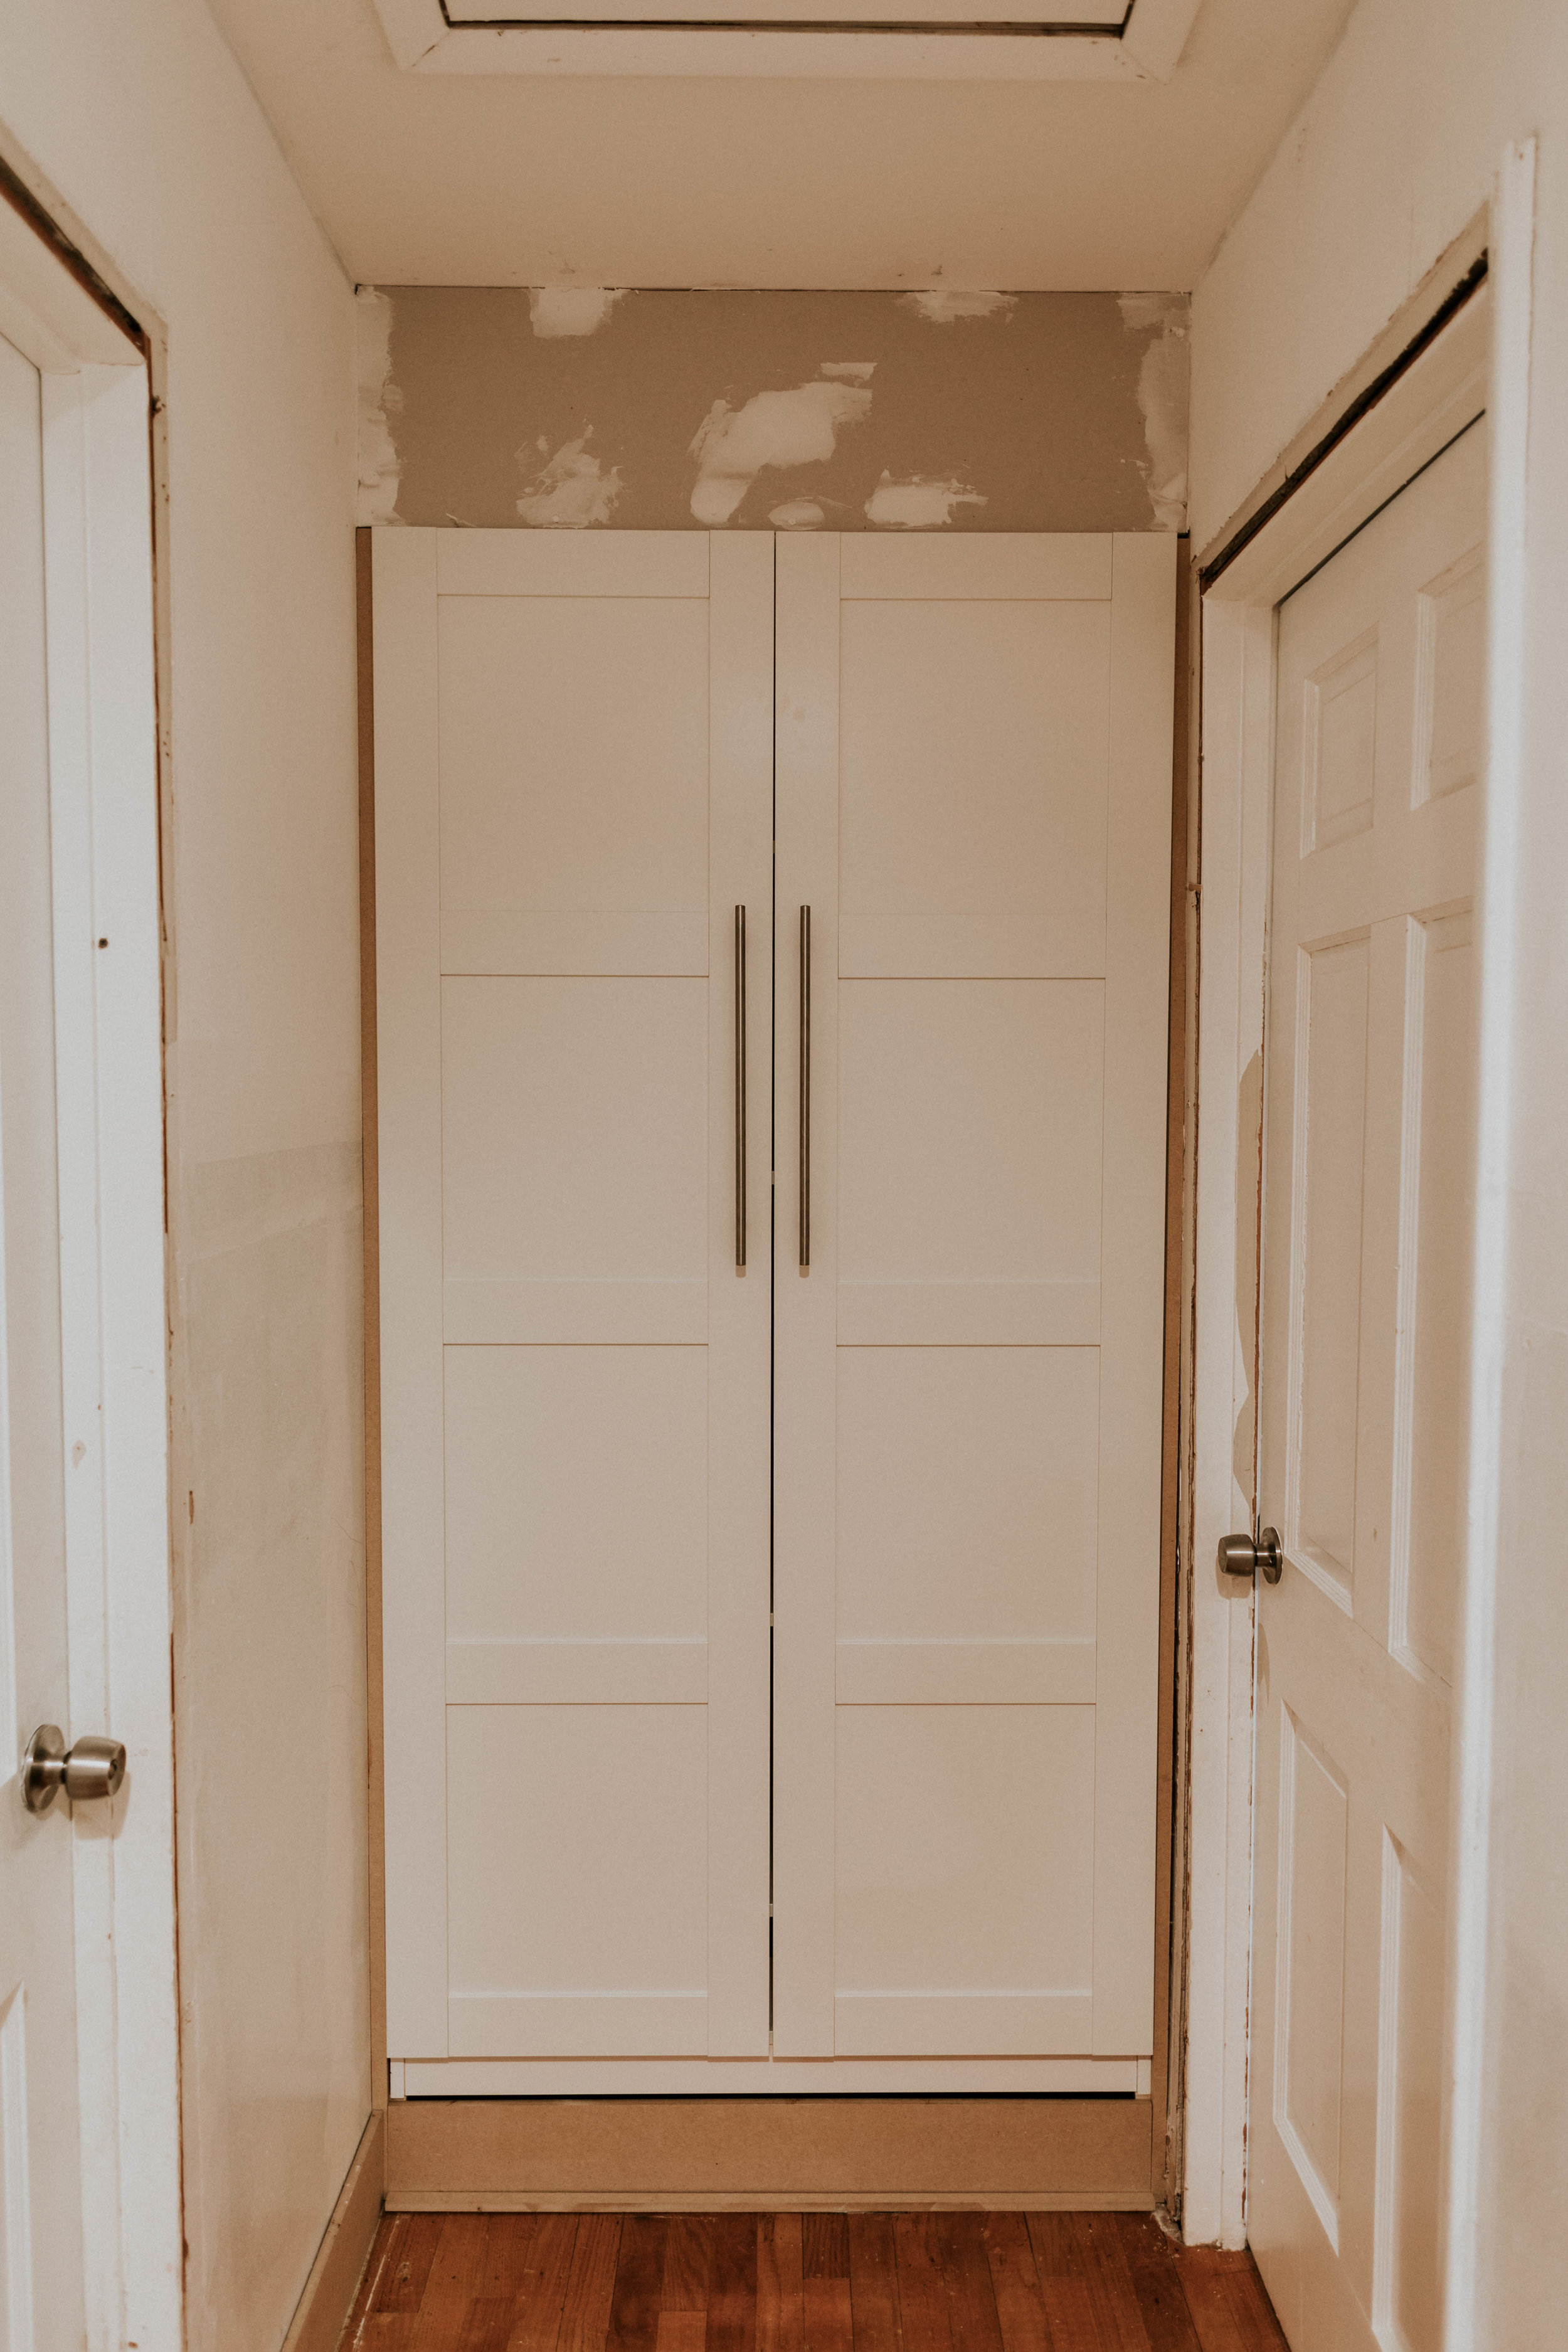
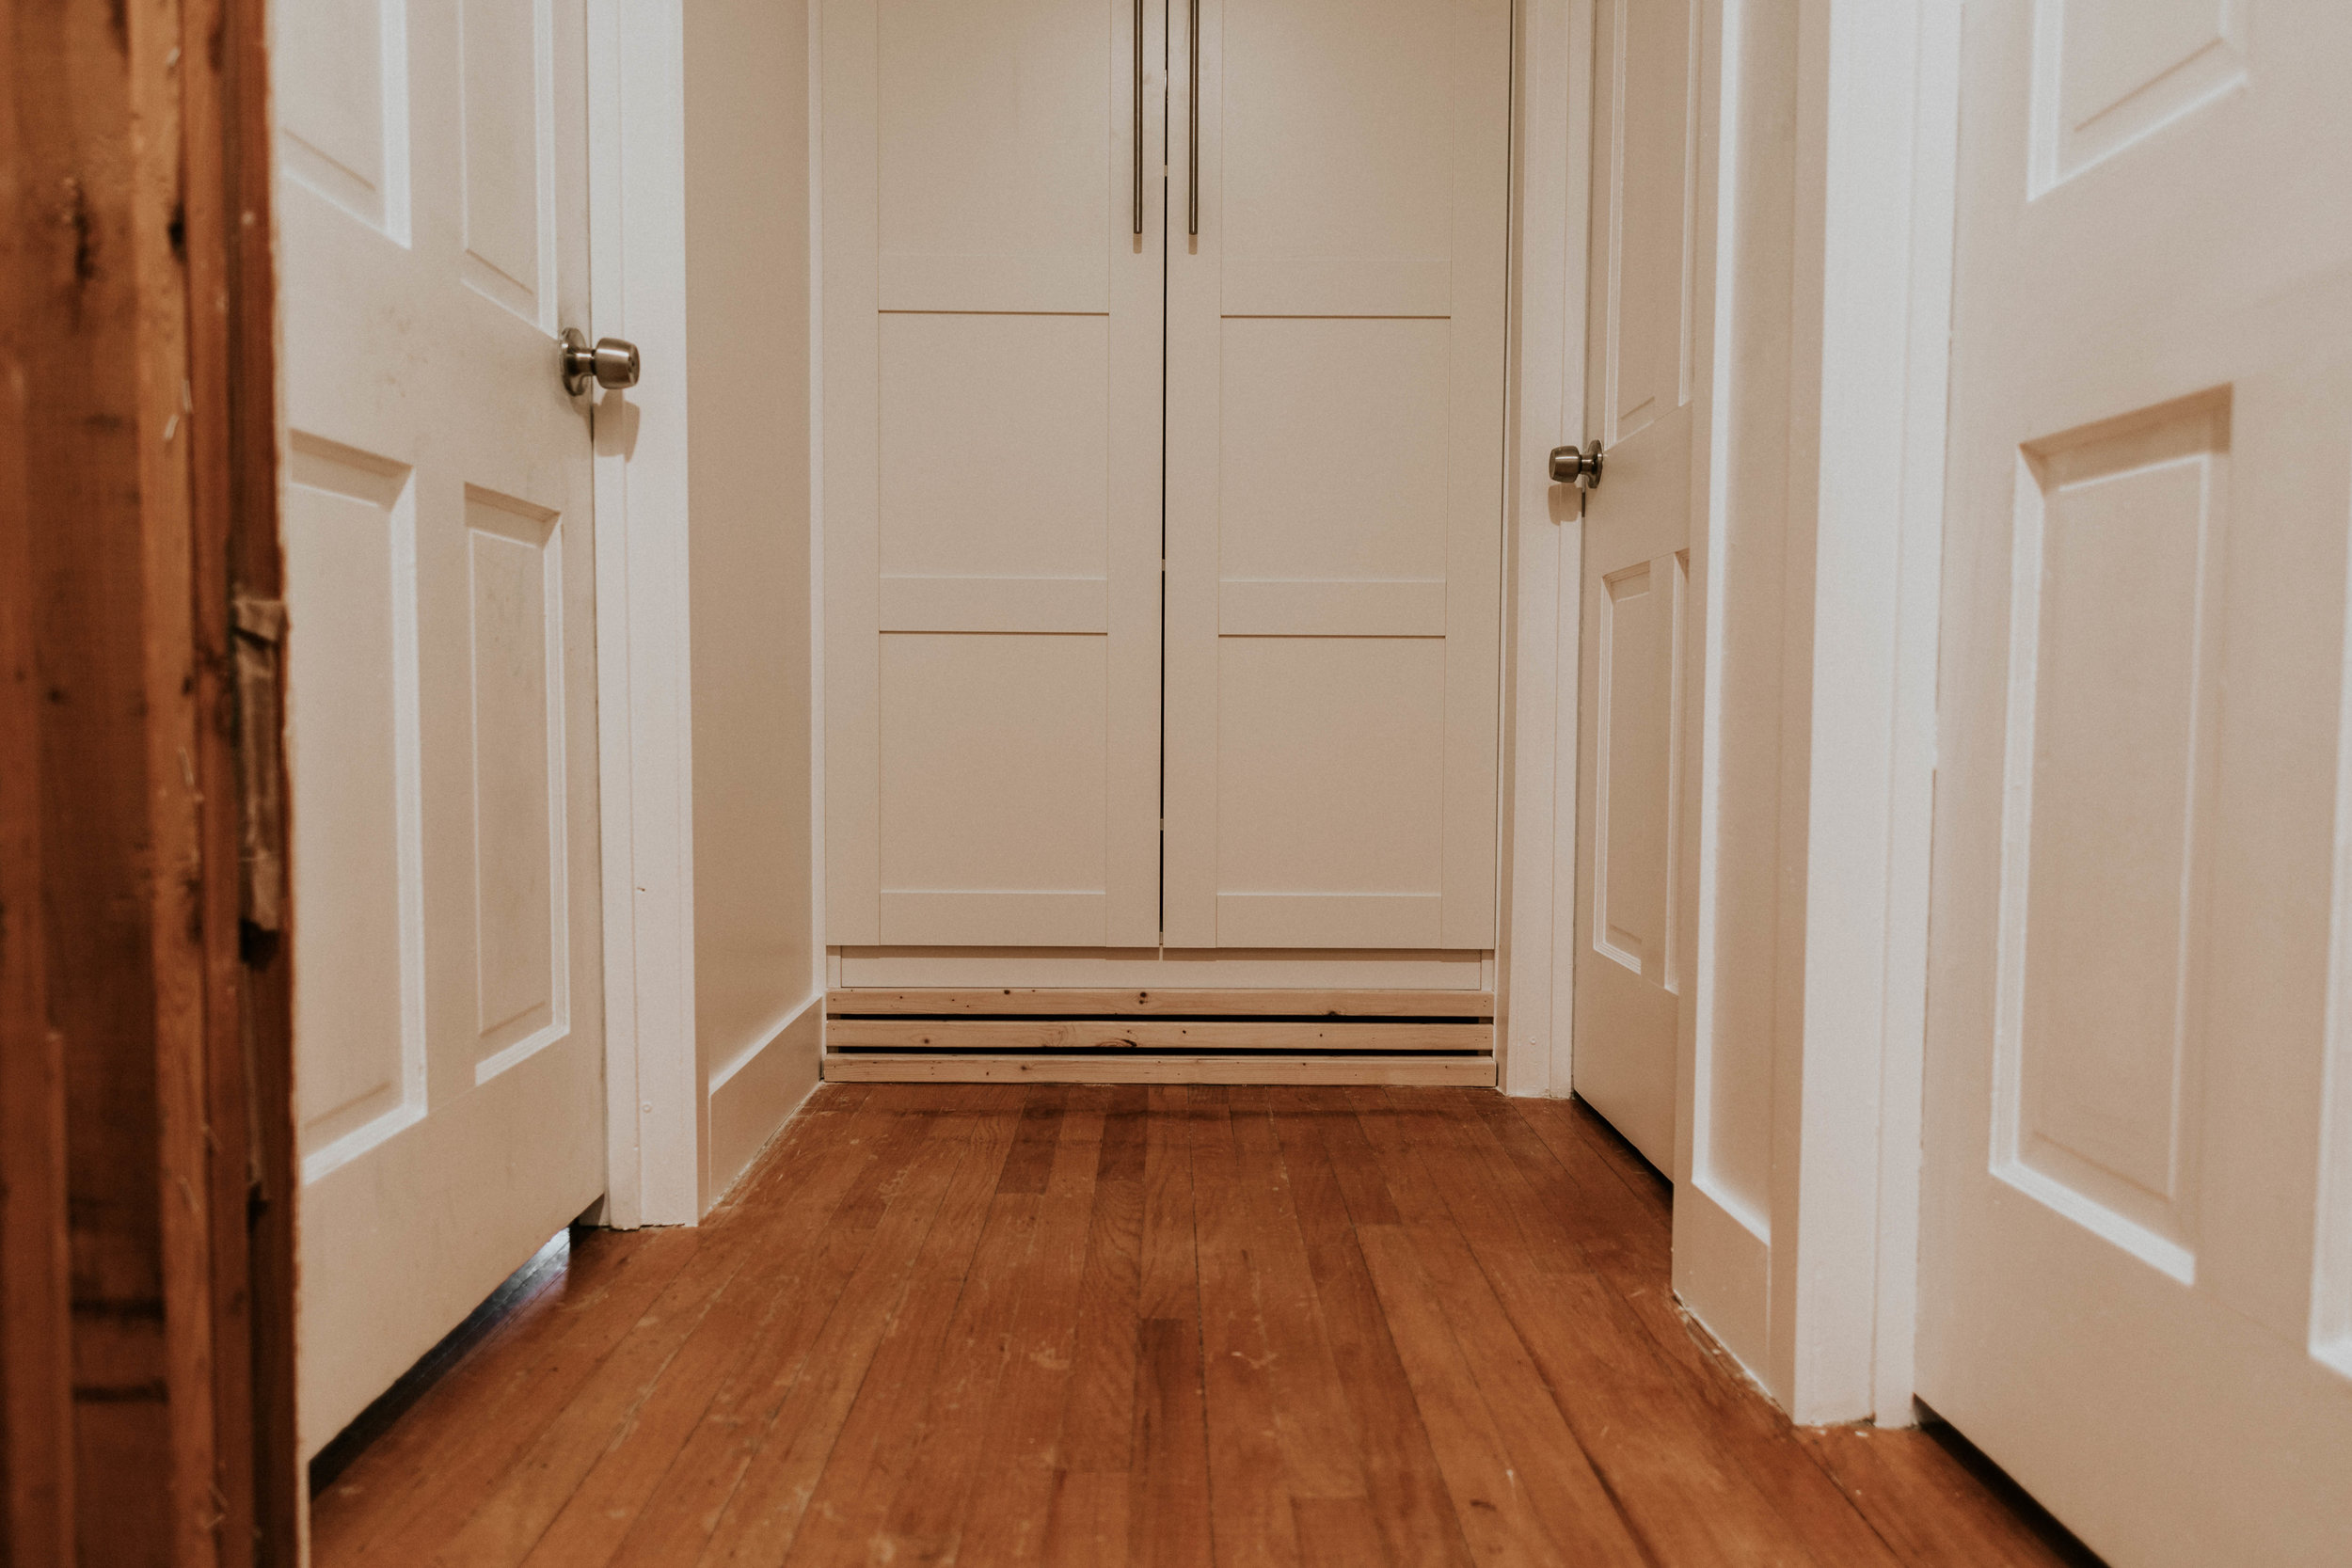
We we’re undecided on what we were going to do for the bottom of the built in Ikea Pax Wardrobe. We had to elevate it on 2x12 pieces of wood to allow our return vent, located underneath it, to flow. This photo was the first game plan using MDF, but it didn’t work out with the decorative sheet metal I picked up from Home Depot.
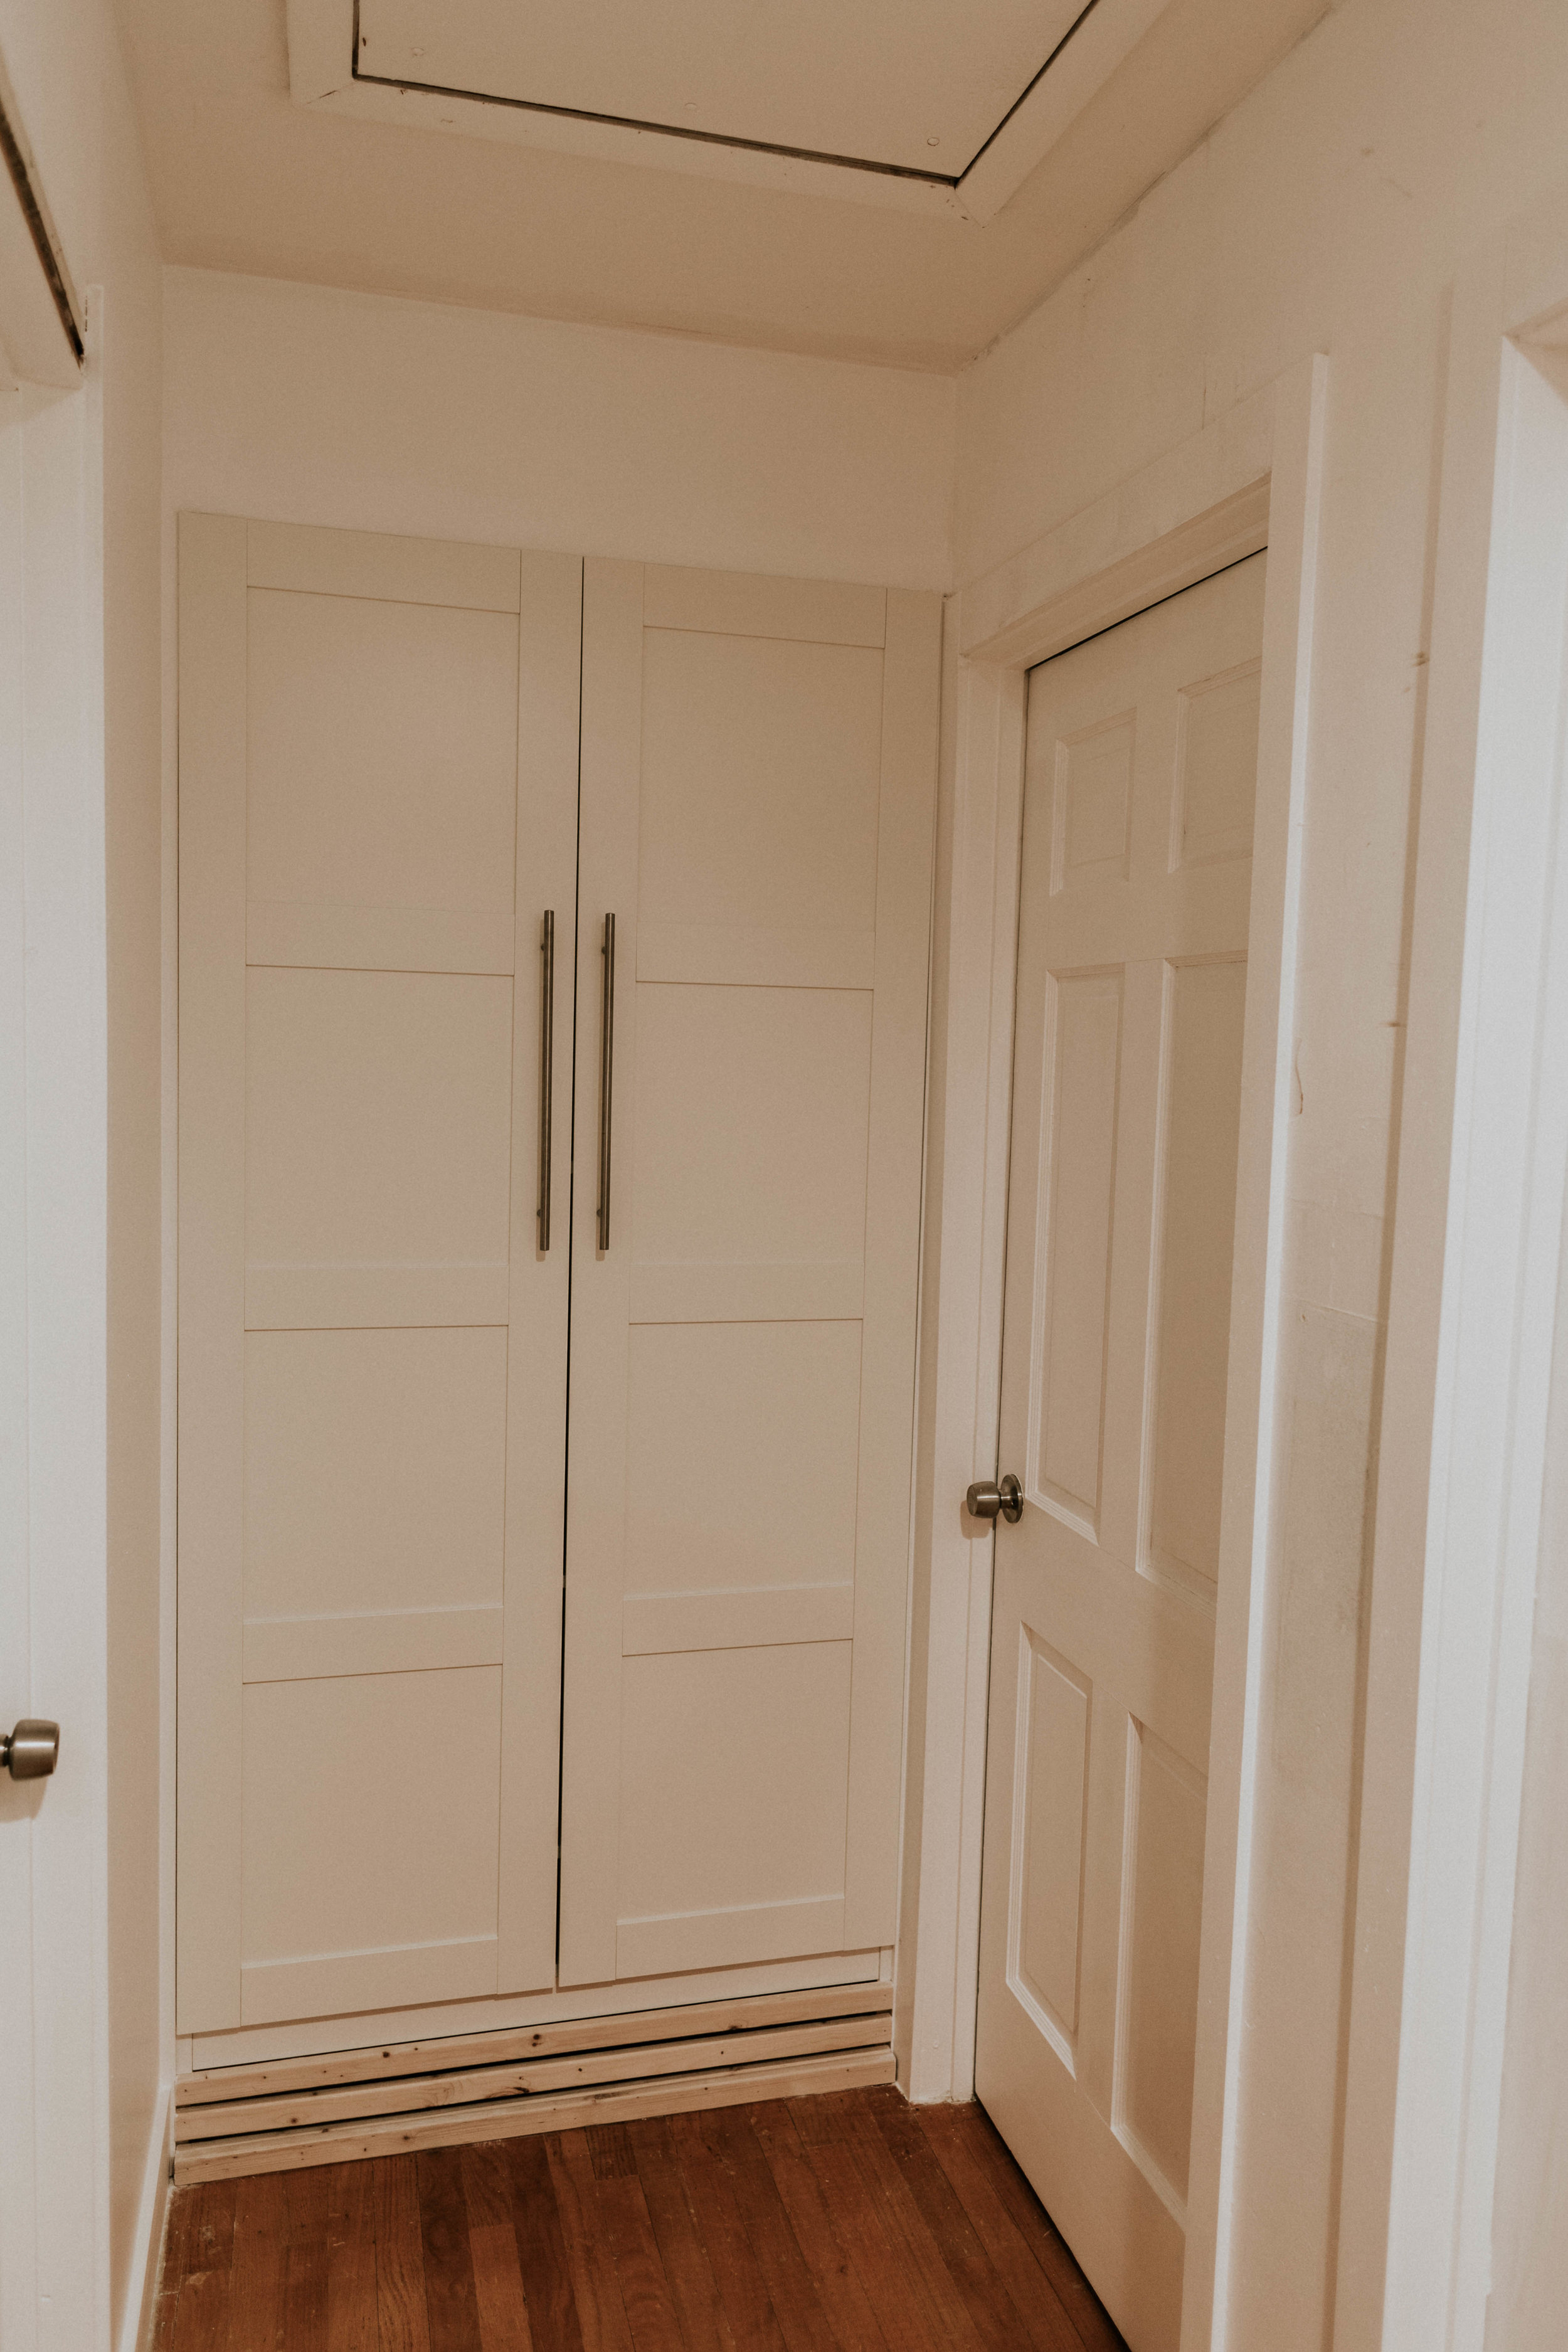
I removed all of the door and baseboard trim and replaced it with MDF. It gives the hallway such a cleaner look. It was such an eye sore to look at all the door frames, and broken trim, but I am loving the updated progress. Speaking of updated progress shots, check out what our hallway currently looks like below.


We are moving forward with the hallway renovation and the next steps are to figure out what kind of railing we want to install once the load bearing wall is removed. From here we plan on covering the right wall to eliminate it’s imperfections. We’re really excited to share more on that this coming week! Finally we will replace the attic ladder, as it’s the original and not in very good shape. Safety hazard for sure.
Thanks for stopping by and checking out our progress. Don’t forget to follow our DIY projects on our Instagram where we post behind the scenes footage!