One Room Challenge Spring 2020- Week two

We’ve made so much progress since week one of our One Room Challenge. In case you missed that post, click the button below to check it out!
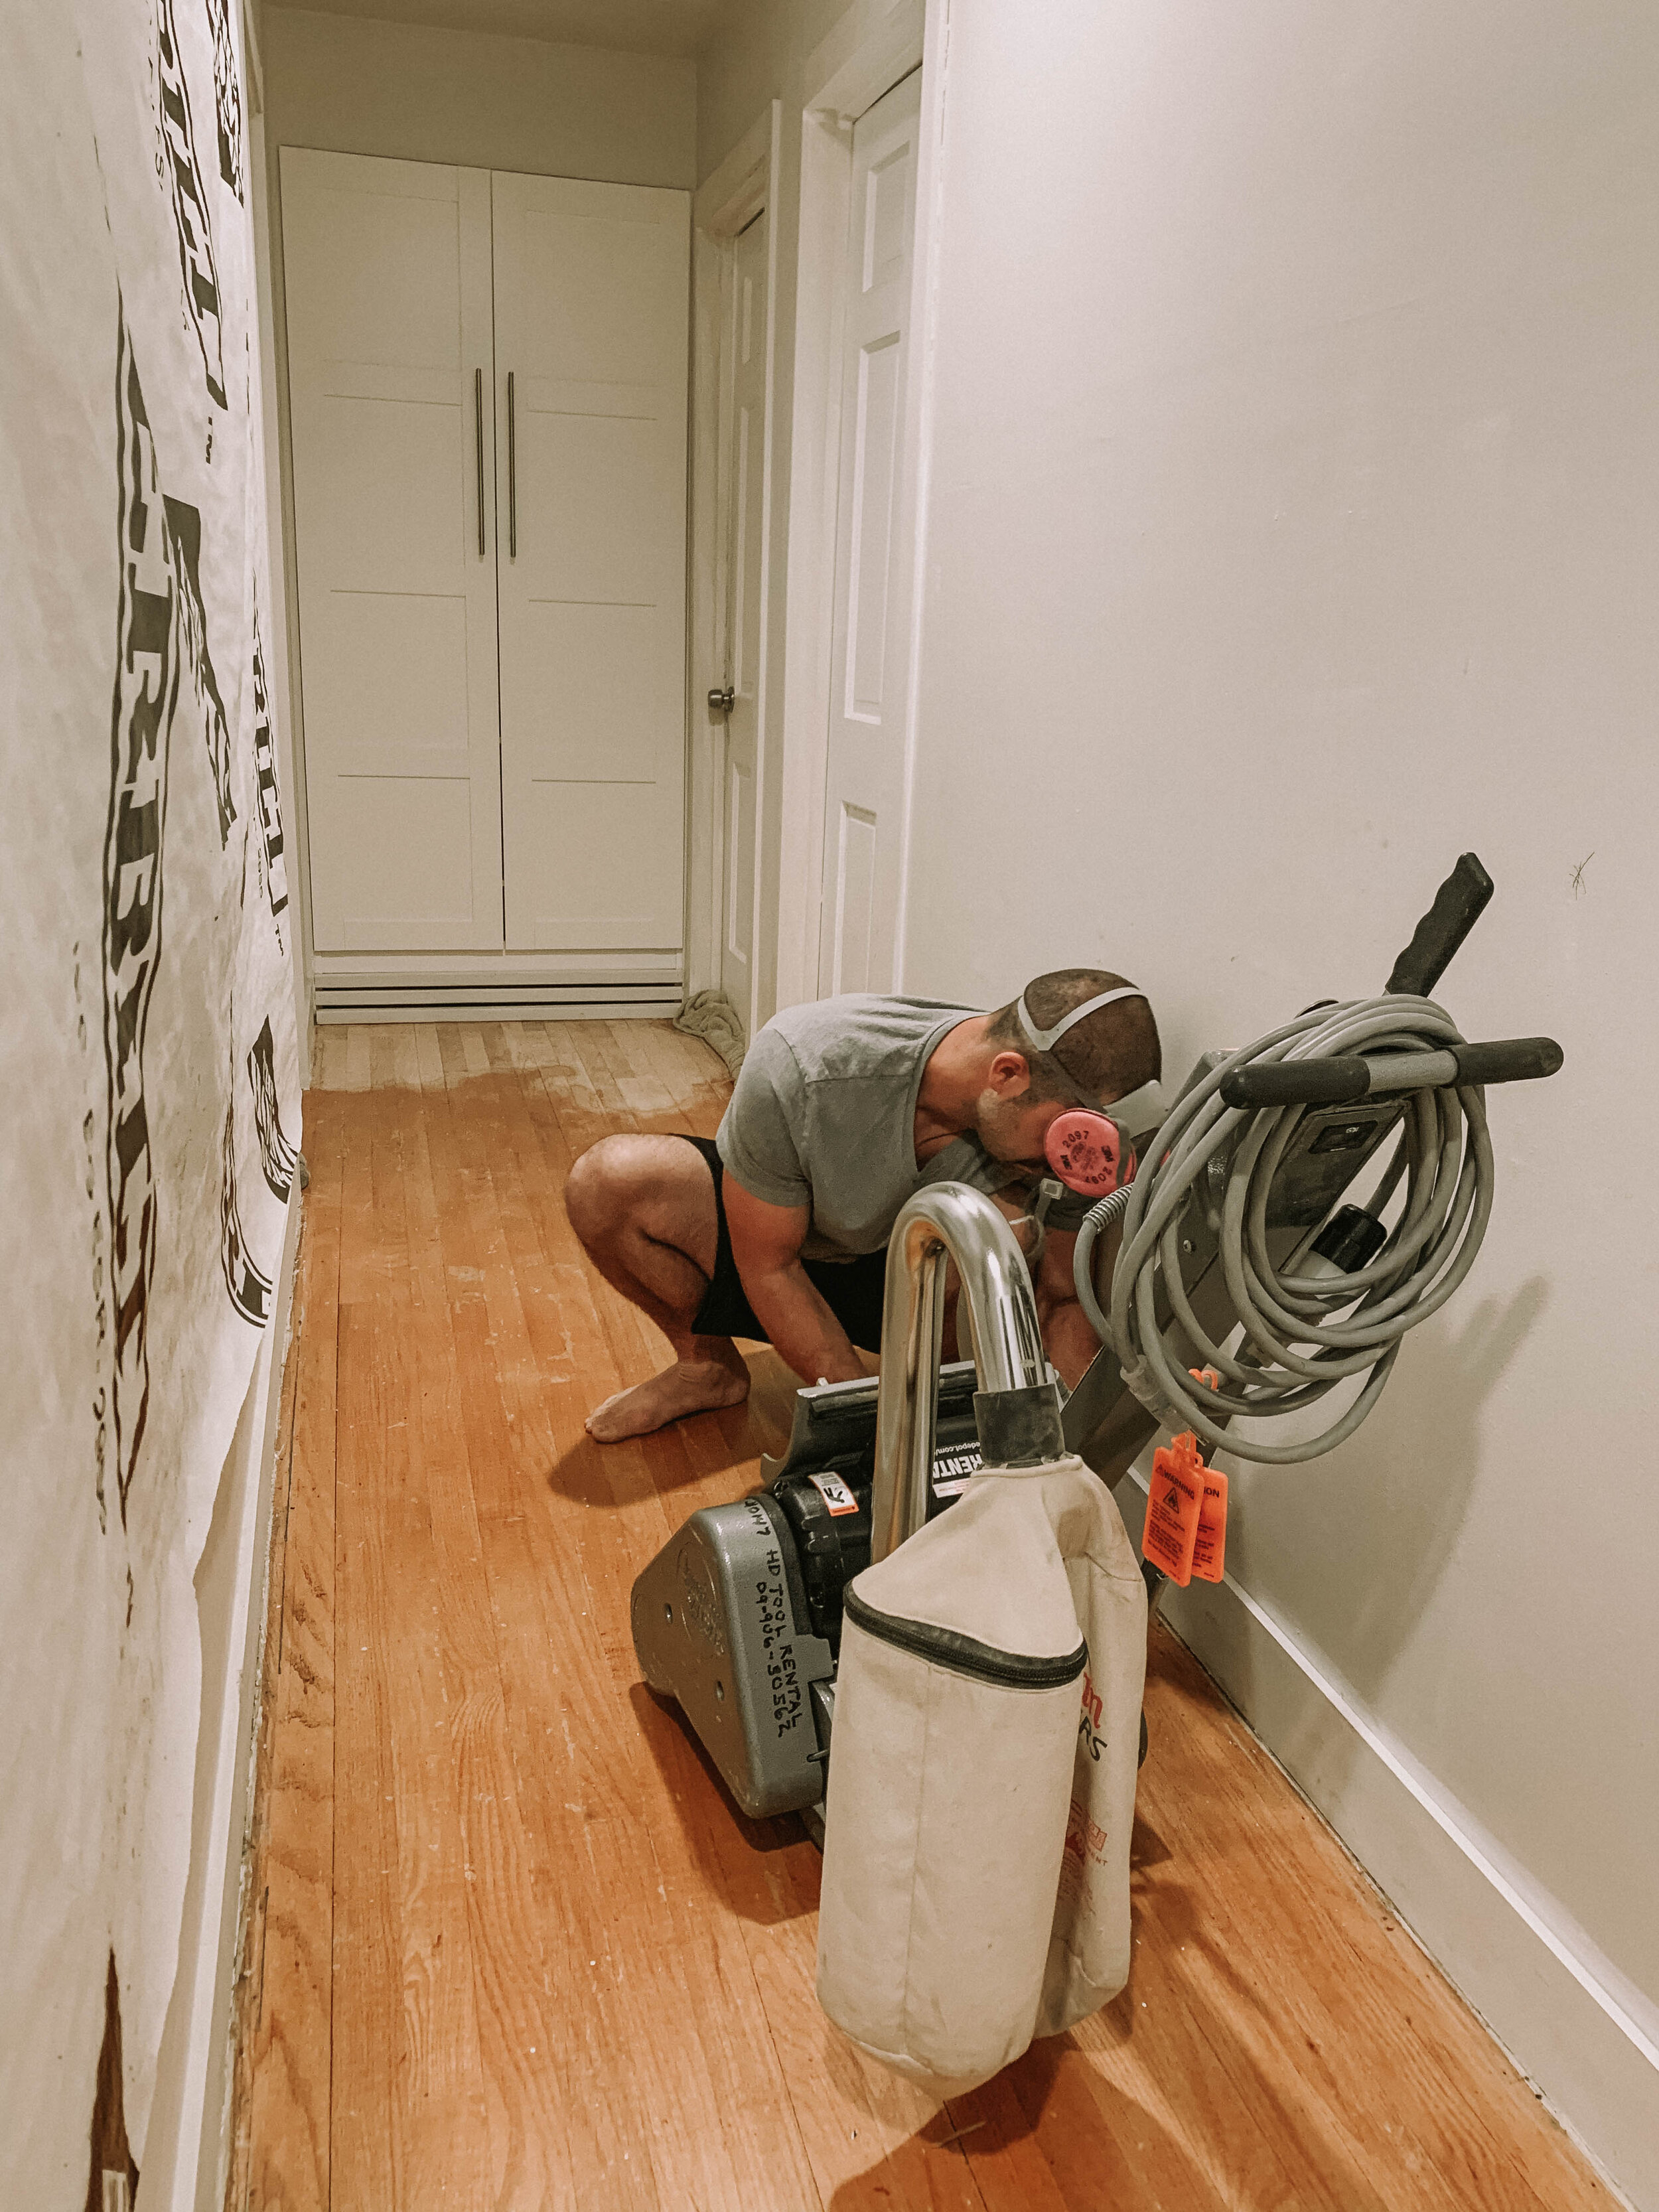
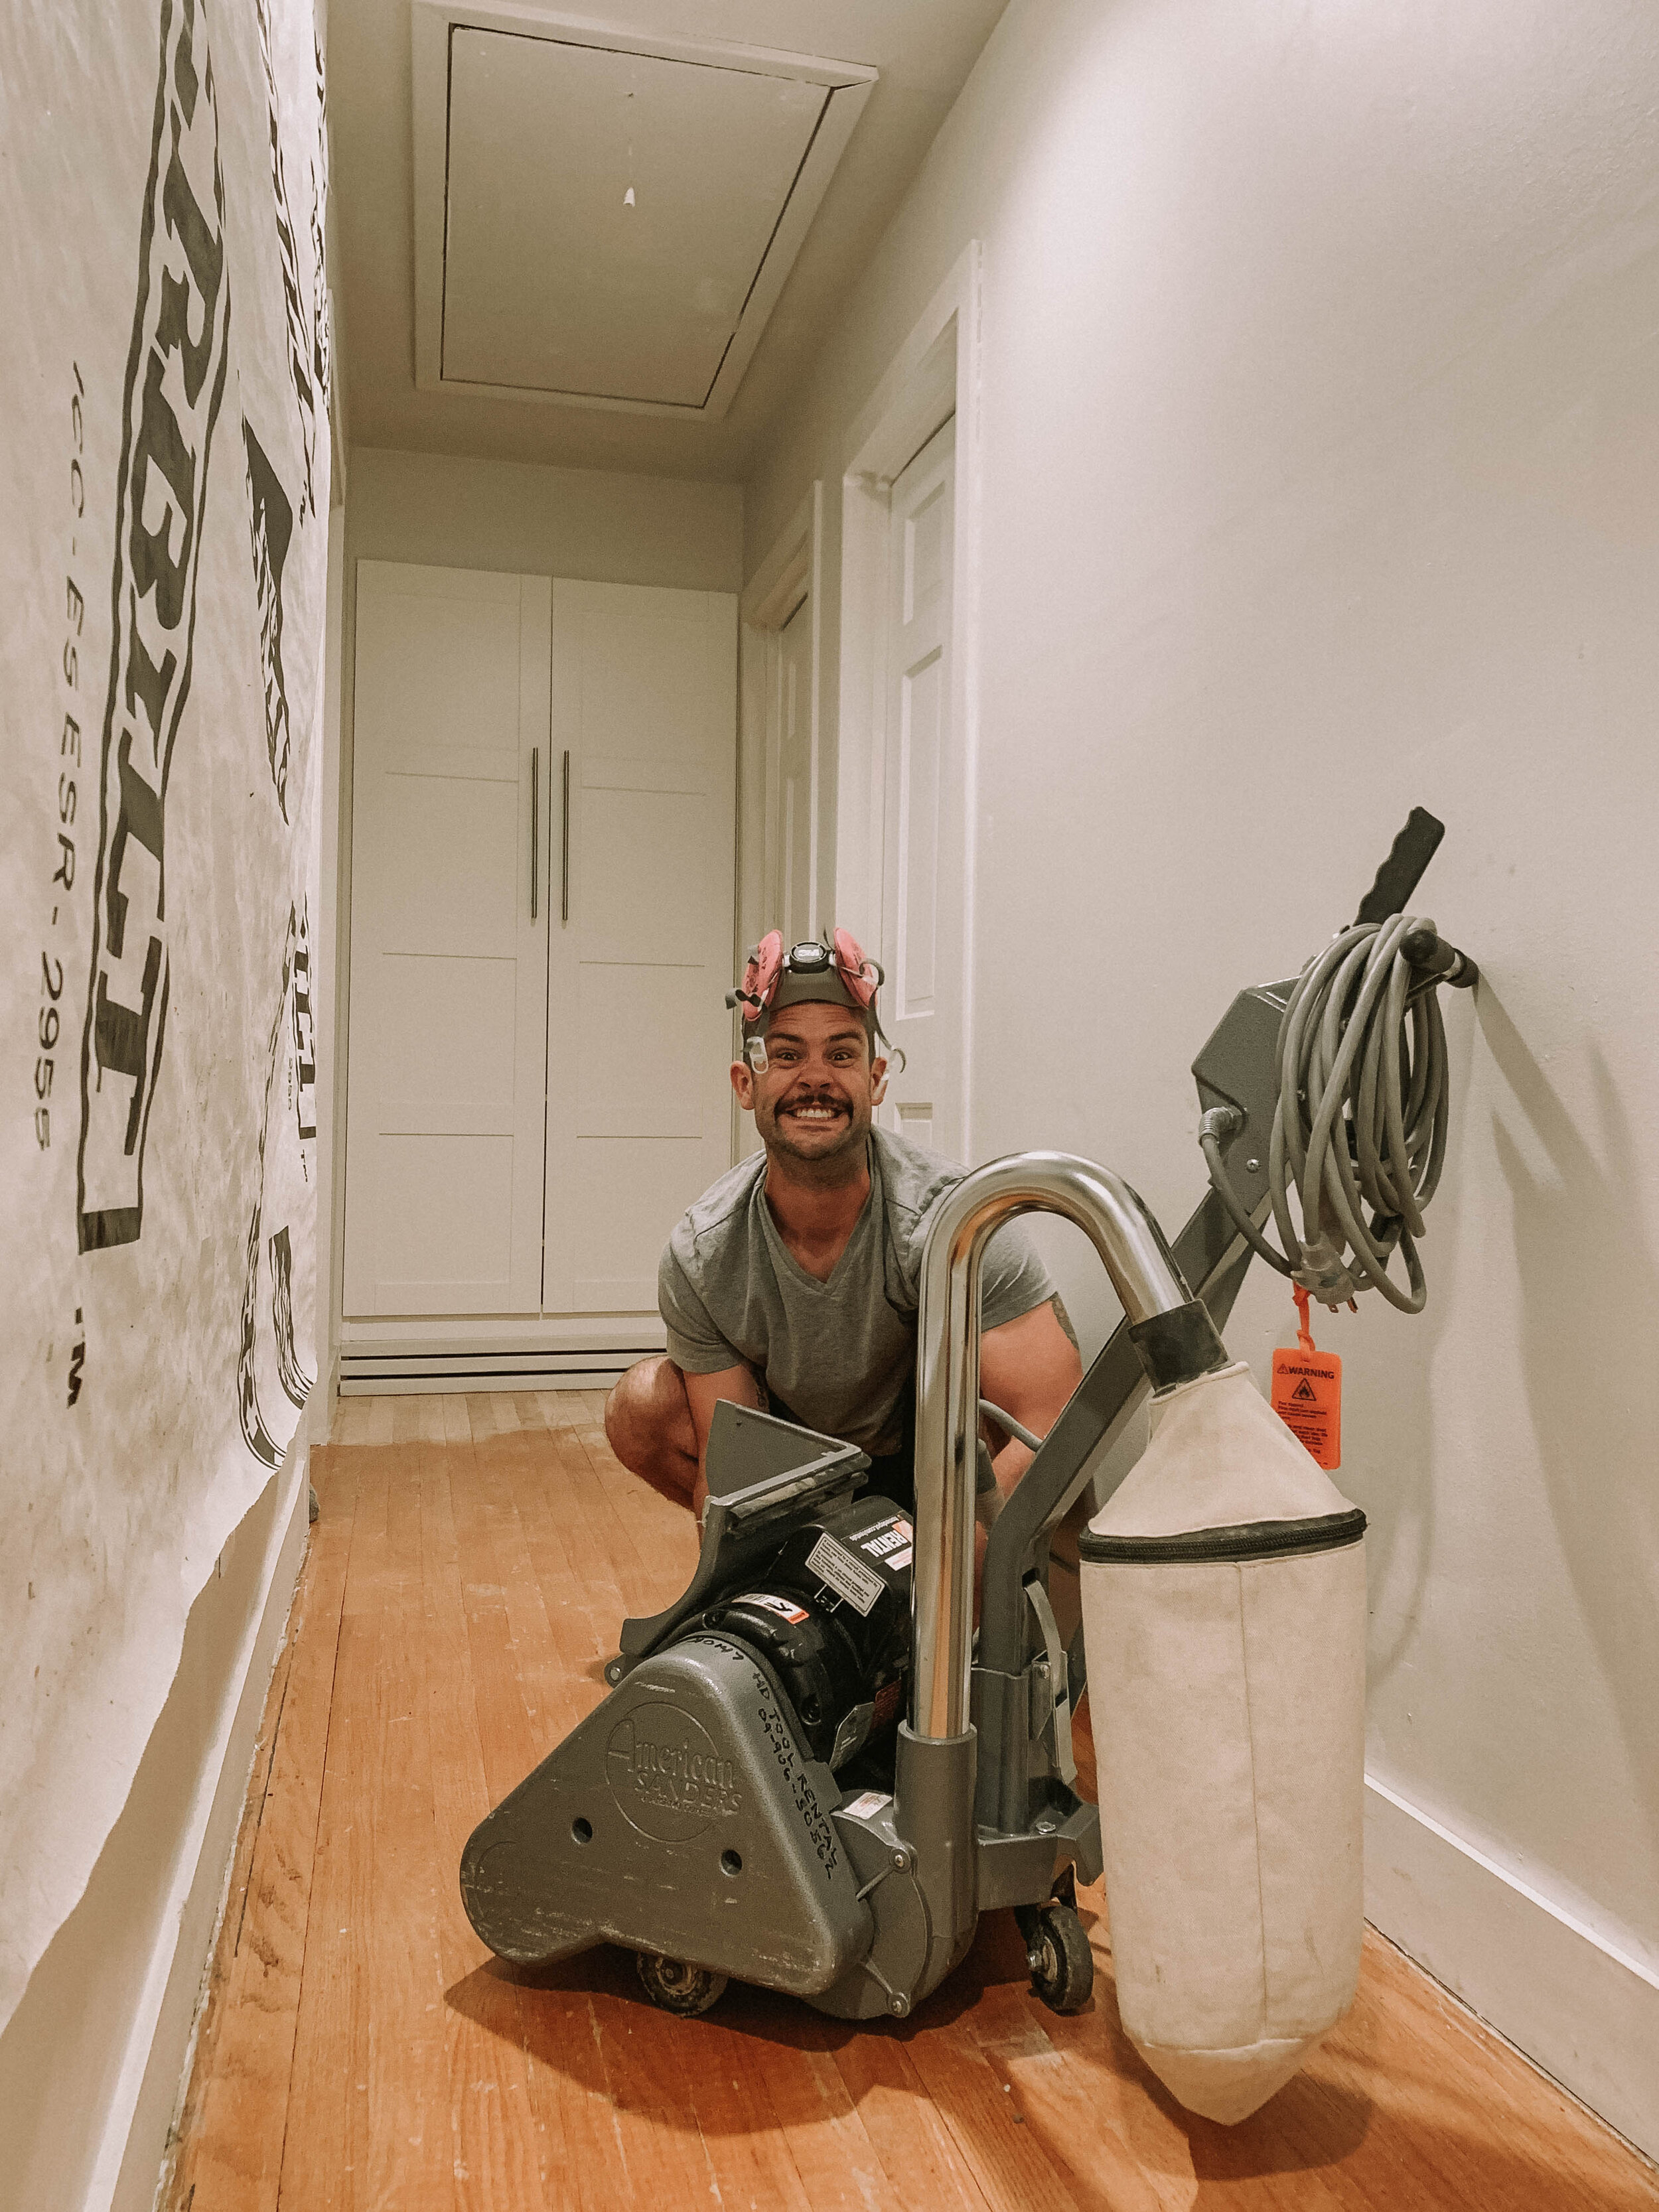
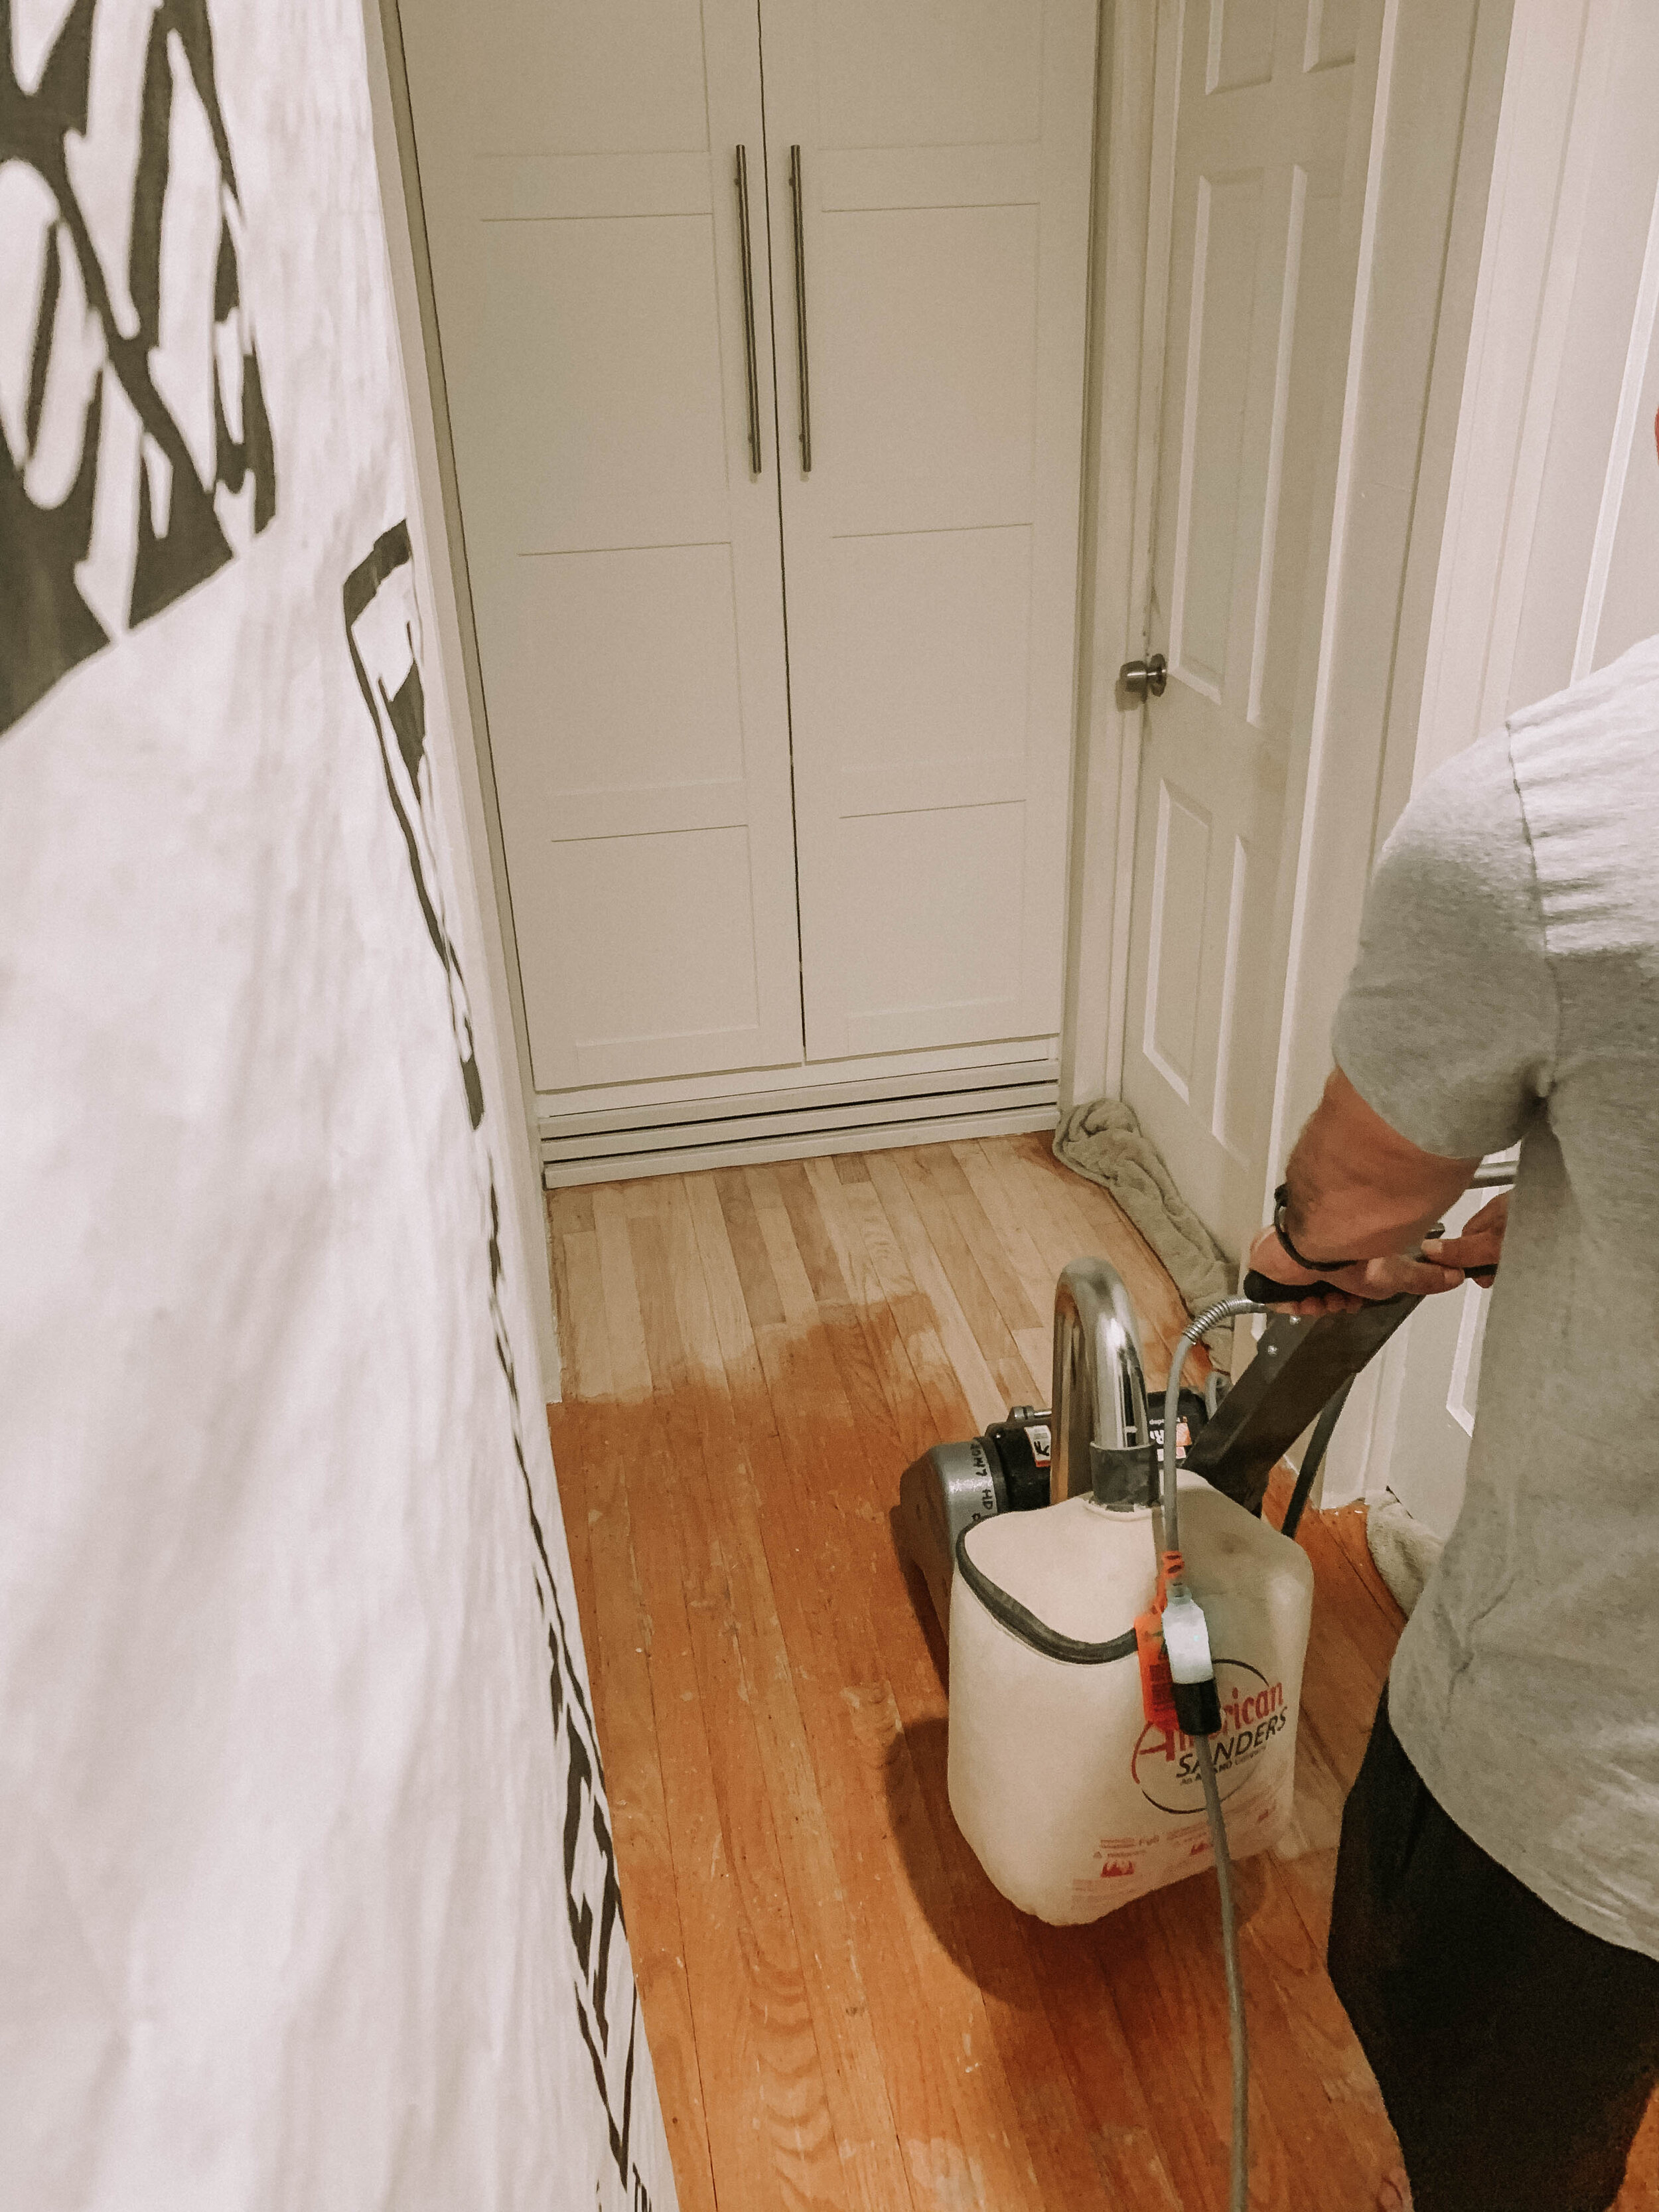
We finished sanding the floors, and if you recall I had big plans to sand this entire hallway by hand with my hand sander. That my friends was a lofty goal that would’ve taken me light years to finish, and I wouldn’t be able to move my wrists ever again. Scot walked in while I was on all fours, observed how miserably, but still optimistic I was, and got in his truck to go rent the industrial sander from Home Depot.
Scot definitely saved the day. That hallway was sanded in 20 minutes with the industrial sander. Well worth the $46 dollars we spent to rent it. Plus we already had some sandpaper leftover from when we sanded down our master bedroom floors in last years One Room Challenge.
Here are a few behind the scenes sanding photos with the industrial sander we rented.
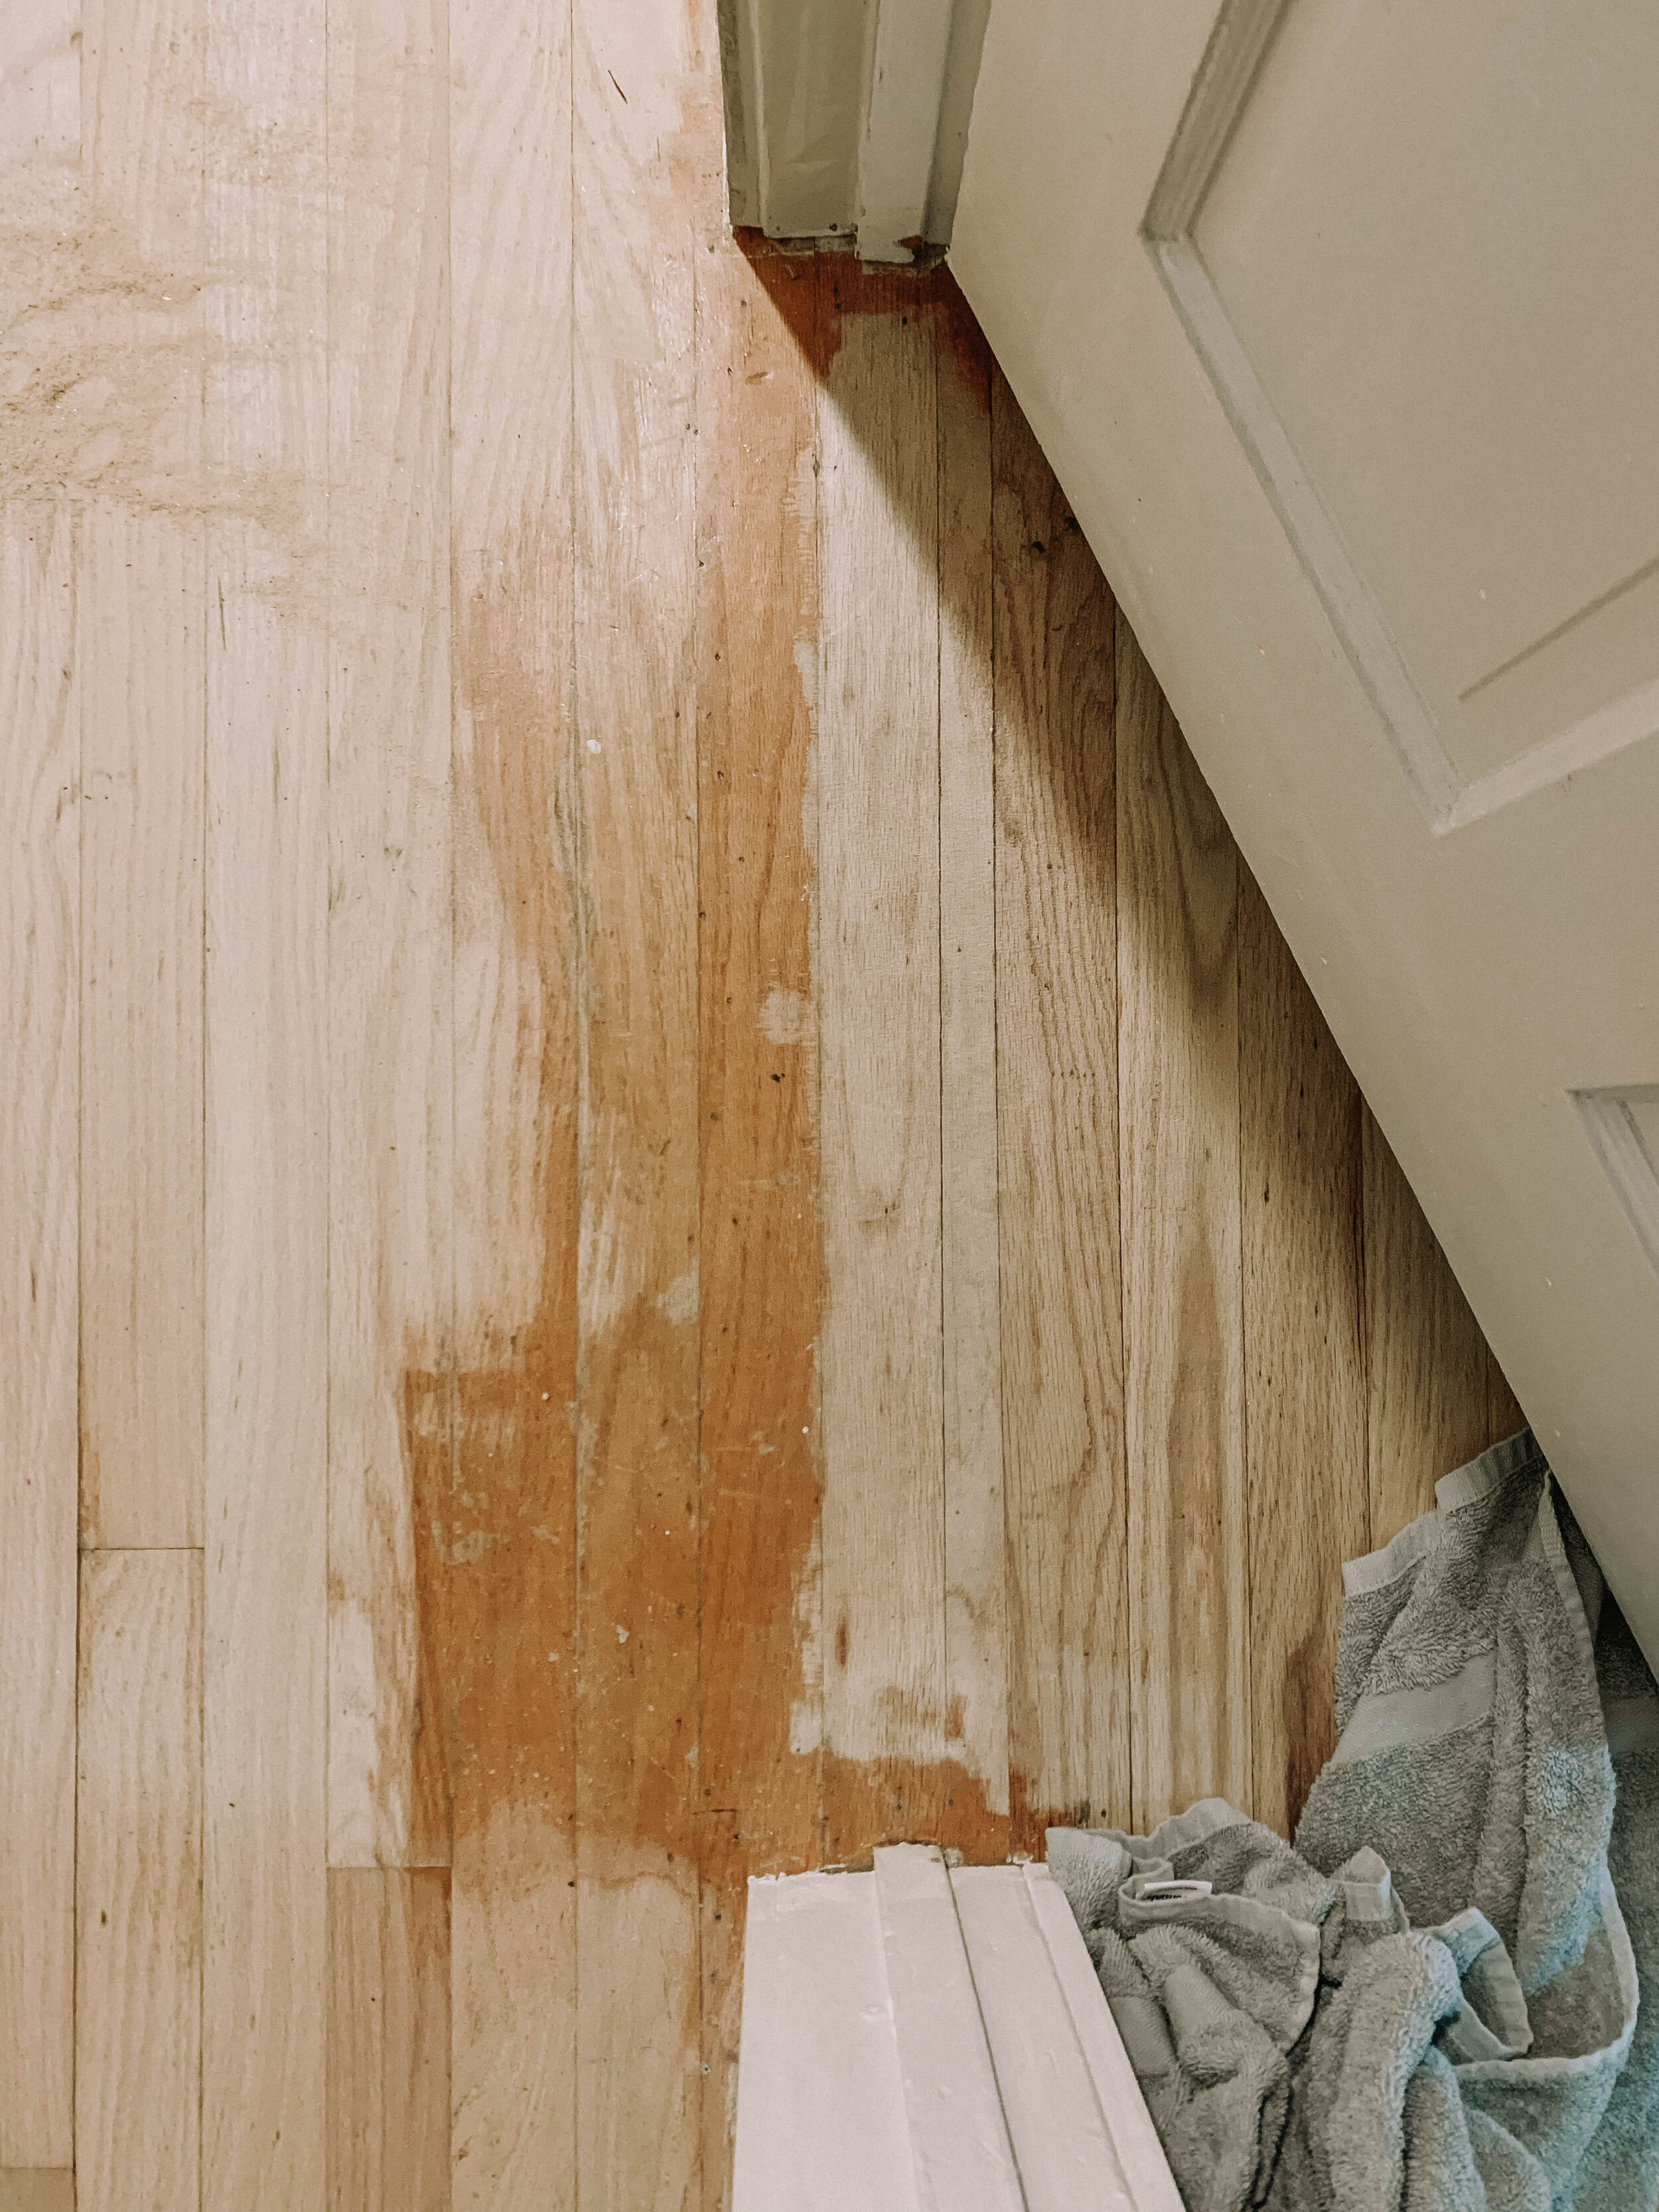
The most exciting thing that has ever happened to our home is getting rid of these horrendous BRIGHT ORANGE hardwood floors. Here’s how they looked once they were sanded down with two coats of poly.


How gorgeous are those floors? They instantly brightened up the entire hallway.
Now that the most tedious part of the hallway was finished, we could move on to adding dimension to the space. We went back and forth on a wall feature for the right wall. It used to have board and batten on it, and it just wasn’t our vibe. However, when removing it, it might quite the impact on the drywall, and not in a good way. It has been an eye sore for almost a year now.
This is just another reason why we love participating in the One Room Challenge, these challenges really get us motivated to make our spaces come to life. It’s just the push we need!
So moving on…wall feature.
We knew we wanted a modern wall feature, something that added texture, but also gave our hallway visual height, because we have pretty low ceilings. We contemplated playing it safe and ripping up strips of MDF and nailing them vertically. Every door molding and trim in our home is MDF, so we knew this would be comfortable for us. However, we weren’t really looking forward to handling MDF and don’t like that it’s a weather permitting material.
What we ended up going with was paneling! Wainscot paneling to be more specific. We also wanted to put a This Minimal House twist on it. Alot of the time you see paneling, but only half wall. We wanted to give as much height to our hallway as possible, so we opted to run the paneling all the way up to the ceiling! Are you guys ready to see this? Here are some process photos.

Scot took some measurements before we started making our cuts to make sure we had enough panels for the hallway.

Prior to nailing we measured the studs using our stud finder and measuring tape and made marks on the paneling. This cut down on the amount of nail holes we were creating in the paneling.

The first panel installed!

Here’s the view from the dining room area.

The tongue and groove feature allowed us to seamlessly install the panels next to eachother and have a smooth, unnoticeable transition.

Proof that I was not only present, but I was also helping. ;)


We added a line of wood glue in between the two panels to ensure they stuck together nicely before nailing.

Here’s a view of the paneling from the opposite direction. I am so obsessed.

One of the hardest/most annoying things about DIY in a smaller home with low ceilings, is the fact that it’s not always easy trying to turn/rotate/install tall items like this paneling. Luckily this time we got away with damaging the ceiling, which NEVER happens! Ha!

There are two doors on this paneled wall, so we had to measure and make the proper cuts to make sure the paneling fit around them!


Here’s a view of all the paneling fully installed in the hallway!

And that does it for week two of our One Room Challenge! What do you guys think so far? HUGE impact, right?! I can’t wait to show you what we’re going to do with it!
For now let’s go over the game plan for week three!
Decide on the finish of the paneling
Install baseboards and trim
Do one more coat of poly on the floors
Add feature to ceiling
Remove 1963 light above basement stairs
Finish sanding stair treads
Railing
Wood feature at bottom of stairs
Install more can lights
Make sure you stop by the One Room Challenge blog to check out what everyone else is up to! So much inspiration in one spot for your future spaces!
Thanks for stopping by and checking out our week two! Are you guys following along with us on Instagram? We’ve already done some sneak peeks of a few things on our to-do list above! (like the stair treads and hanging the artwork!) Click the button below to come hang out with us over there!
We’re also hitting some pretty impressive numbers on our Pinterest, and we’d love for you guys to stop by and see what projects were pinning/what’s inspiring us!
Want to check out more blog posts? Before you do make sure you sign up for our newsletter if you haven’t yet! NO SPAM, just blog posts directly to your email!