How to create an accent wall with beadboard

Hey guys! Yesterday on our Instagram I shared behind the scenes of adding this beadboard in between our photo ledges. Make sure you head over there and check it out! It is saved under our “DIY” highlight. ALSO in case you missed it, make sure you follow along because we’re giving away a TIKI brand firepit when we hit 10K followers on Instagram! After adding beadboard in our hallway I was hooked. Luckily we had some leftover, so it worked out perfectly. The hallway beadboard is vertical, and the beadboard for the photo ledges is horizontal. I opted for horizontal to give the ledges visual length.
This project took all of 15 minutes to complete, and ended up being completely free using items we already had on hand. However, if you did the DIY project, depending on where you were putting it, it would be relatively inexpensive! Let’s get started shall we?!
Here are a list of materials you’ll need for this project.
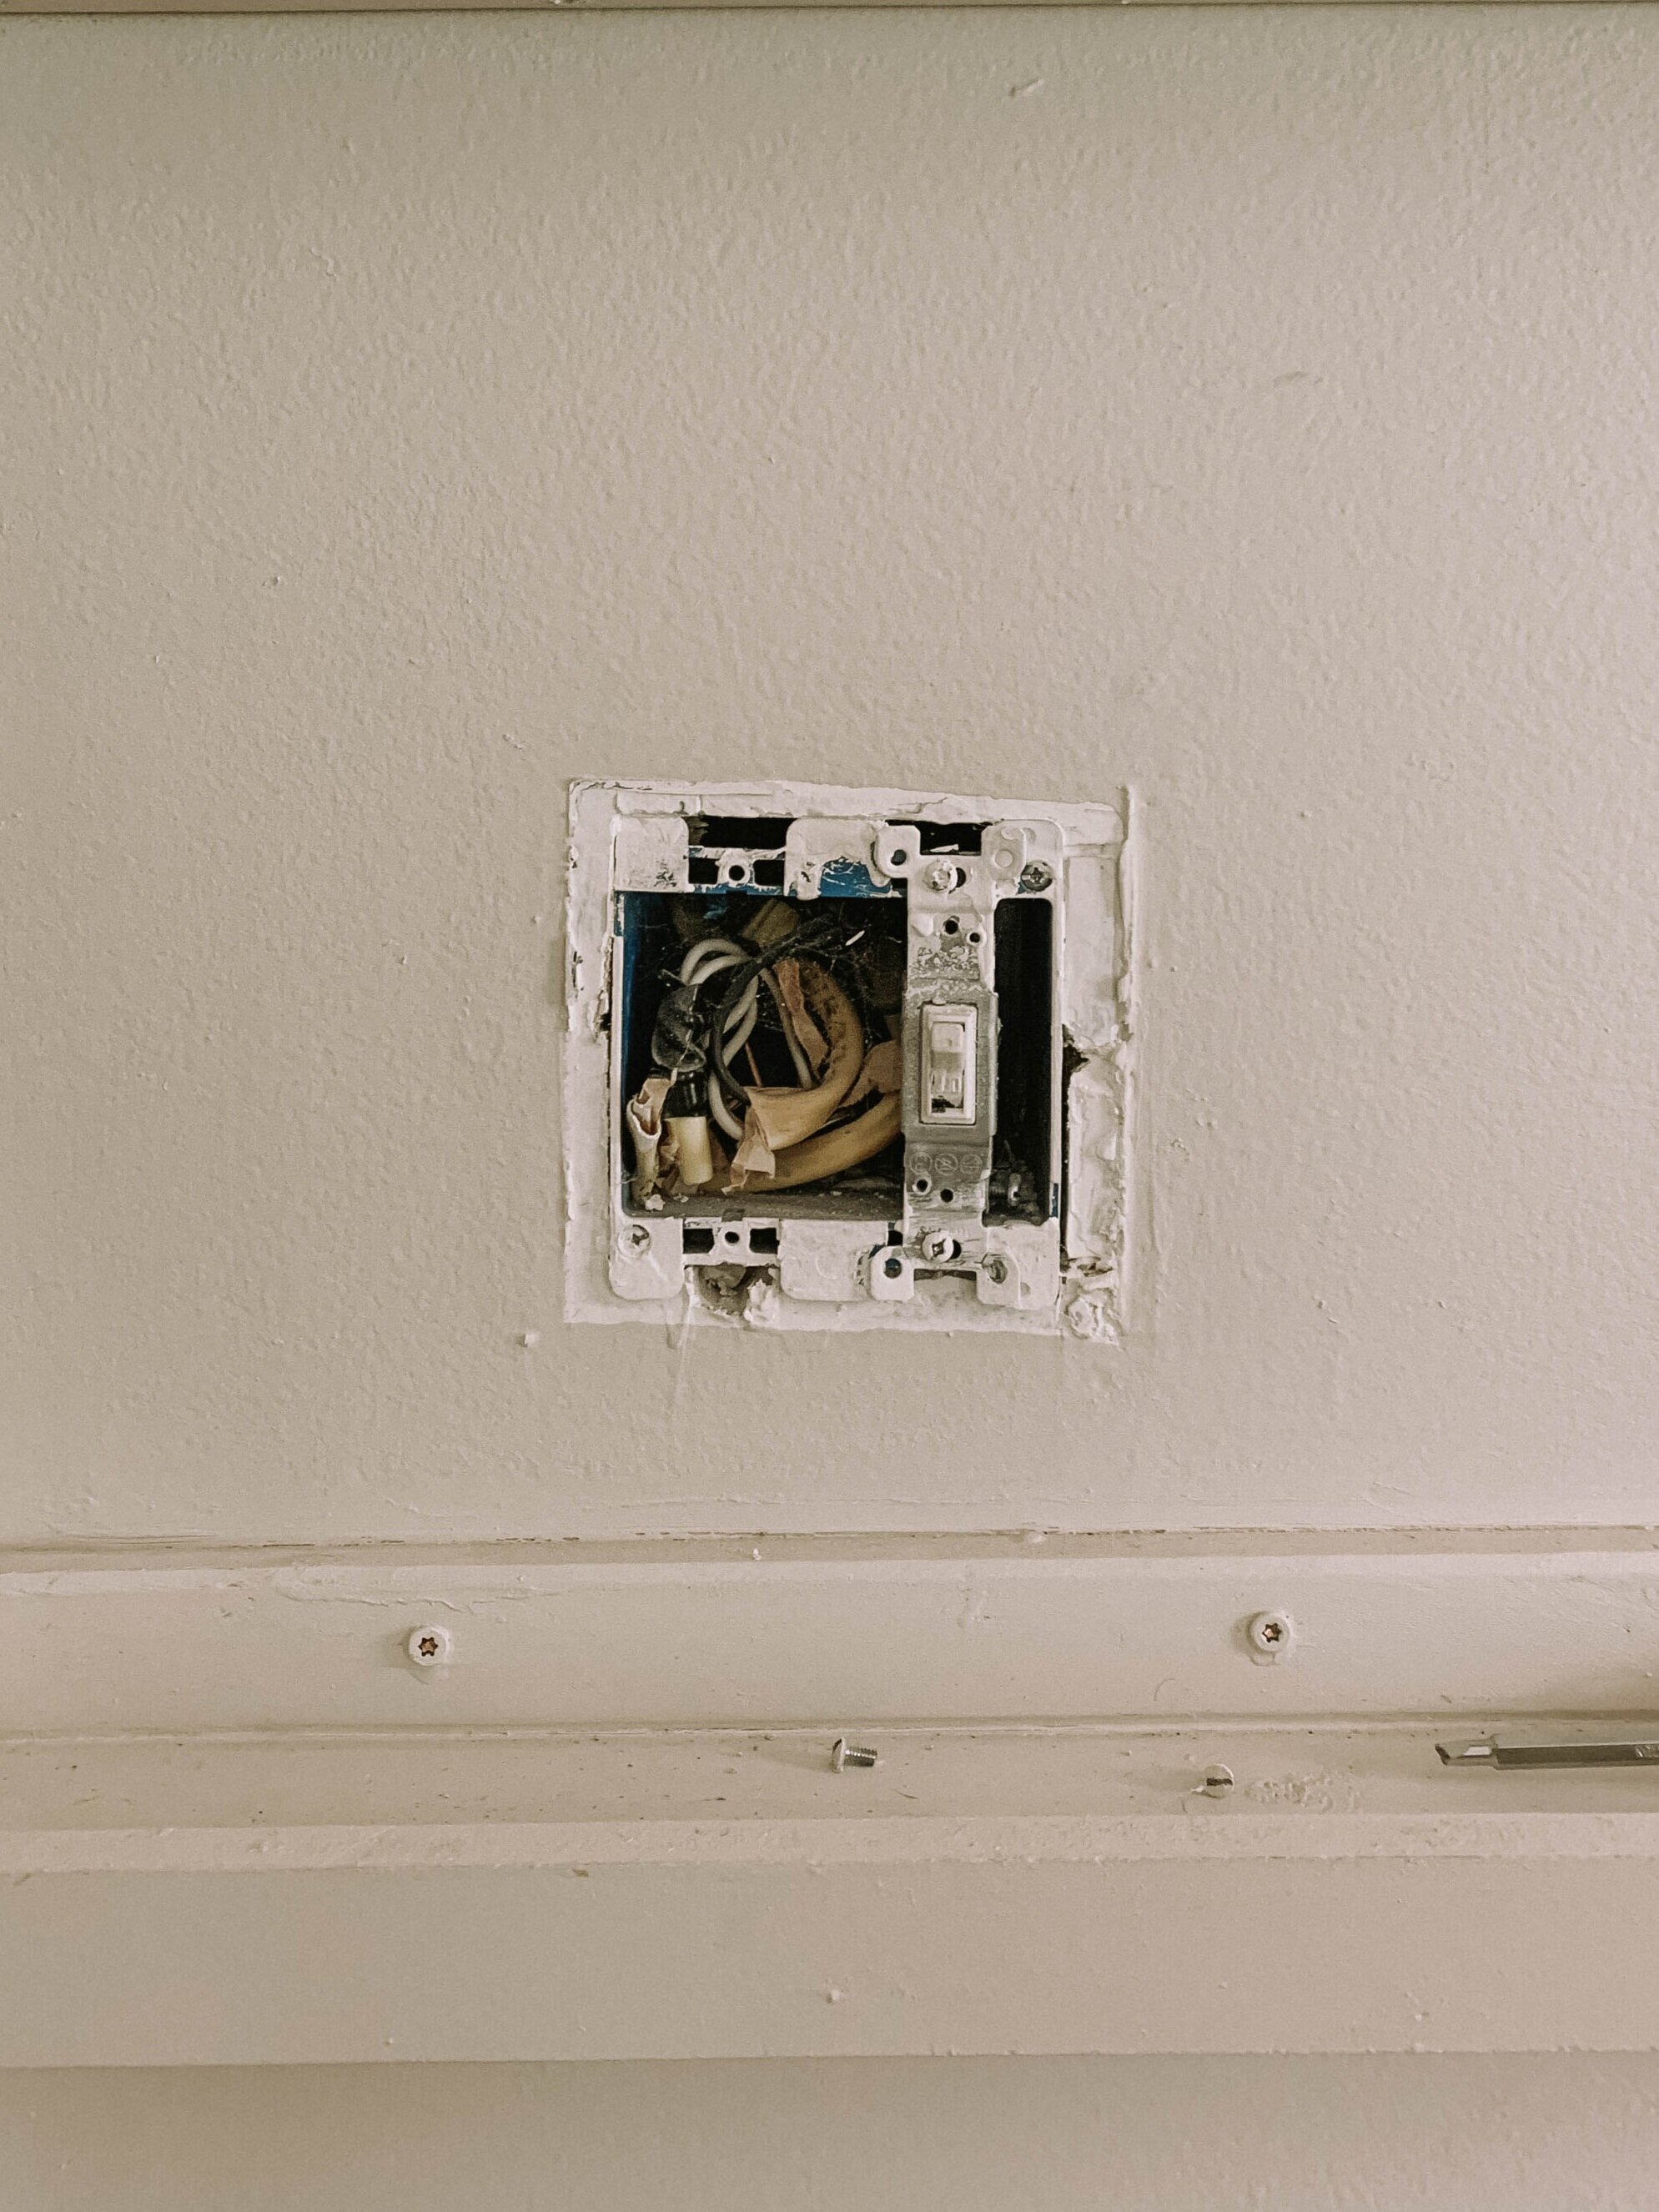
You’ll take a measurement from the left and from the top of where you’re placing your beadboard. After each measurement I added a little mark with a pen. These marks will be where I will use my 1/2 in drill bit to mark the corners.

Take your drill and drill bit and drill on the pen marks.


After I drilled the corners out, I took a pen and traced the outside of the outlet cover so that when I made the cut it wasn’t too big.

This cut would’ve been much more accurate with a jigsaw, however since ours broke I used a sawzall. So the cut wasn’t as clean, but you won’t see it behind the outlet cover so it’s not that big of a deal!

Here’s how the beadboard looked once it was nailed to the wall.


Since this piece of scrap beadboard was a little short, I opted to move the bottom ledge up to sit flush with the beadboard. However, what I noticed was that a few of the existing screws weren’t in a stud. When a screw isn’t in a stud it will just spin and not come out.
Here’s a tip! If you have a screw that’s not in a stud, grab a crow bar and place behind the screw as you’re removing with your drill. This will allow pressure to push the screw out.


Next I grabbed my caulk and caulk gun and filled the gaps around the perimeter of the beadboard.
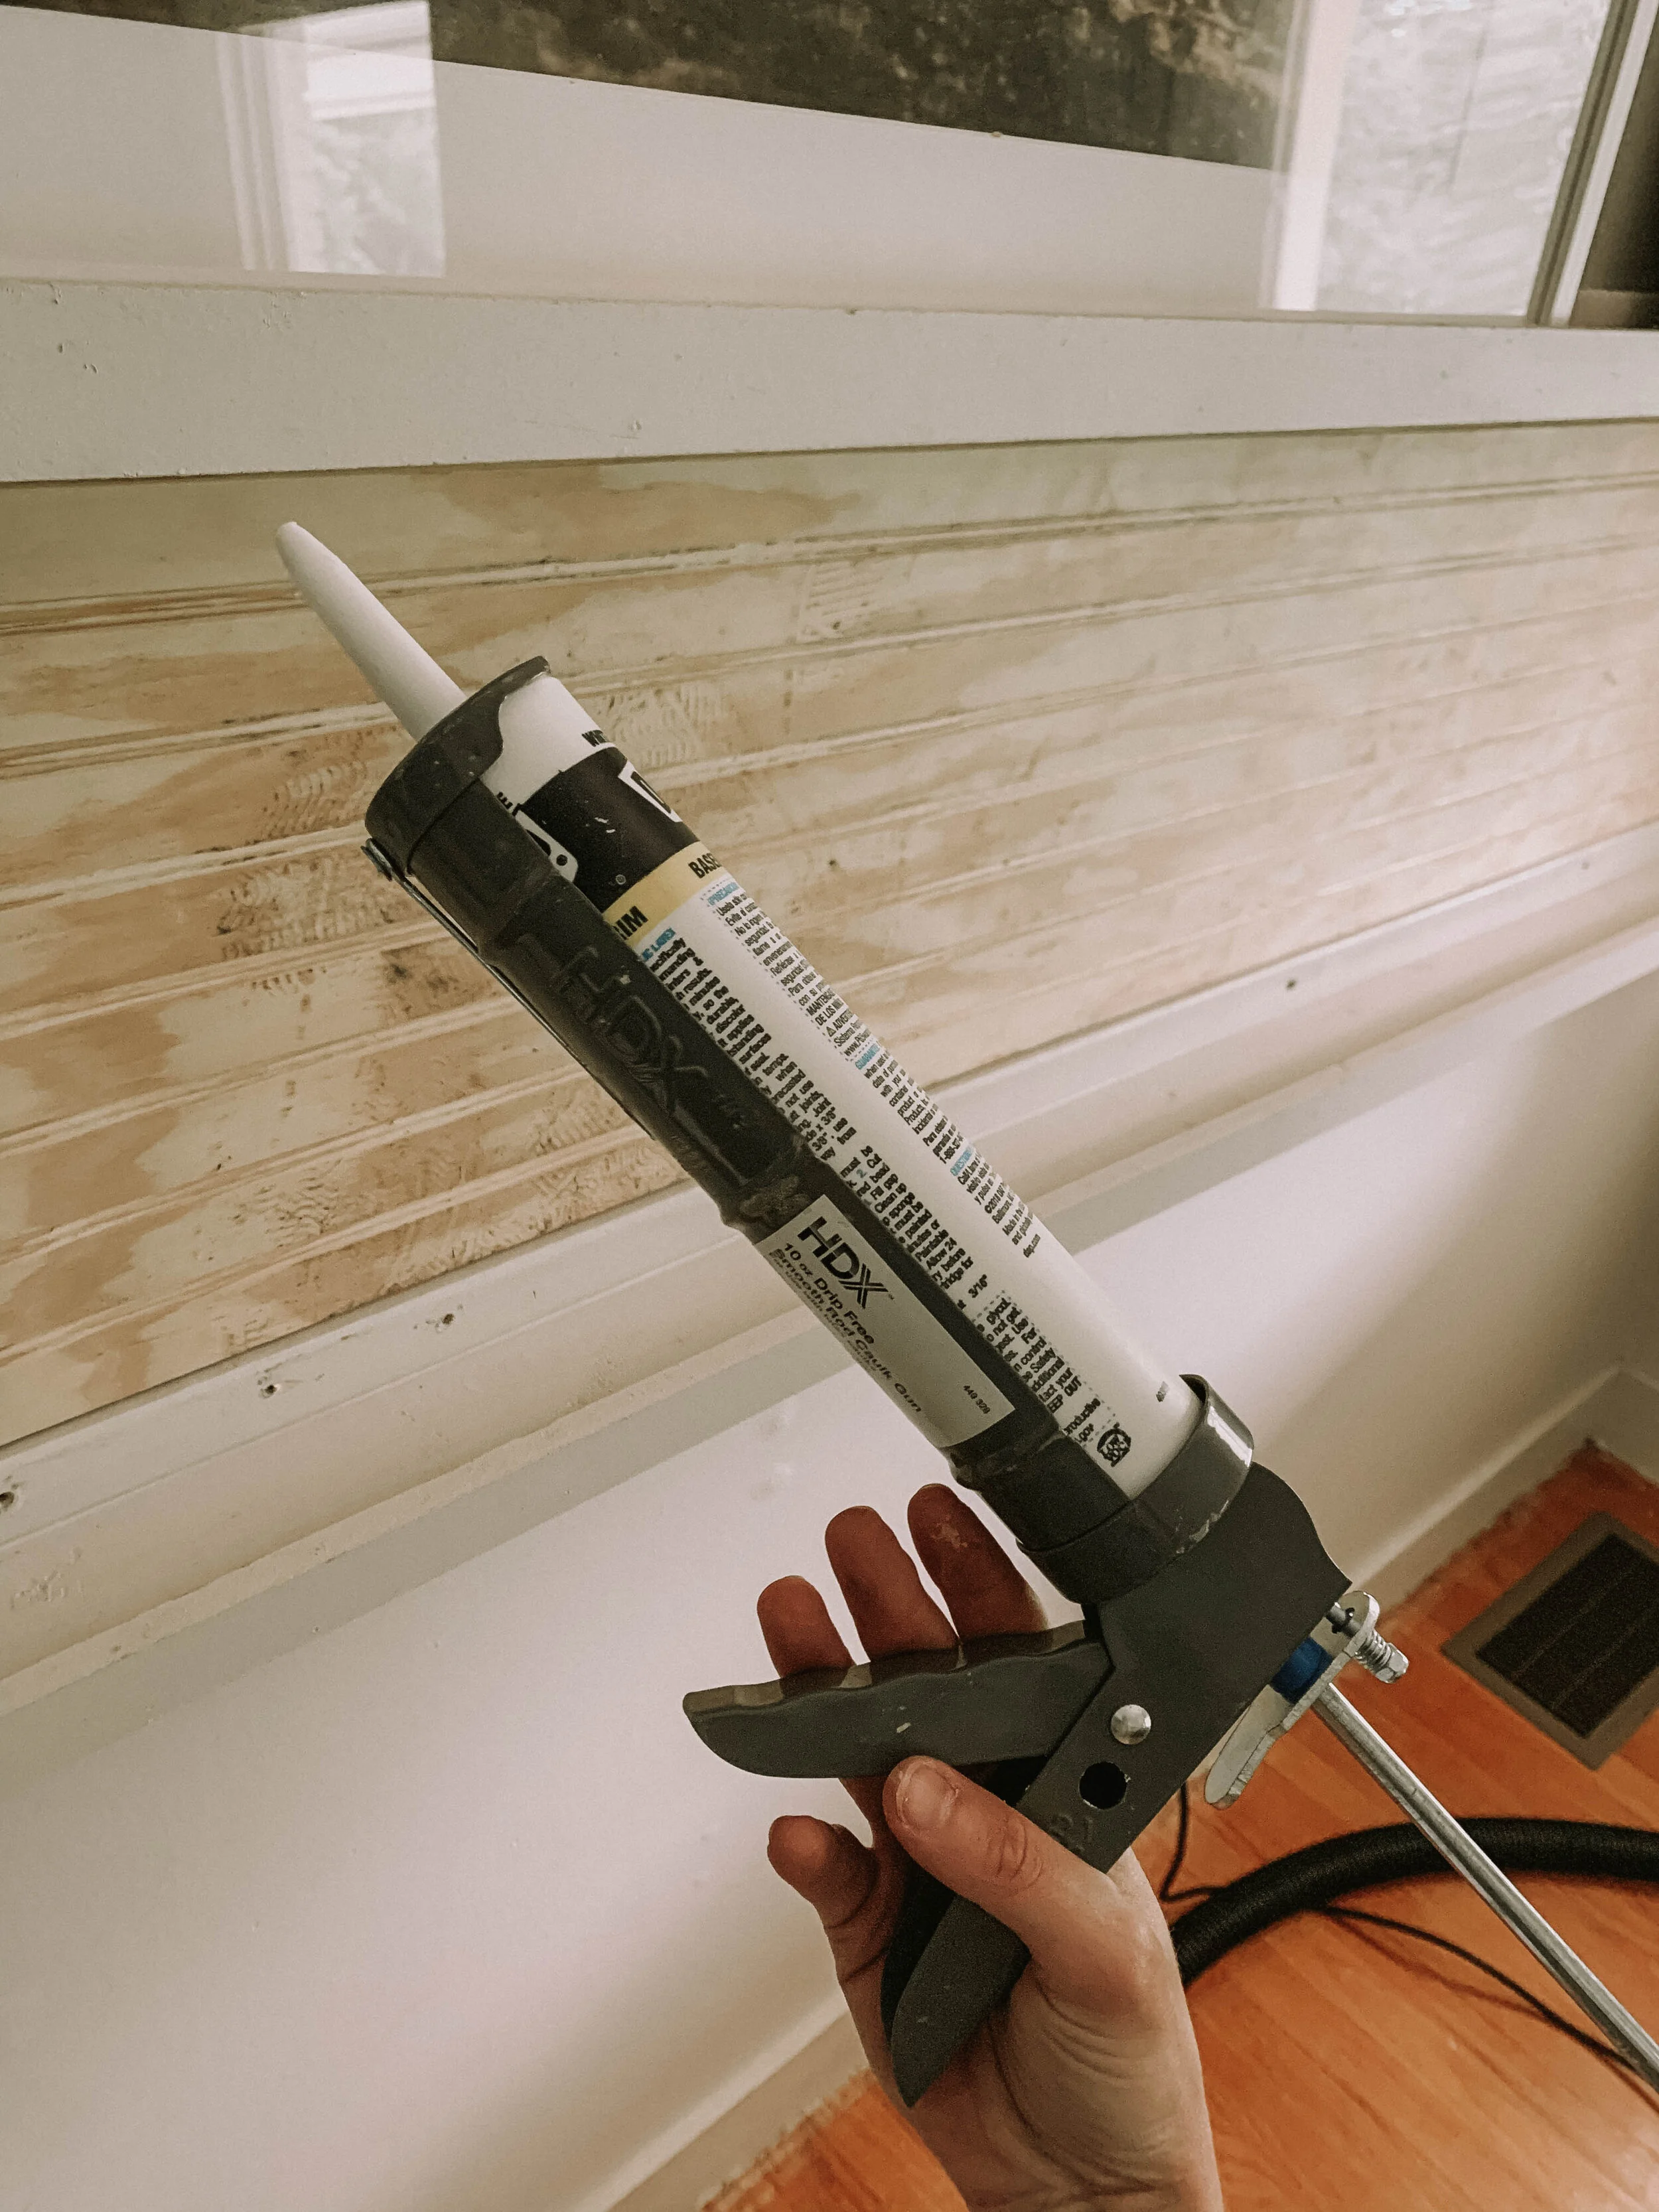
Last but not least I grabbed my paintbrush and gave the beadboard two coats of paint.

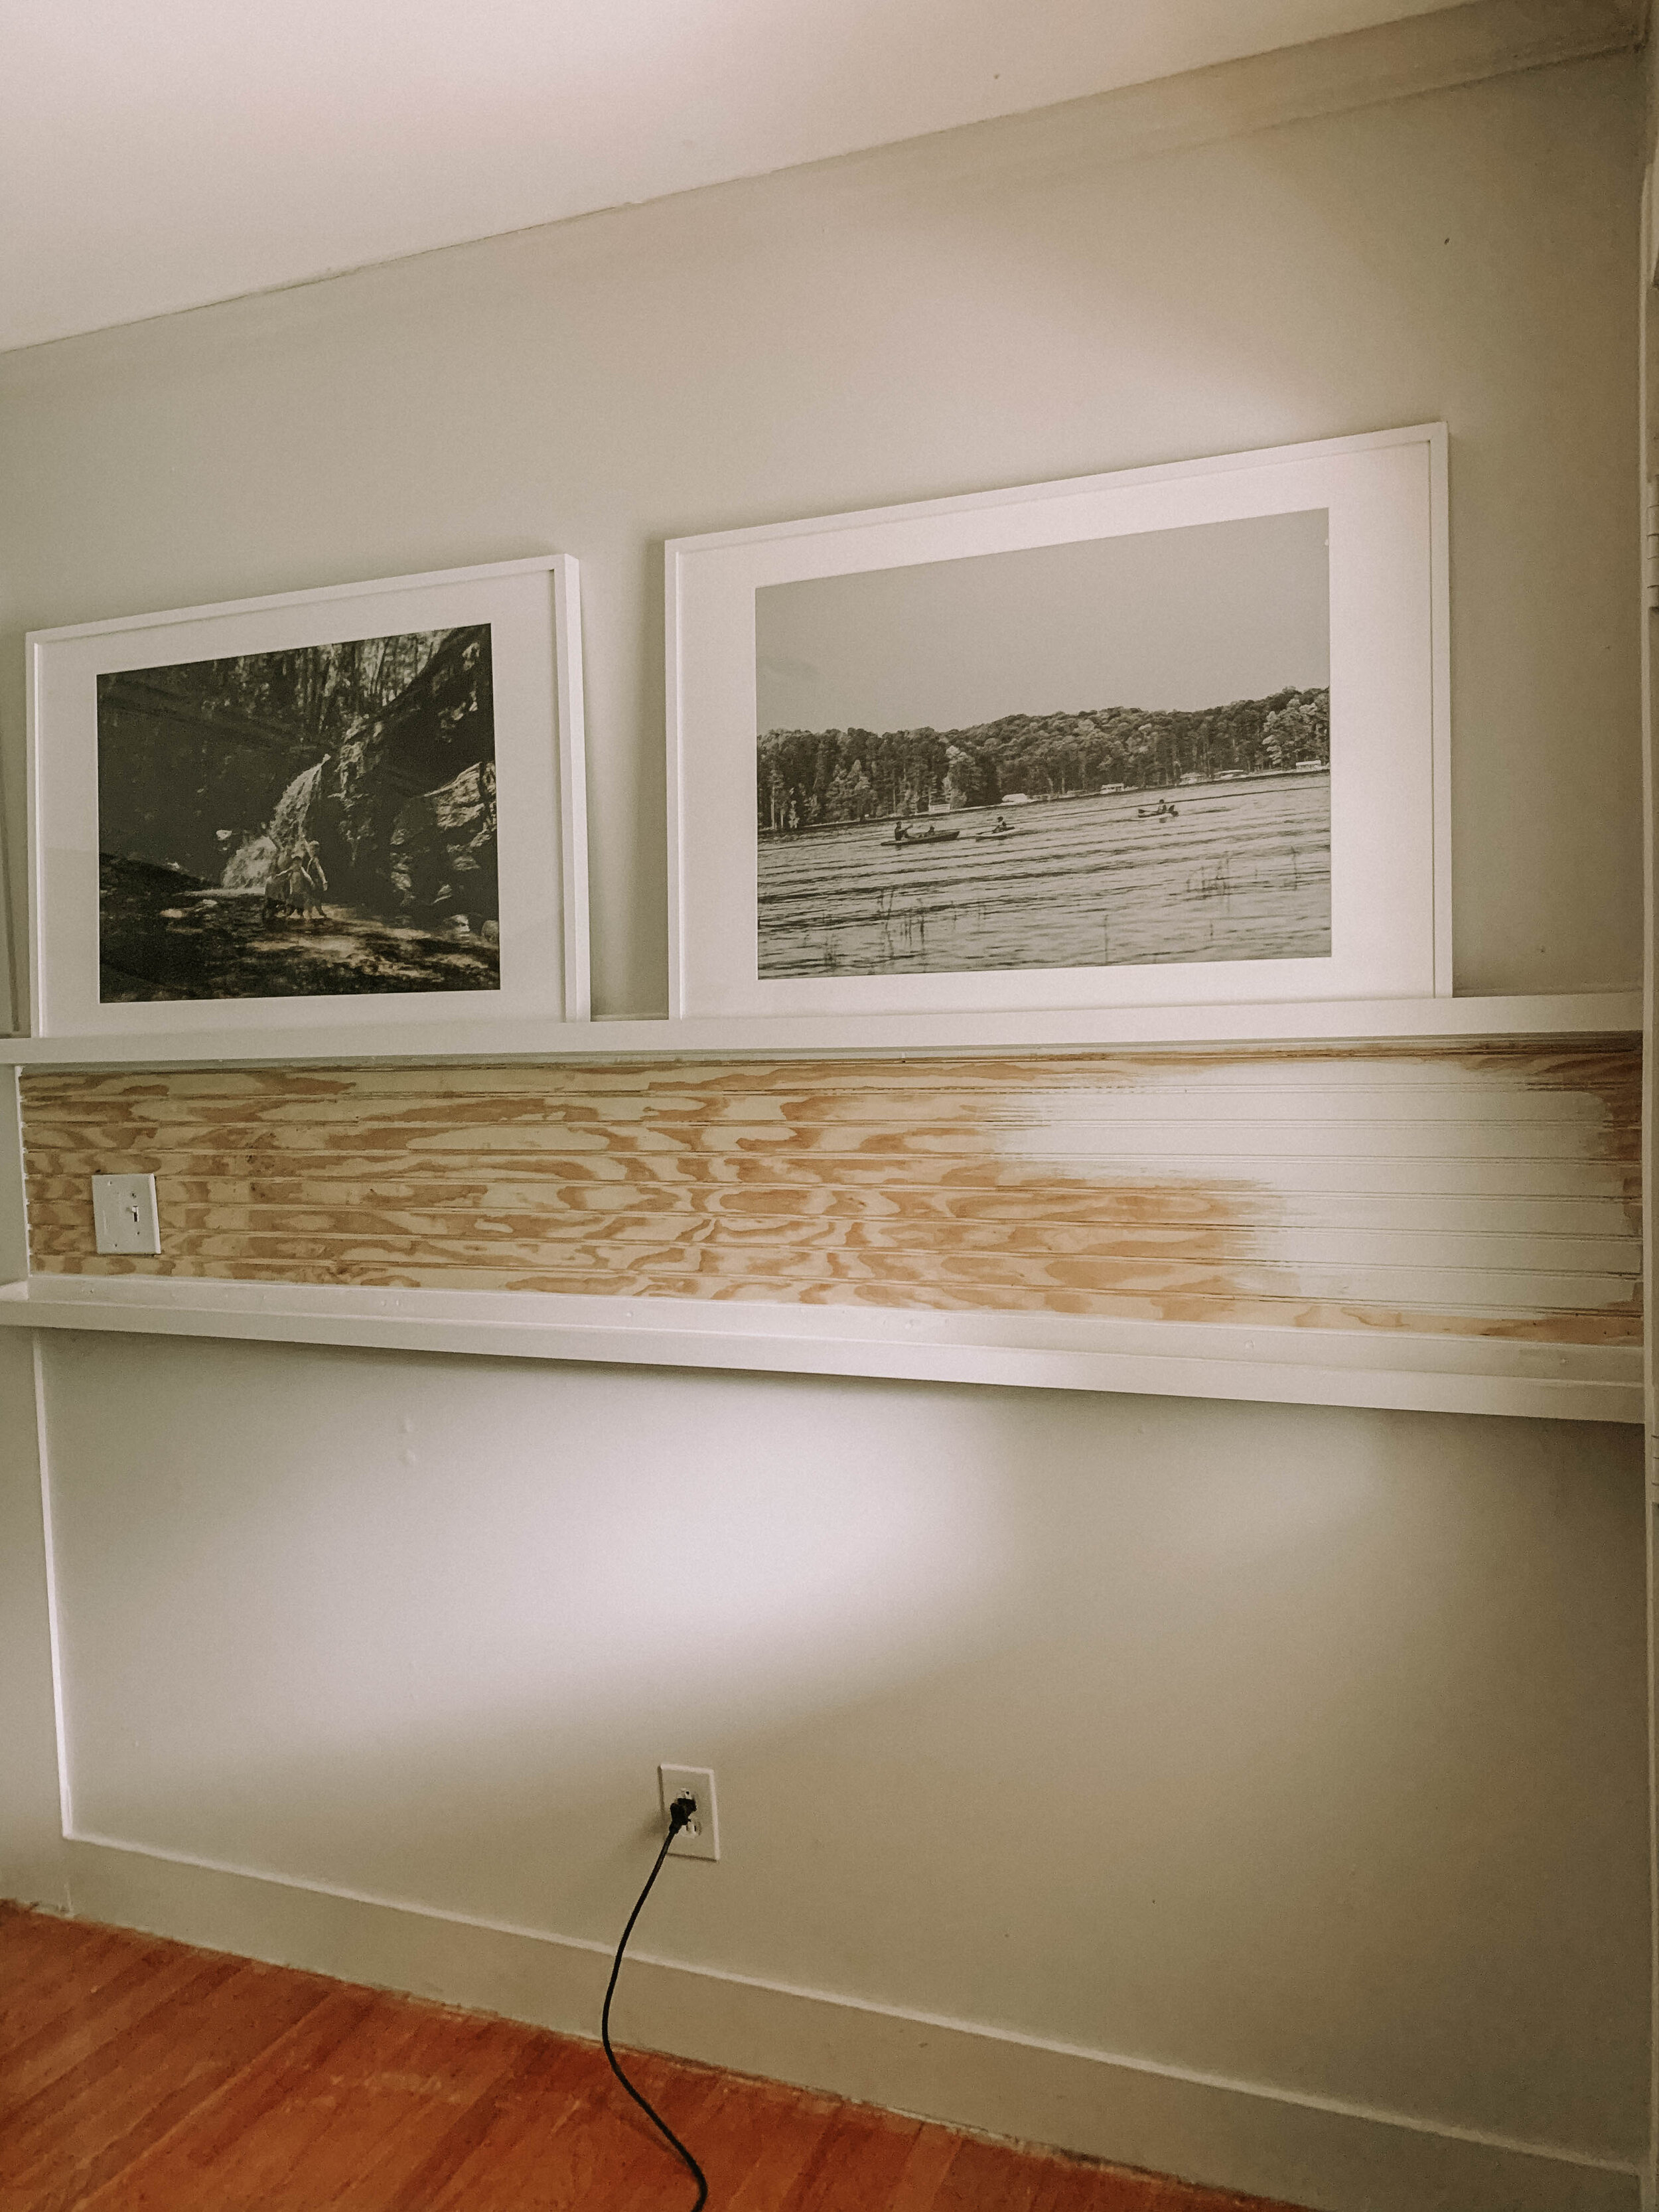

Here’s the final reveal!

I’m currently shopping for some cohesive frames. I’ve been eyeballing some of my favorites from Custom Picture Frames. I’m thinking 6 smaller frames spanning the bottom photo ledge would be perfect. I love how this beadboard fits effortlessly into the new hallway. I’m excited to be continue sanding the floors so that I can document a floor to ceiling corner shot of this space. However, I’m still bitter at these bright orange floors! :)
Thanks so much for stopping by and seeing just how easy it is to add texture to your space/home with beadboard. An inexpensive upgrade for any project. Let us know if you try this DIY project out! Also don’t forget to follow along on Instagram. Click the button below to follow!
Speaking of social media? We love Pinterest! Do you follow us over there? We share our DIY projects and what’s currently inspiring us! We would love for you to hop over there and give us a follow! Click the button below to follow!
Here are a few pins you can pin if you want to save this project for later! We would love for you to pin them to your boards!!