DIY swing picnic table final reveal
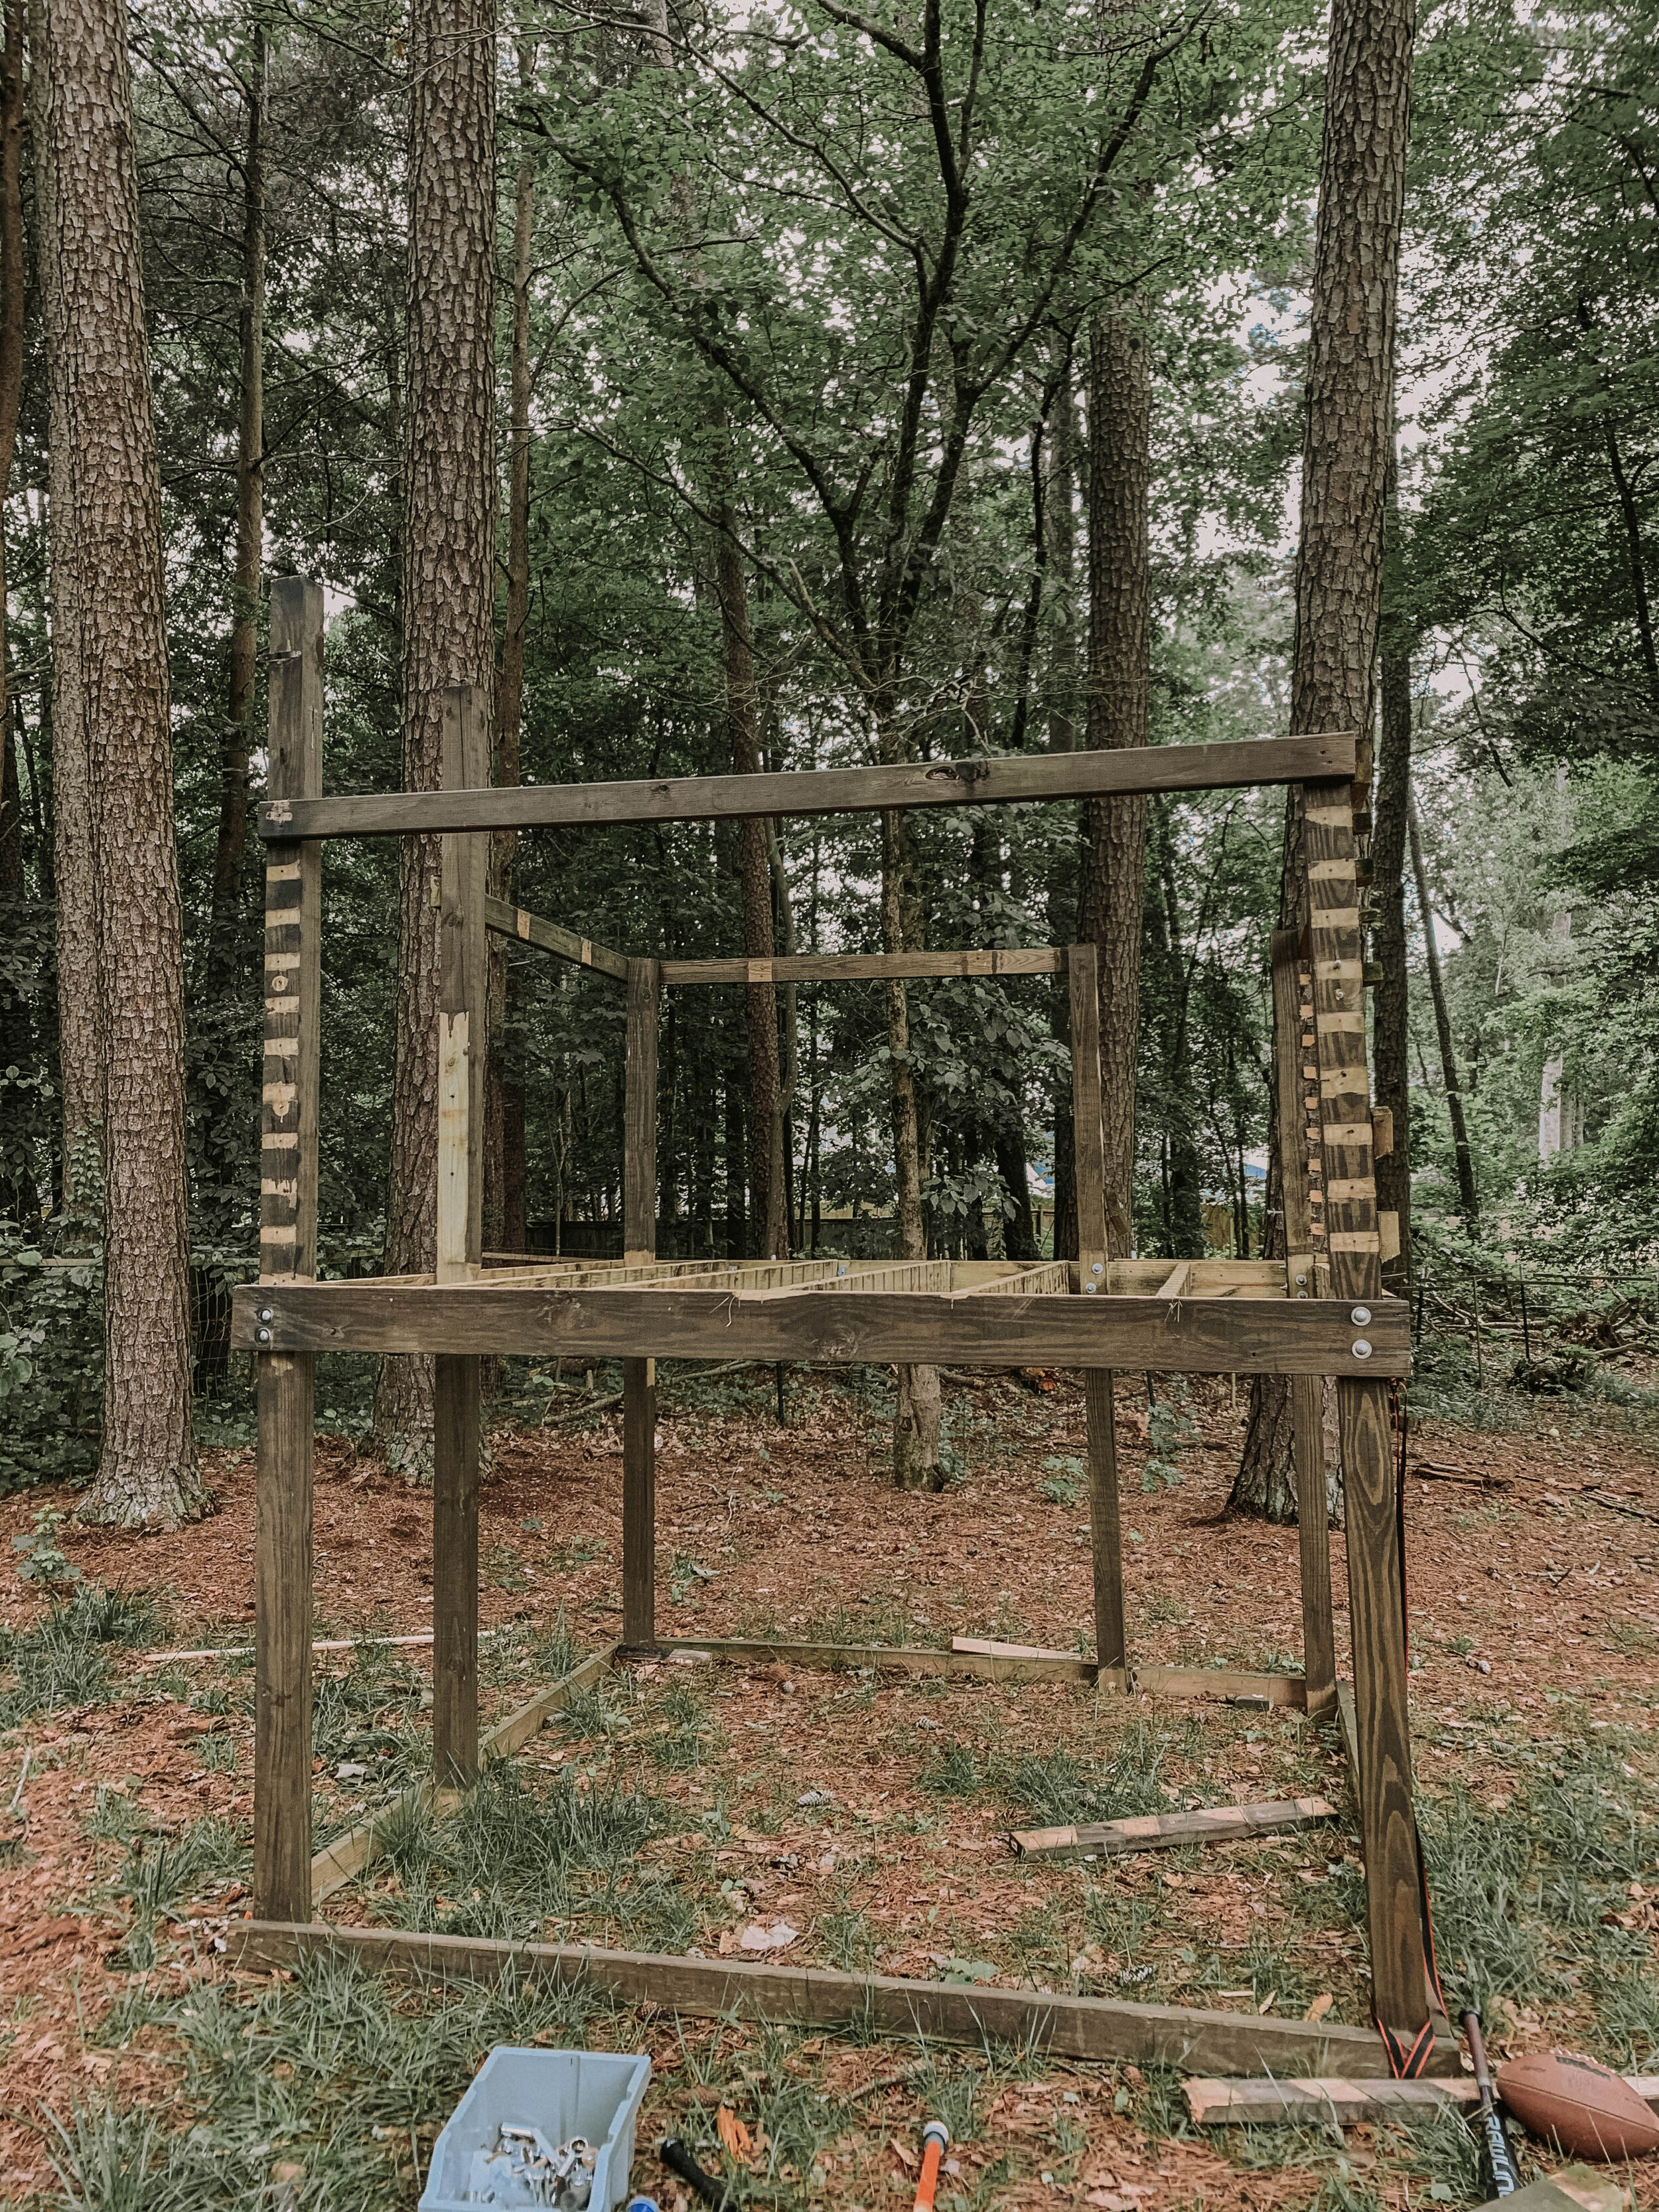
Who remembers this hideous thing?!
Do you guys remember at the end of May when we took apart and moved the kids DIY playset that we built for them a few years ago? We had to start planning where we were going to put our walkway to the shed, and the playset was in the way. Moving it was definitely harder than we anticipated due to the unevenness of our yard, however we (Scot) prevailed and it’s final destination was to the right of our DIY shed!
We let it sit there for a few weeks before doing anything with it. I didn’t want to put the wood on the curb and the entire thing go to waste, so I drew up some ideas and settled on a DIY swinging picnic table. Scot thought the idea was crazy, but I was determined to make this vision come to life. We reconfigured some of the larger pieces of lumber, but for the most part stuck with the same existing frame.
Do you guys follow us on Instagram? I shared the entire behind the scenes of this DIY swinging picnic table, including how we assembled our DIY swings. You can find it under our “Picnic table” highlight. Click the button below to follow us on Instagram! (Don’t forget when we reach 10K on Instagram, we’re giving away a Tiki Brand firepit for you to enjoy in your backyard space!)
Alright, so moving on! Today was a very busy and productive day all thanks to the sunshine we had in our forecast! I don’t know how it’s been by you guys, but it feels like it’s been raining here for 6+ months straight. It’s frustrating, especially when you’re wanting to check outdoor projects off your list. I got up super early and headed to Home Depot to grab all of my materials. The only thing I needed was stain and paint. I went back to my old roots and got this stain. I literally use to stain every.single.project with it. Then I grabbed this really inexpensive exterior paint in the color “GOTTA HAVE IT”. I mean obviously…I had to have it.
We had some leftover scrap 1x2’s in the shed from our DIY front porch slats. I don’t really like hoarding piles of wood like I used to, so I decided to do a fun slat feature on the top of the DIY swinging picnic table. Our oldest nailed all of them in for me! Love when the kids get involved in DIY projects! It’s not only great work ethic, but it allows them to feel a sense of accomplishment and respect it that much more. Once we installed the 1x2 slats, I used our sawzall and made them flush.
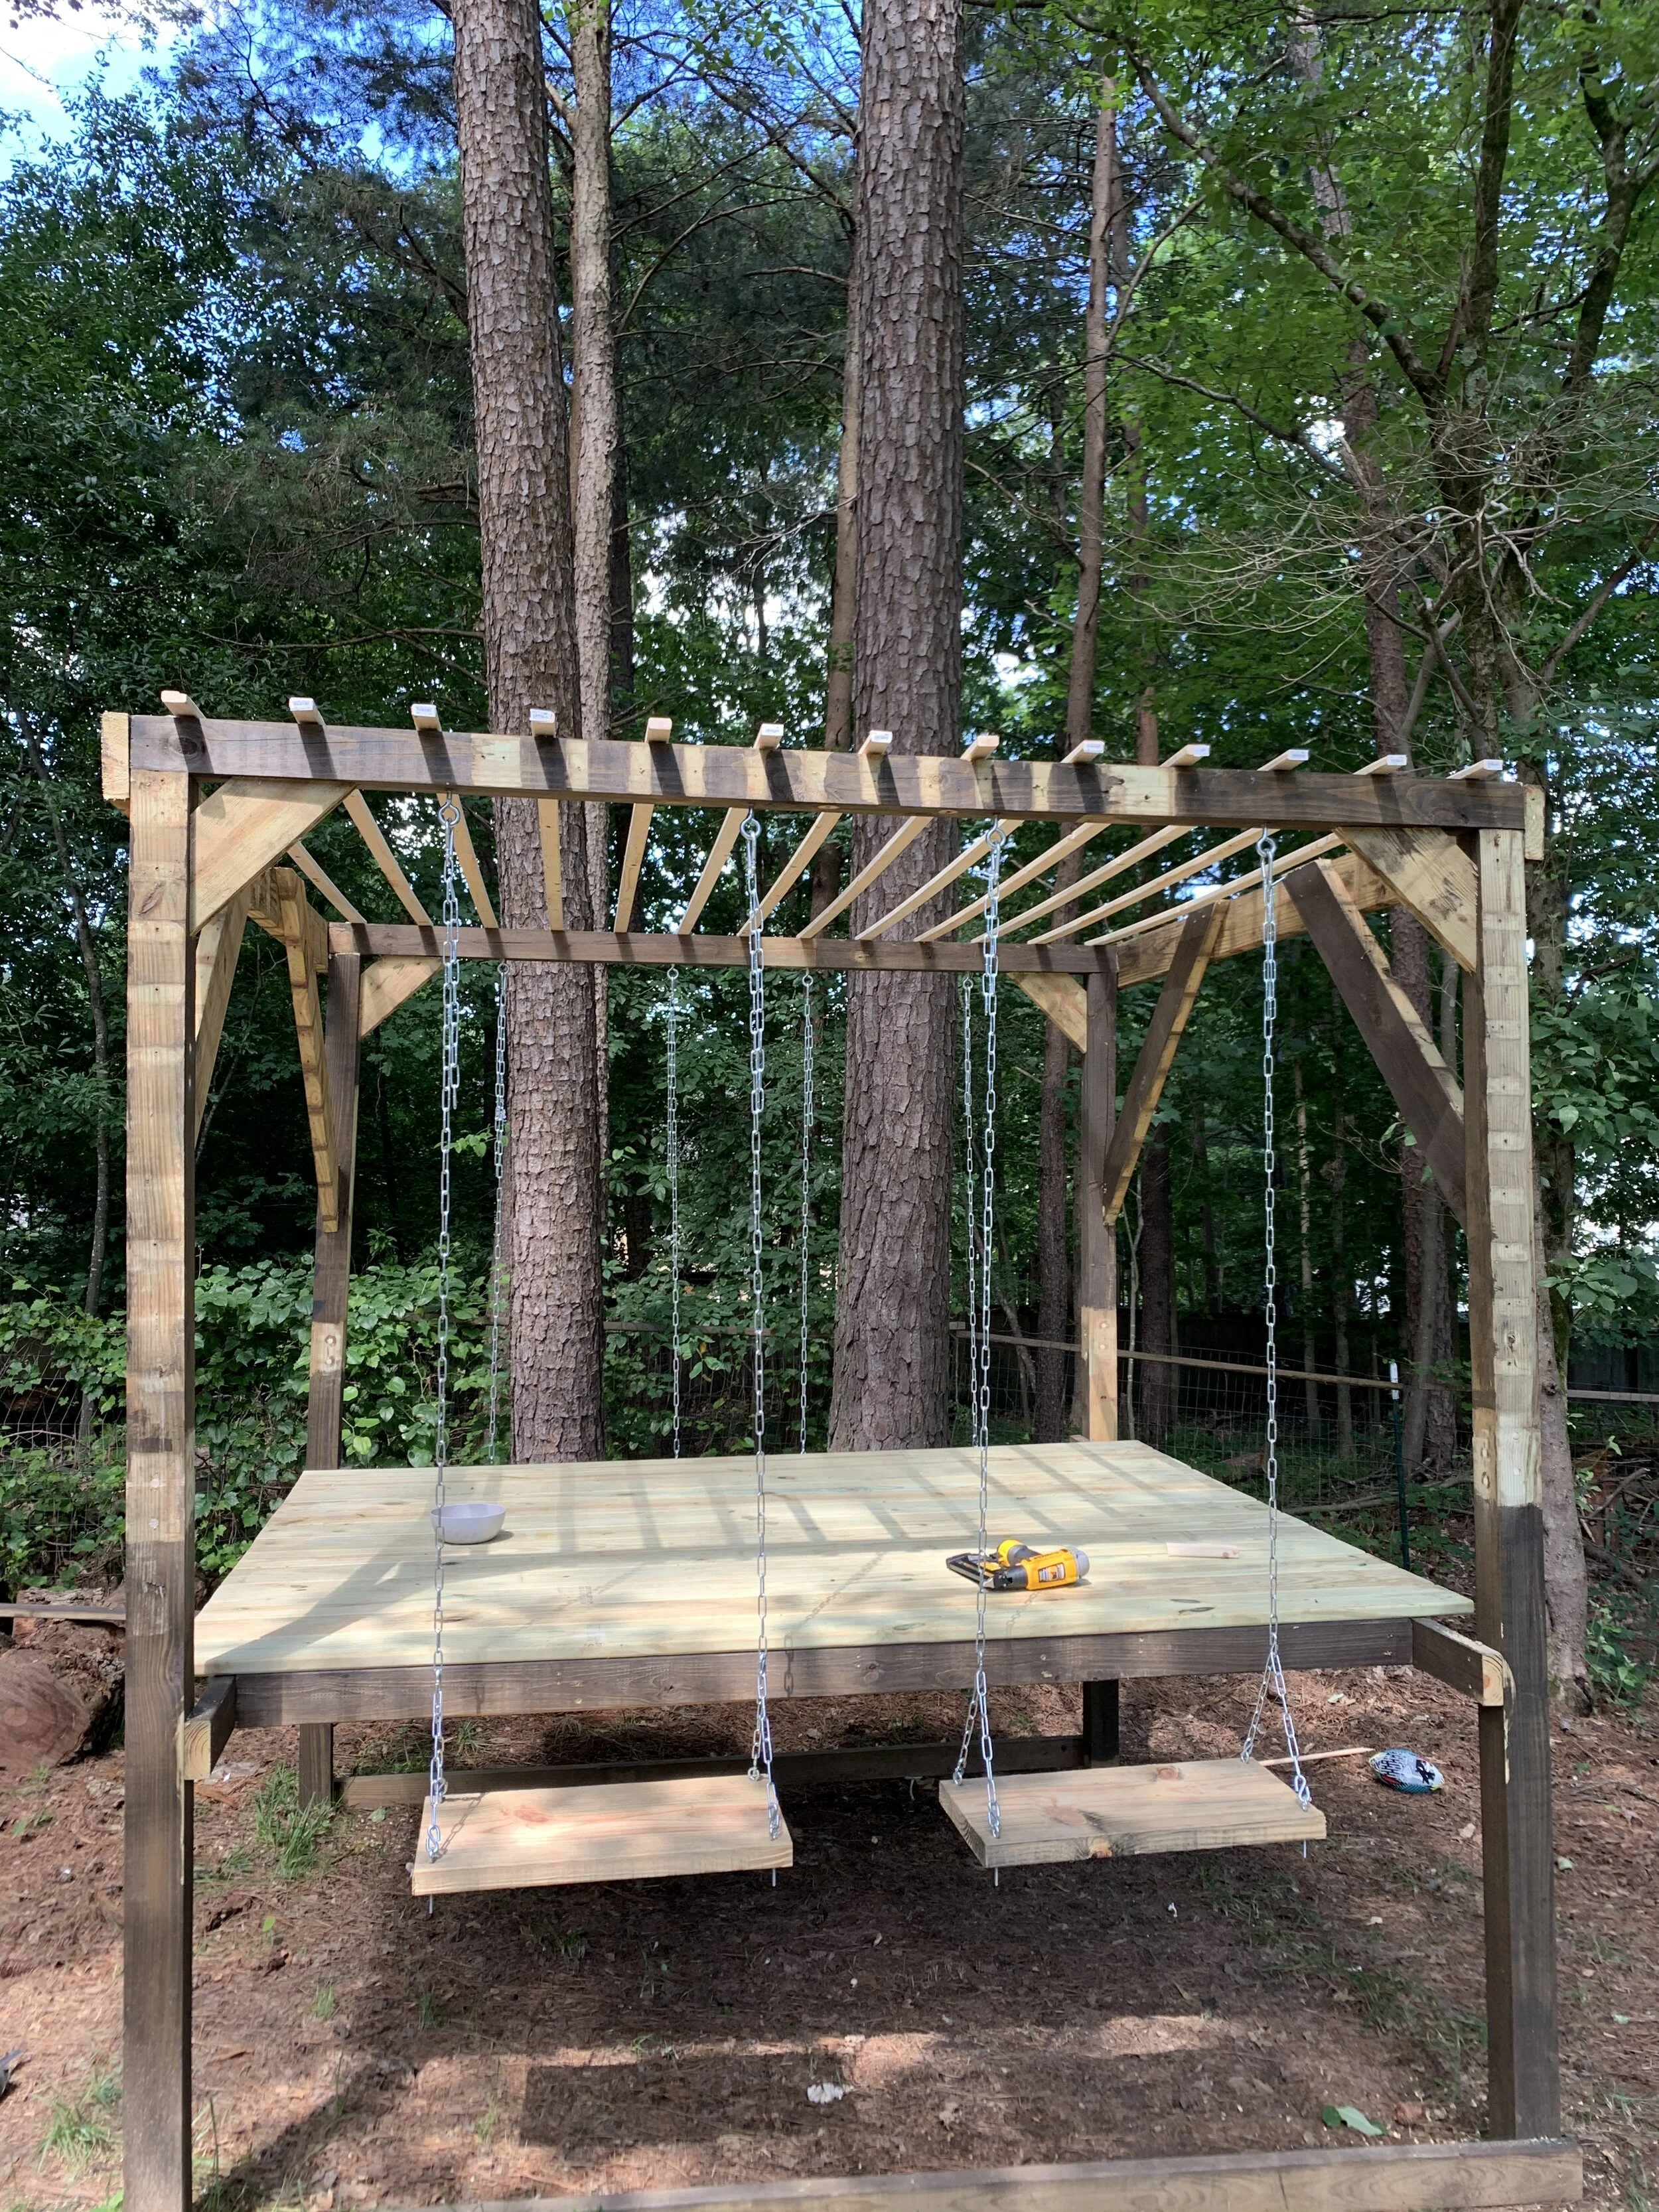
Once those were in we hooked our paint can up to our paint sprayer and got to work. We used a tarp on the tabletop while I sprayed. We ended up with a little over spray, but nothing too bad.
Once the DIY swinging picnic table was sprayed, I ate some lunch while it dried, and then stained the tabletop boards!
Do you guys want to see the final reveal?!?! I’M OBSESSED! Here it is!

EEEEEKKK! I LOVE IT SO MUCH!!
Do you see that pot down in front?! I’m not sure if you guys remember the faux Goodwill plant I had in our youngest sons room, but I needed a place to put some leftover plants, and it was my only option. Check out our “PICNIC TABLE” highlights on our Instagram to see just how fun that was. Can you hear the sarcasm?

I still can’t believe I went TWO TONE on this project!


What do you guys think?!?! We are currently drawing up some building plans to share with you soon, so stay tuned!
Tomorrow we will be starting the second garden bed in the front yard! Head over to Instagram to catch all the behind the scenes!
Are you guys following us on Pinterest?! We love sharing our DIY projects over there and what’s currently inspiring us! We’d love for you to hop over and give us a follow! Click the button below!
Speaking of Pinterest, we created some fun pins in case you want to save this DIY project for later. We would love for you to pin them to your boards!