Update your cabinets on a budget

A few months ago we removed our upper cabinets in the kitchen to install our new vent hood above our stove. It was the best move we’ve ever made for the overall design of the kitchen. We stored the remaining cabinets in our basement, but I couldn’t let them get ruined by being moved around. I had a spot in the laundry room where I have been wanting extra storage for our detergent and favorite handheld vacuum to charge.
This cabinet didn’t match the Ikea wardrobes in our laundry room perfectly, as our kitchen cabinets were a much higher quality, however since it’s an open concept, the new cabinet flows effortlessly. You know we couldn’t pass up putting our This Minimal House spin on it, so wood slats were a must. We love the customization it gave the cabinet. Also, what’s better than an Ikea cabinet + wood slats + firewood storage?? Nothing. Nothing at all!
I documented a few steps as we were finishing this DIY repurposed cabinet.
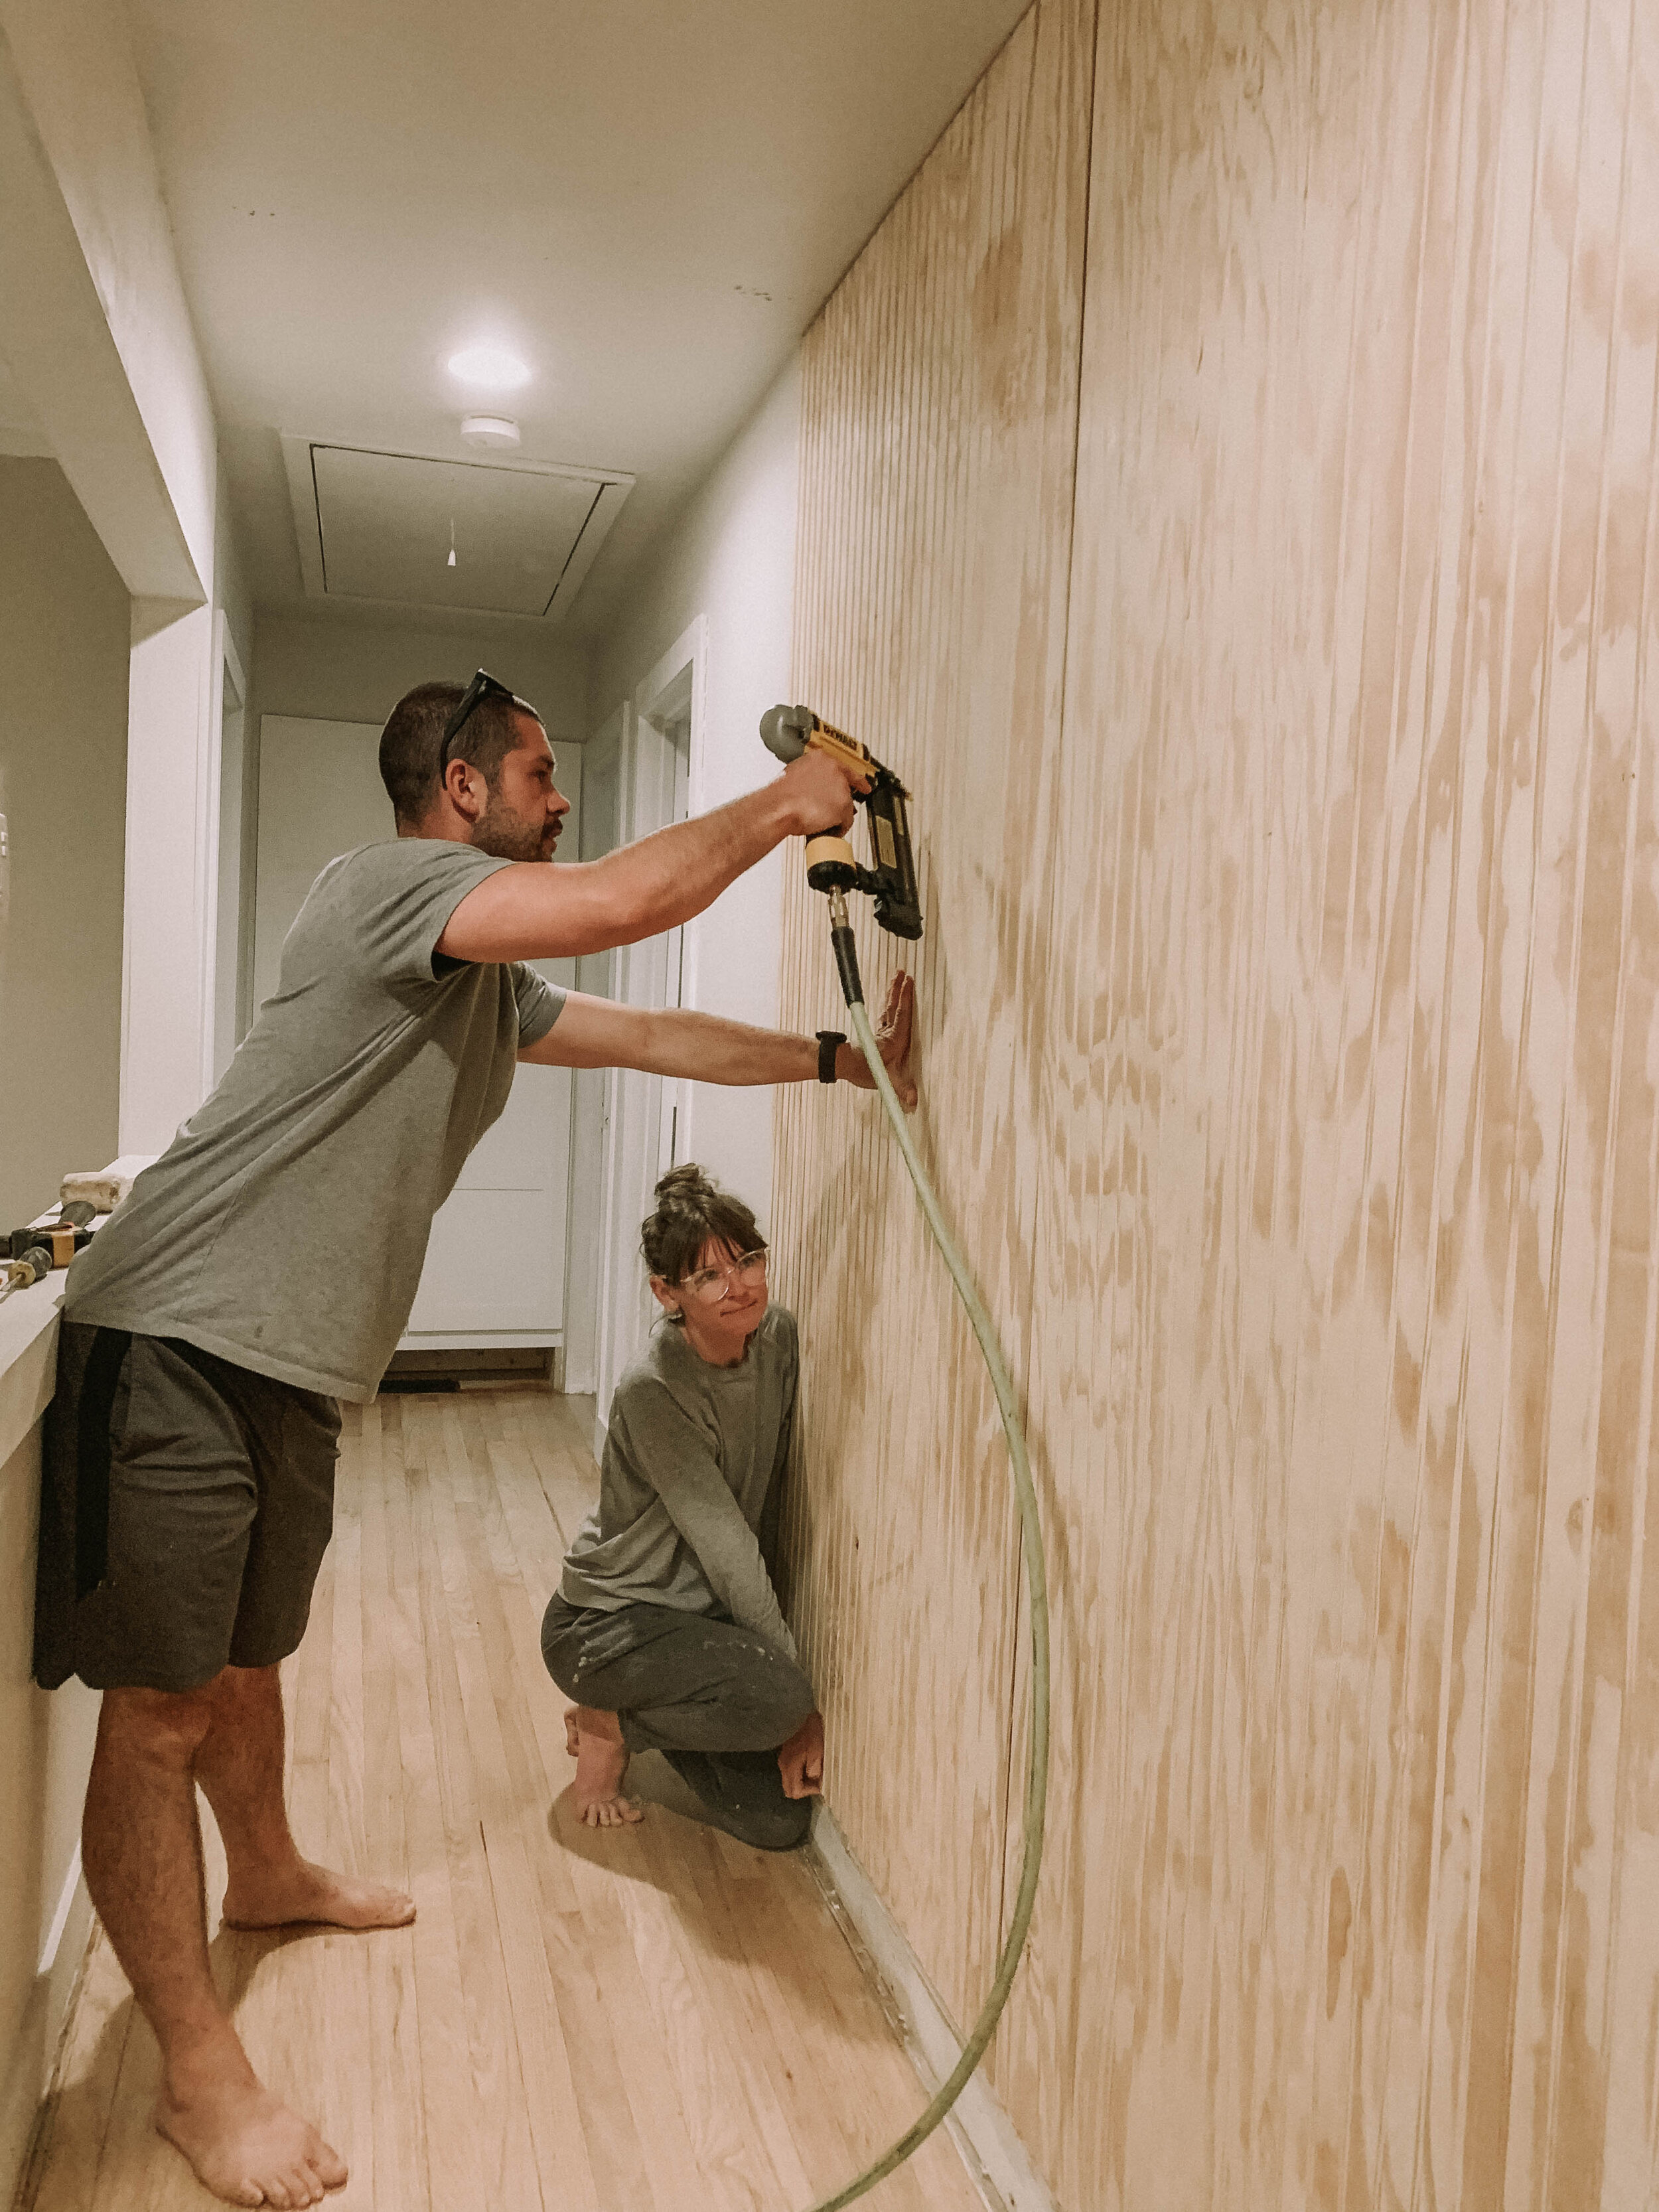
First we attached the Ikea track to the wall. The next thing we knew we we’re going to do is add a wood slat to the right side of the cabinet! If you plan on doing this, make sure you plan appropriately for the measurements/track! We attached the wood slat to our wall using our nail gun.

This is how the wood slat looked next to the Ikea cabinet.

Next we took another wood slat and placed it on top of the Ikea cabinet and marked it with a pen. This will be the piece that the wood slats line up with. We cut this piece on our miter saw.

The photo below was SUPER rushed as we had the kids running in and out, but we cut the top two pieces at a 45 degree angle so you couldn’t see the end of the wood slat!

Then we attached the 45 degree angle wood slats directly to the top of the Ikea cabinet using our nail gun. Make sure you’re using small enough nails so that they don’t go all the way through your cabinet!


You’ll notice this cabinet has some imperfections on the side. It used to house our microwave, like I mentioned at the beginning of this post. The holes and imperfections are one of the main reasons why I wanted to do the wood slat feature, to kind of conceal them!

Below is a real life behind the scenes.

A huge compromise we made for this project involved the handheld vacuum wire. Normally we would rewire an outlet behind the cabinet (which we will still do in the future, just didn’t feel like tackling it today because of how many cross studs there are in this wall), however we chose to hide the cord using this fun product, paired with this great affordable (and paintable!) find.

Once the cabinet was hung, the side wood slat was installed, and the handheld vacuum wire was hidden, we measured and attached the wood slats to the side of the cabinet making sure to nail at the bottom so that it went into the bottom of the cabinet, and the top! We filled the holes with this!
Here is the final look of how we upgrading our Ikea kitchen cabinet with wood slats!
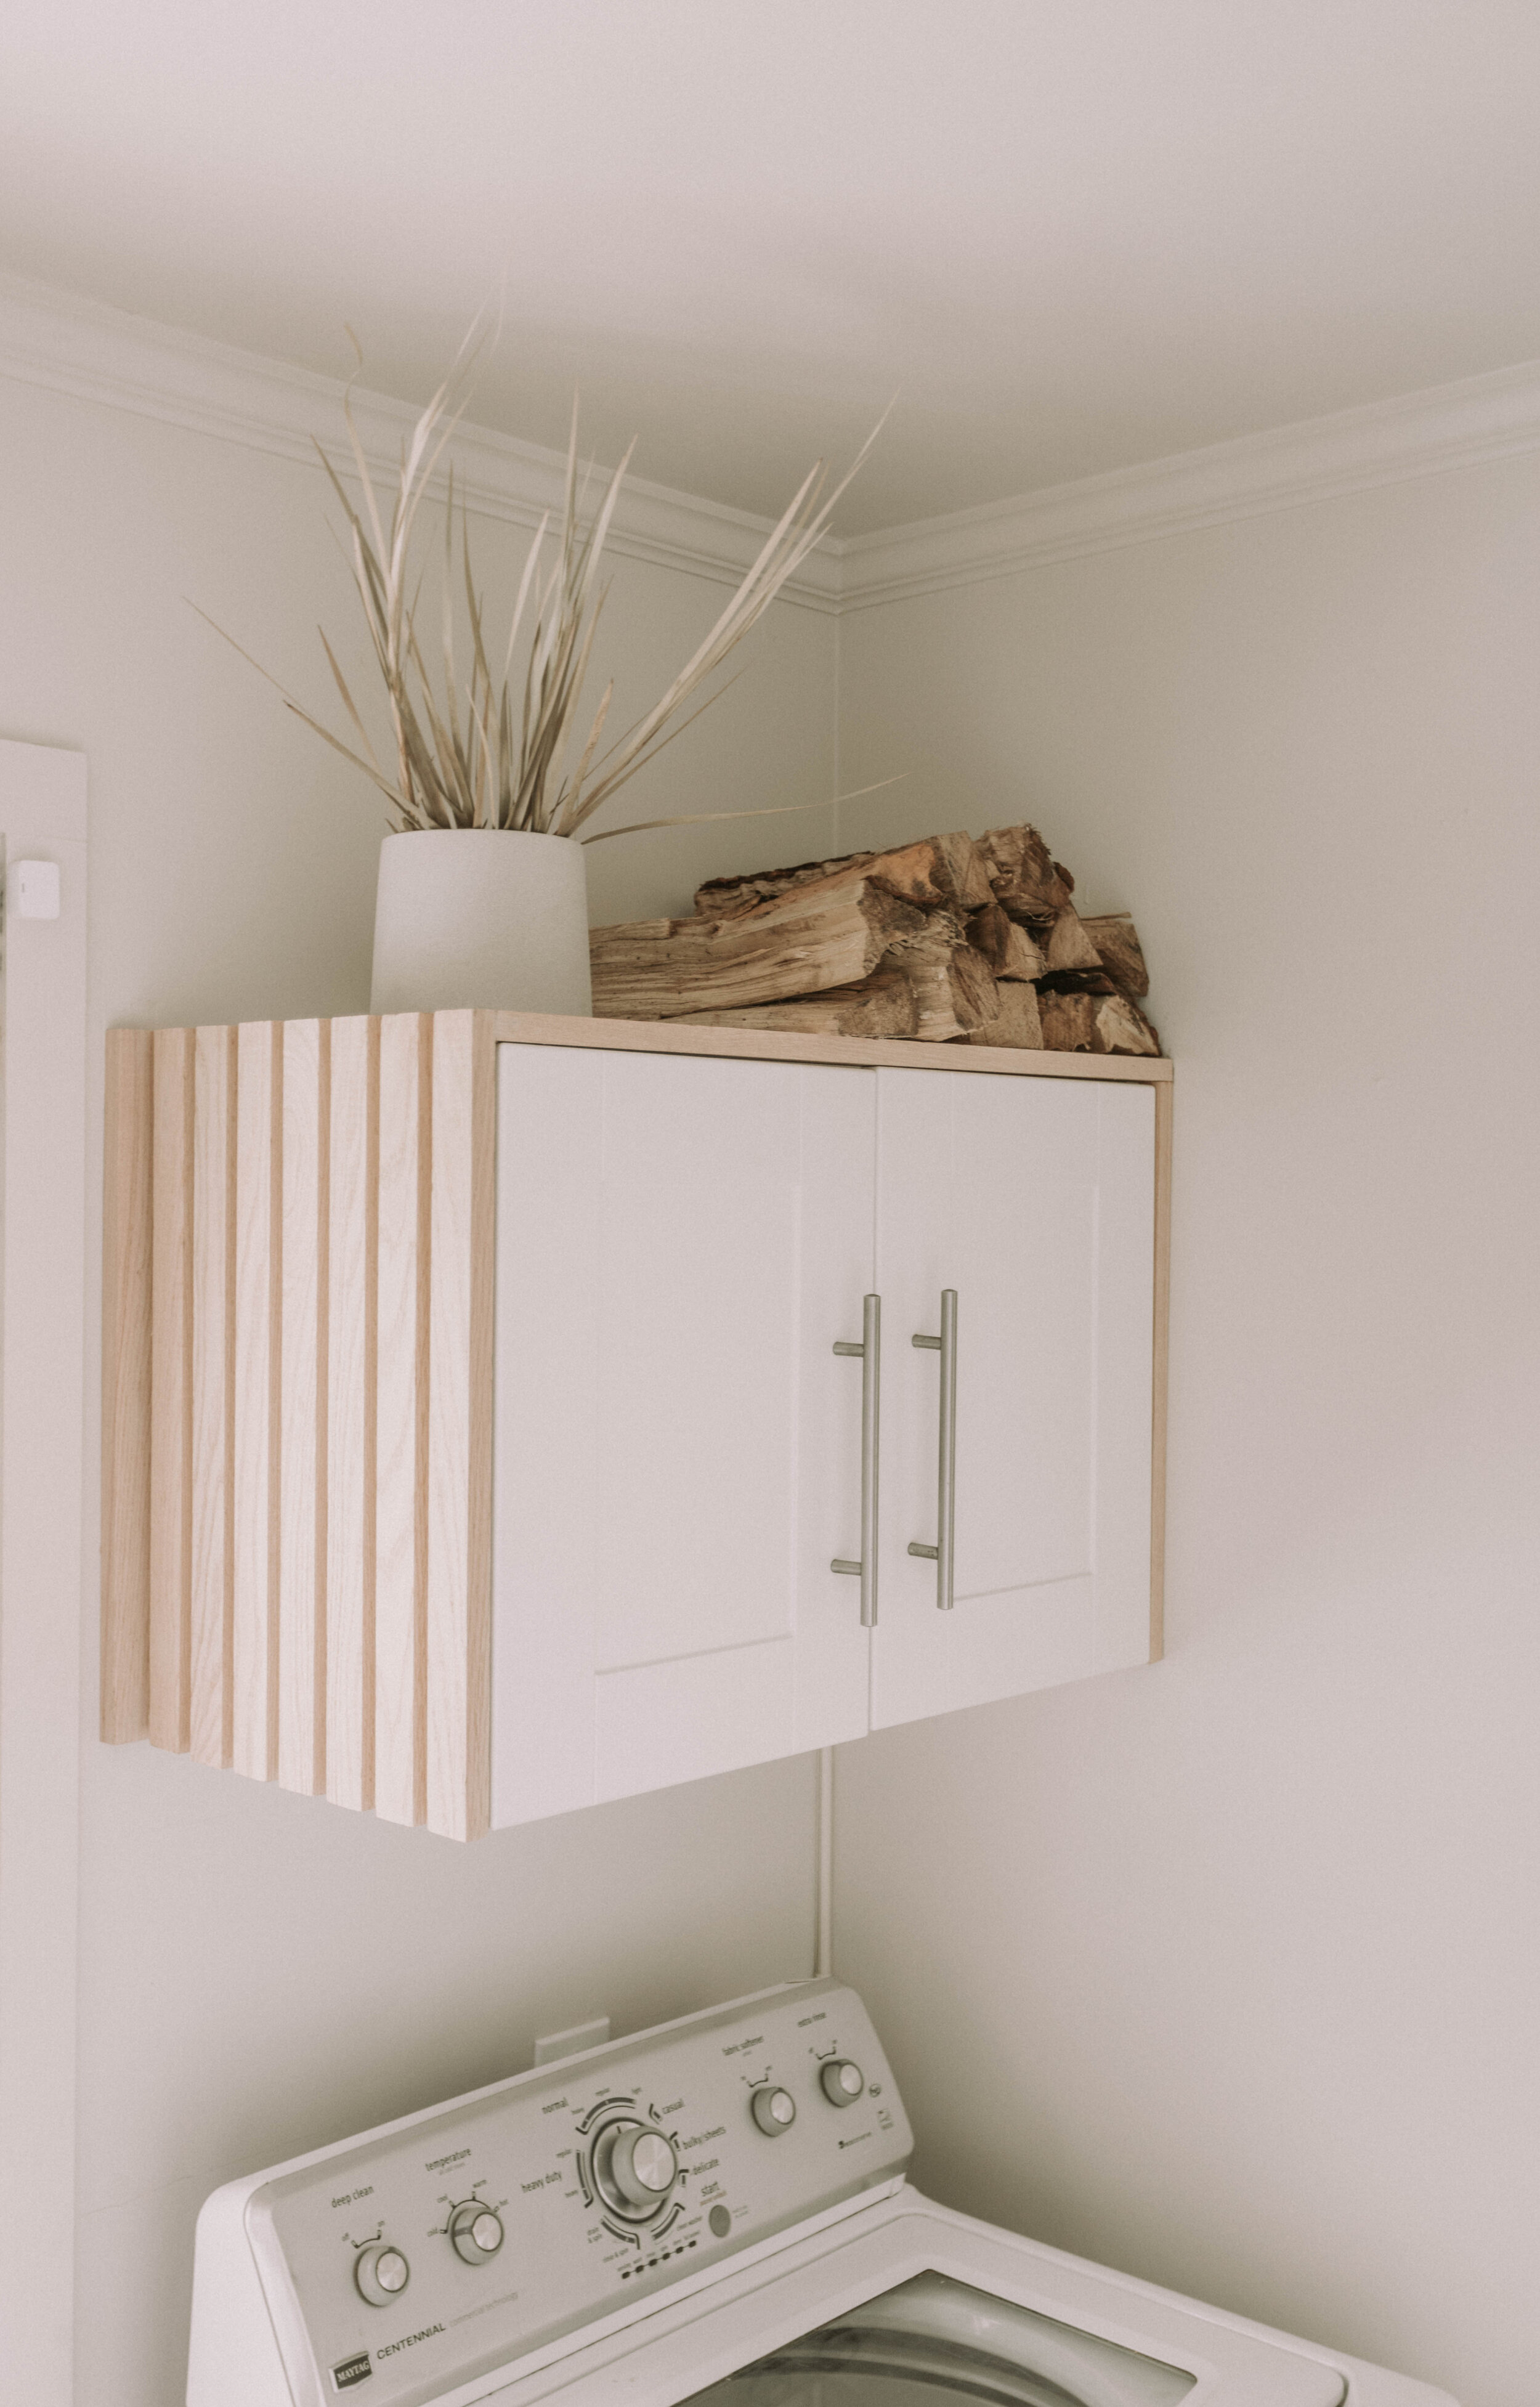
What do you guys think?!?! We are so obsessed with our new Ikea cabinet hack/upgrade! The wood storage, the laundry detergent storage…it’s all so good!
Are you guys following along with us on Instagram? We always love sharing real time behind the scenes of our DIY projects! Click the button below to follow us!
Speaking of DIY projects, you guys should come see what we’re currently pinning on Pinterest! Our DIY projects is our most popular board, and we love sharing what’s inspiring us over there! Click the button below to hang out over on Pinterest!
While you’re over there on Pinterest, make sure you save this DIY cabinet upgrade project for later by pinning the graphics below!