One Room Challenge Spring 2020- Week four
Week four of the One Room Challenge Spring 2020 is officially here, and we checked a few things off our to-do list! For one we installed a new hand rail. Believe it or not we have lived without one for almost sic years now! Before we removed the load bearing wall in the hallway, we had a basement door with a chain and latch on it. That obviously made the basement seem so dark and scary…because it was. Anyways, there was a 2x2 makeshift hand rail there before that we removed once we started opening up the basement to the rest of the house.
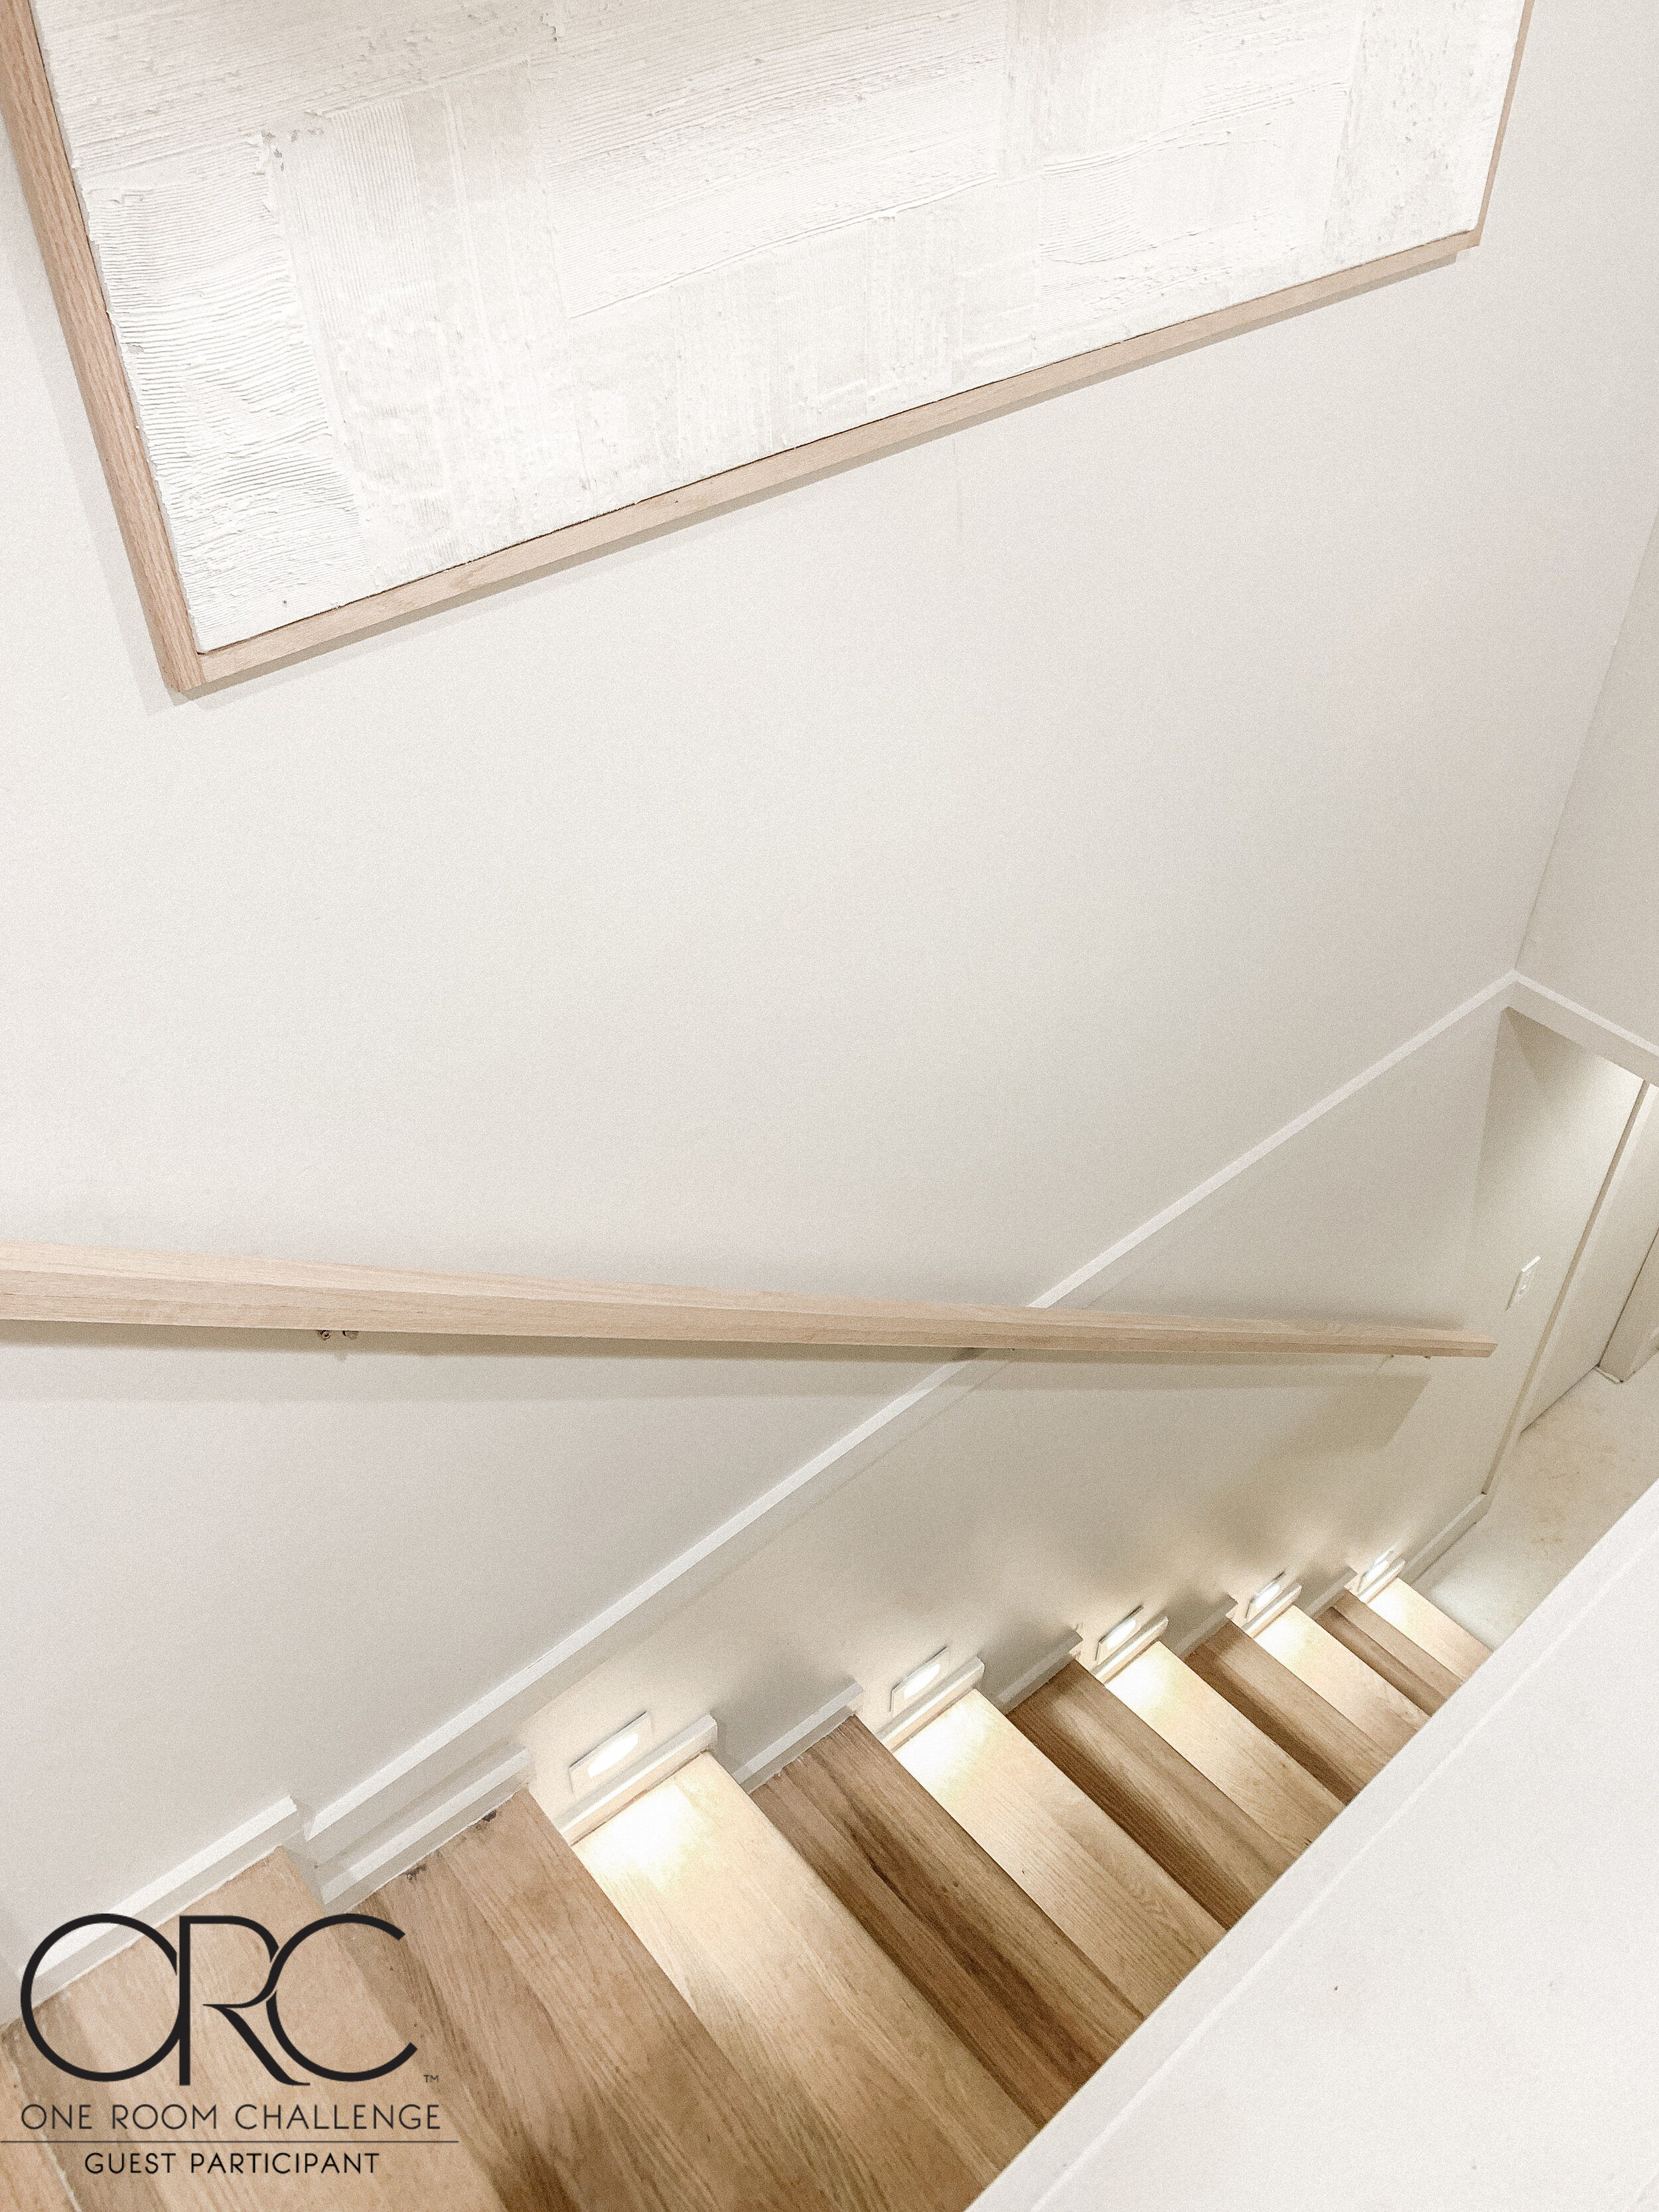
So let’s start with the railing. We wanted a custom railing for the stairs since it’s more of an open concept. We needed it to match the sanded hardwood floors, the new faux beams, and the wood slats. I went to Home Depot and grabbed two 1x2 oak boards at 11 feet/ea. When I got home I took the two boards, applied this wood glue in between them before sandwiched them together. Once they were on top of one another I used three clamps (these are our favorite hand clamps!) to secure them together. While clamped, I took our nail gun and secured the two boards together making a thicker custom handrail! Here’s how it looked once it was clamped, glued, and drying!

We let the new DIY hand rail dry for the thirty recommended minutes, and then attached it to the wall. I wanted to get really modern brackets for the railing, but honestly brackets have one purpose and that is to secure the hand rail to the wall. Later down the road I MIGHT upgrade them, but for now I’m happy with the ones we bought from Home Depot. I ended up getting these brackets for our custom handrail. Since there isn’t a wall on the other side of the staircase yet, we we’re able to locate the studs before installing the hardware. However, we did have one small miss. We couldn’t find our stud finder, and it can be patched. :)

We did a total of three brackets for the handrail. I accidentally grabbed a heavy duty one and two light weight ones. We ended up putting the heavy duty bracket right in the middle of the railing to give it extra support since the railing was so long.
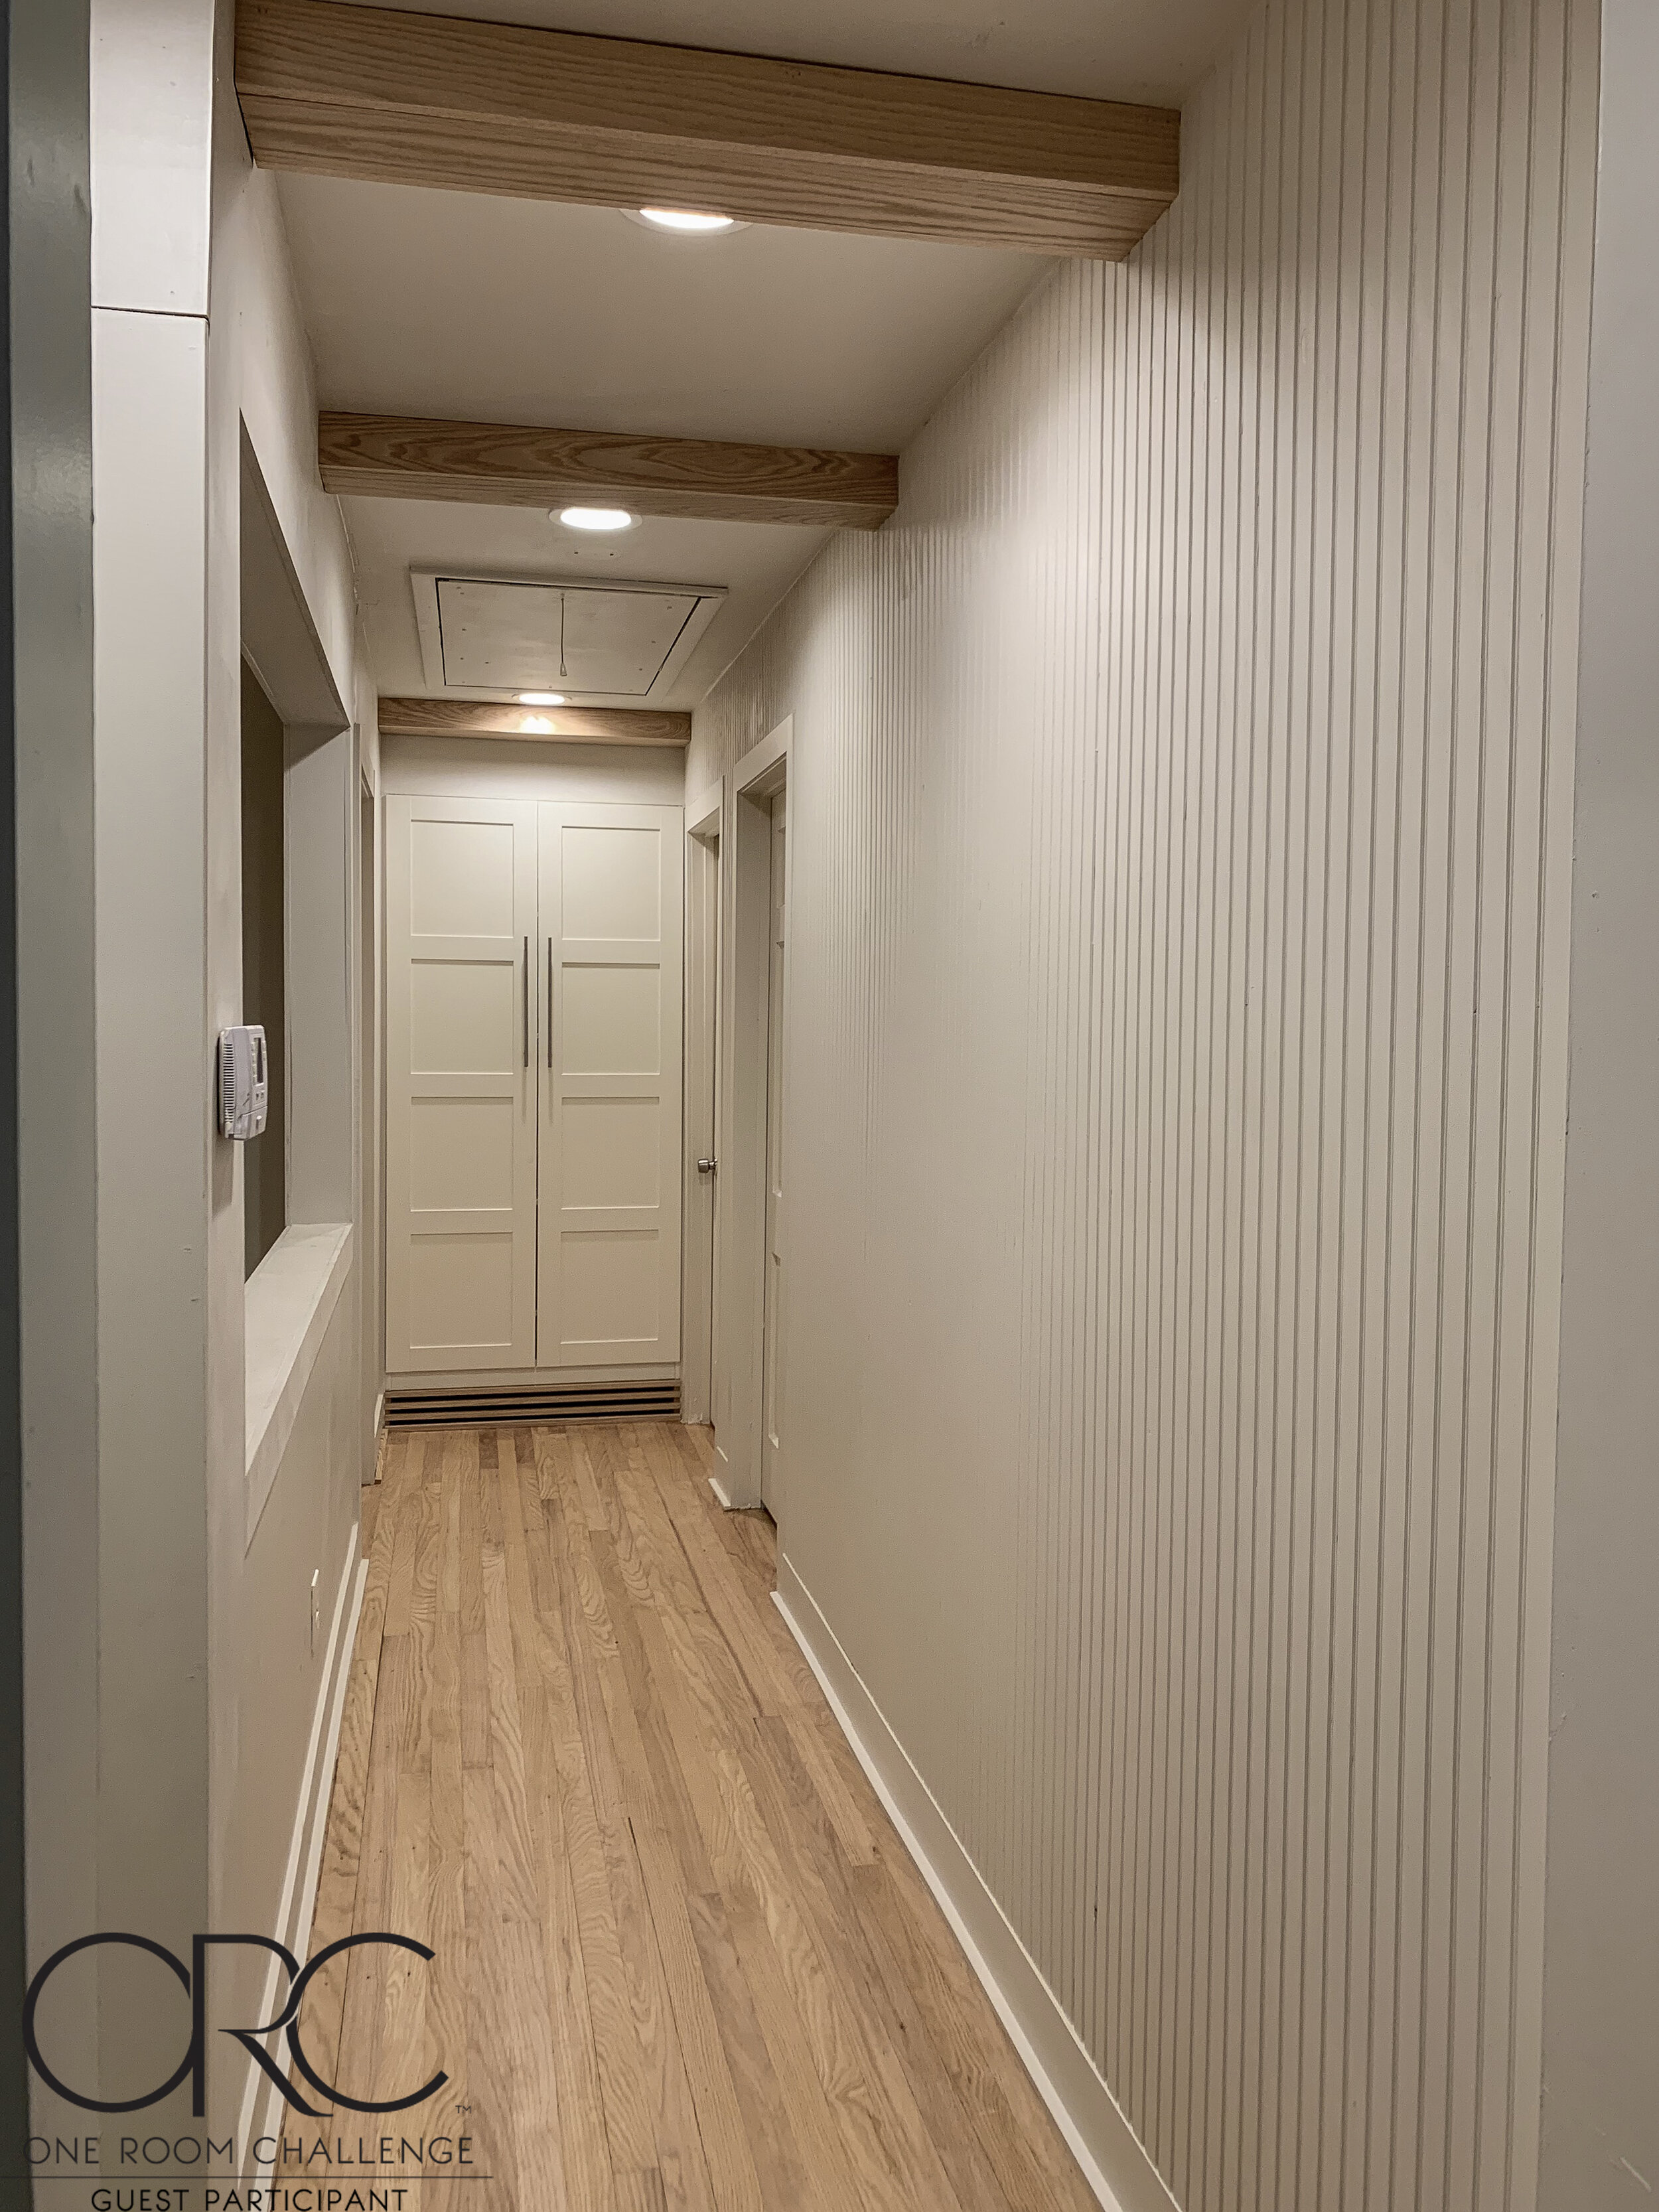
Another small but huge impact we made in the hallway was adding additional recessed lights. This really brightened up the space, especially next to the end of the hallway by the wardrobe where it was really dark. We used our favorite hole saw cutter to install our new lights.
As you can see we also painted our beadboard, and we are LOVING it! It completely changes the entire hallway. There are a few spots we need to touch up with caulk and paint, but other than that we’re really happy with the results.
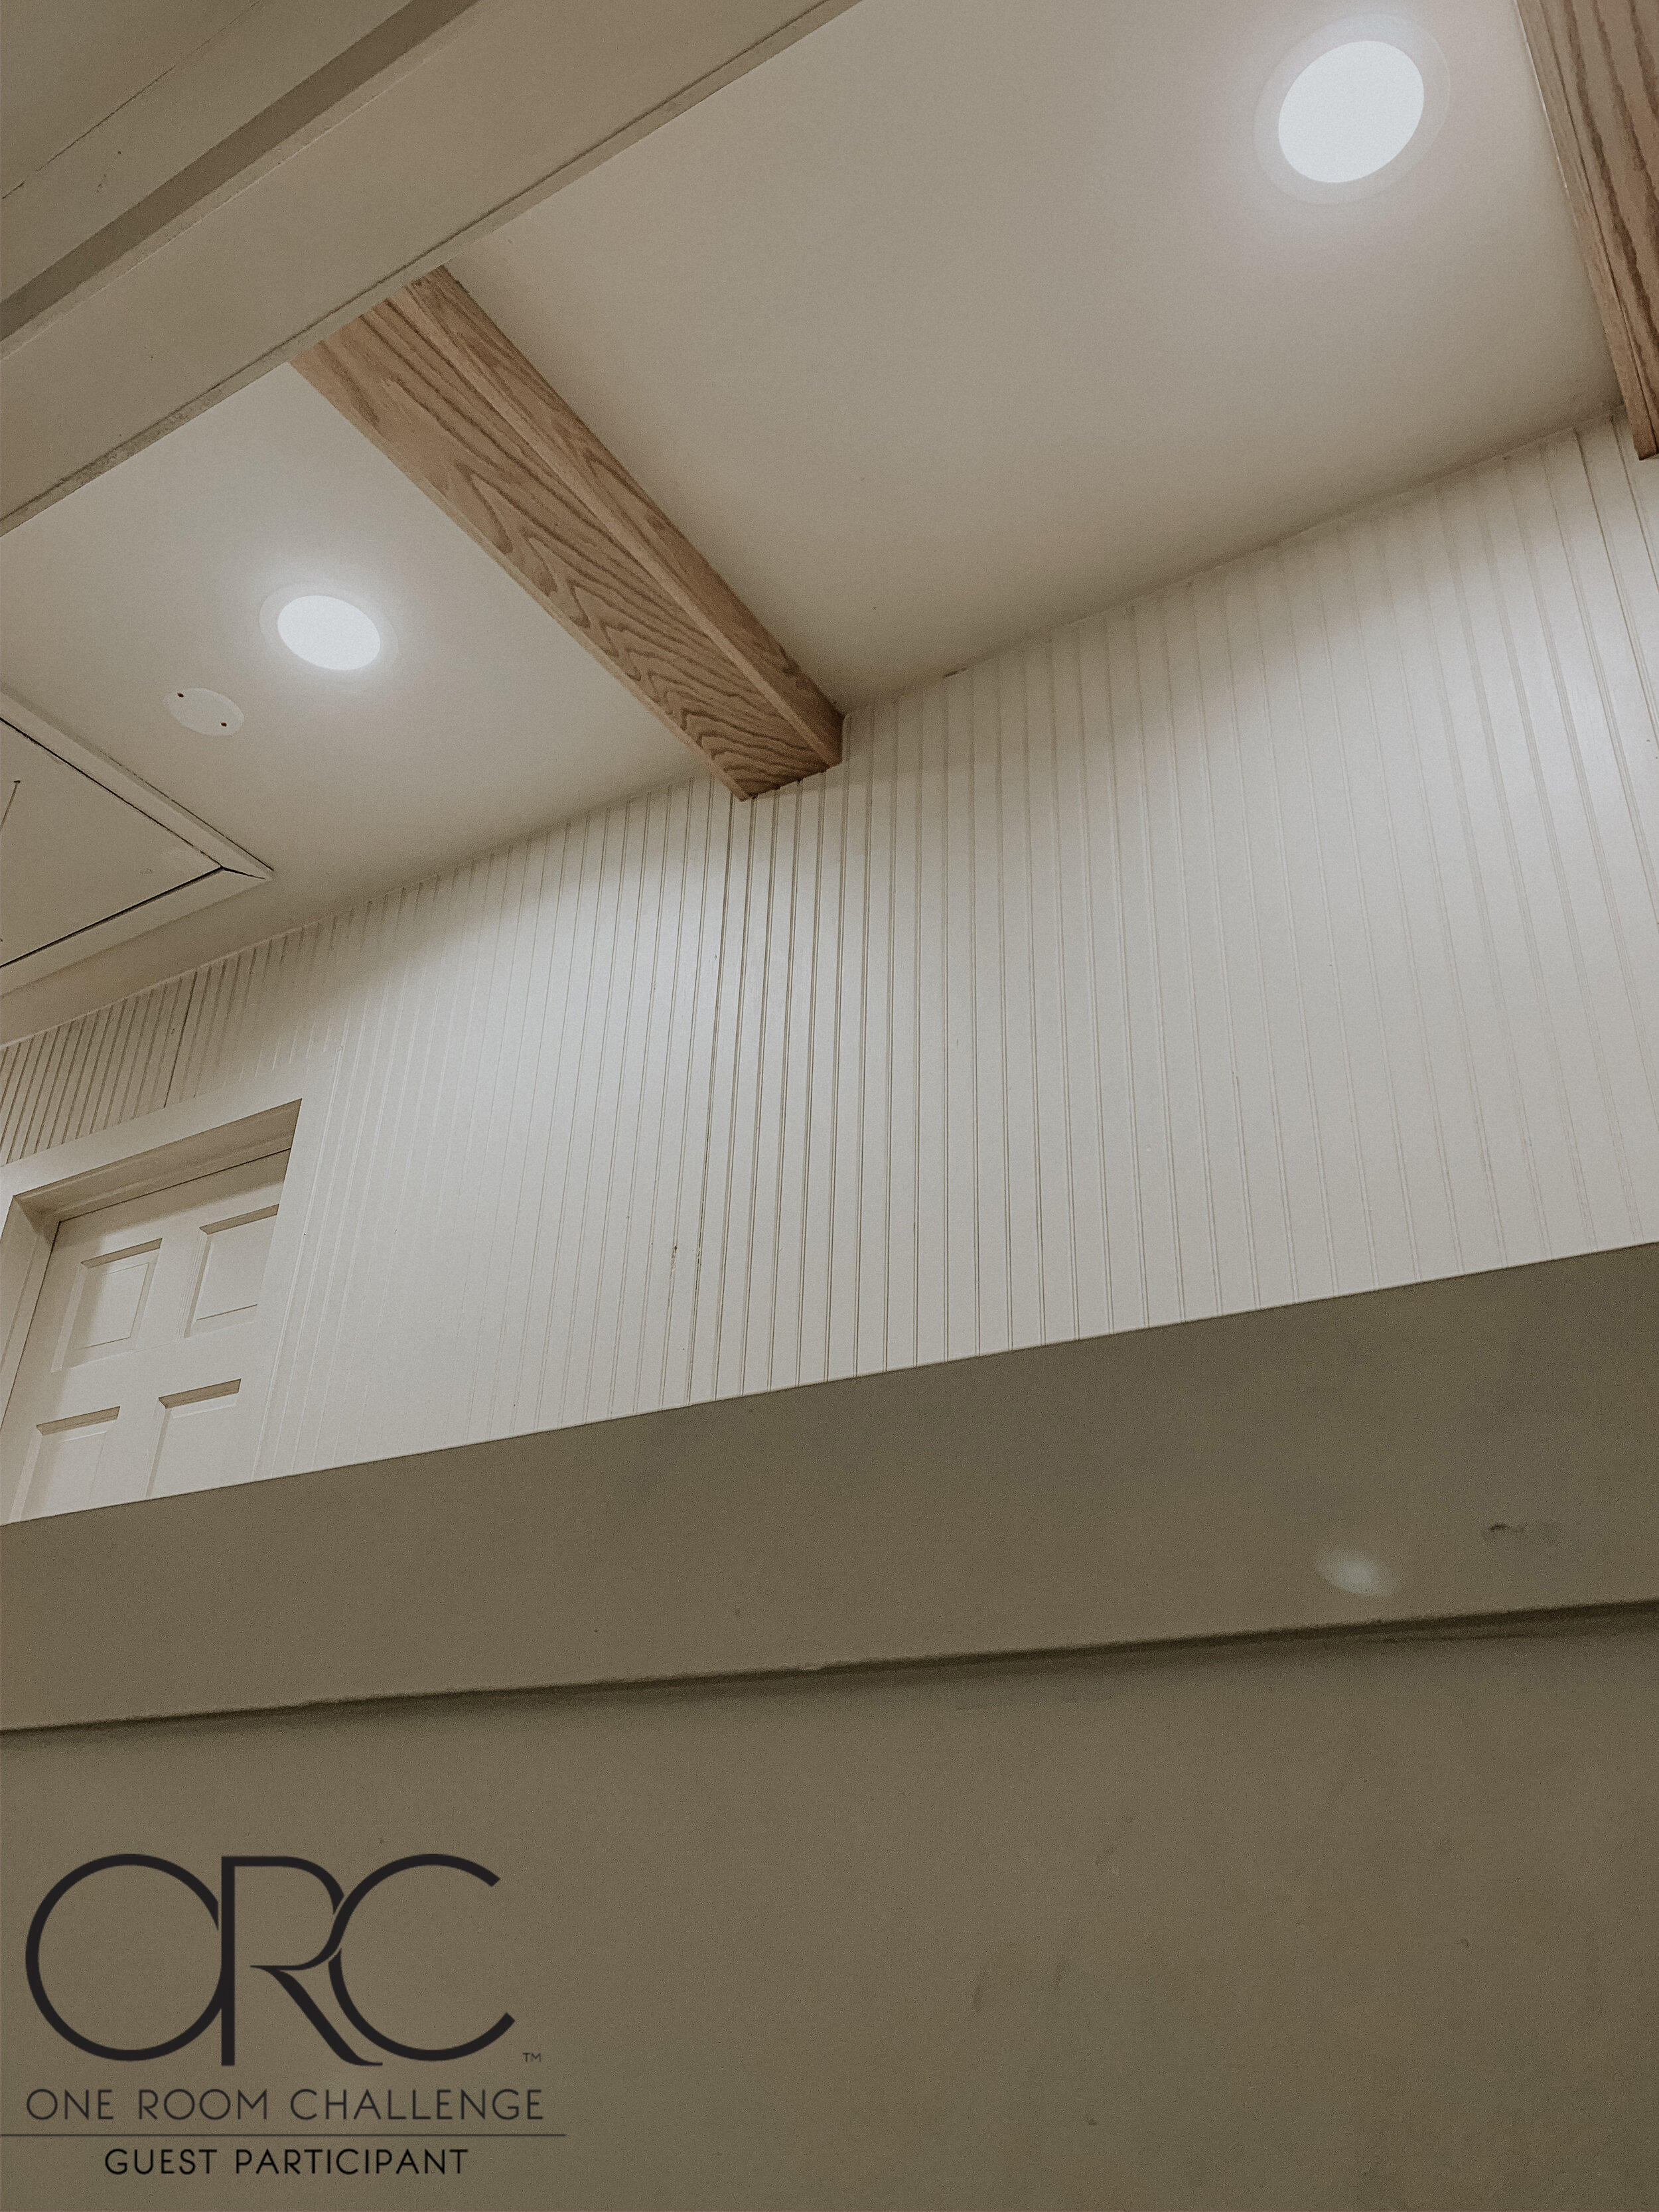
Here’s another look at how much light we added at the end of the hallway. I cannot get over those beams, that beadboard, or the sanded floors together!

As you can see from the photo above, we still need to paint the inside of the stair case, as well as replace the 1963 light above the stairs. I had grand plans of installing skylights in this spot, however that’s not in the plans for this challenge, so for now we’re going to add a single recessed light. I contemplated a hanging light, but wasn’t really feeling it next to the artwork/low ceilings.
Below is how the hallway currently looks. We still have a few cosmetic things we need to tackle, but other than that it looks like a completely different hallway.

Here’s a few progress/progression photos of our hallway to prove that home does NOT happen overnight. You’ll notice the drywall on the right is pretty banged up from previous board and batten we had installed. The left side of the drywall was covered in black faux shiplap to cover up how bad the original drywall was on that side.


So that’s it for our week four One Room Challenge update! Make sure you check out the ORC blog so you can get inspired by the other participants, too! Are you guys following us on Instagram? We’re sharing more behind the scenes of this hallway transformation over there! Click the button below to follow!
We’re pinning all of these to our Pinterest boards, too! Are you guys following us over there? We share our current DIY projects, as well as what’s inspiring us! Click the button below to follow!