Removing our hallway load bearing wall
***DISCLAIMER*** THIS PARTICULAR PROJECT “REMOVING OUT HALLWAY LOAD BEARING WALL” SHOULD BE DONE AT YOUR OWN RISK! WHILE WE FELT COMFORTABLE TACKLING THIS DO IT YOURSELF PROJECT, YOU SHOULD ALWAYS MAKE SURE YOU KNOW THE CORRECT BEAM SIZING REQUIREMENTS, INCLUDING YOUR LIVE LOAD, CODES/CIT ALLOWANCE BEFORE MOVING FORWARD WITH REMOVAL! THIS IS WHAT WORKED FOR US!
If you follow us on Instagram then you know we’ve been working on our hallway! Our hallway has been exposed studs for a couple of months now. I’m not going to lie, I’ve gotten pretty good at just ignoring that side of the hallway. I have mastered the house angles for our feed. However that battle and eye sore has ended because today I am sharing our latest do it yourself project. How to not only remove a load bearing wall, but how to do it on a budget. I want to preface this post with: We feel completely comfortable taking on a load bearing wall. We have tackled one before (check it out here), and were completely confident after taking a close look in our attic. Do not attempt this type of project if you don’t feel 100% about it. There are other options, like hiring out a contractor! Every home is different.
Before I jump into how we removed our hallway load bearing wall, I do want to mention that there are websites that help you figure out your live load. It will calculate everything, allowing you to choose the proper support. For our dining/family room beam we used engineered LVL beams because of the weight. For the hallway beam we were able to construct it ourselves (which helps in the budget department).
OK, let’s get started! First things first, a trip down memory lane. If you recall a couple months ago I was installing a built in Ikea Pax Wardrobe at the end of our hallway! We had no storage in our home, so by adding the wardrobes we can gain a place for all the extras (sheets, toilet paper, towels, blankets etc). They’ve been so incredibly helpful, and if you don’t have storage in your home I highly, highly recommend them! We currently have one at the end of our hallway, two in our laundry room, two in the boys room, and will most likely add 4-5 more in the basement!
Here’s an Instagram feed throwback to refresh your memory!
This was such a frustrating do it yourself project. Nothing in our hallway, let alone home, is square. The return vent was where the pax wardrobe was going to go, and I had to make sure air flow was happening. However, I’m happy to report that it ended up working in our favor and the Ikea Pax Wardrobe has been serving us well ever since! Here’s a shot of it after it was ‘finished’.
I opted to do slats at the bottom to allow air flow for the return vent. We will be removing that return vent and relocating when we start back on the basement renovation, but for now that’s our solution! As you can see the exposed studs in our hallway we’re still there…staring at us in the face. Laughing at us every time we walked by. It was a nightmare. Me, being totally instant gratification, ripped the drywall down one day with grand plans…and the plan was never executed. Lesson learned. HARD LESSON LEARNED…unless you enjoy looking at exposed 2x4’s from the sixties.
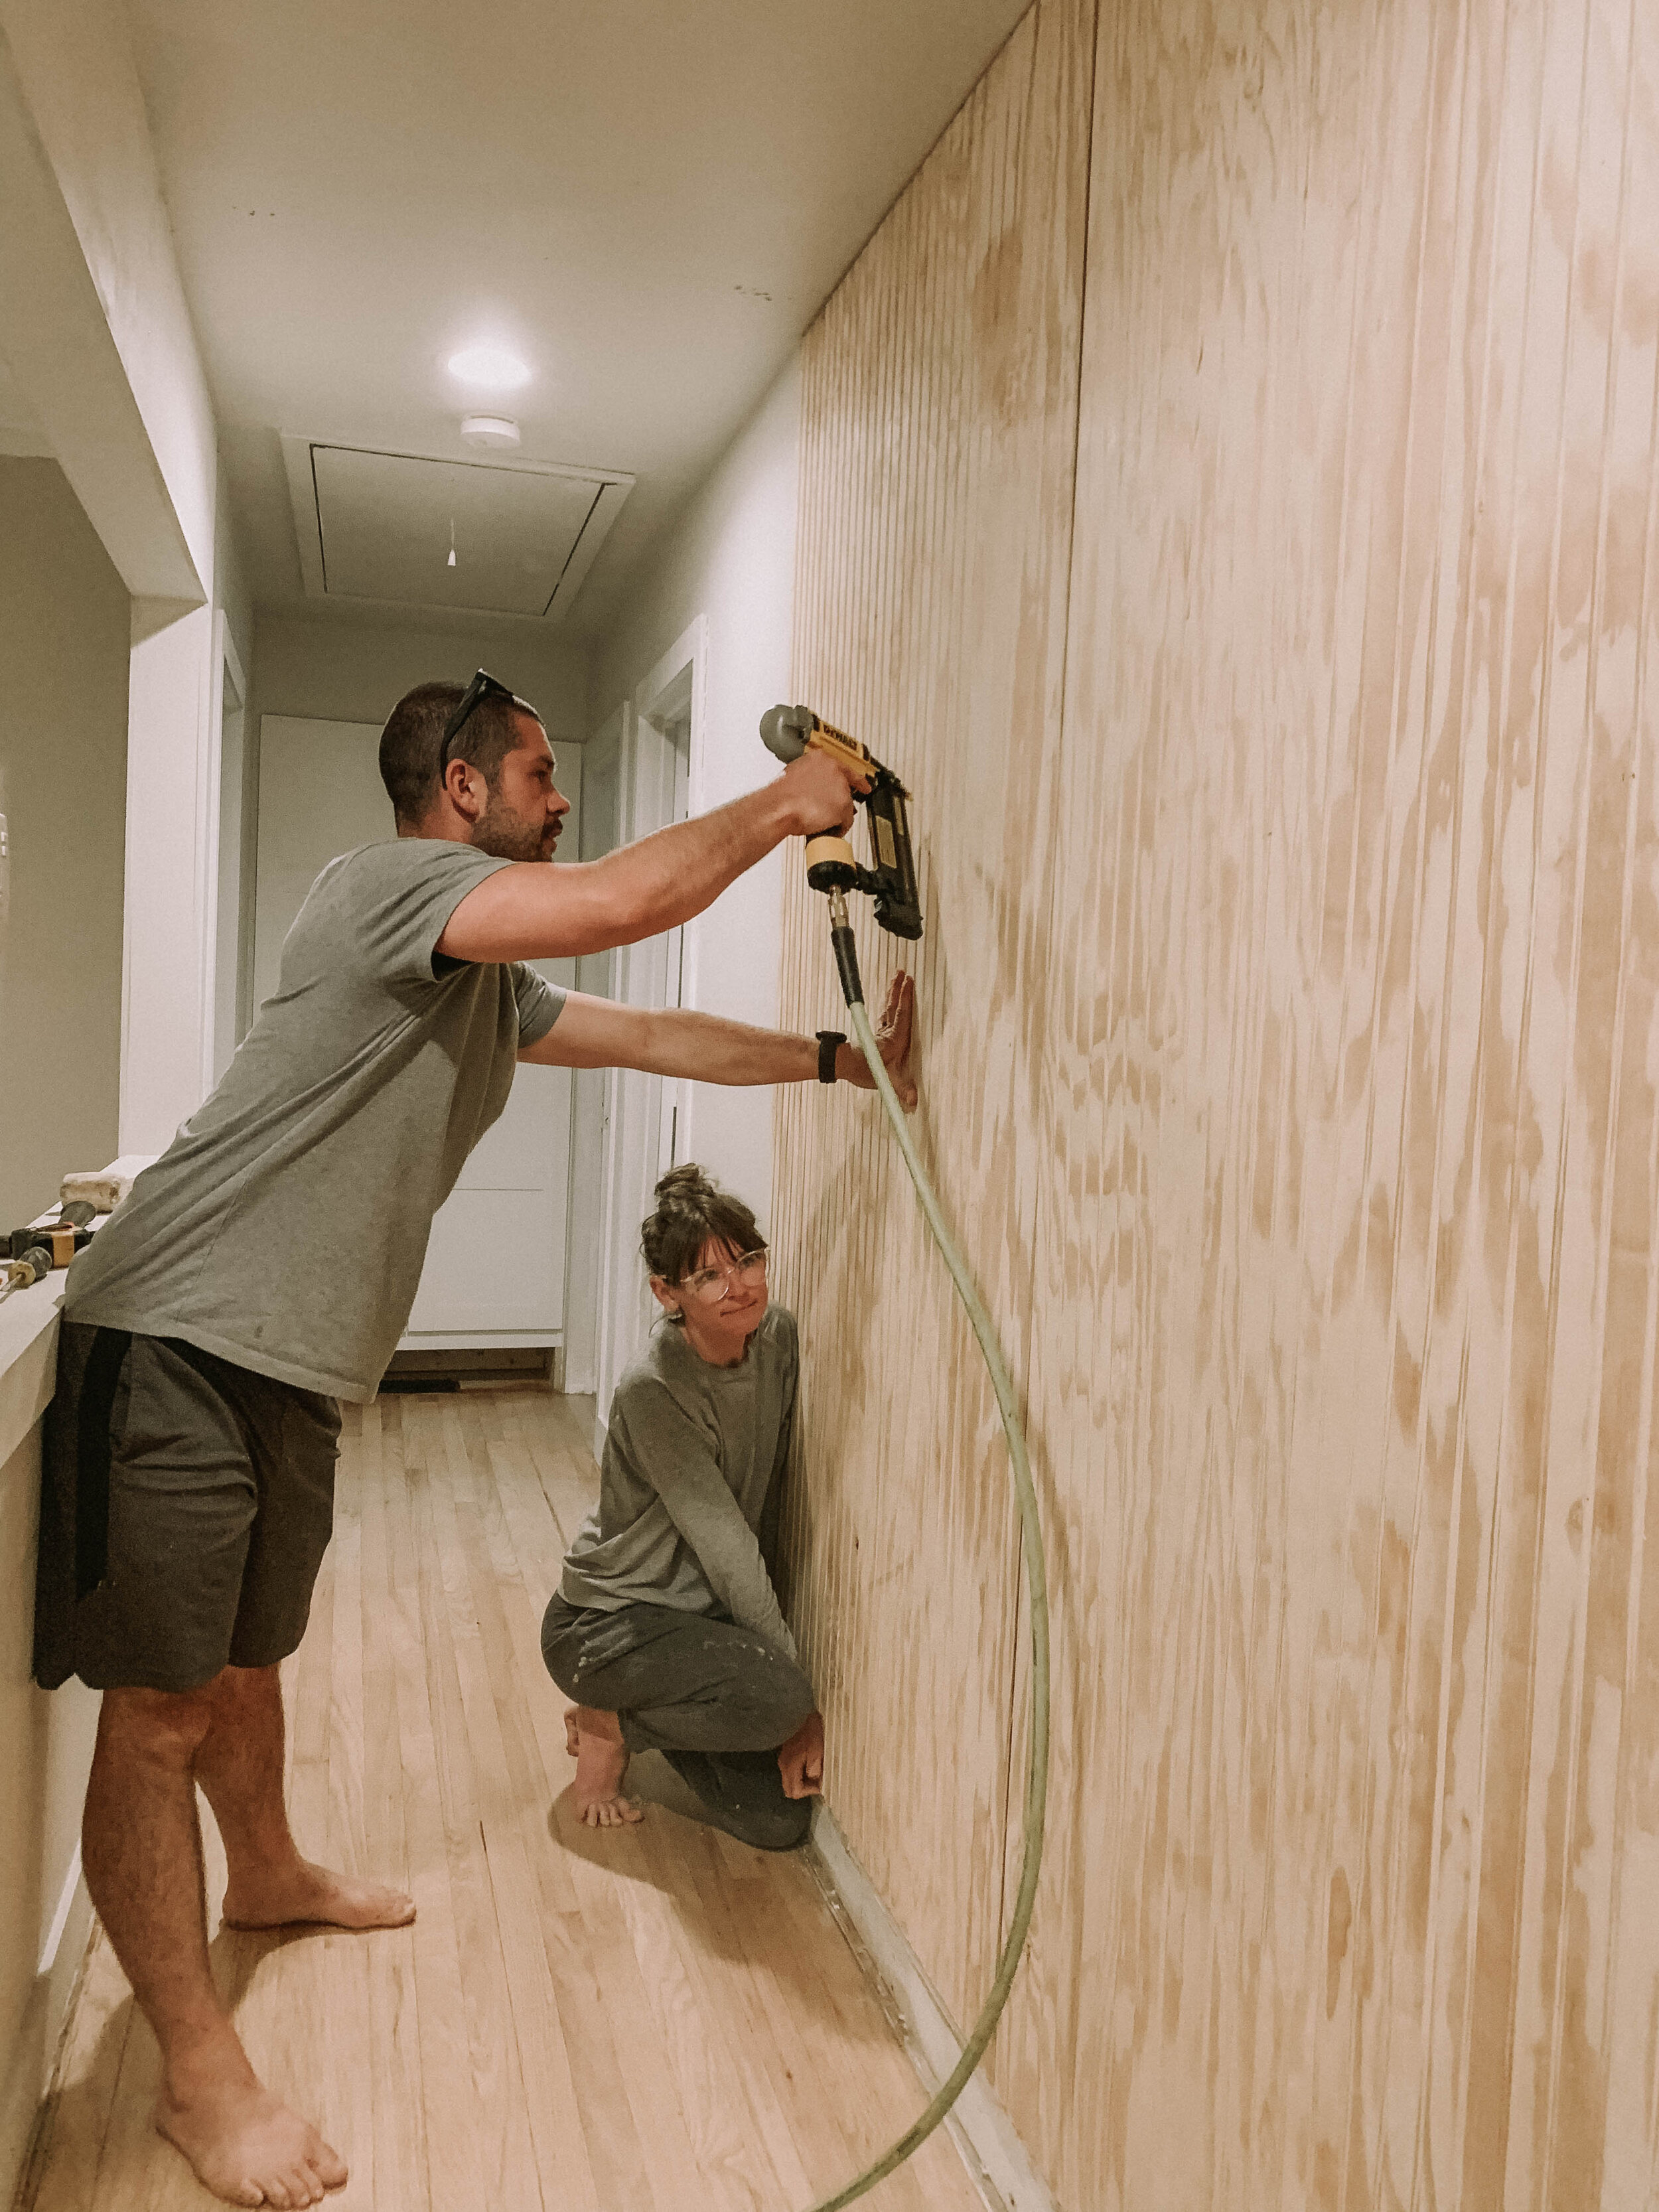
Fast forward to this past weekend. We were able to execute removing our load bearing wall in the hallway, and the best part?! It didn’t break the bank! Oh, and our house didn’t crumble (in case you were wondering). Want to know how we did it? Want to see some behind the scenes? You got it! Enjoy a few behind the scenes photos, and a fun time lapse of the process below!
Now let’s go over the price break down of what it required just to get the beam in place and wall removed! Are you ready for this? You won’t believe your eyes! We picked up all of these materials at our local Home Depot.
(2) 2x12x8= $24
(6) 2x4x8= $18
Piece of scrap plywood
That’s it! This price does NOT include the cosmetic part of the project, because you could finish this with whatever matched your home the best. We opted to wrap ours with MDF to match the rest of the trim we’ve converted in our home! That cost $50! Even with the MDF added, that is still such an affordable weekend project! Plus, you most likely wouldn’t need a much cosmetic material as we did because keep it mind, we are completely customizing our home!
We constructed our beam by measuring and cutting the plywood down, placed it in between the 2x12x8 boards and nailed all three together on both sides making it one solid piece.
Now what we did we do to remove our load bearing wall? First we got up in the attic to check out the situation. Like I mentioned at the beginning of this post, if you’re not sure how to calculate loads and what you’ll need to move forward you have two options, Google or a contractor. We felt completely comfortable to move forward.
Remove drywall from load bearing wall
Add temporary support for roof/ceiling looad
Cut/Remove existing load bearing wall
Add king studs
Put beam in place
Install Jack studs
Nail beam/studs in place
Cover with cosmetic finishes
We had to do two tape lines, so once those are done drying/sanded I can start painting! We are SO excited for our new hallway! It has completely opened up the other side of our house. I LOVE being able to see the kitchen from the hallway now. It’s been a complete game changer, and totally worth the months of staring at exposed studs! We plan on switching out the existing light and adding a few fun pieces to the hallway. Make sure you’re following us on Instagram to get all the behind the scenes before we post here!
It would make our day if you could share this project on your social media! Tag us in your stories so we can share your account! It’s a fun way to get to know other fellow homebody/diy’ers AND to get motivated to tackle something in your home outside of your comfort zone!


