DIY modern front porch railings
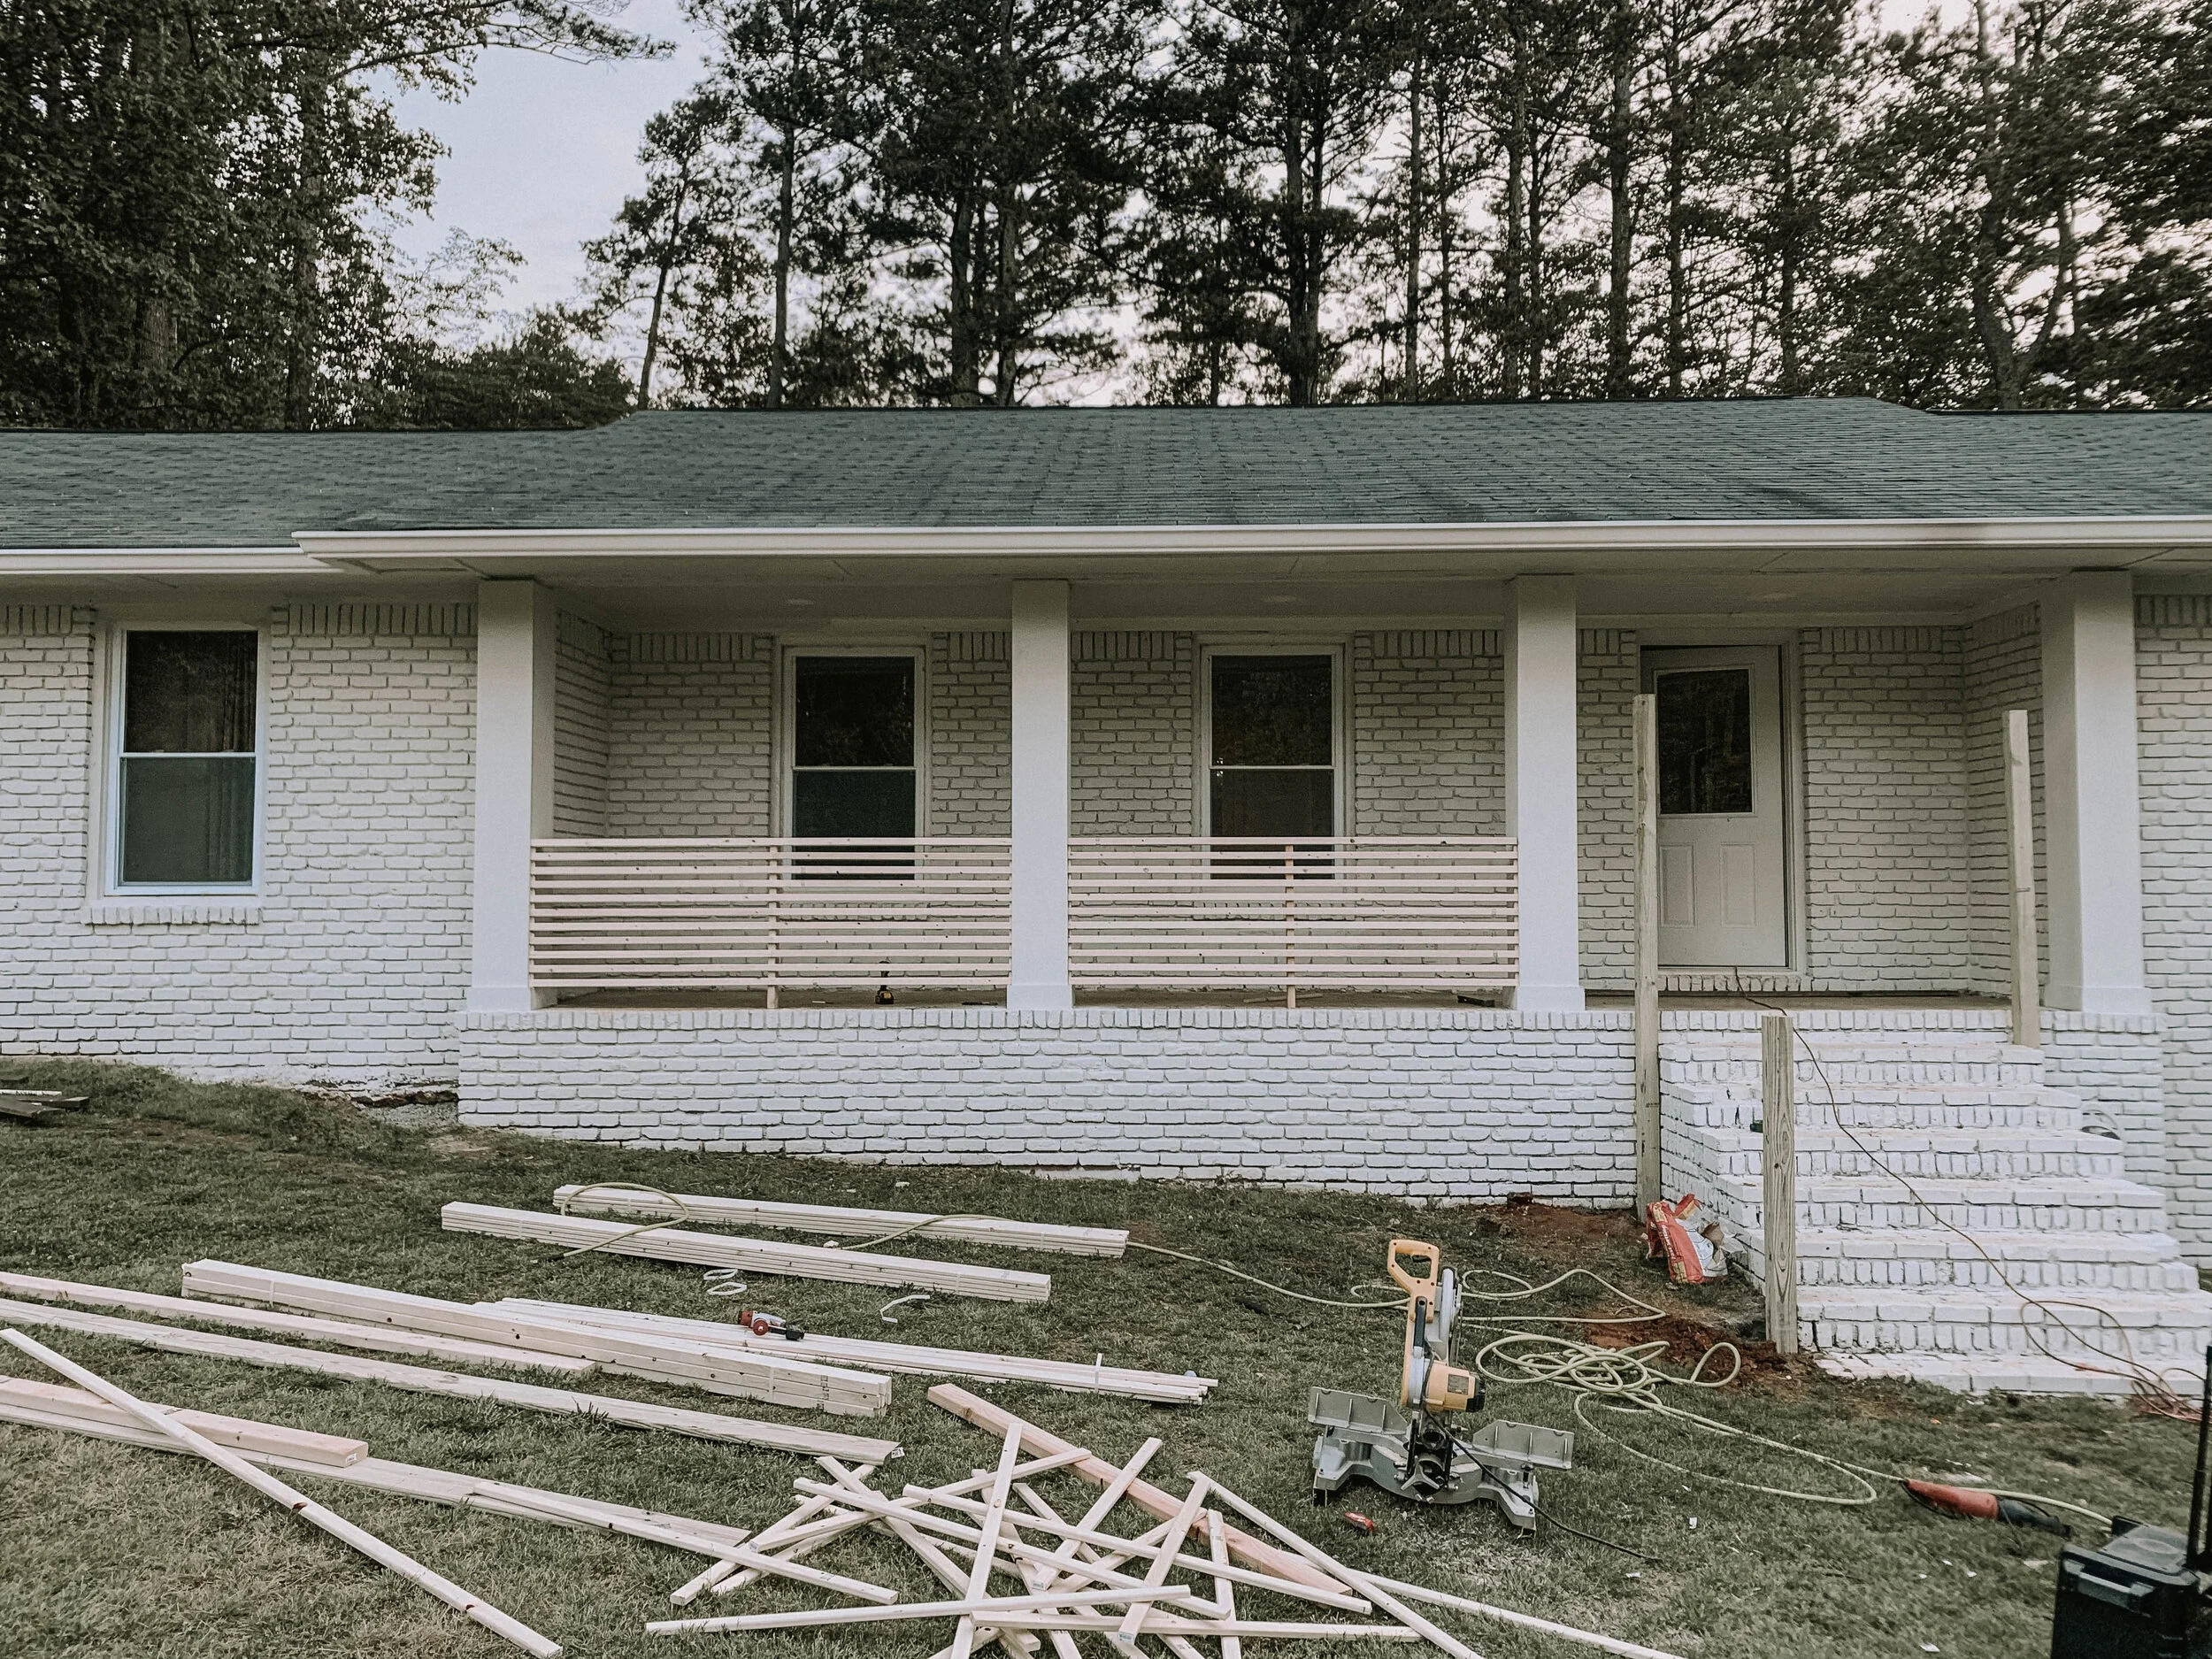
When we moved into our home it didn’t have a walkway to the front door, and it didn’t have porch railings. These are two things we’ve always wanted, just have never had the time to do. This past week we were going over all of our front porch design plans, and naturally we landed on wood slats, because they’re one of our favorite design features.
Wood slats are an inexpensive way to instantly upgrade your homes curb appeal. They’re versatile, you can utilize them in pretty much any space, and the combinations for finishing them are endless! We did a couple behind the scenes on our Instagram, if you’re not following us over there, what are you waiting for?
So first let’s chat about front porches. Front porches come in many shapes and sizes. Let’s touch base on a few of the different porch options available for your home.
Portico or Front entry porches: These are normally smaller front porches that that typically cover the area of your stairs leading up to the main entryway of your home. These can be a big larger and even wider allowing for porch furniture or plants. A portico will also help shield you and your guests while waiting to come inside!
Farmer porch: Farmers porches are usually referred to as “open porch”. This is a very traditional style. They can run around the entire home, or just the front of your house. Farmers porches can easily be spotted by the support beams on the porch. These are very popular porches.
Screened in porch: These are pretty self explanatory. Essentially these are just farmers porches, but screened in. You still have the ability to enjoy the elements of the outdoors, while eliminating annoying bugs and pests
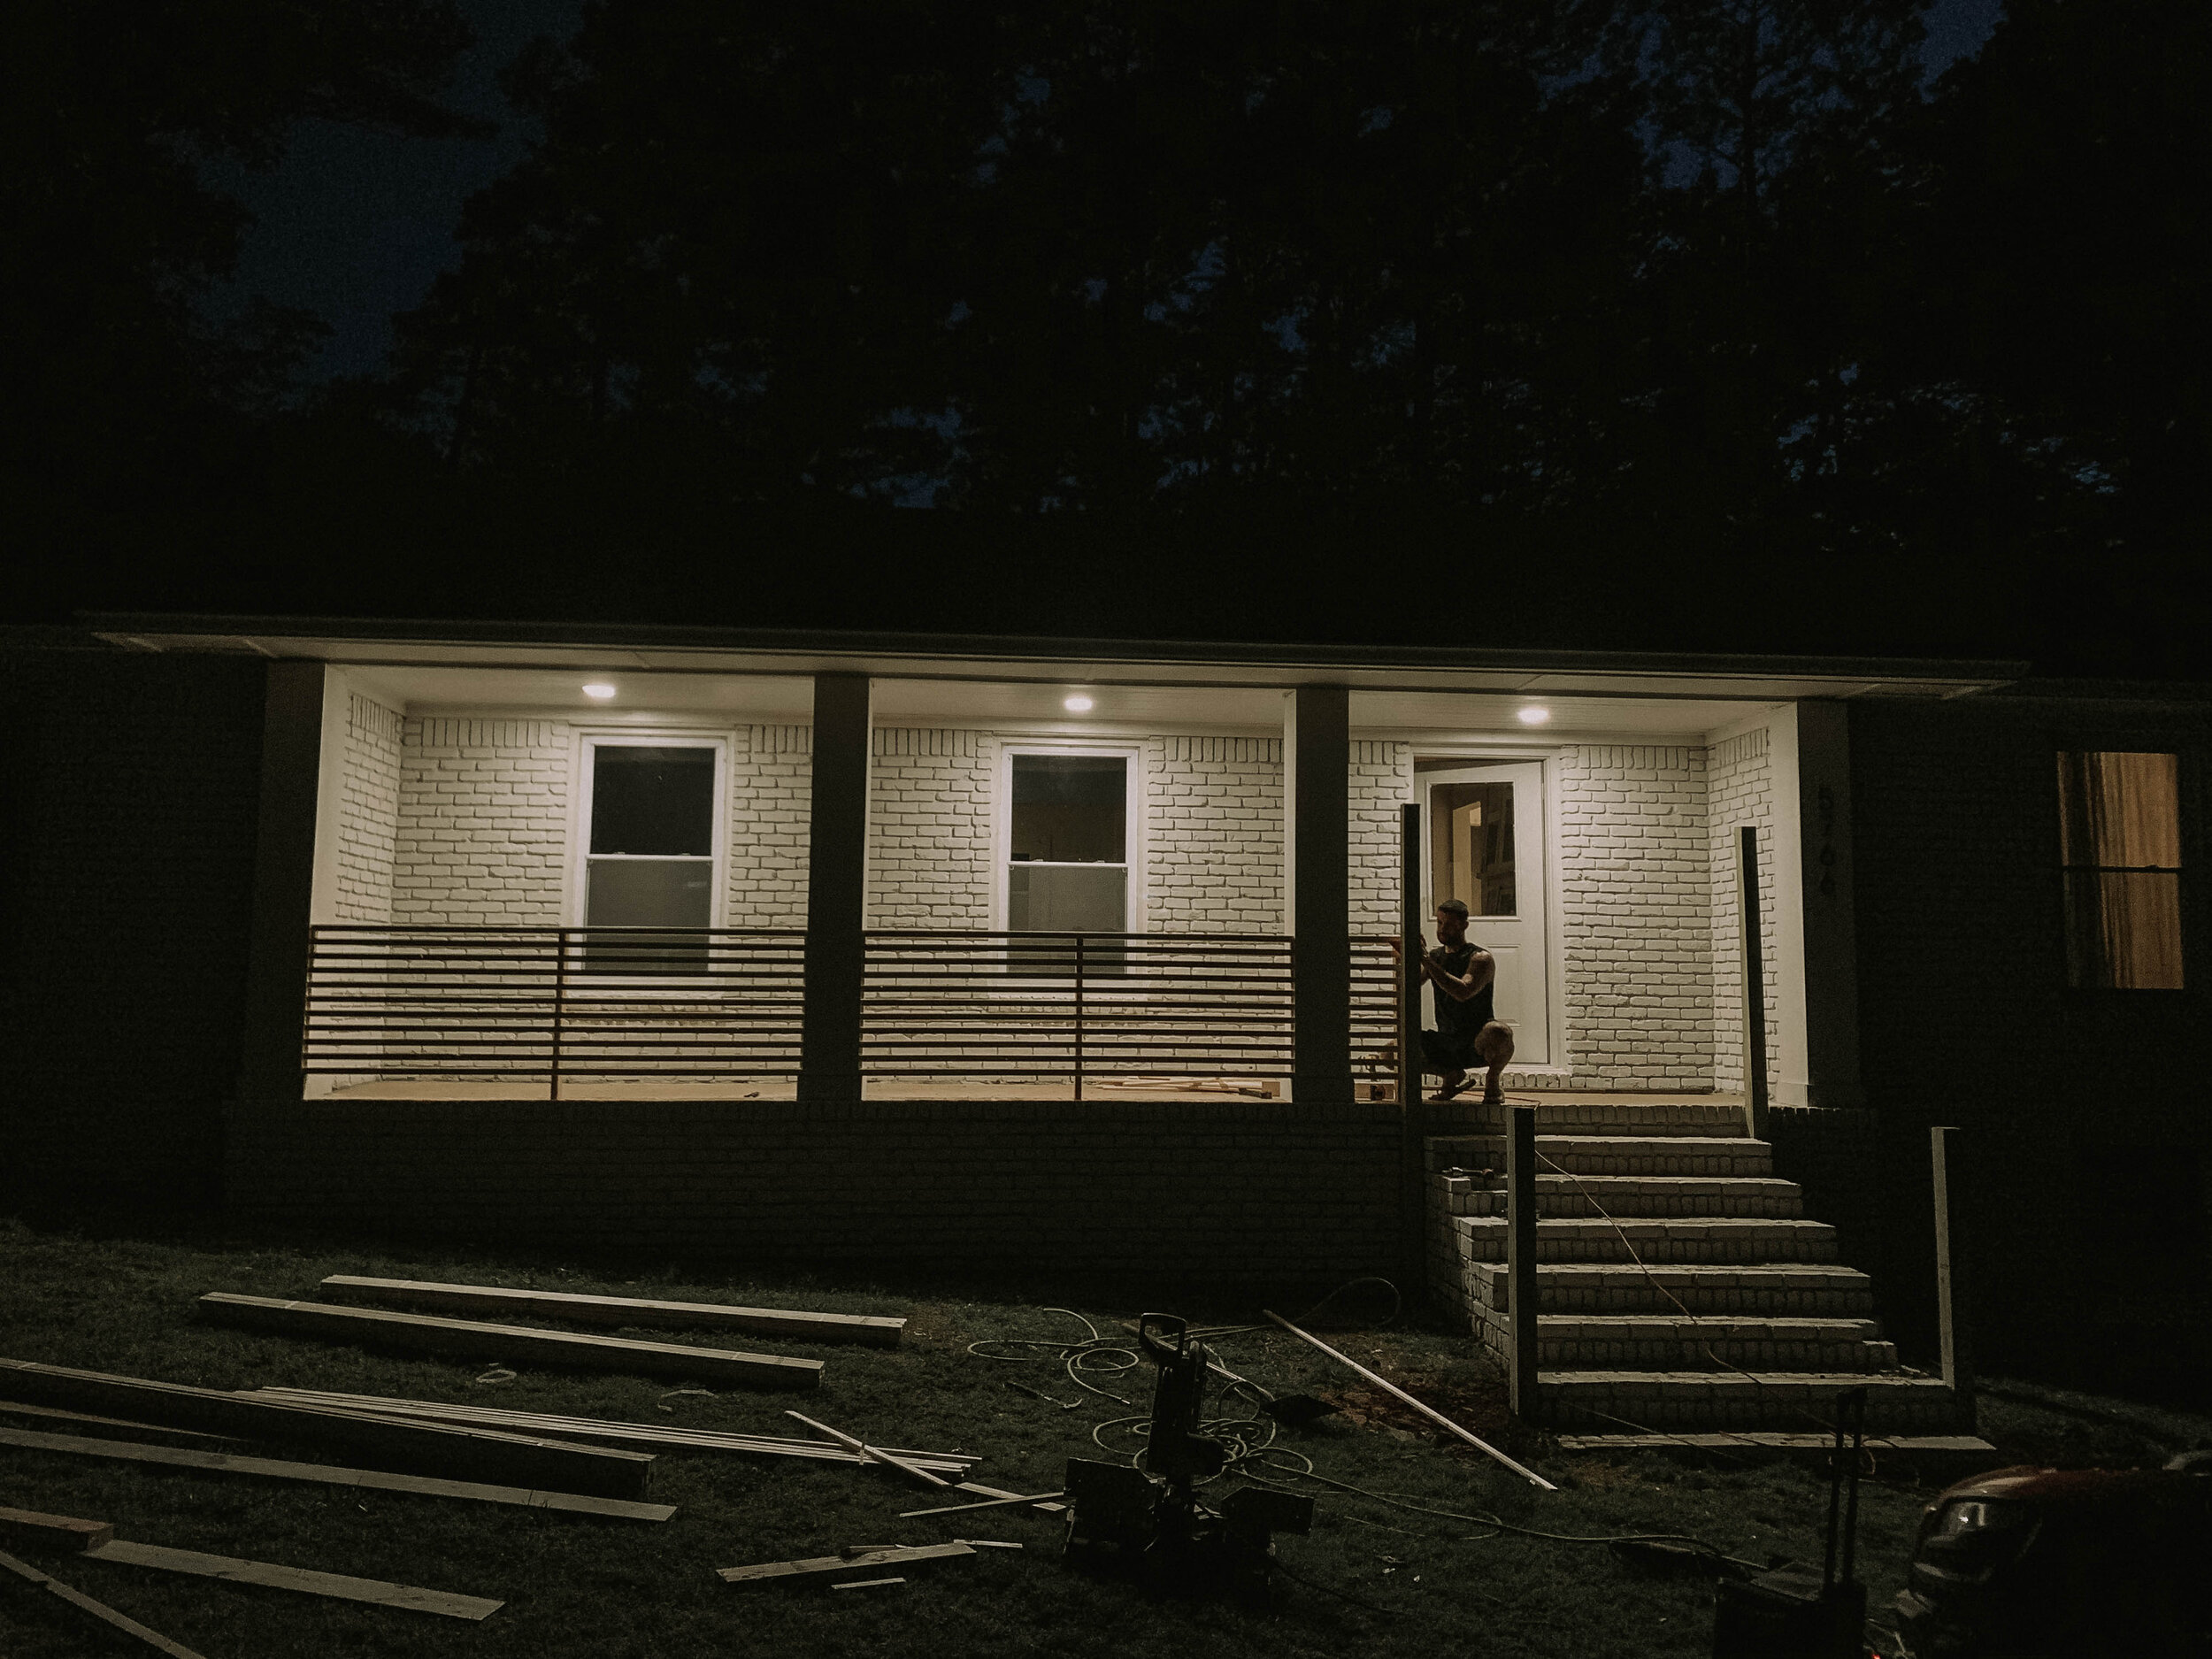
Our porch is 100% a farmer porch. I did a poll on our Instagram because I was curious about others homes, and wanted to further explain our design choice when it came to our front porch. I know several ranch homes that have an open farmers porch. However, our front porch slightly differs because our house isn’t ground level with our front porch. Is our porch 20 feet off the ground? No. It’s not a dangerous distance when it comes to falling off and hurting yourself, however it doesn’t look complete. I can confidently say, we most likely wouldn’t have installed wood slats on our front porch IF it was ground level.
Here’s a visual of a farmers porch that is ground level.

Before we started on our front porch we debated on a few different design options. We were going back and forth between a raised garden planter in front of the front porch and no railings, vs railings and eliminating the raised garden boxes and doing some minimal landscaping in front of the house. Regardless, one thing we know is going to happen is we’re going to have a professional company pour our concrete walkway for us. That’s definitely something we don’t necessarily want to tackle because our front yard isn’t level at all.
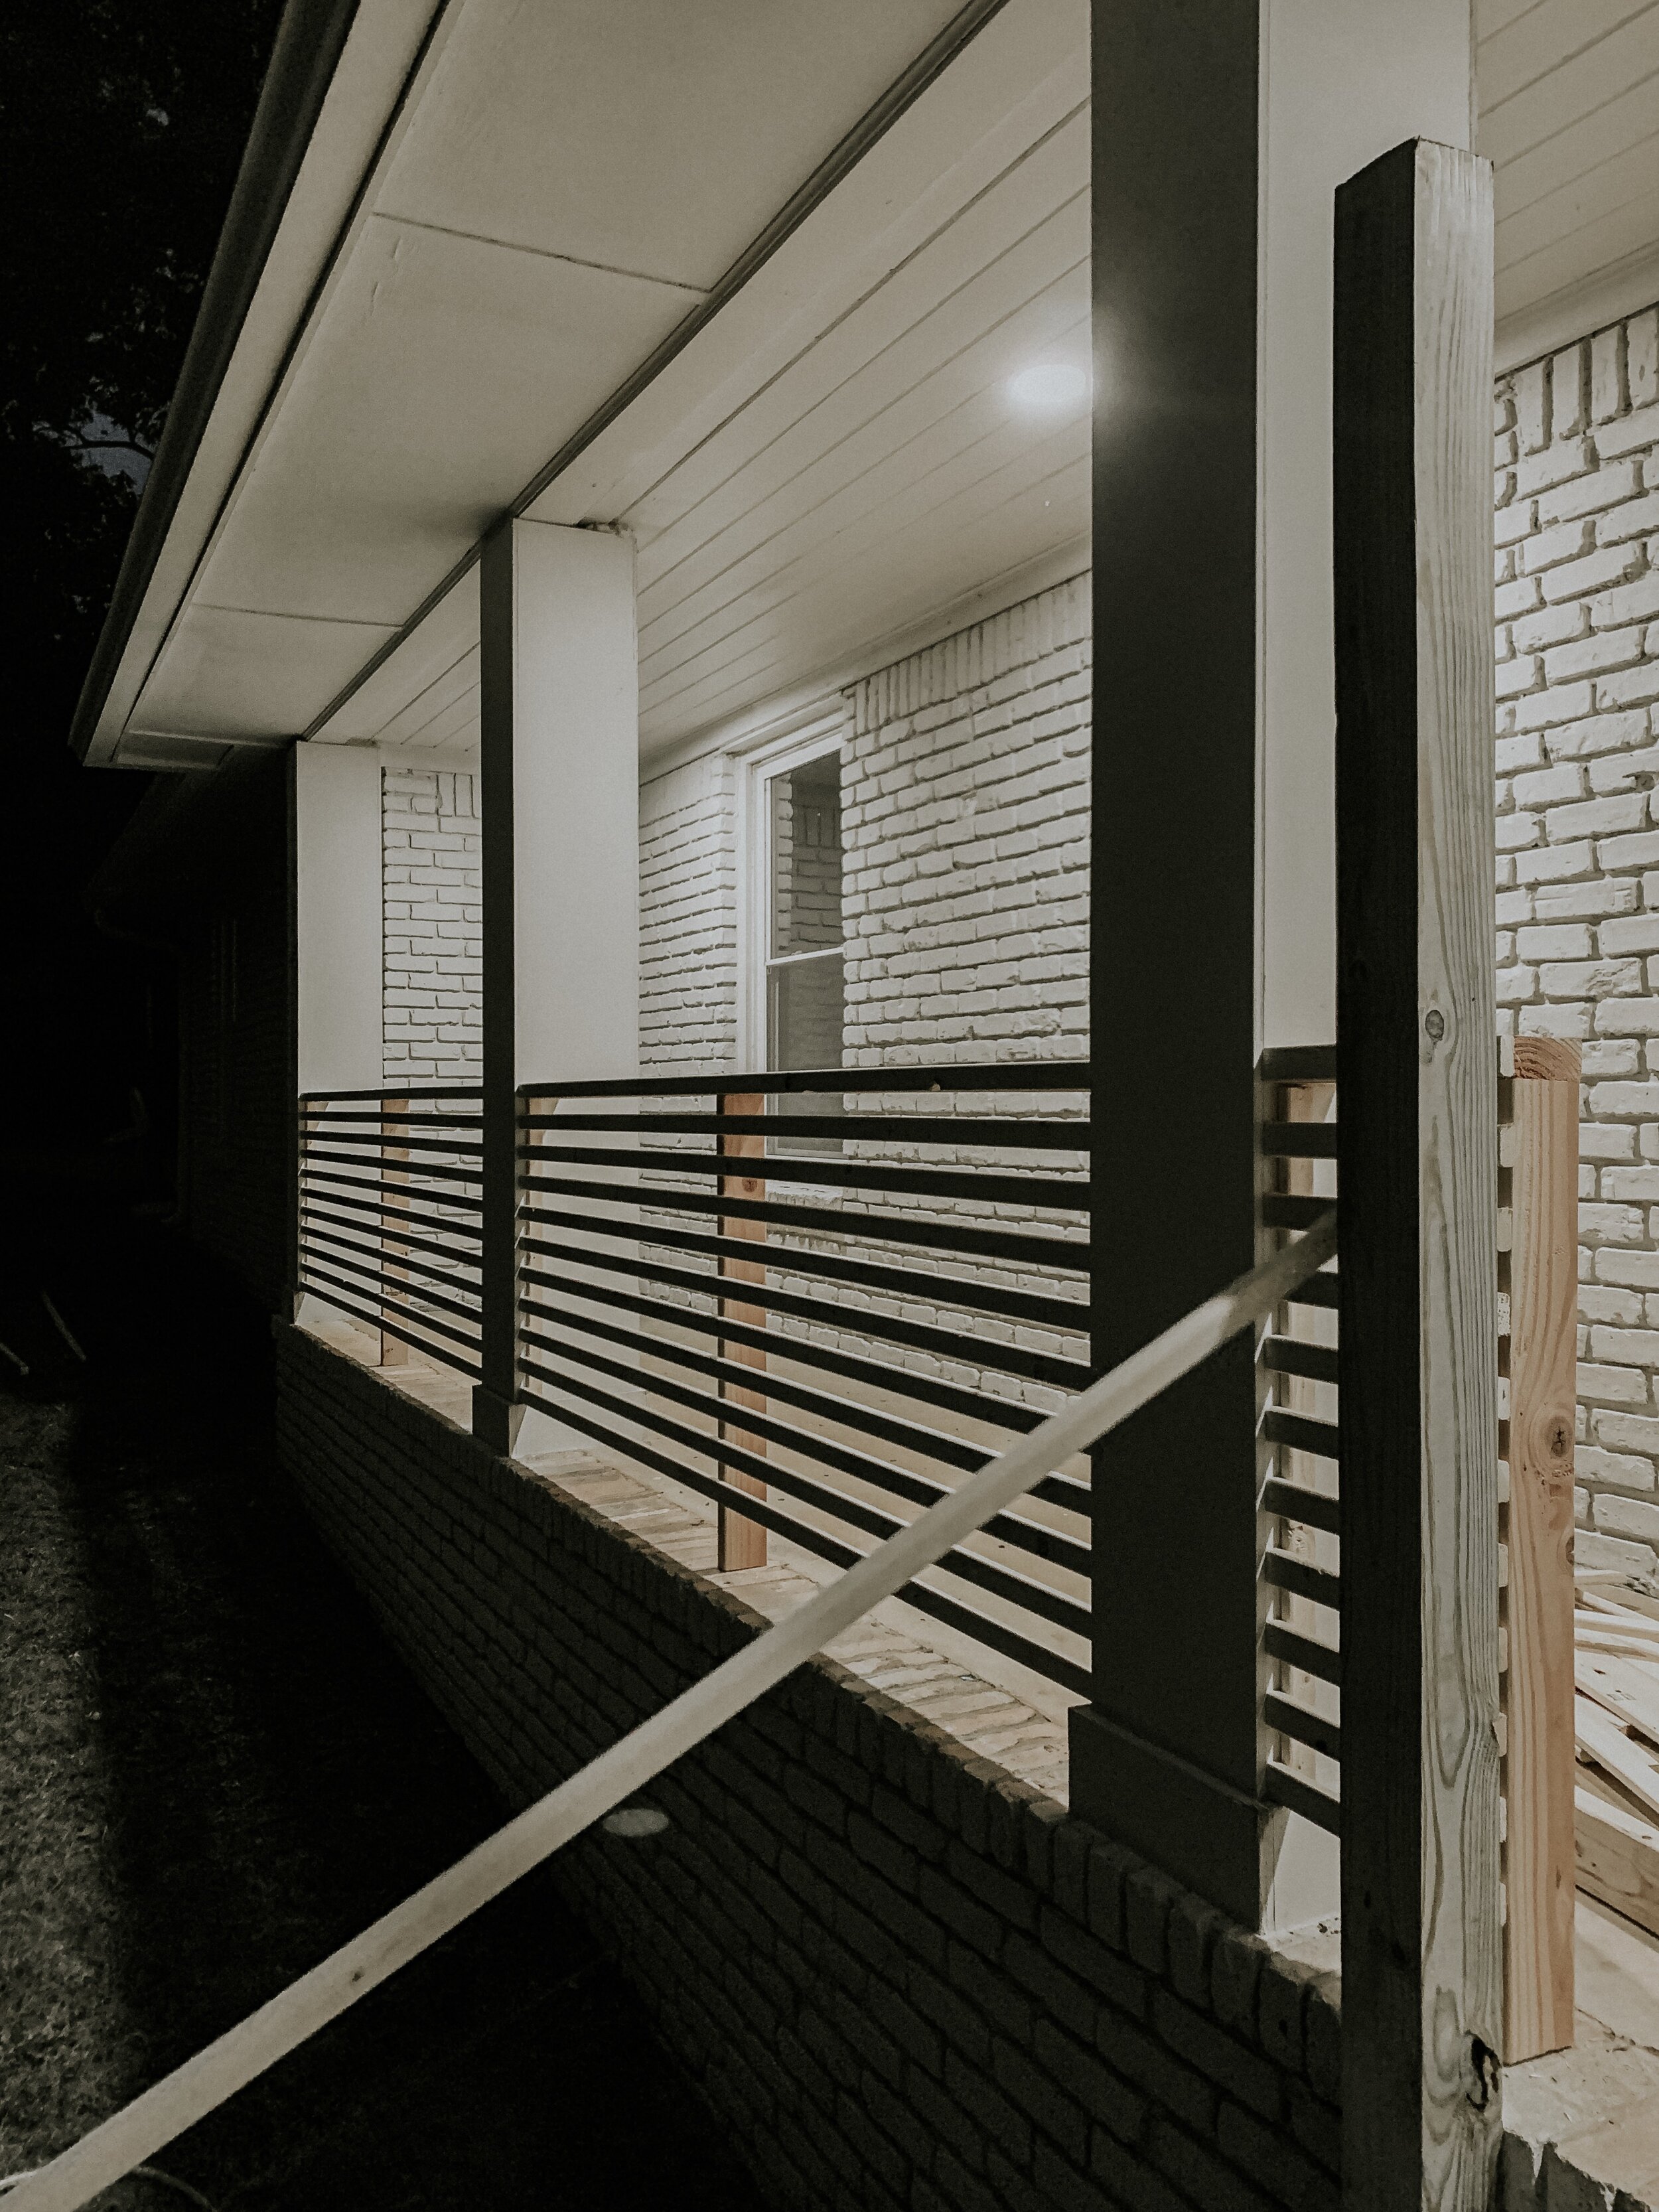
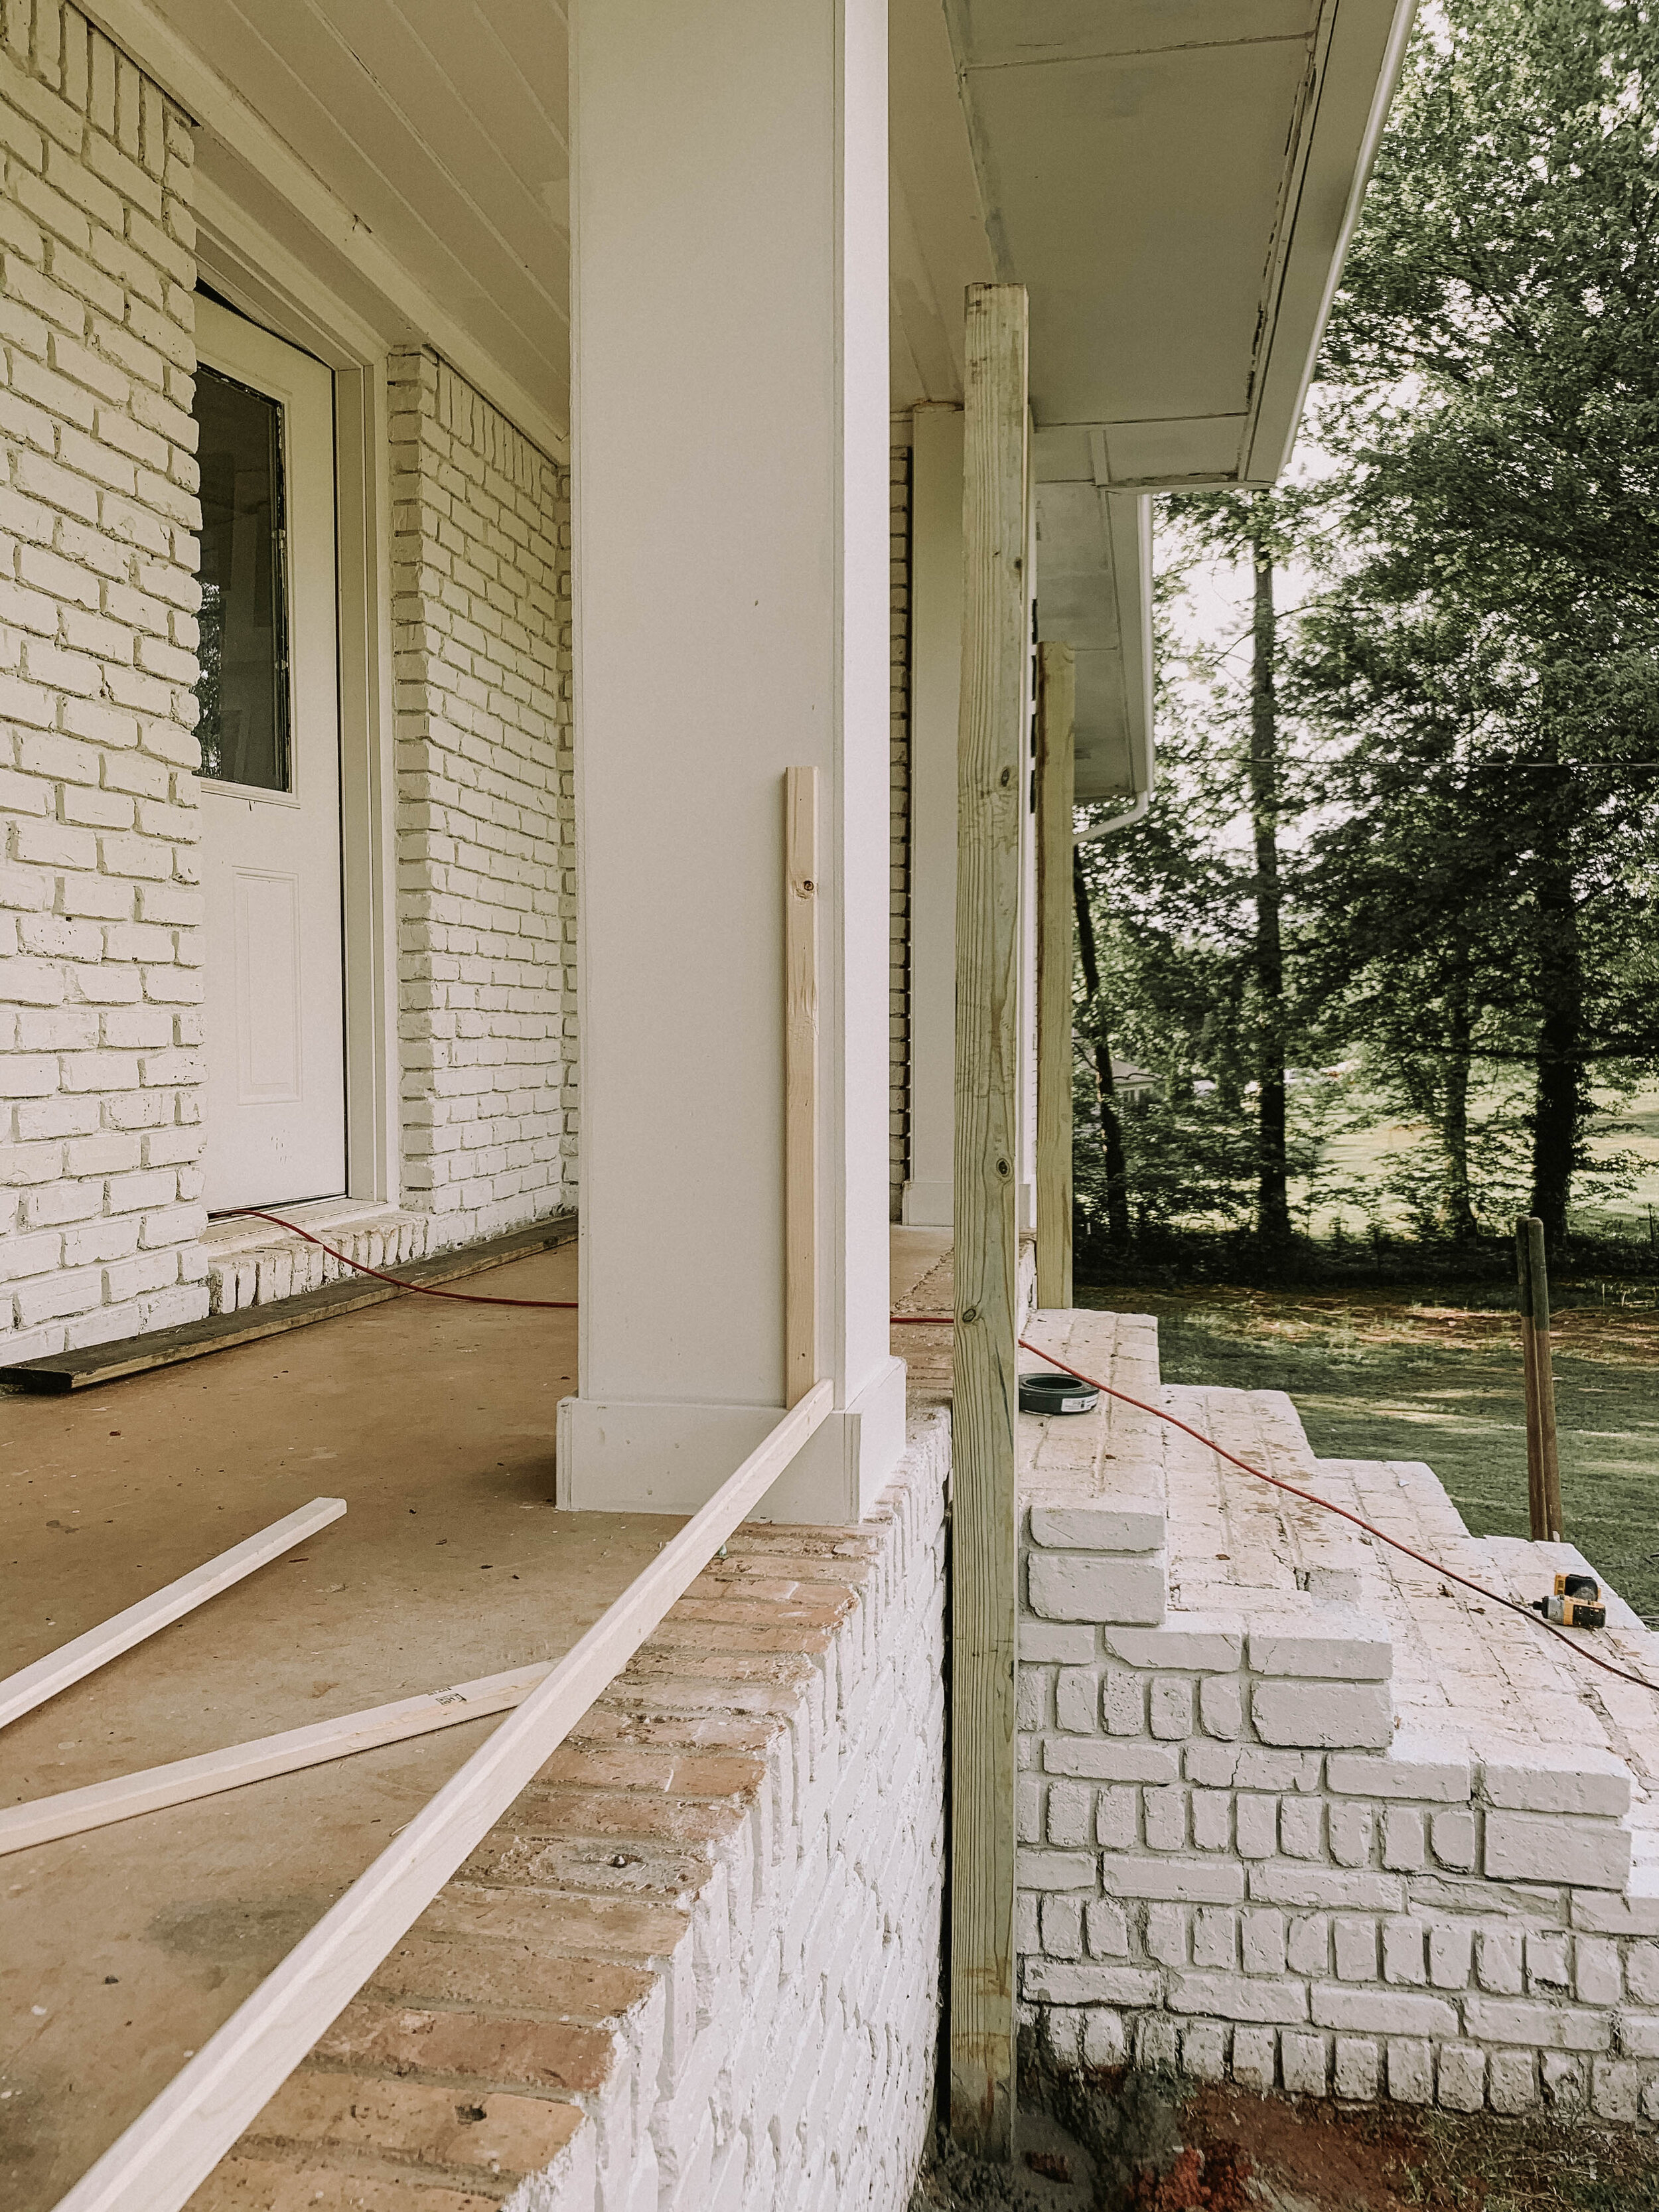
Now that our design game plan was narrowed down, we decided on what materials we were going to use. We knew we wanted to do a DIY horizontal railing, but knew the distance between our two left columns were going to give us some trouble. The measurement between the far left columns were 102 inches, making it difficult for lumber choices. I’ll share more on how we managed that later in the post.
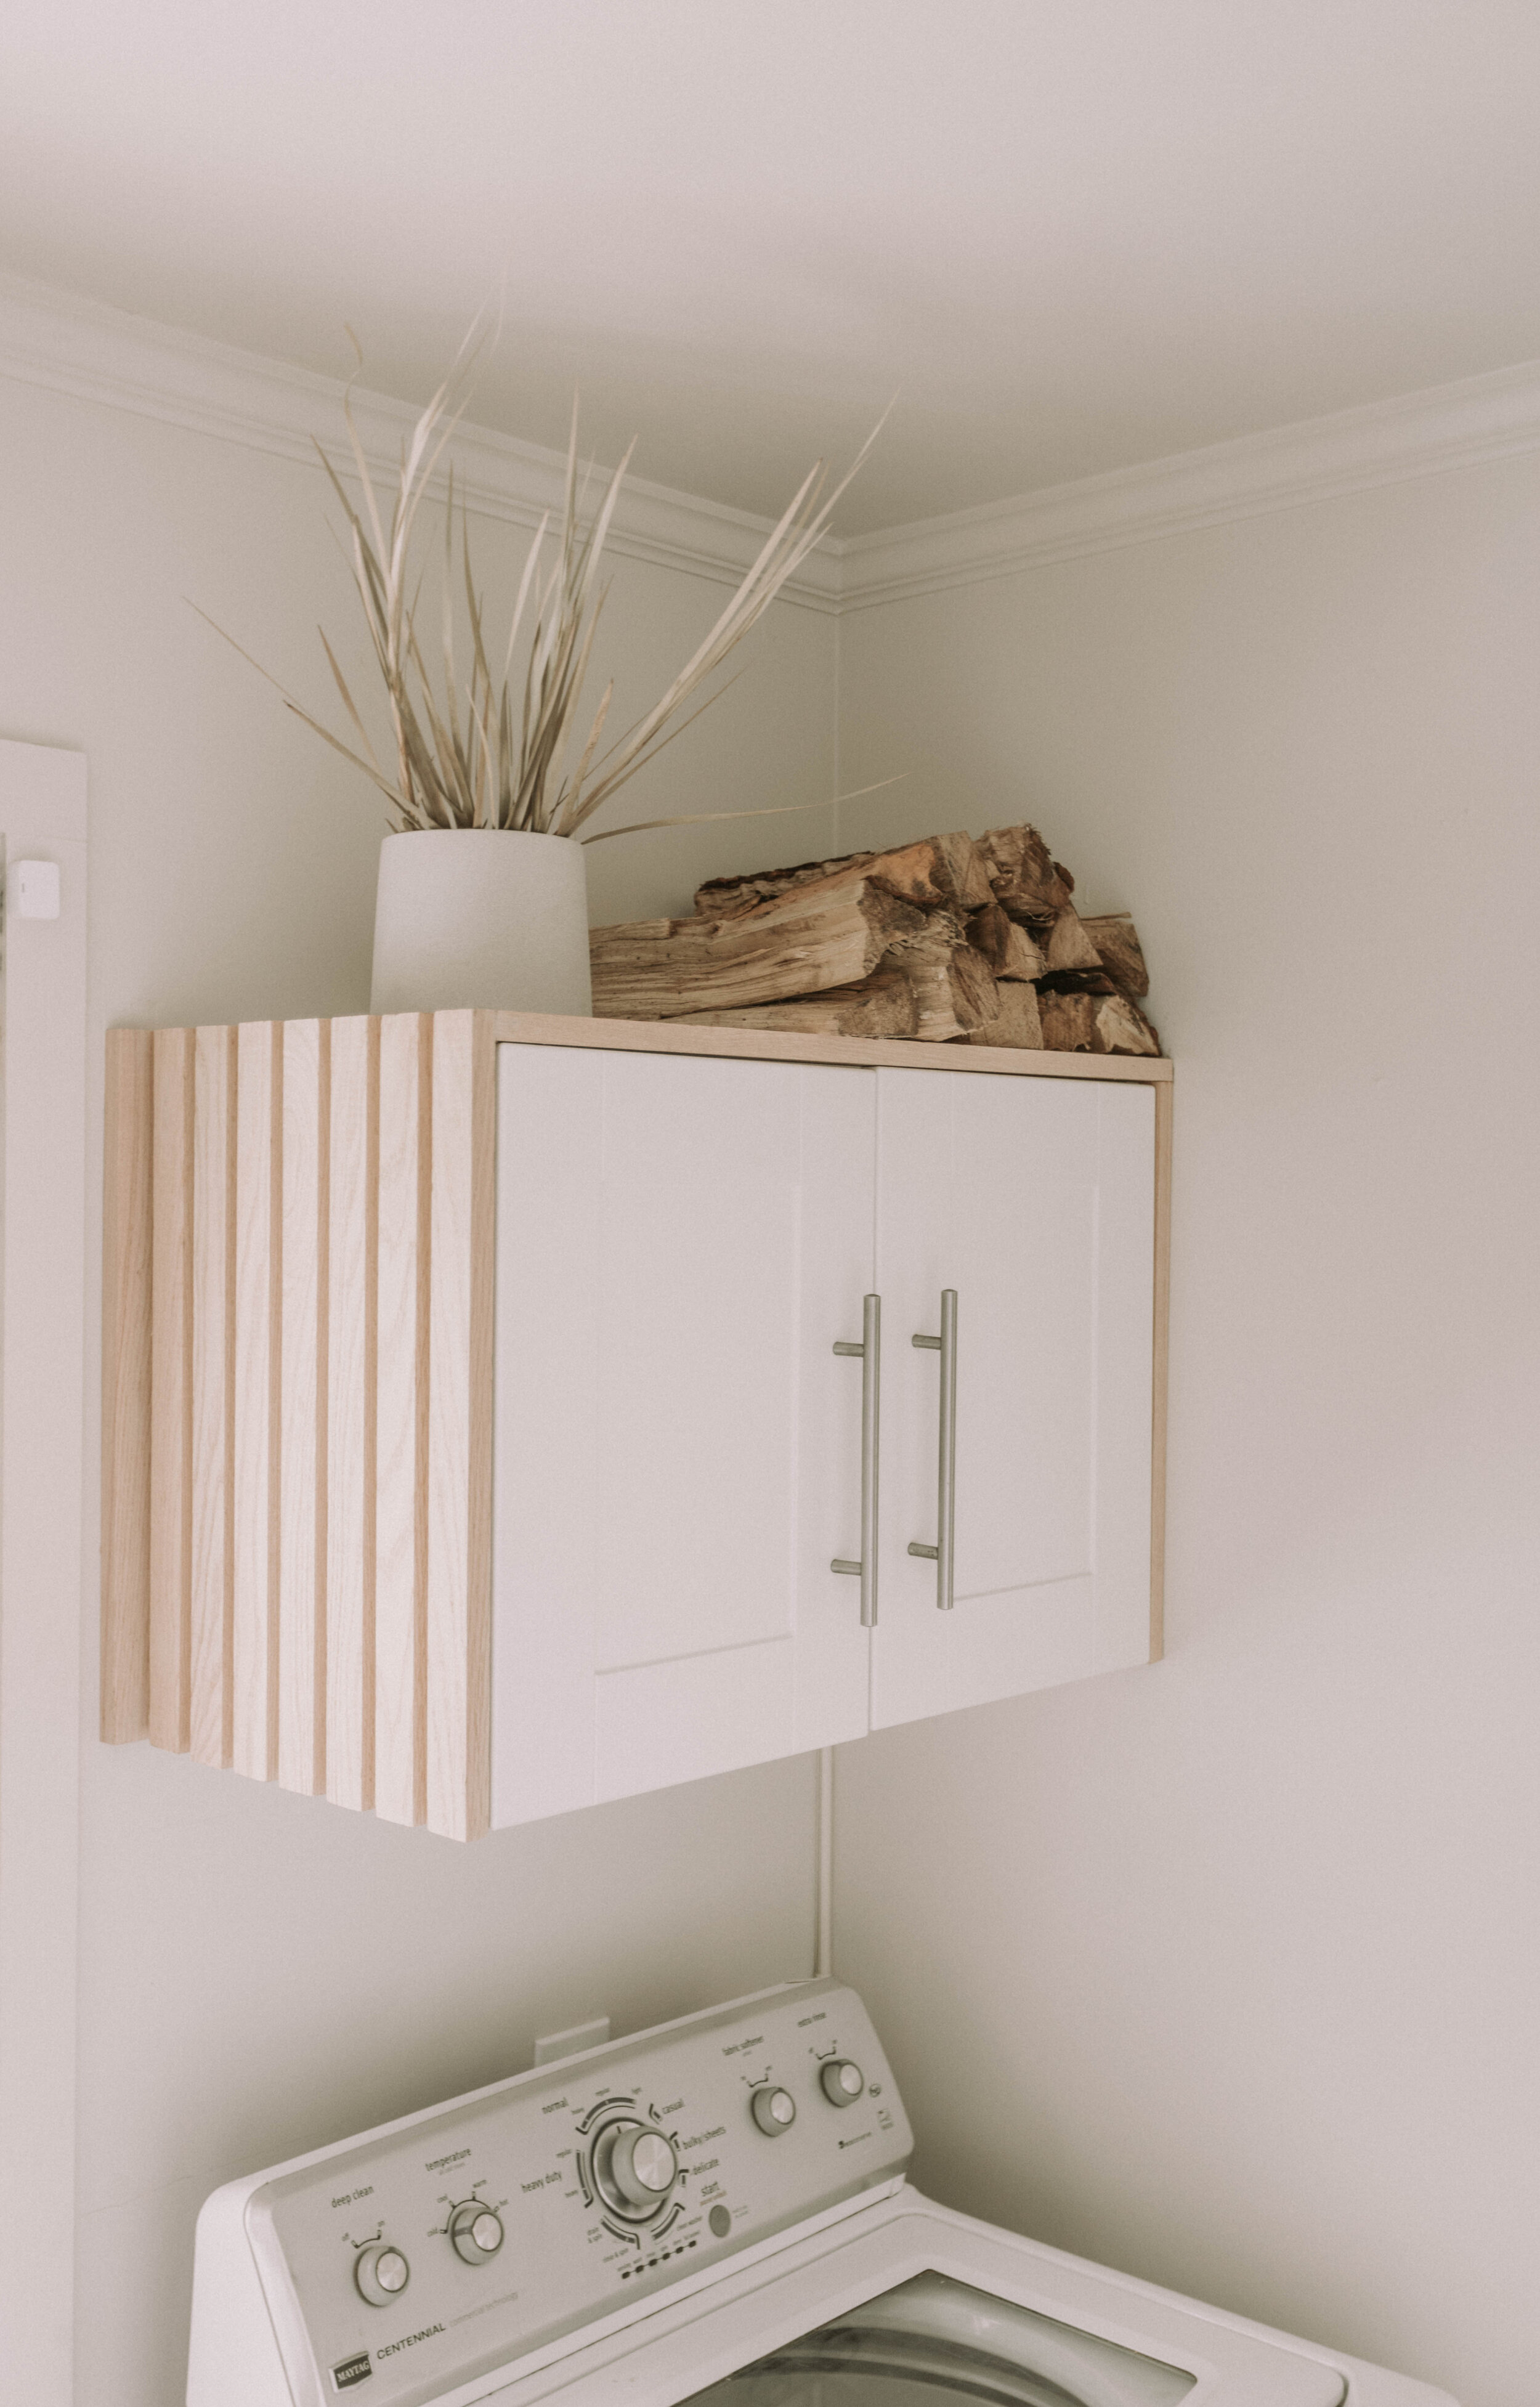
We did DIY slatted wood stairs on the back of the house and loved how it looked against the brick! (Keep in mind when visiting that post it was before we started painting our exterior brick!)
This was the exact look we were going for for the front porch!
So let’s go over the materials we used for our DIY modern front porch railings!
MATERIALS:
The install of our DIY modern front porch railings was extremely simple and we would consider it a beginner project.
Here’s how we did it!
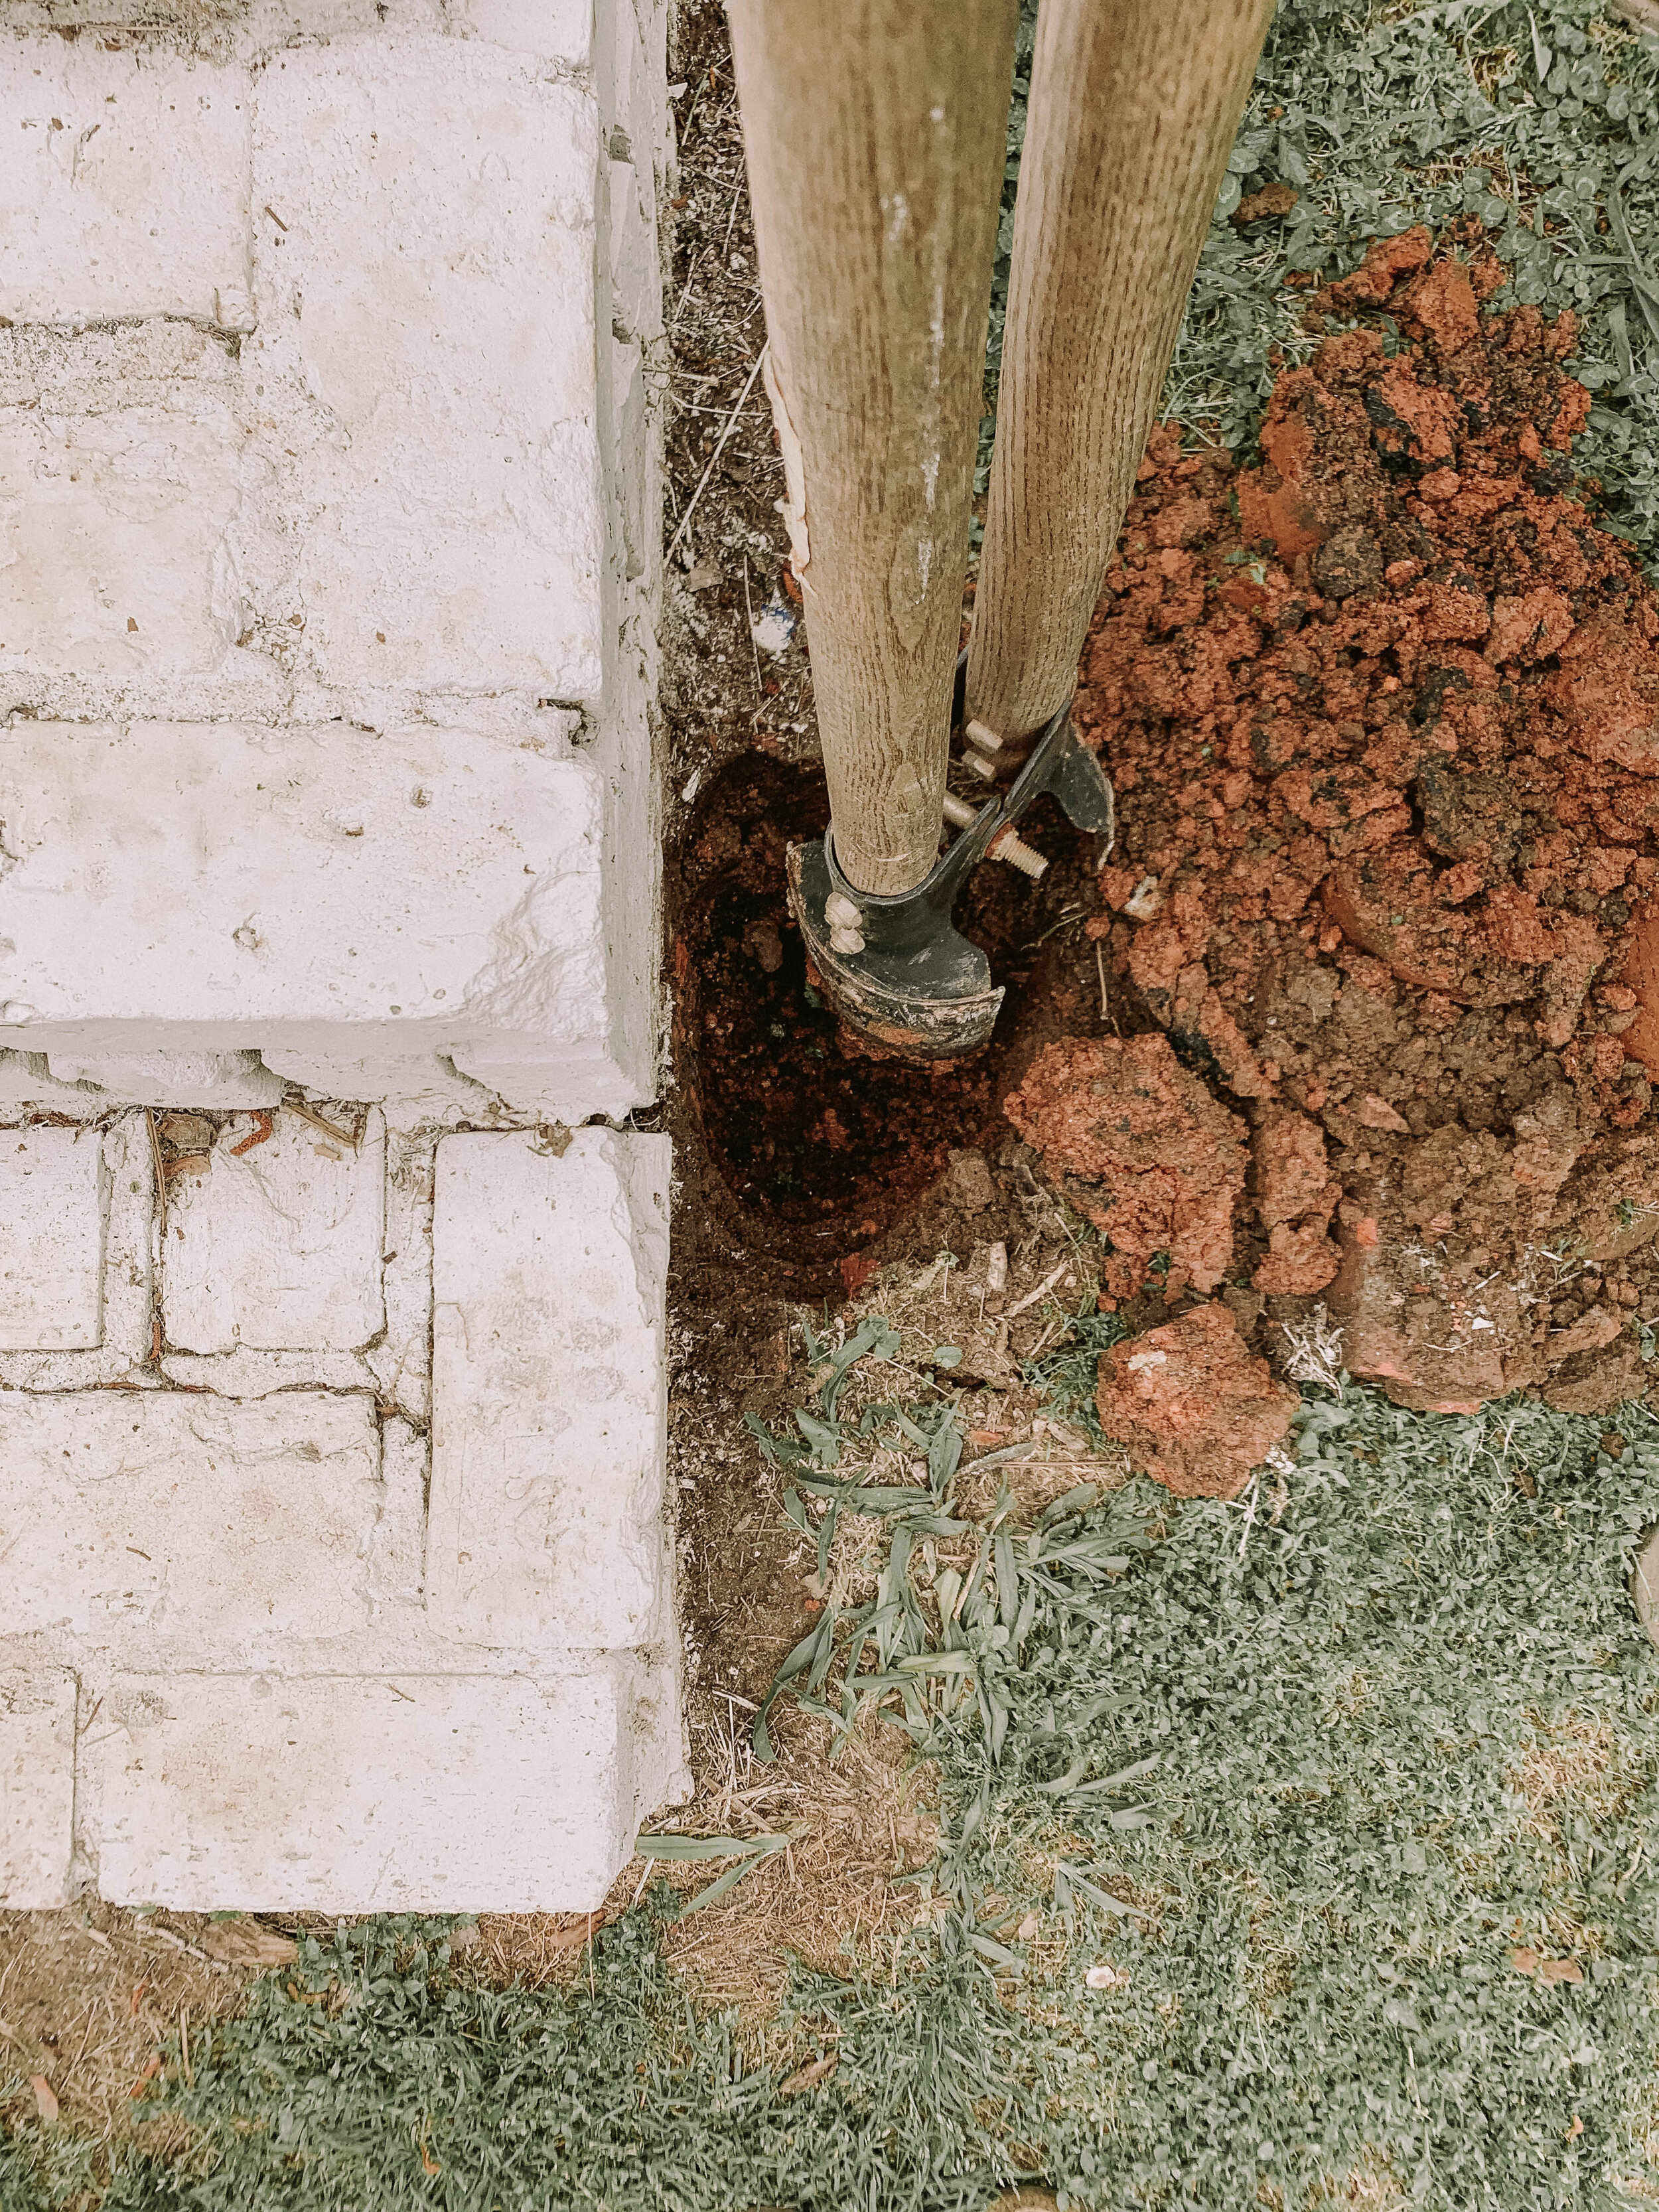
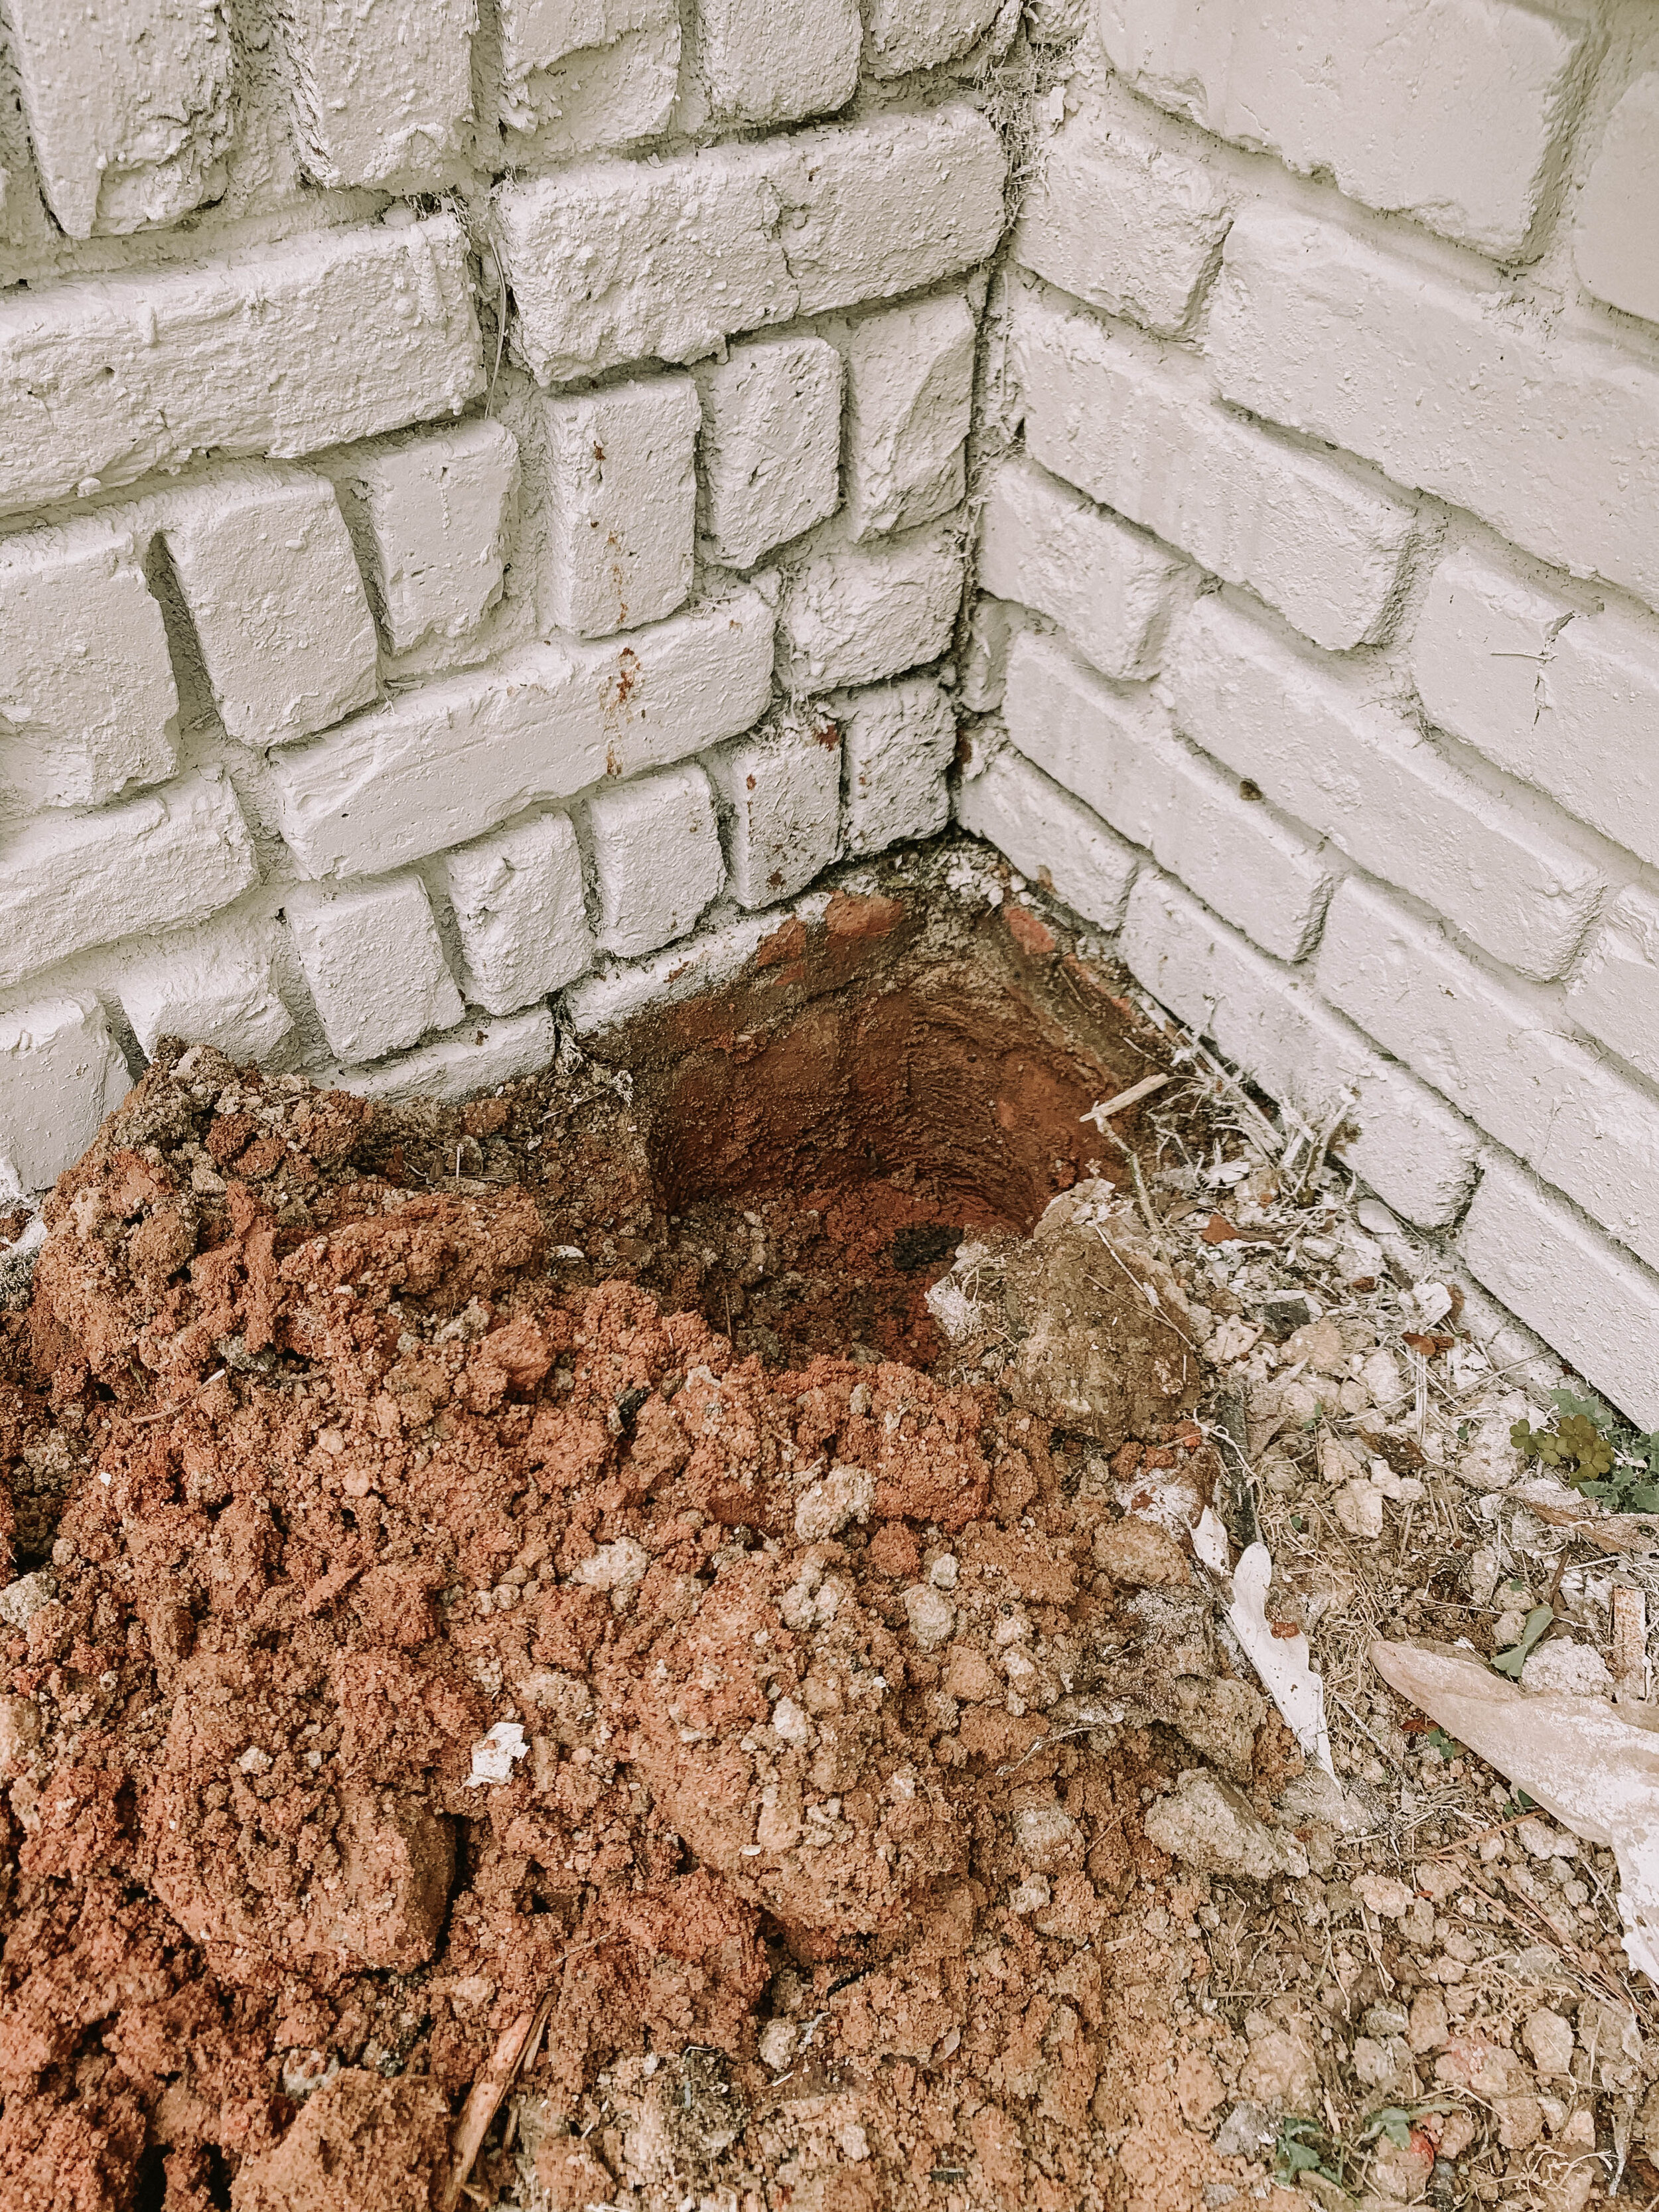
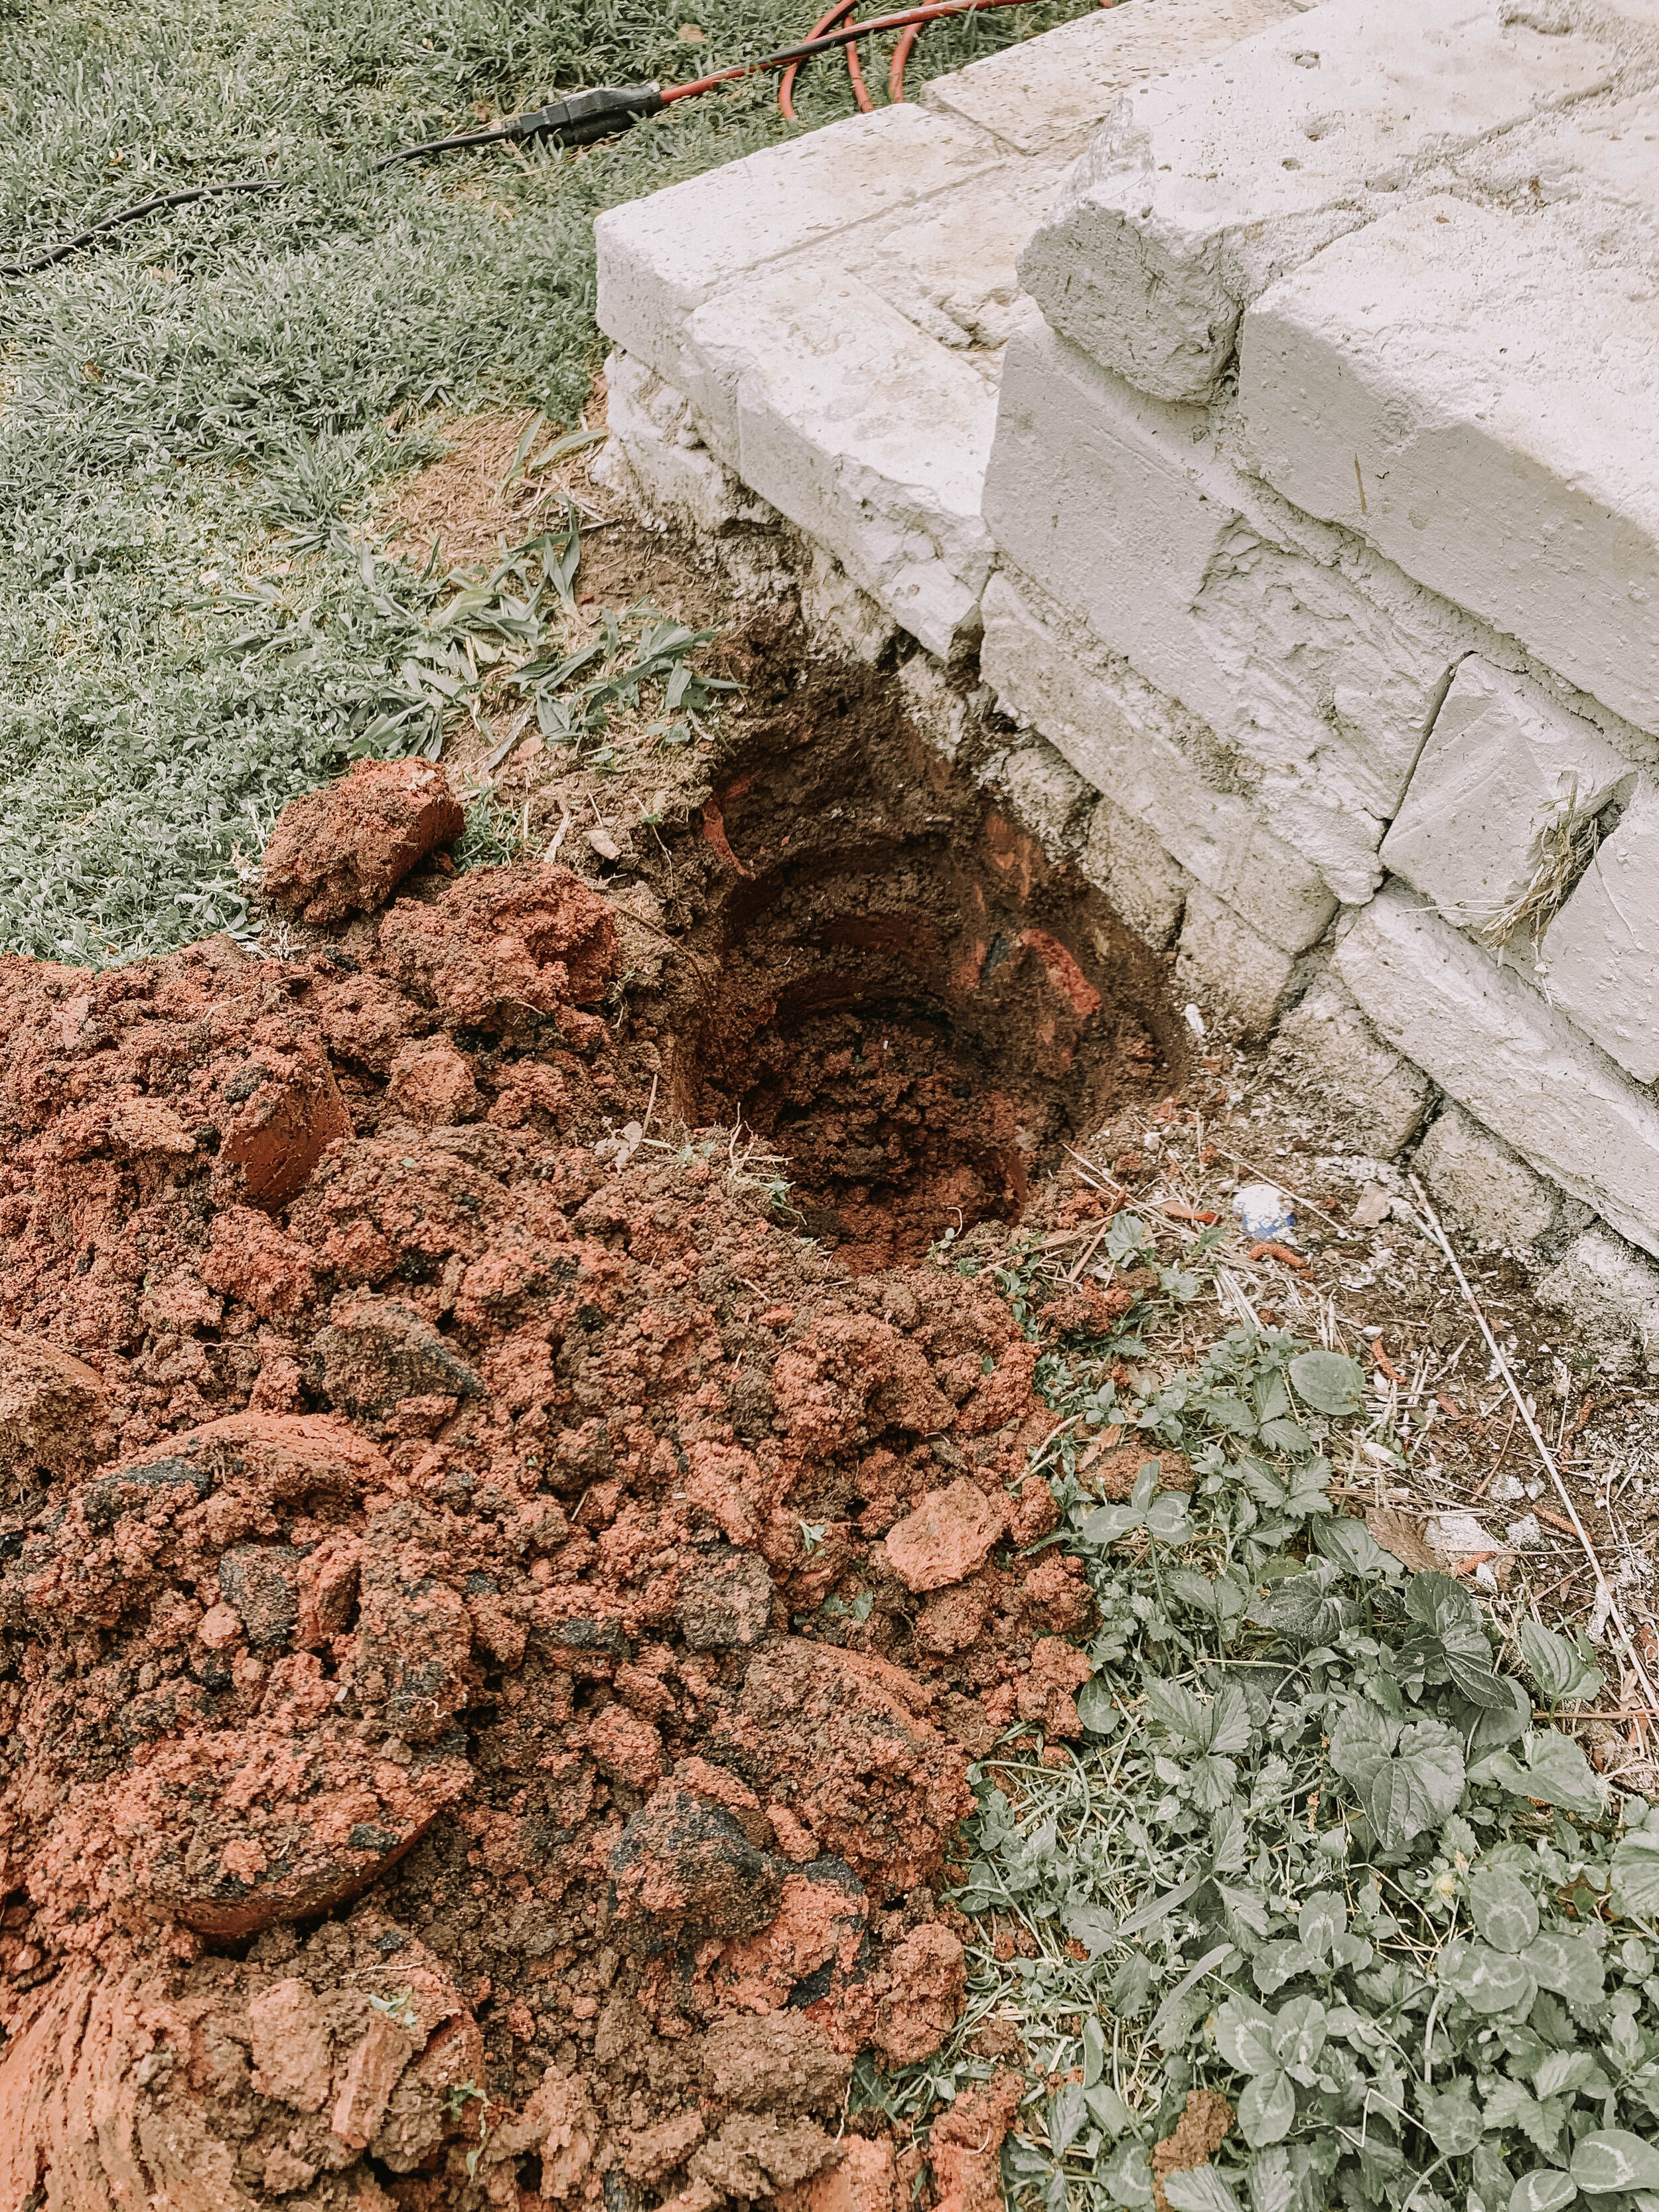
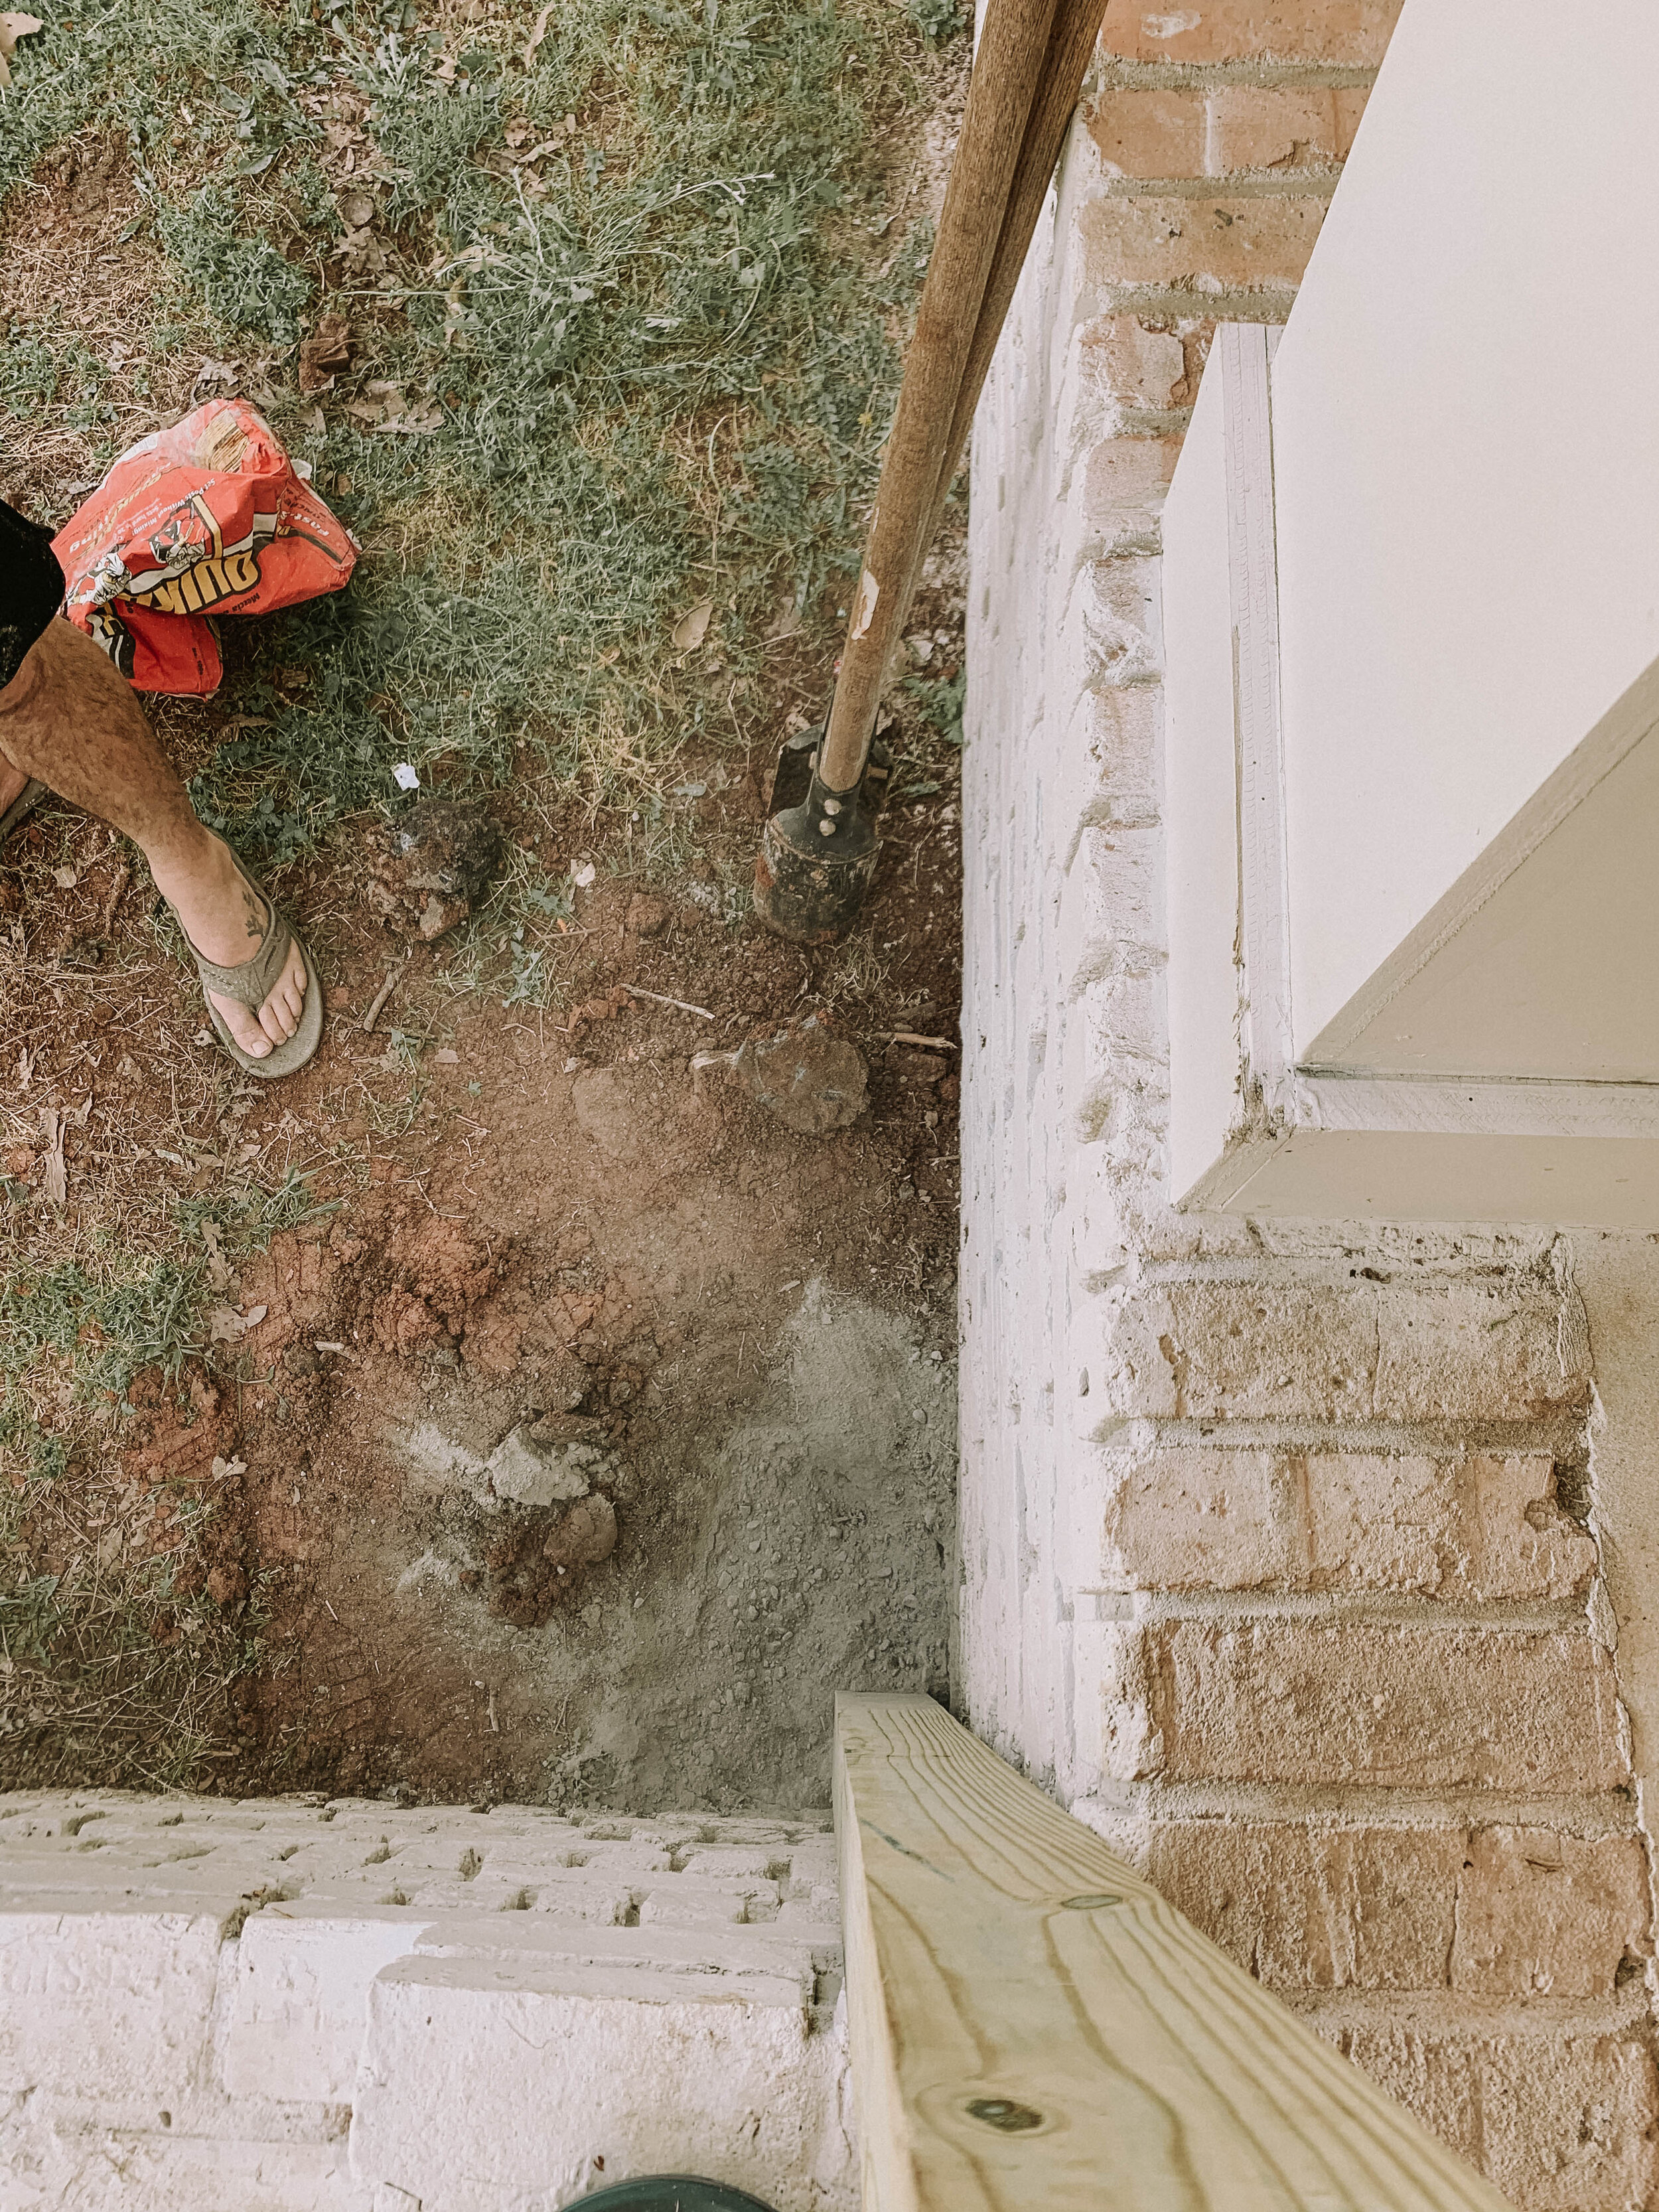
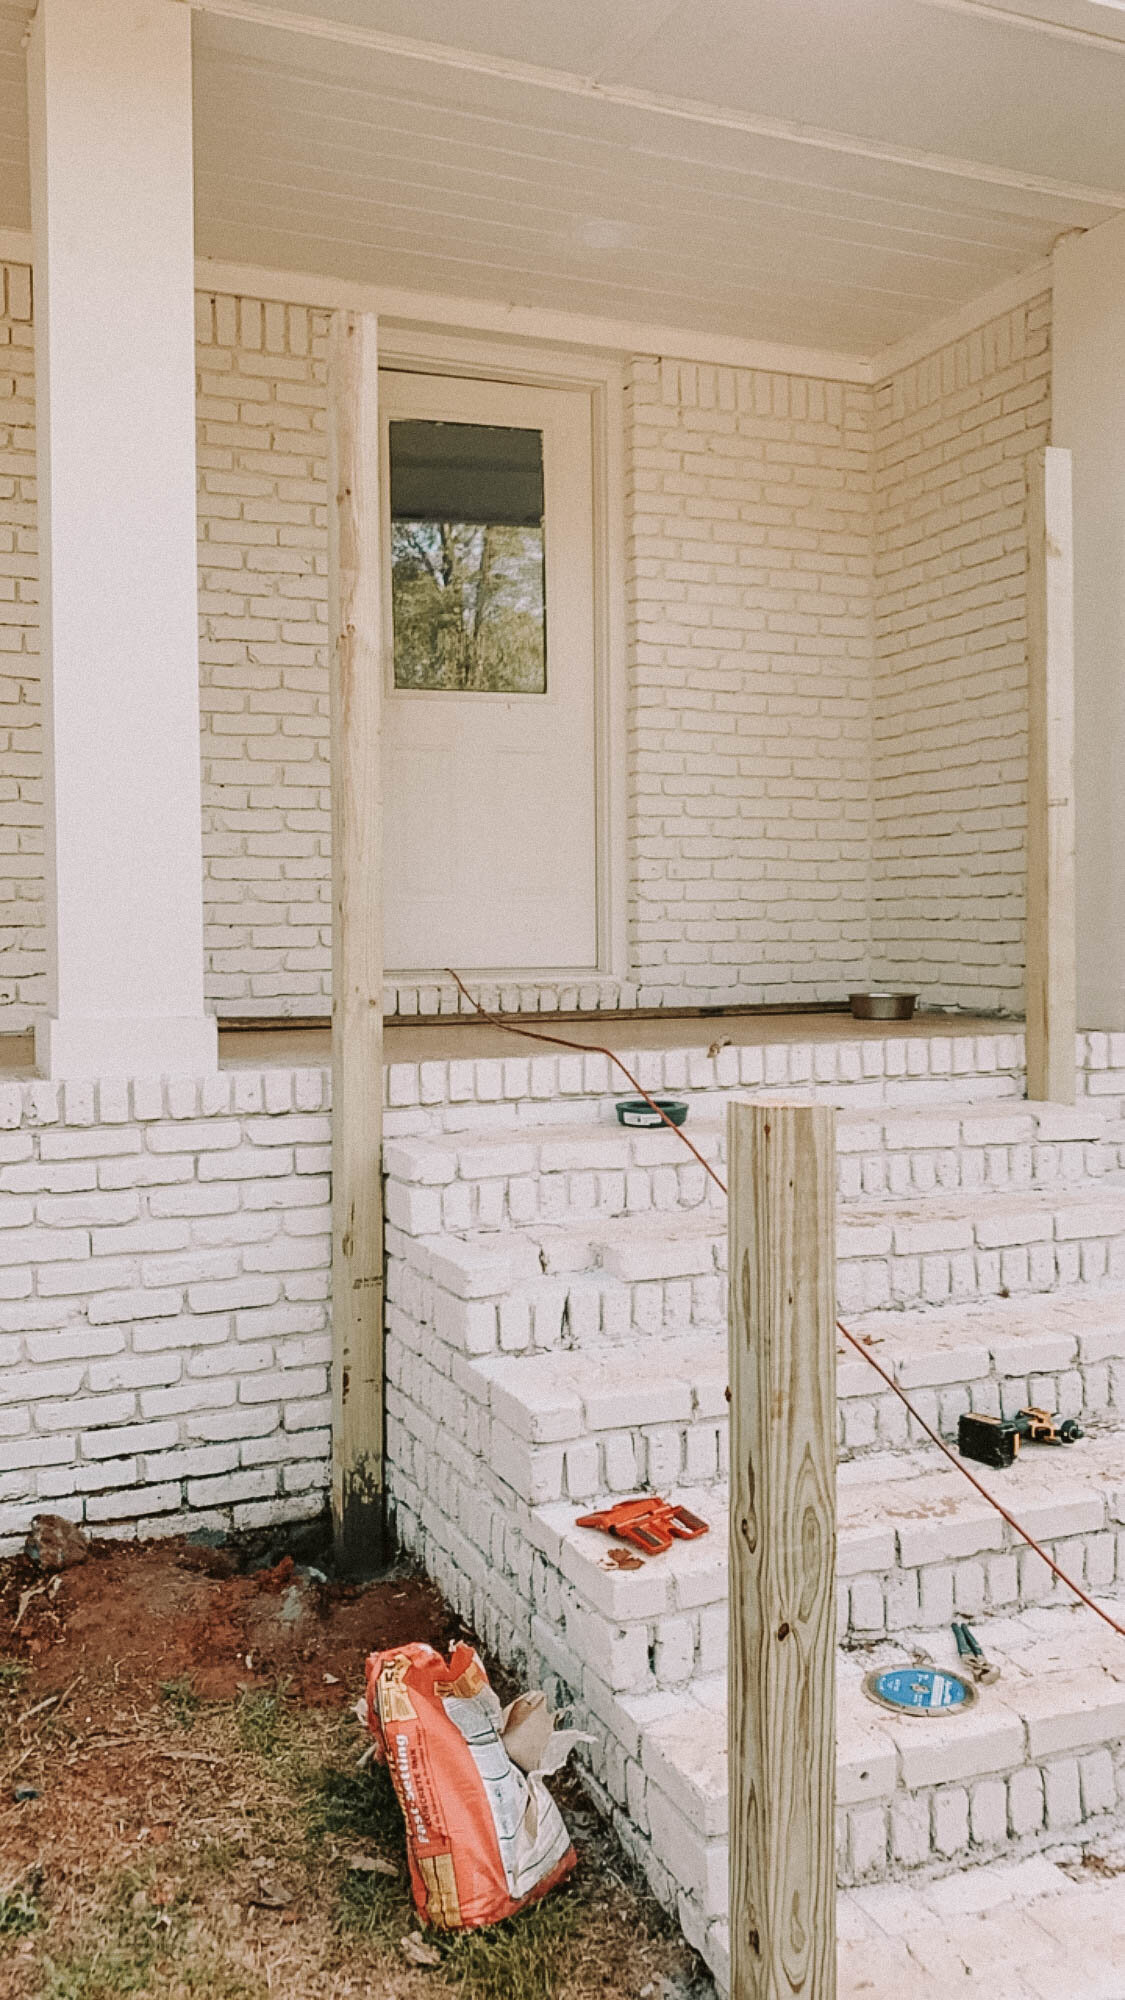
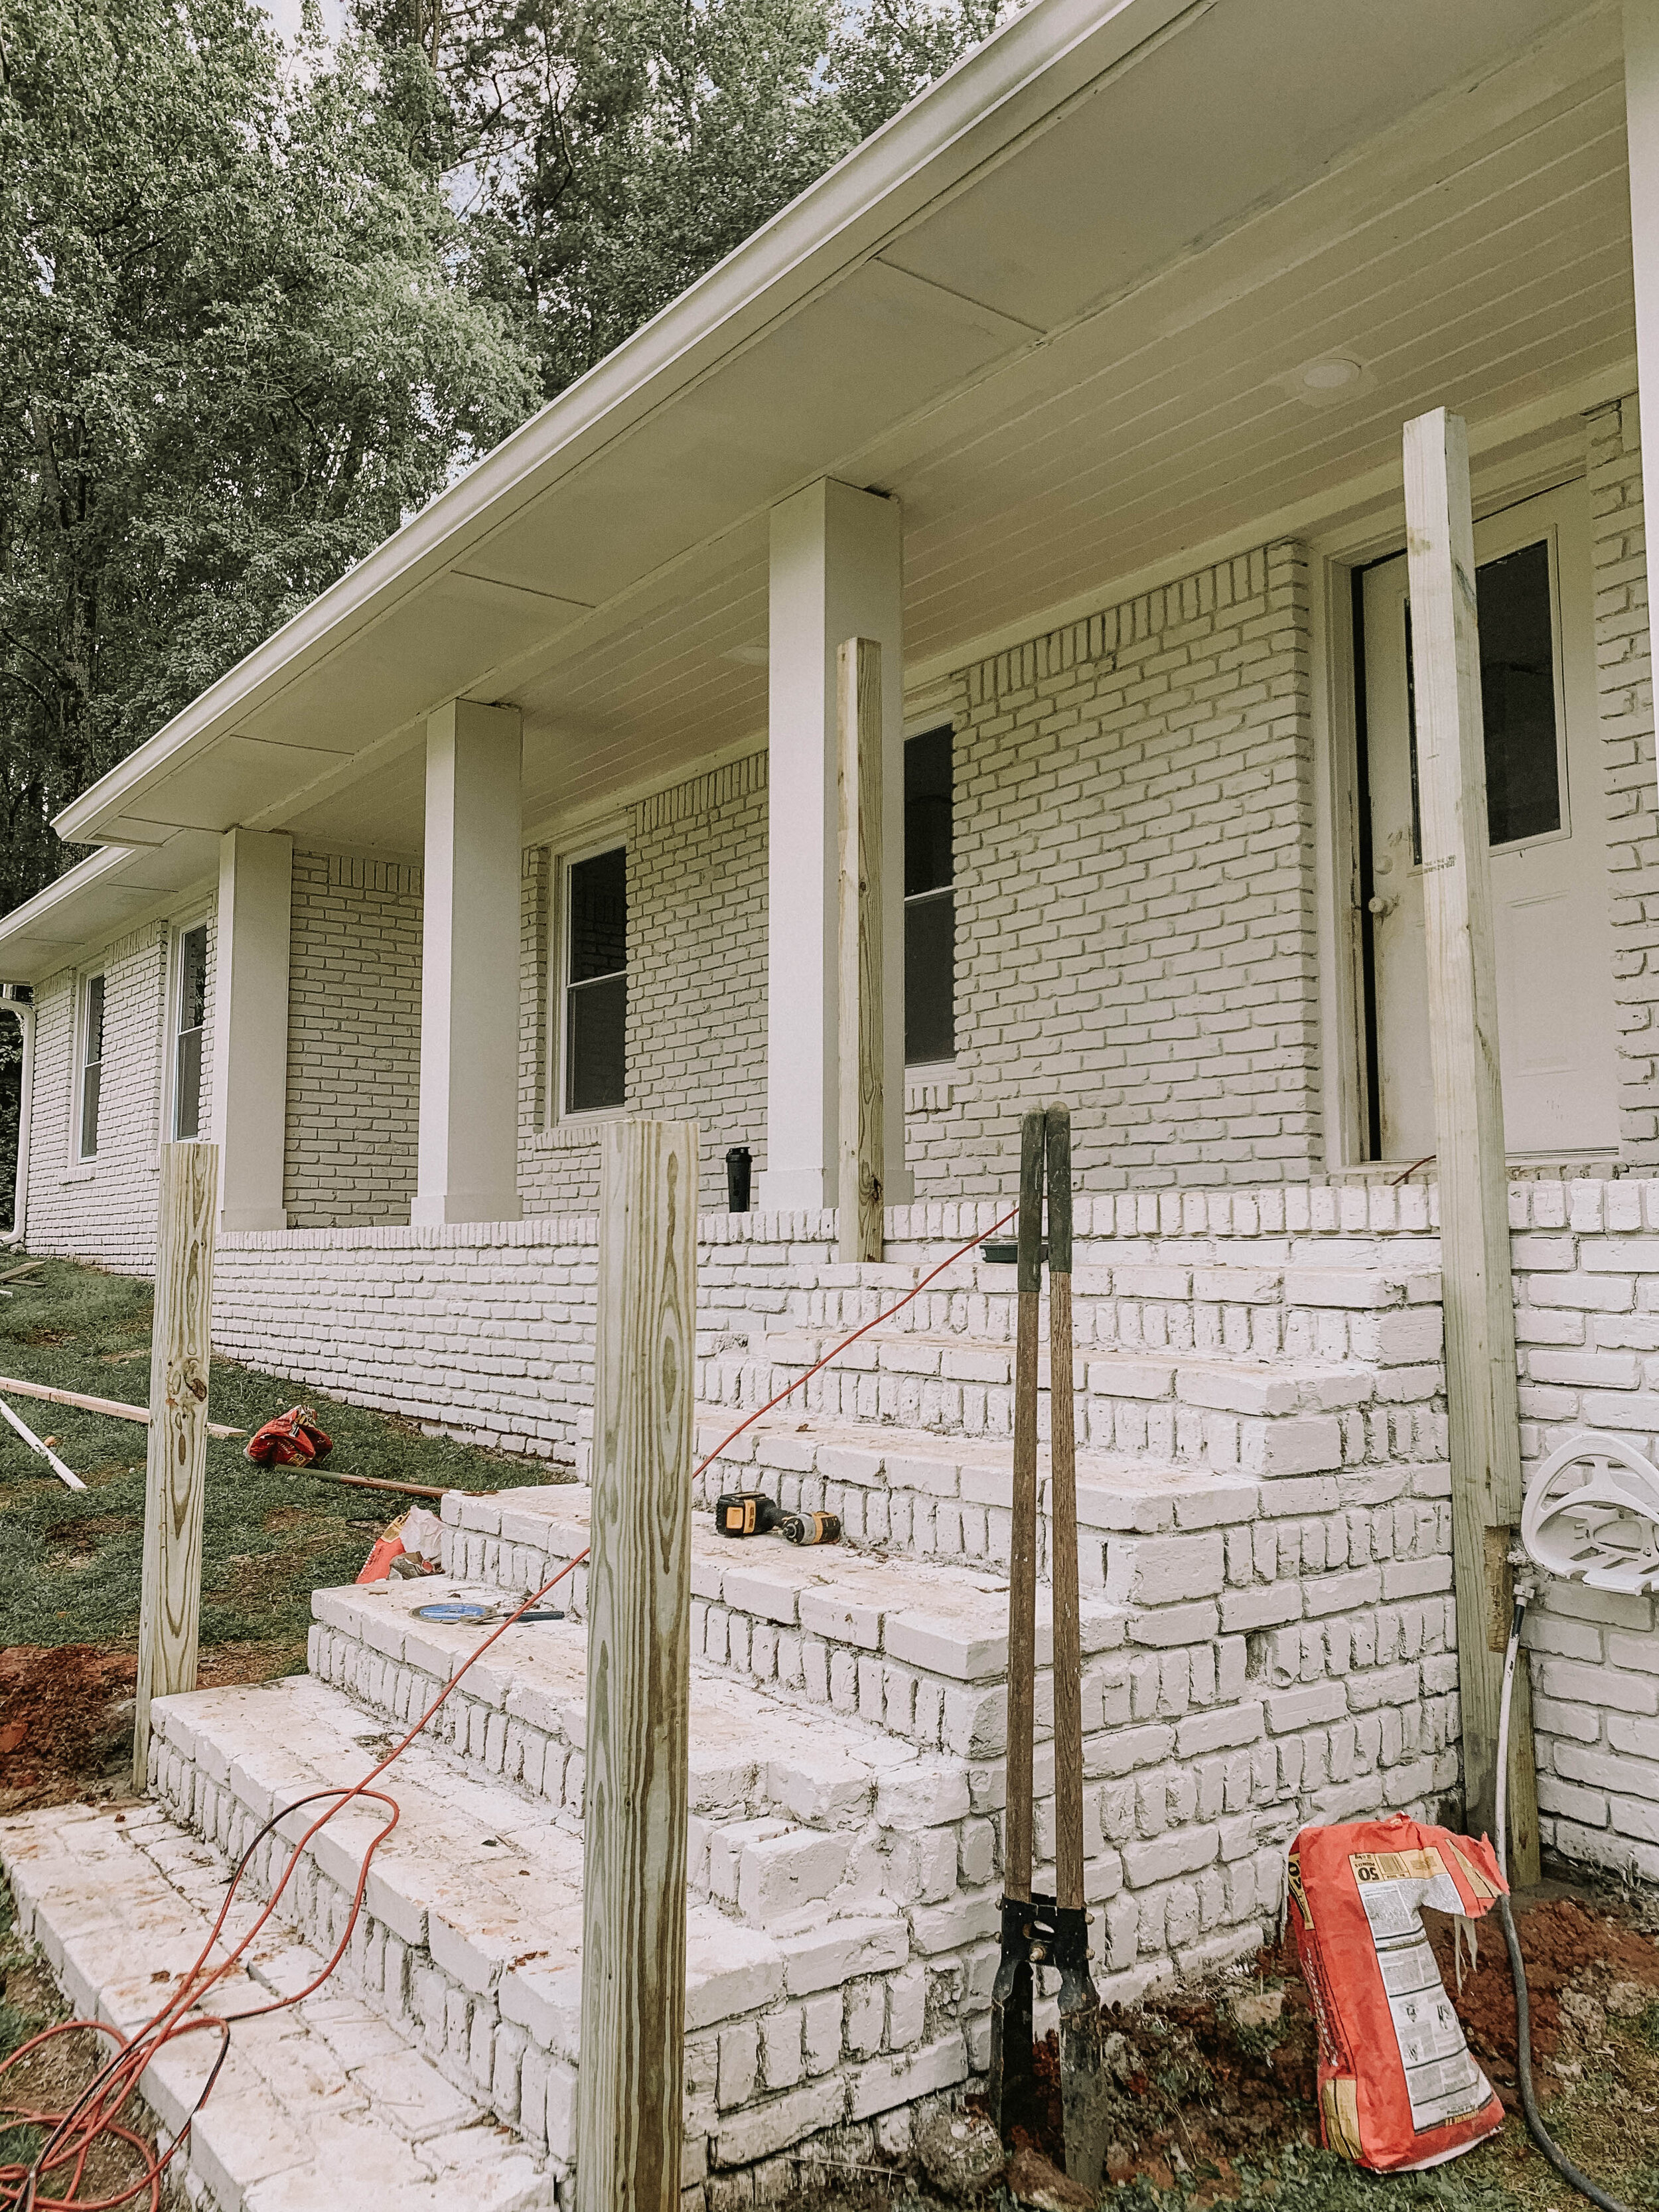
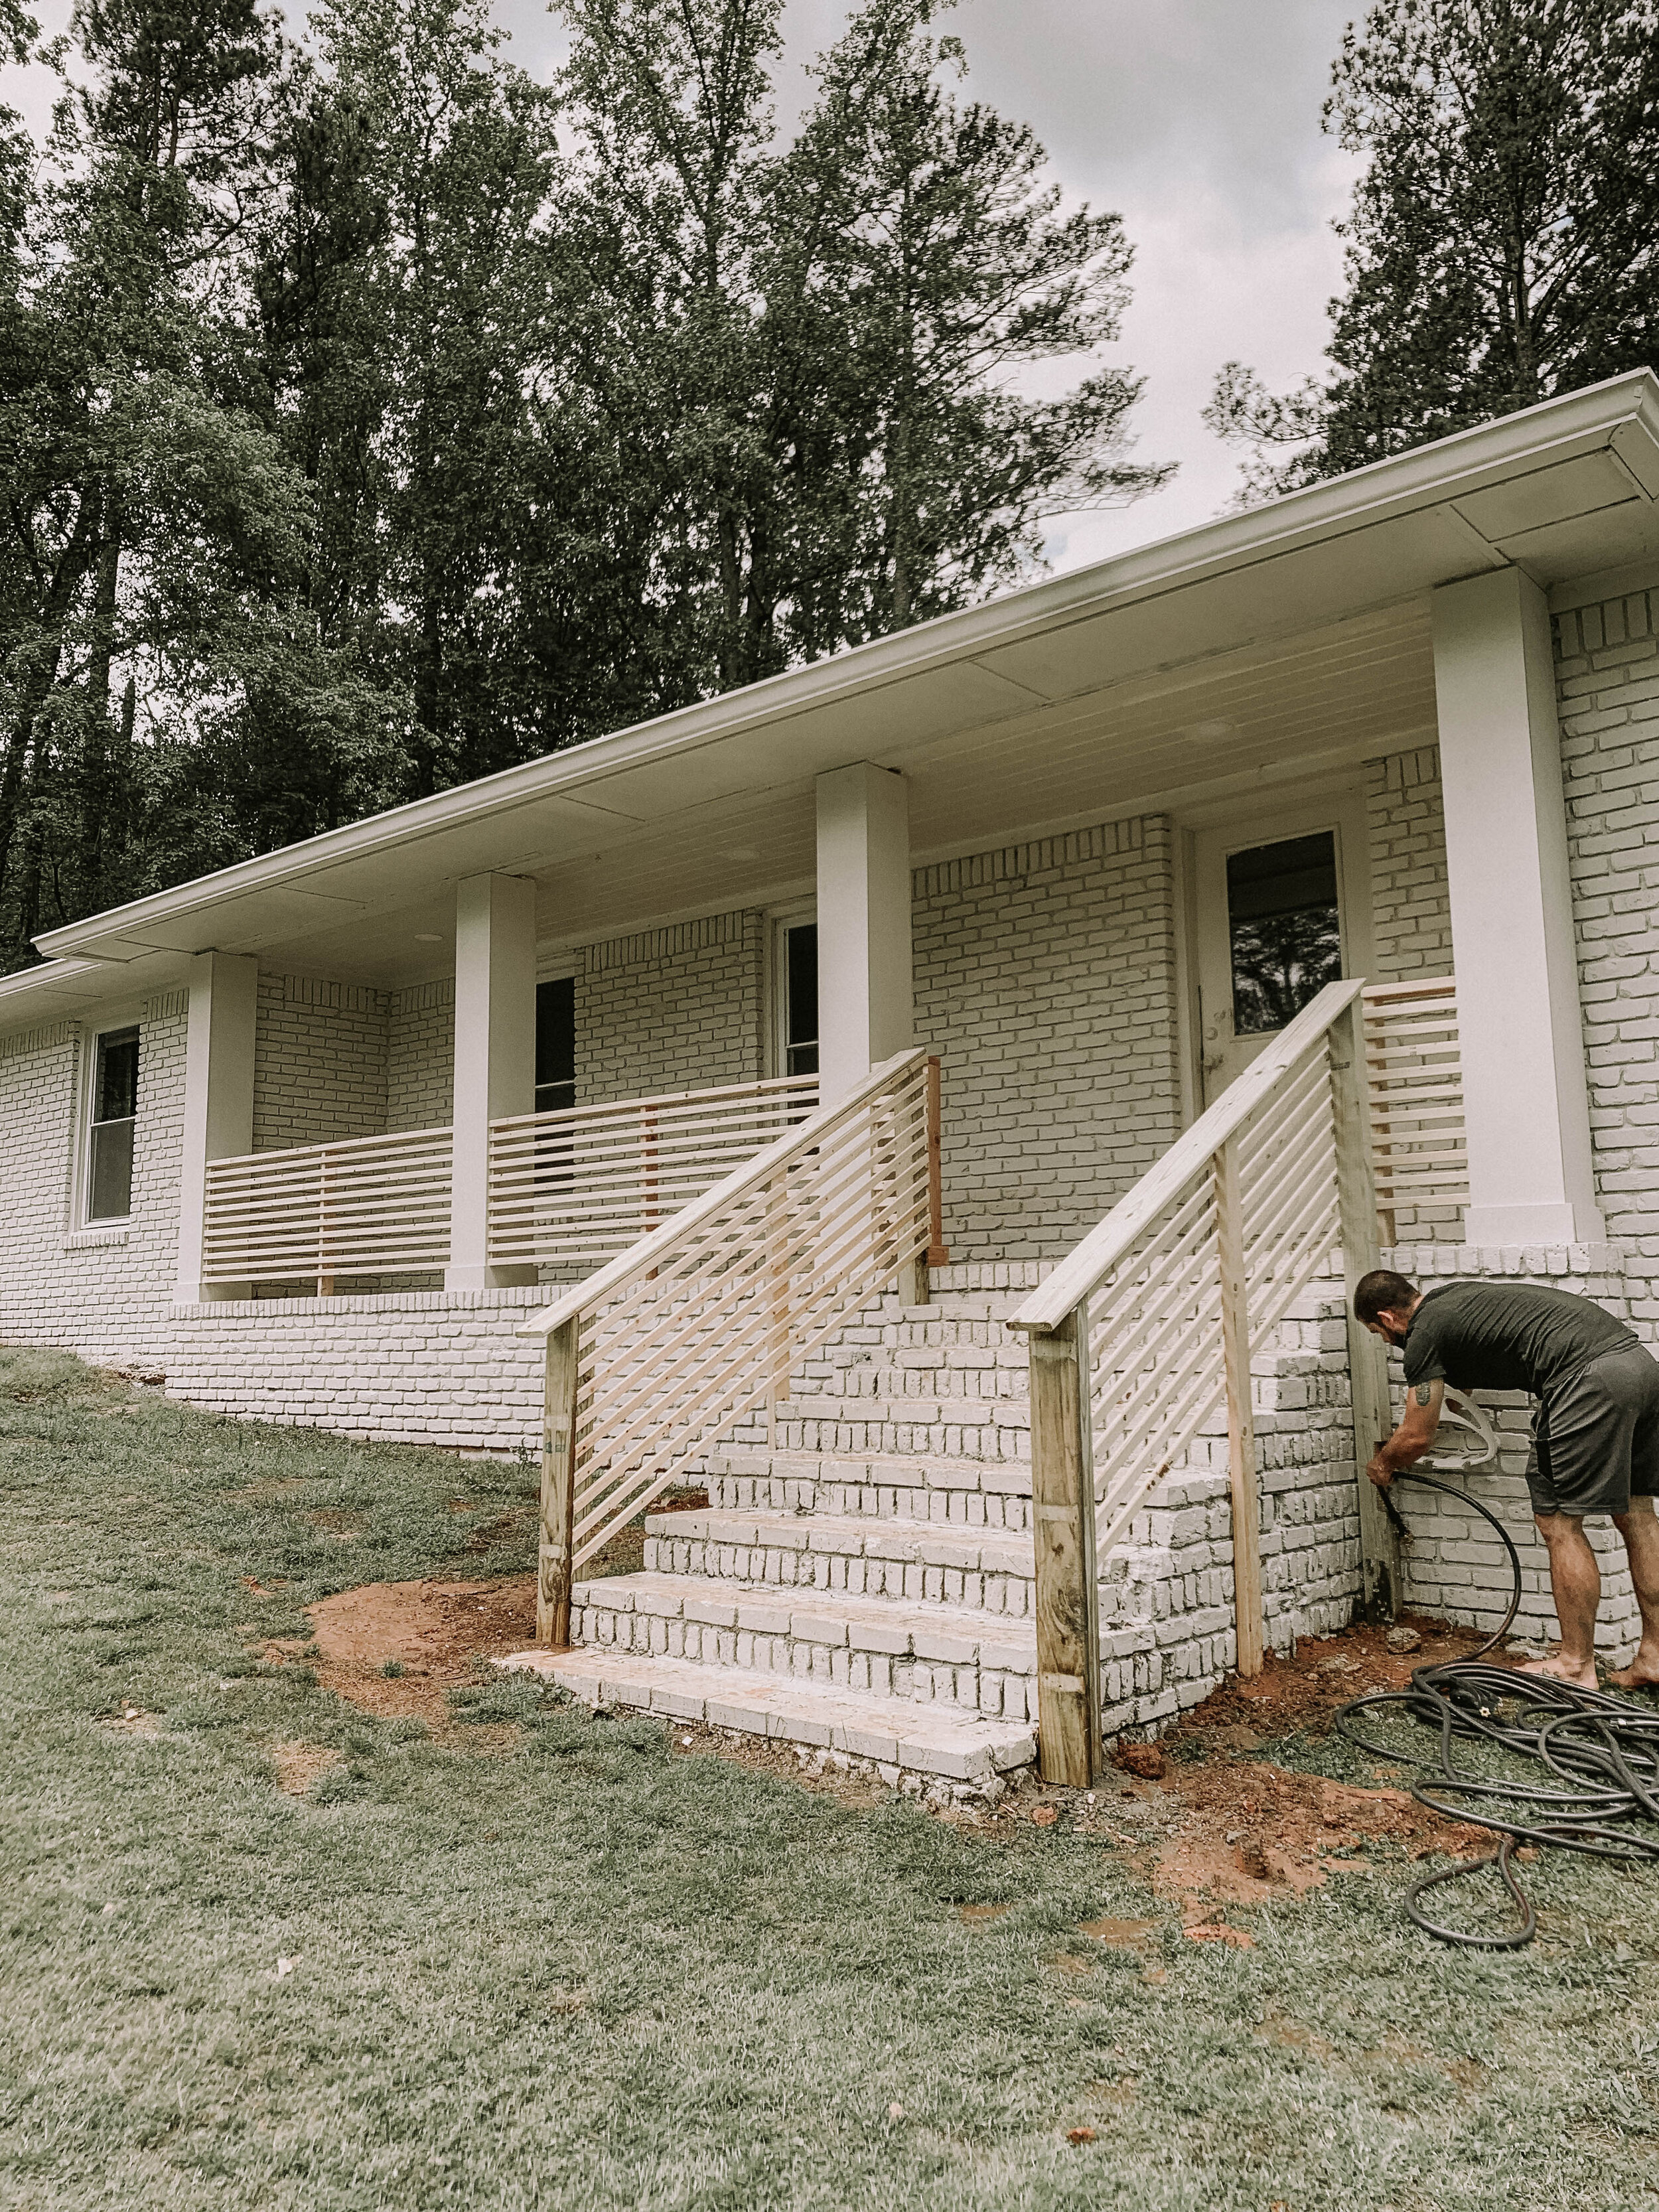
First we dug out holes for the 4x4 posts. We did this by using a shovel.

We installed the four 4x4 posts on each corner of our staircase. Once they were set in the new hole, we grabbed our concrete and mixed it with hose water to set the posts.
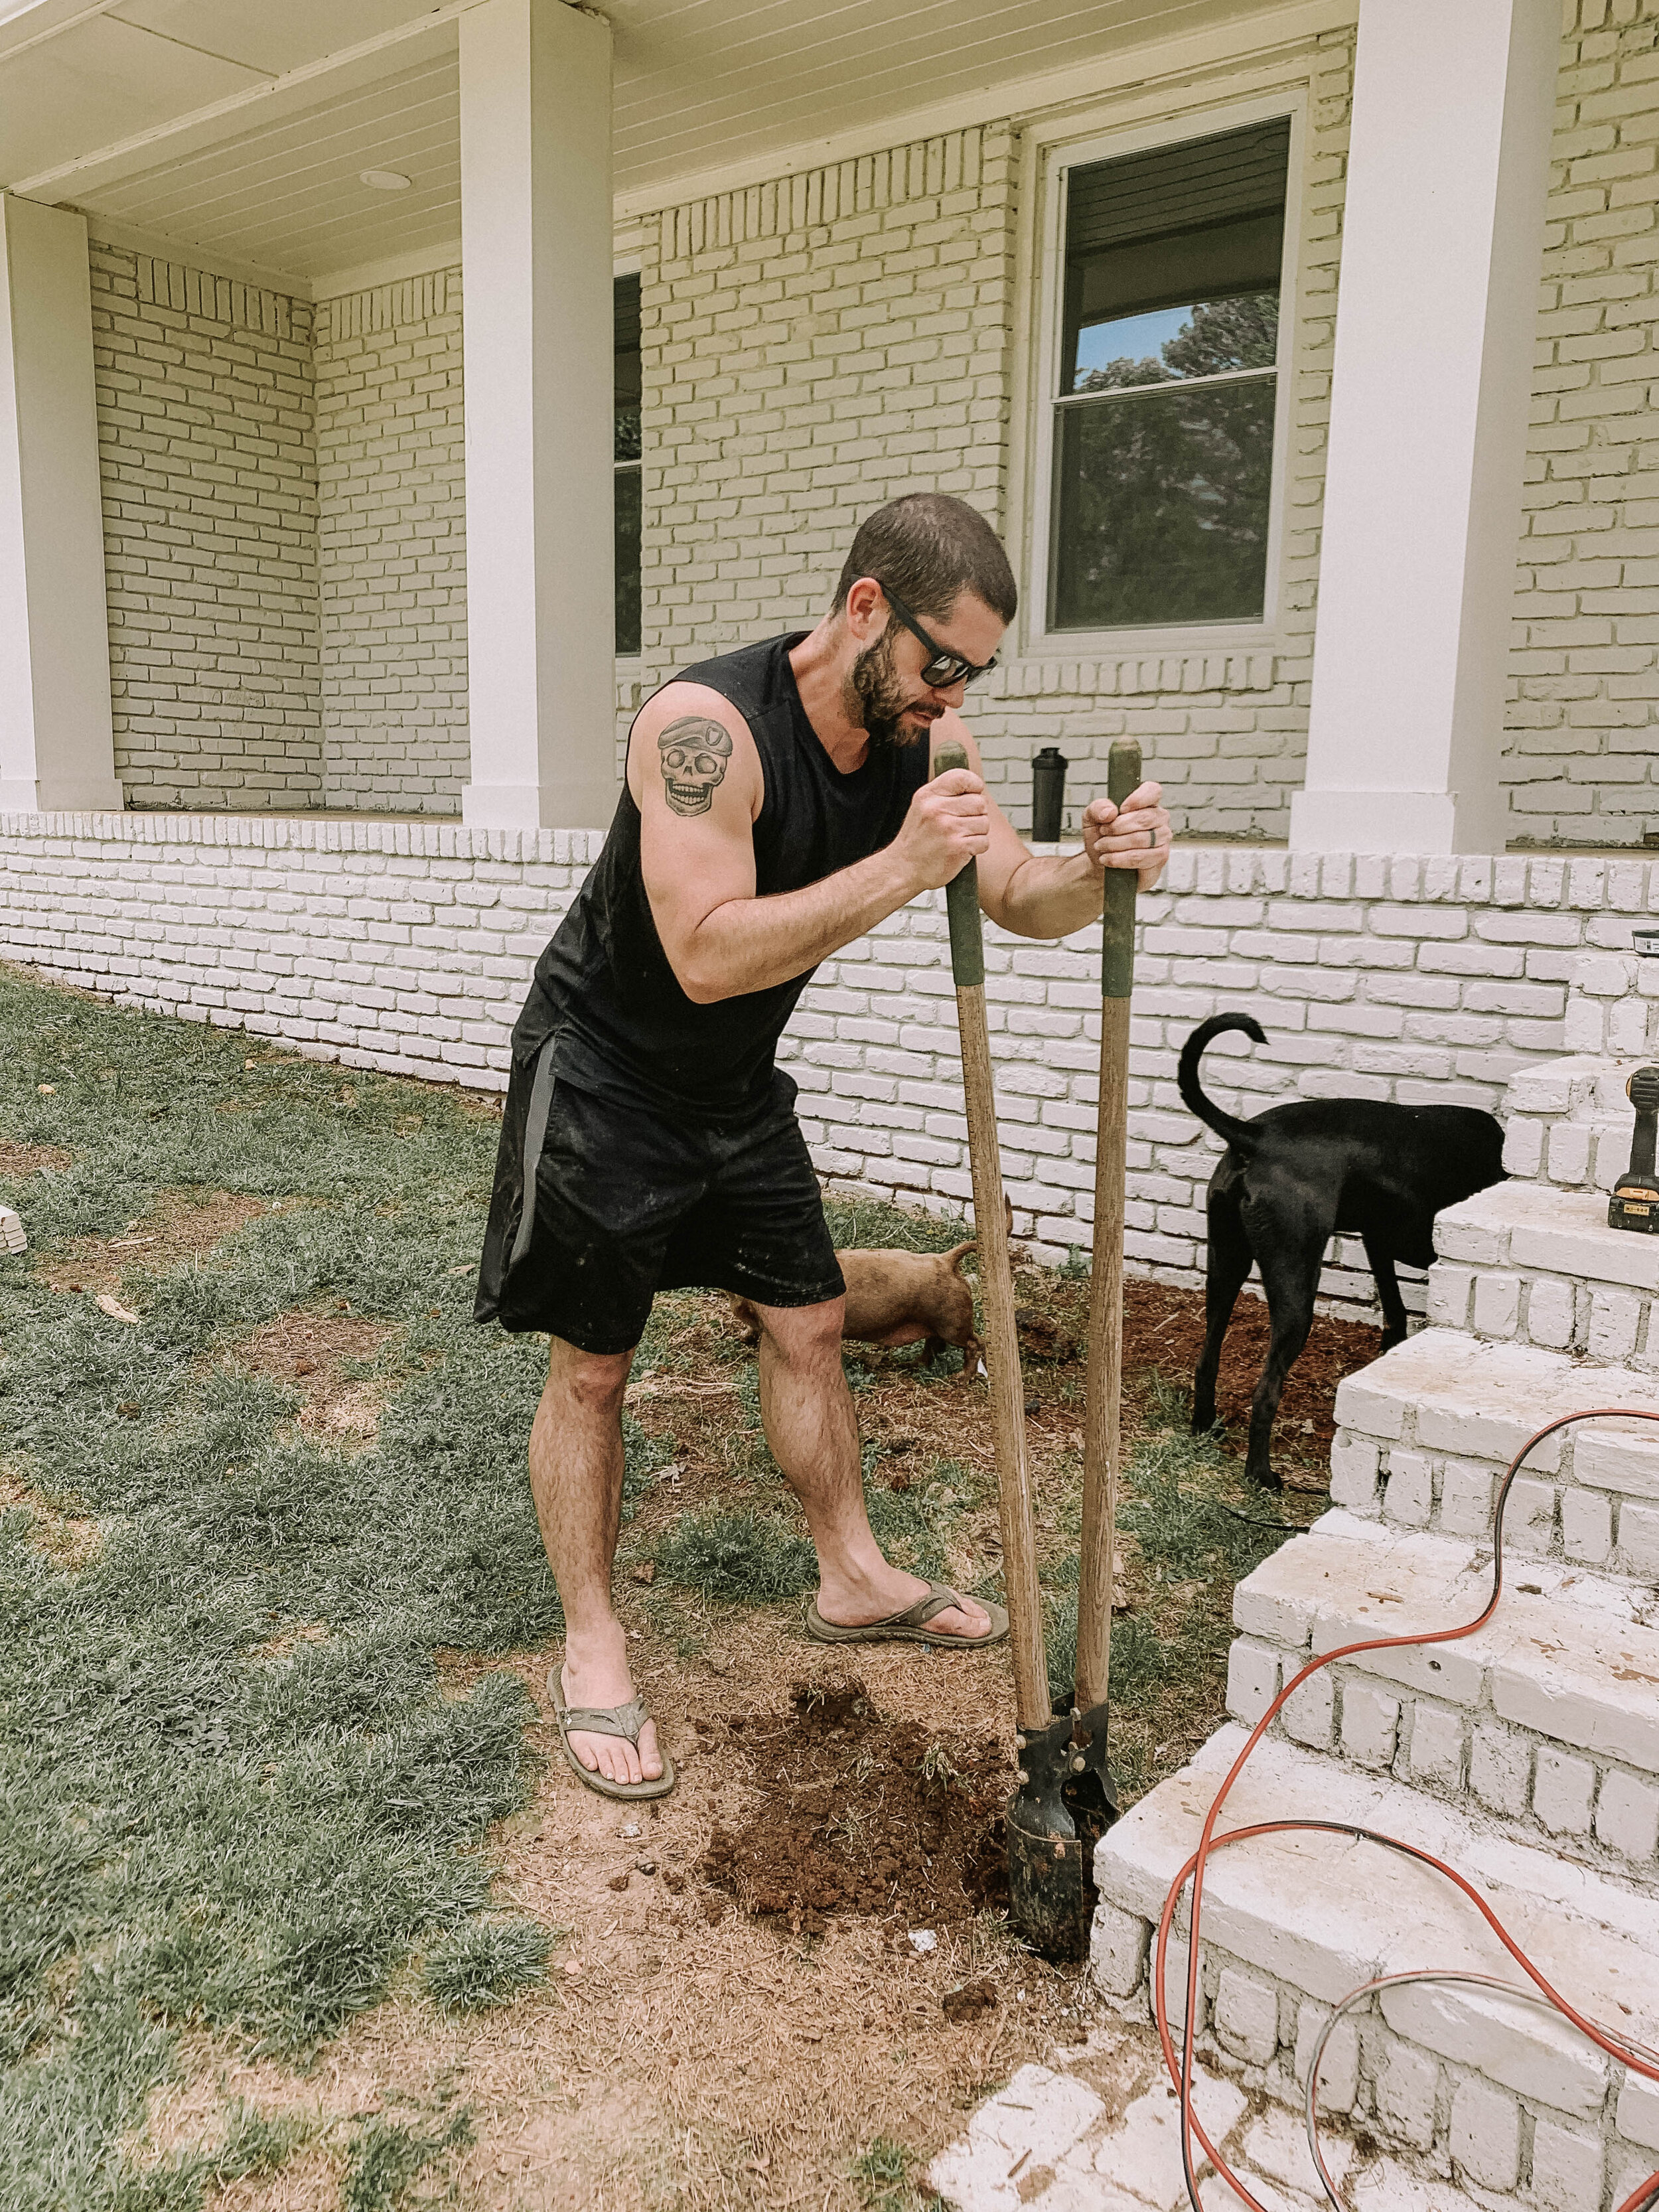

I stood there and held the posts in place while Scot did all the mixing.

Right after you set your posts, you’ll want to make sure they’re level before the concrete dries. You don’t want crooked stair posts. We used this post level! It was extremely helpful on the 4x4 posts!

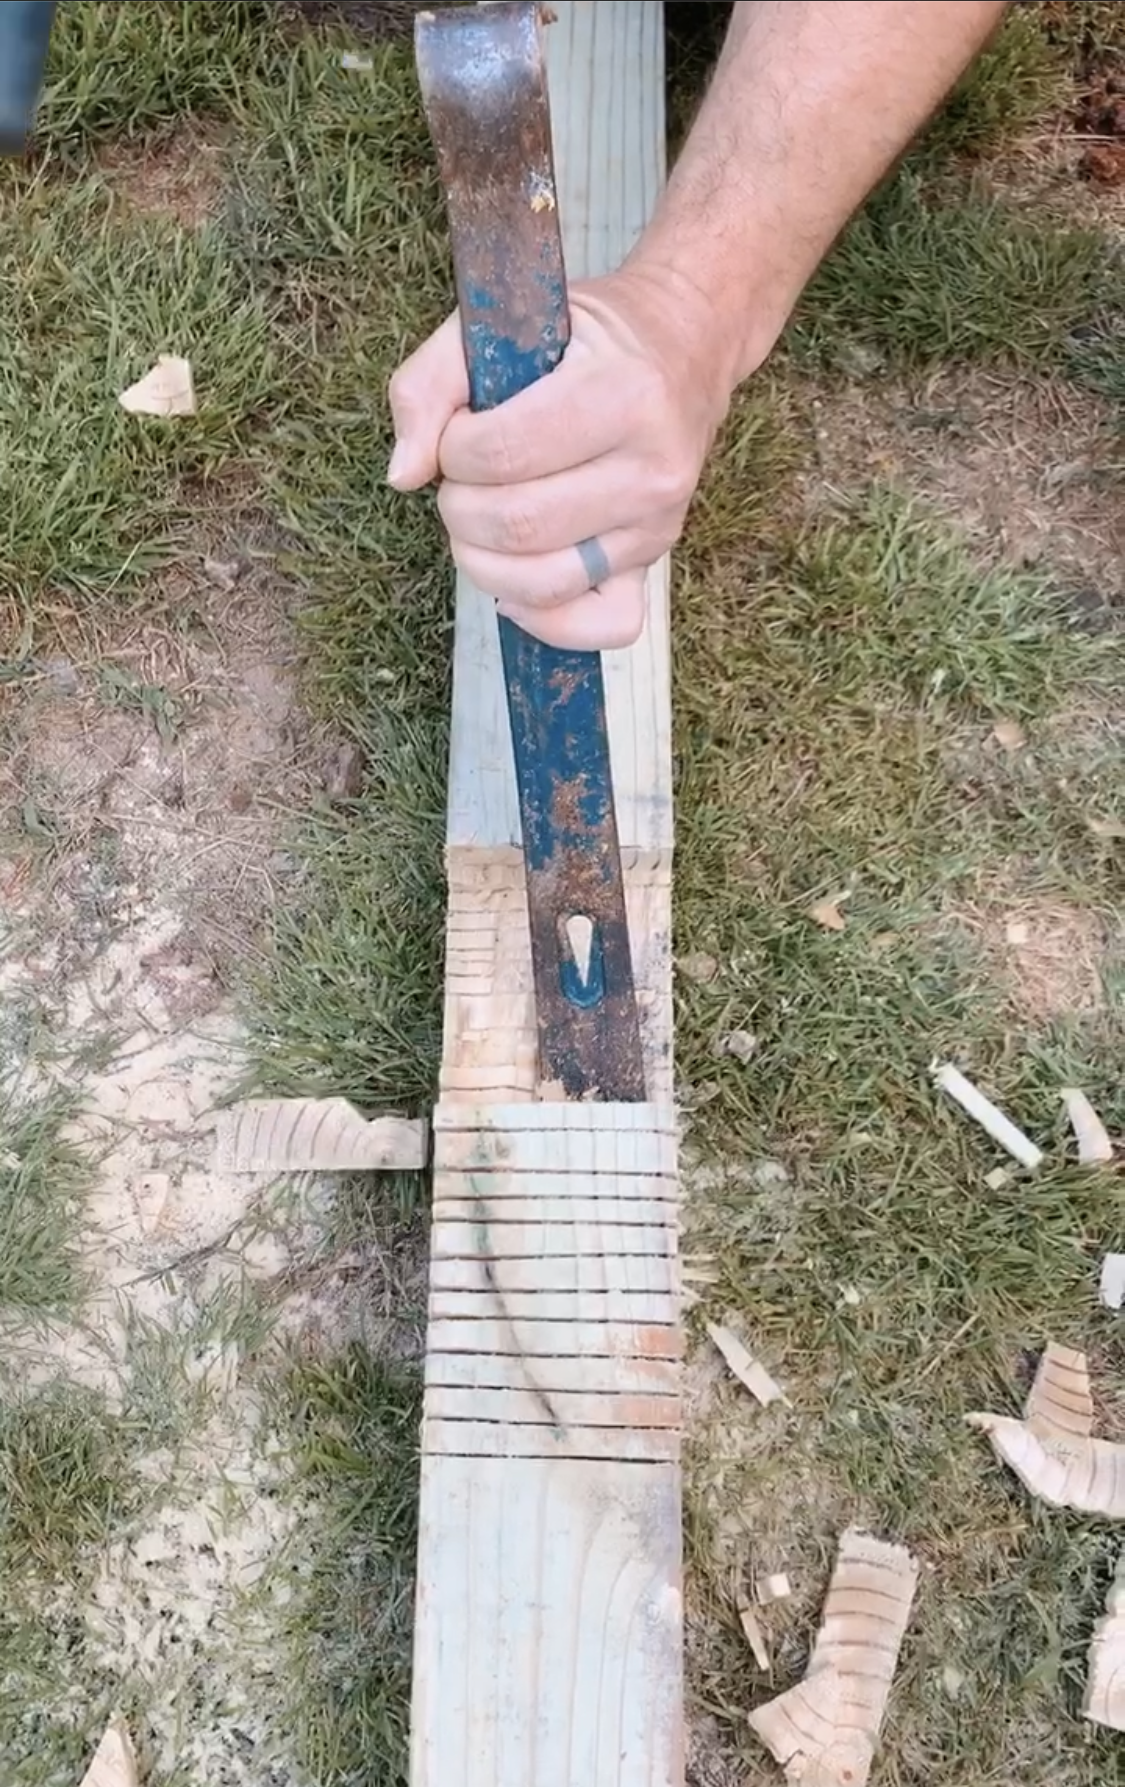
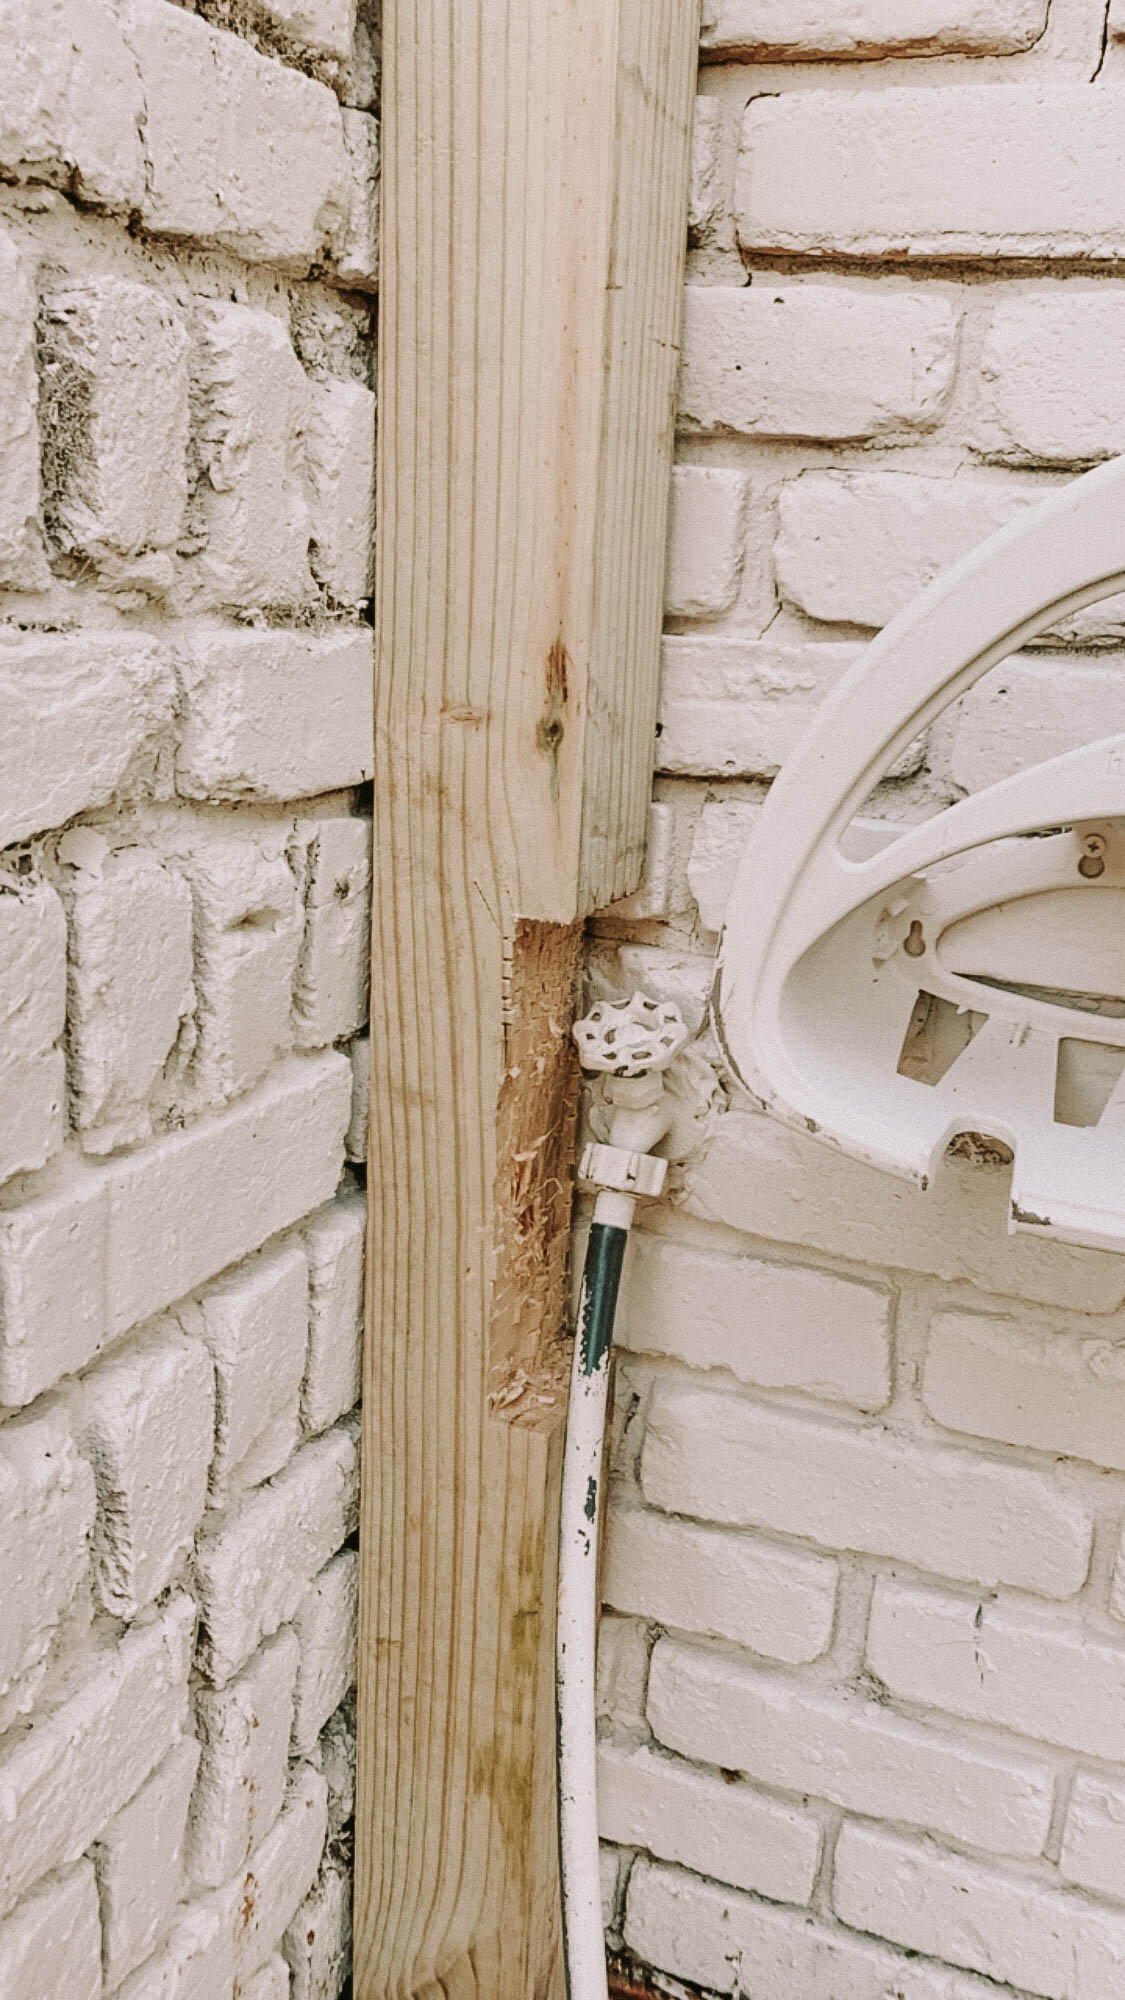
There’s a water spigot on the right side of our staircase that we didn’t want to mess with and move, so we notched out our 4x4 by sawing straight lines in our post, and then removing with a flat head screw driver and hammer! I took videos of Scot doing this, which we will post on our Instagram, but here’s a still frame from the video so that you have a visual! (Sorry for the low quality photo!)
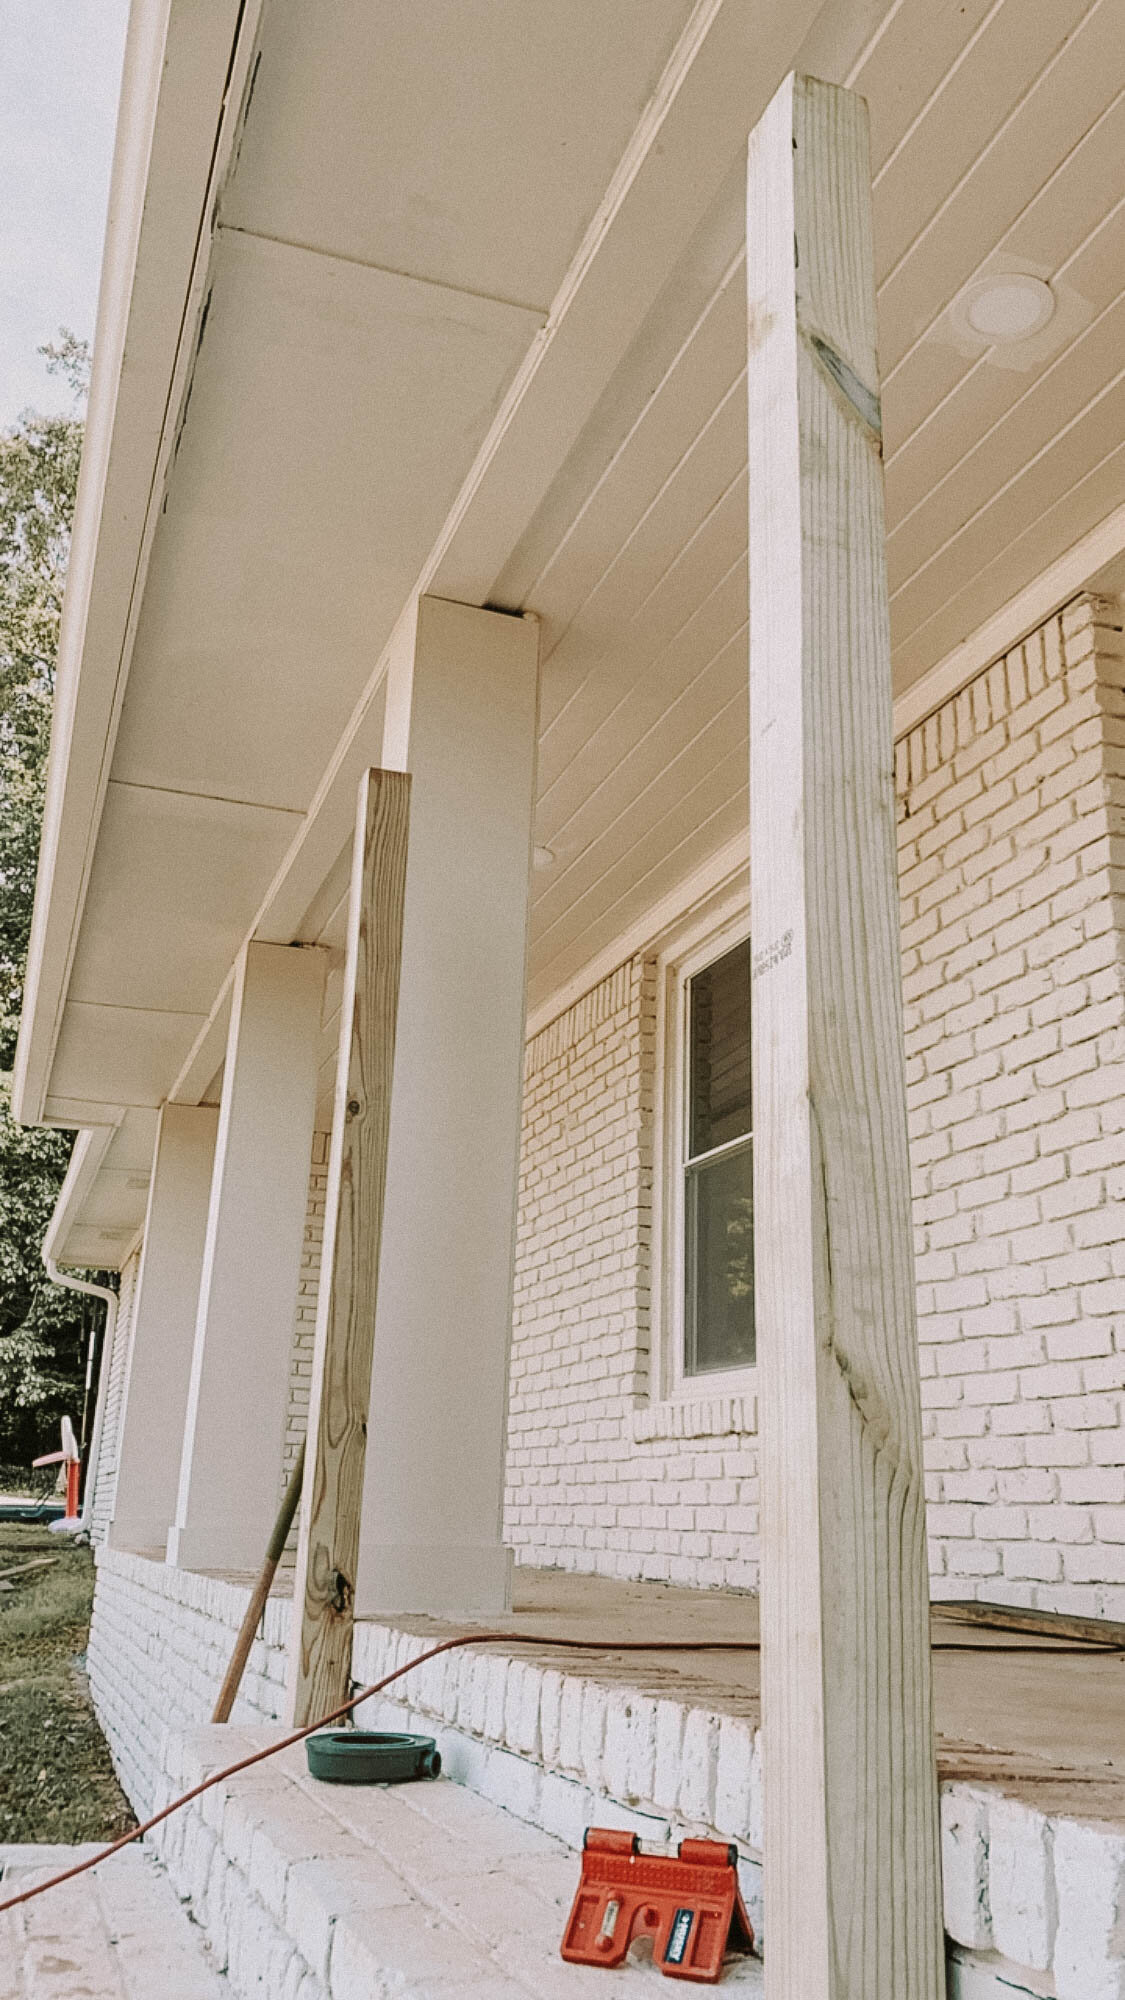
Here are a few photos of the staircase 4x4 posts in place after the concrete was drying.
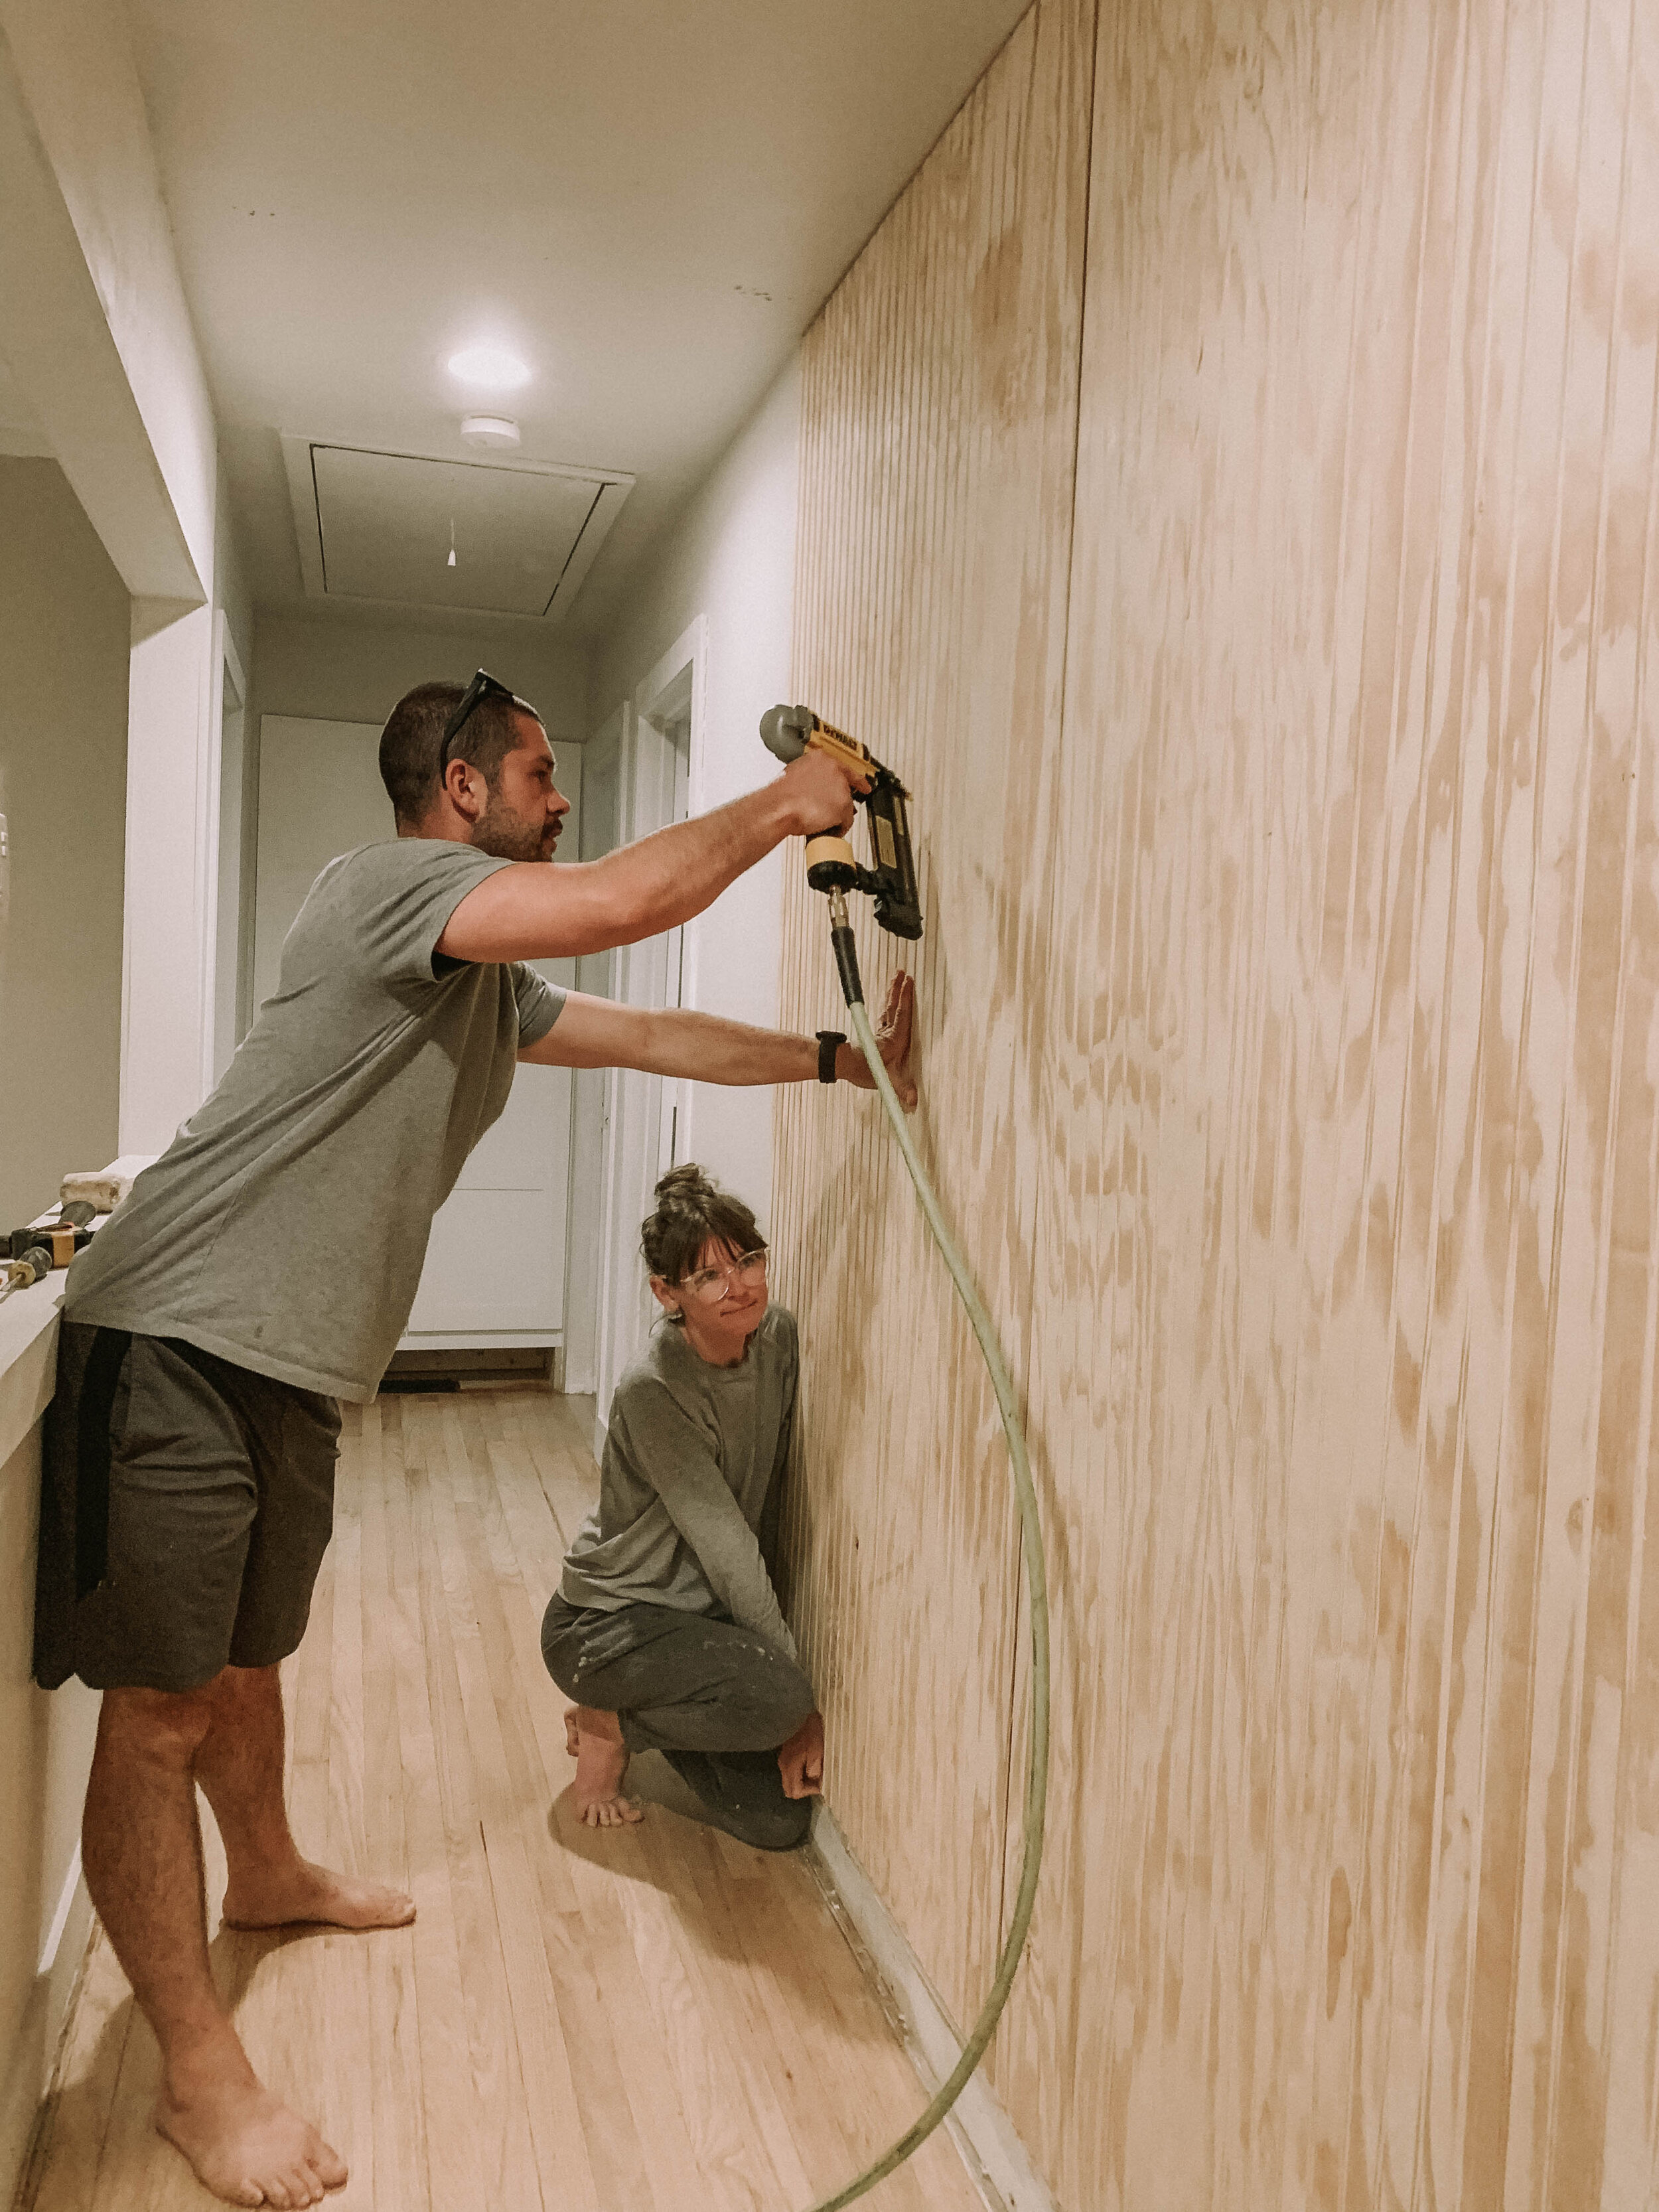
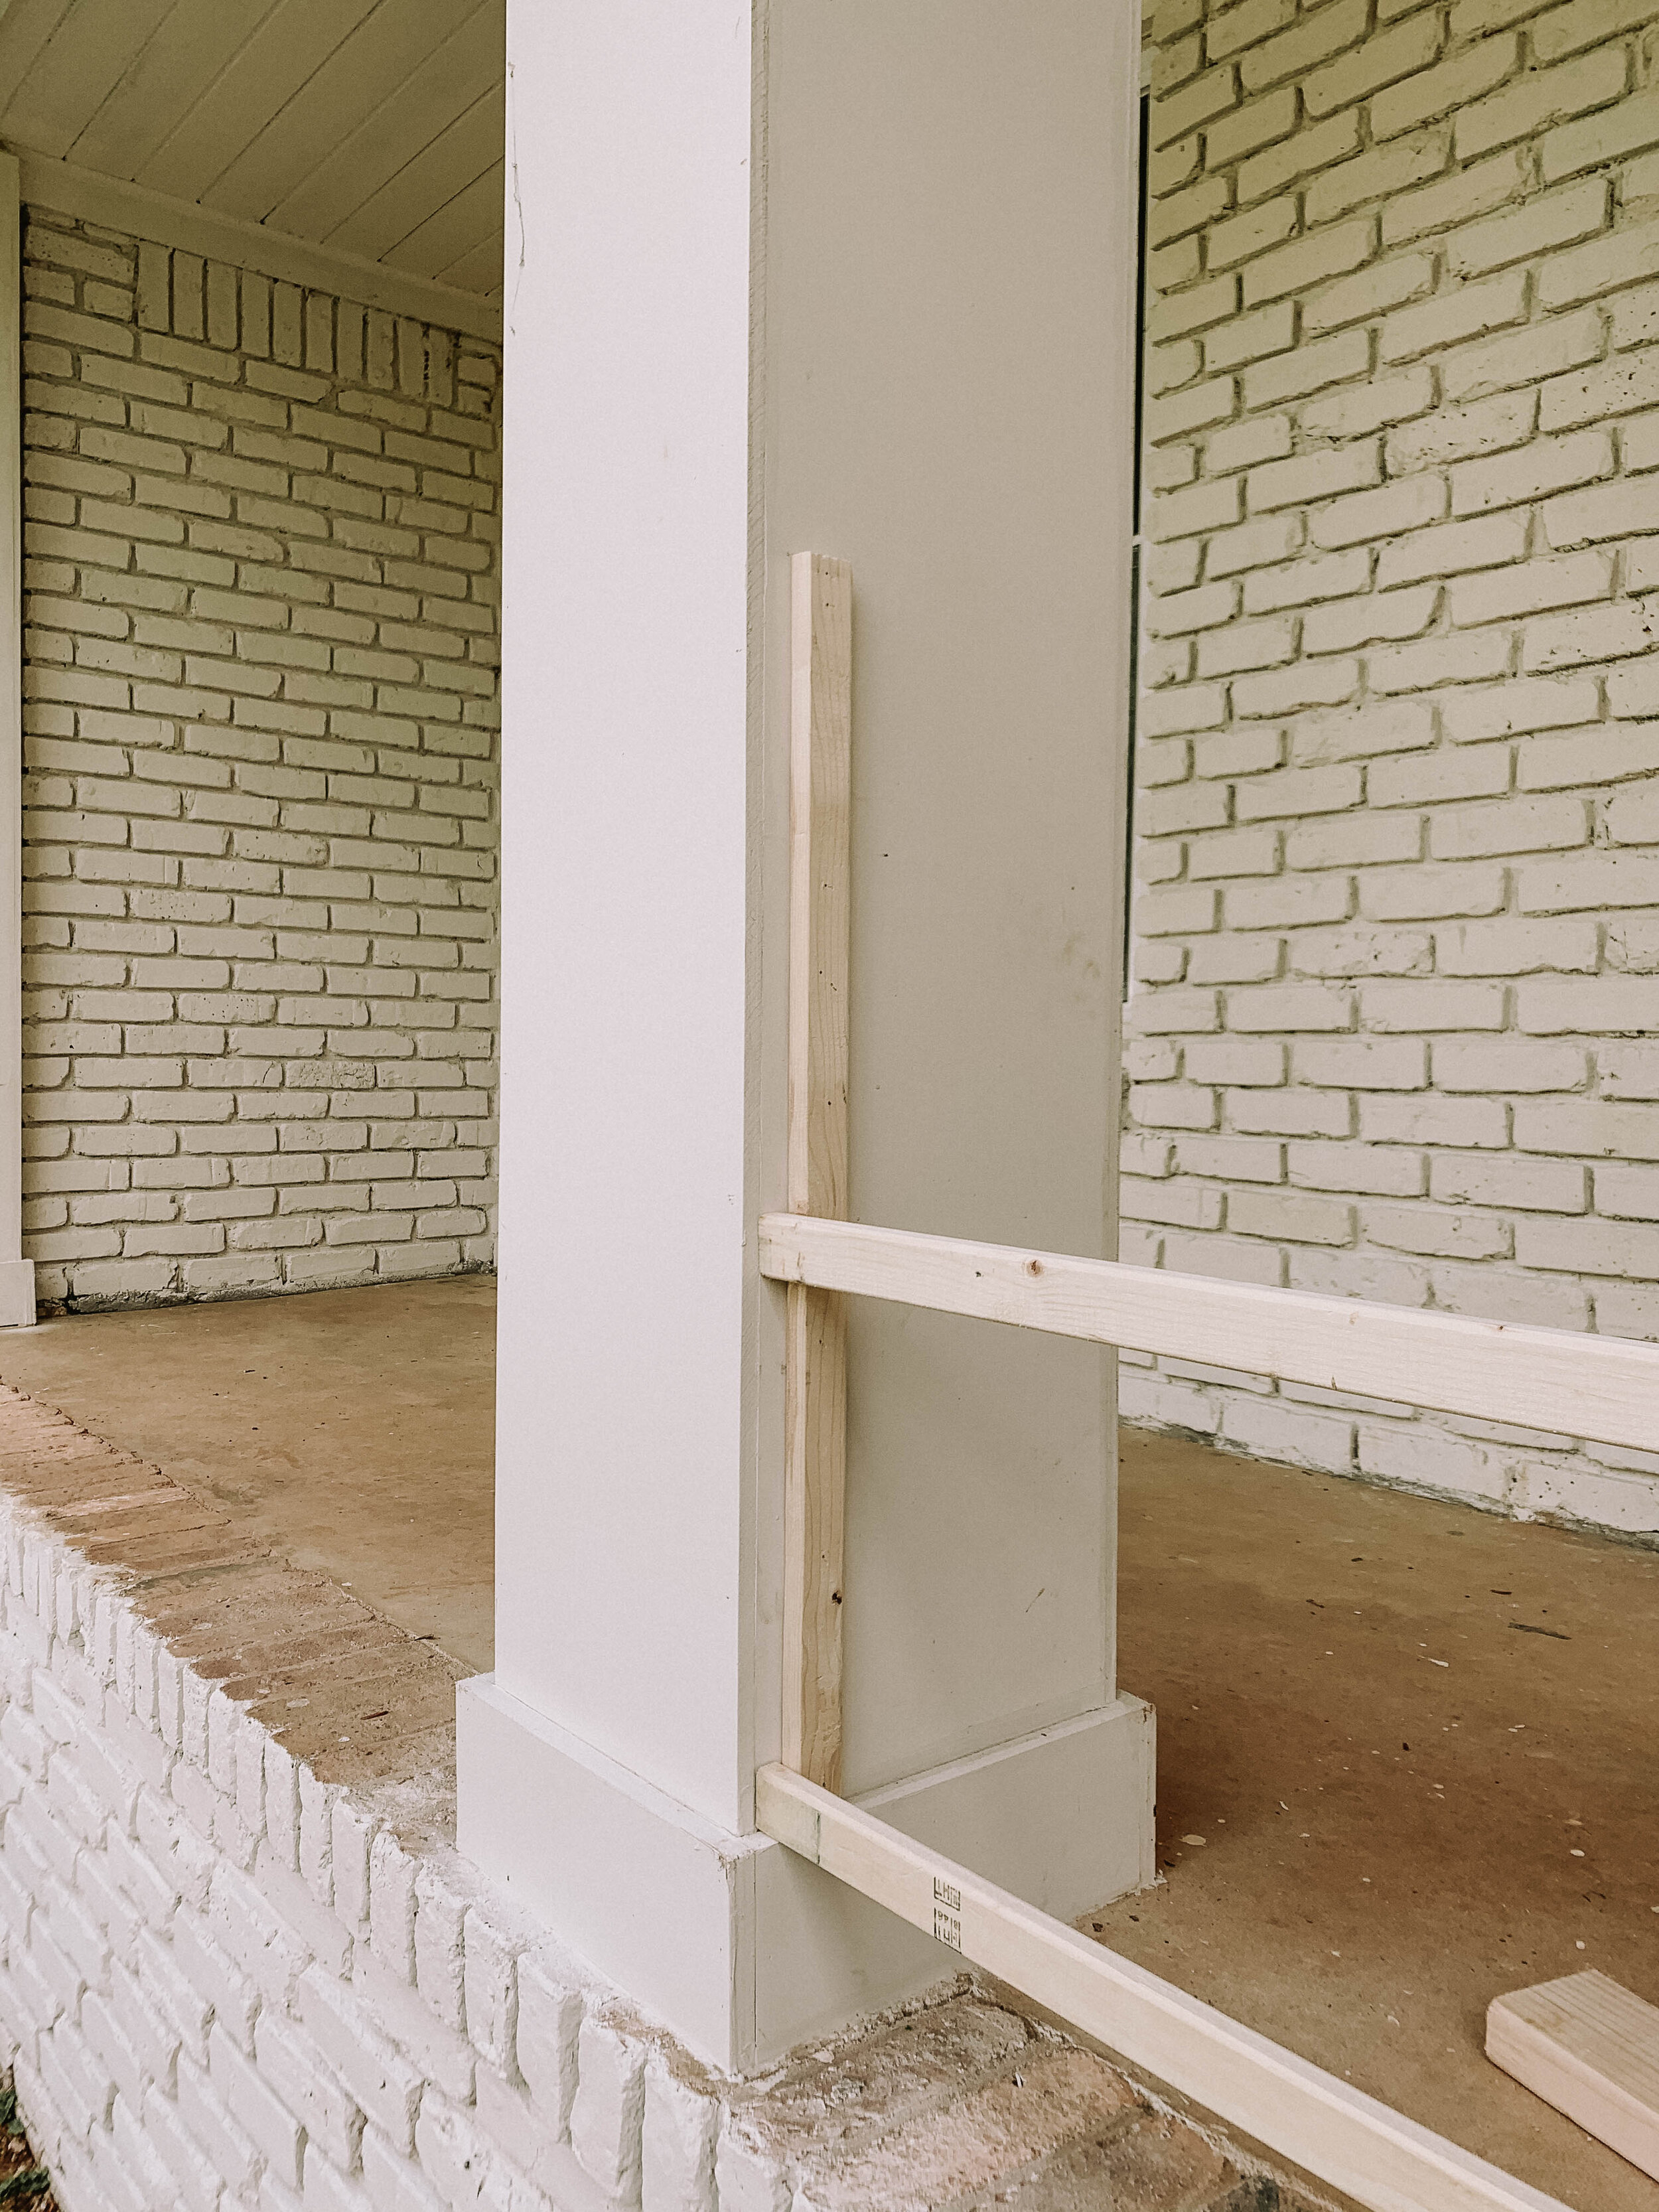
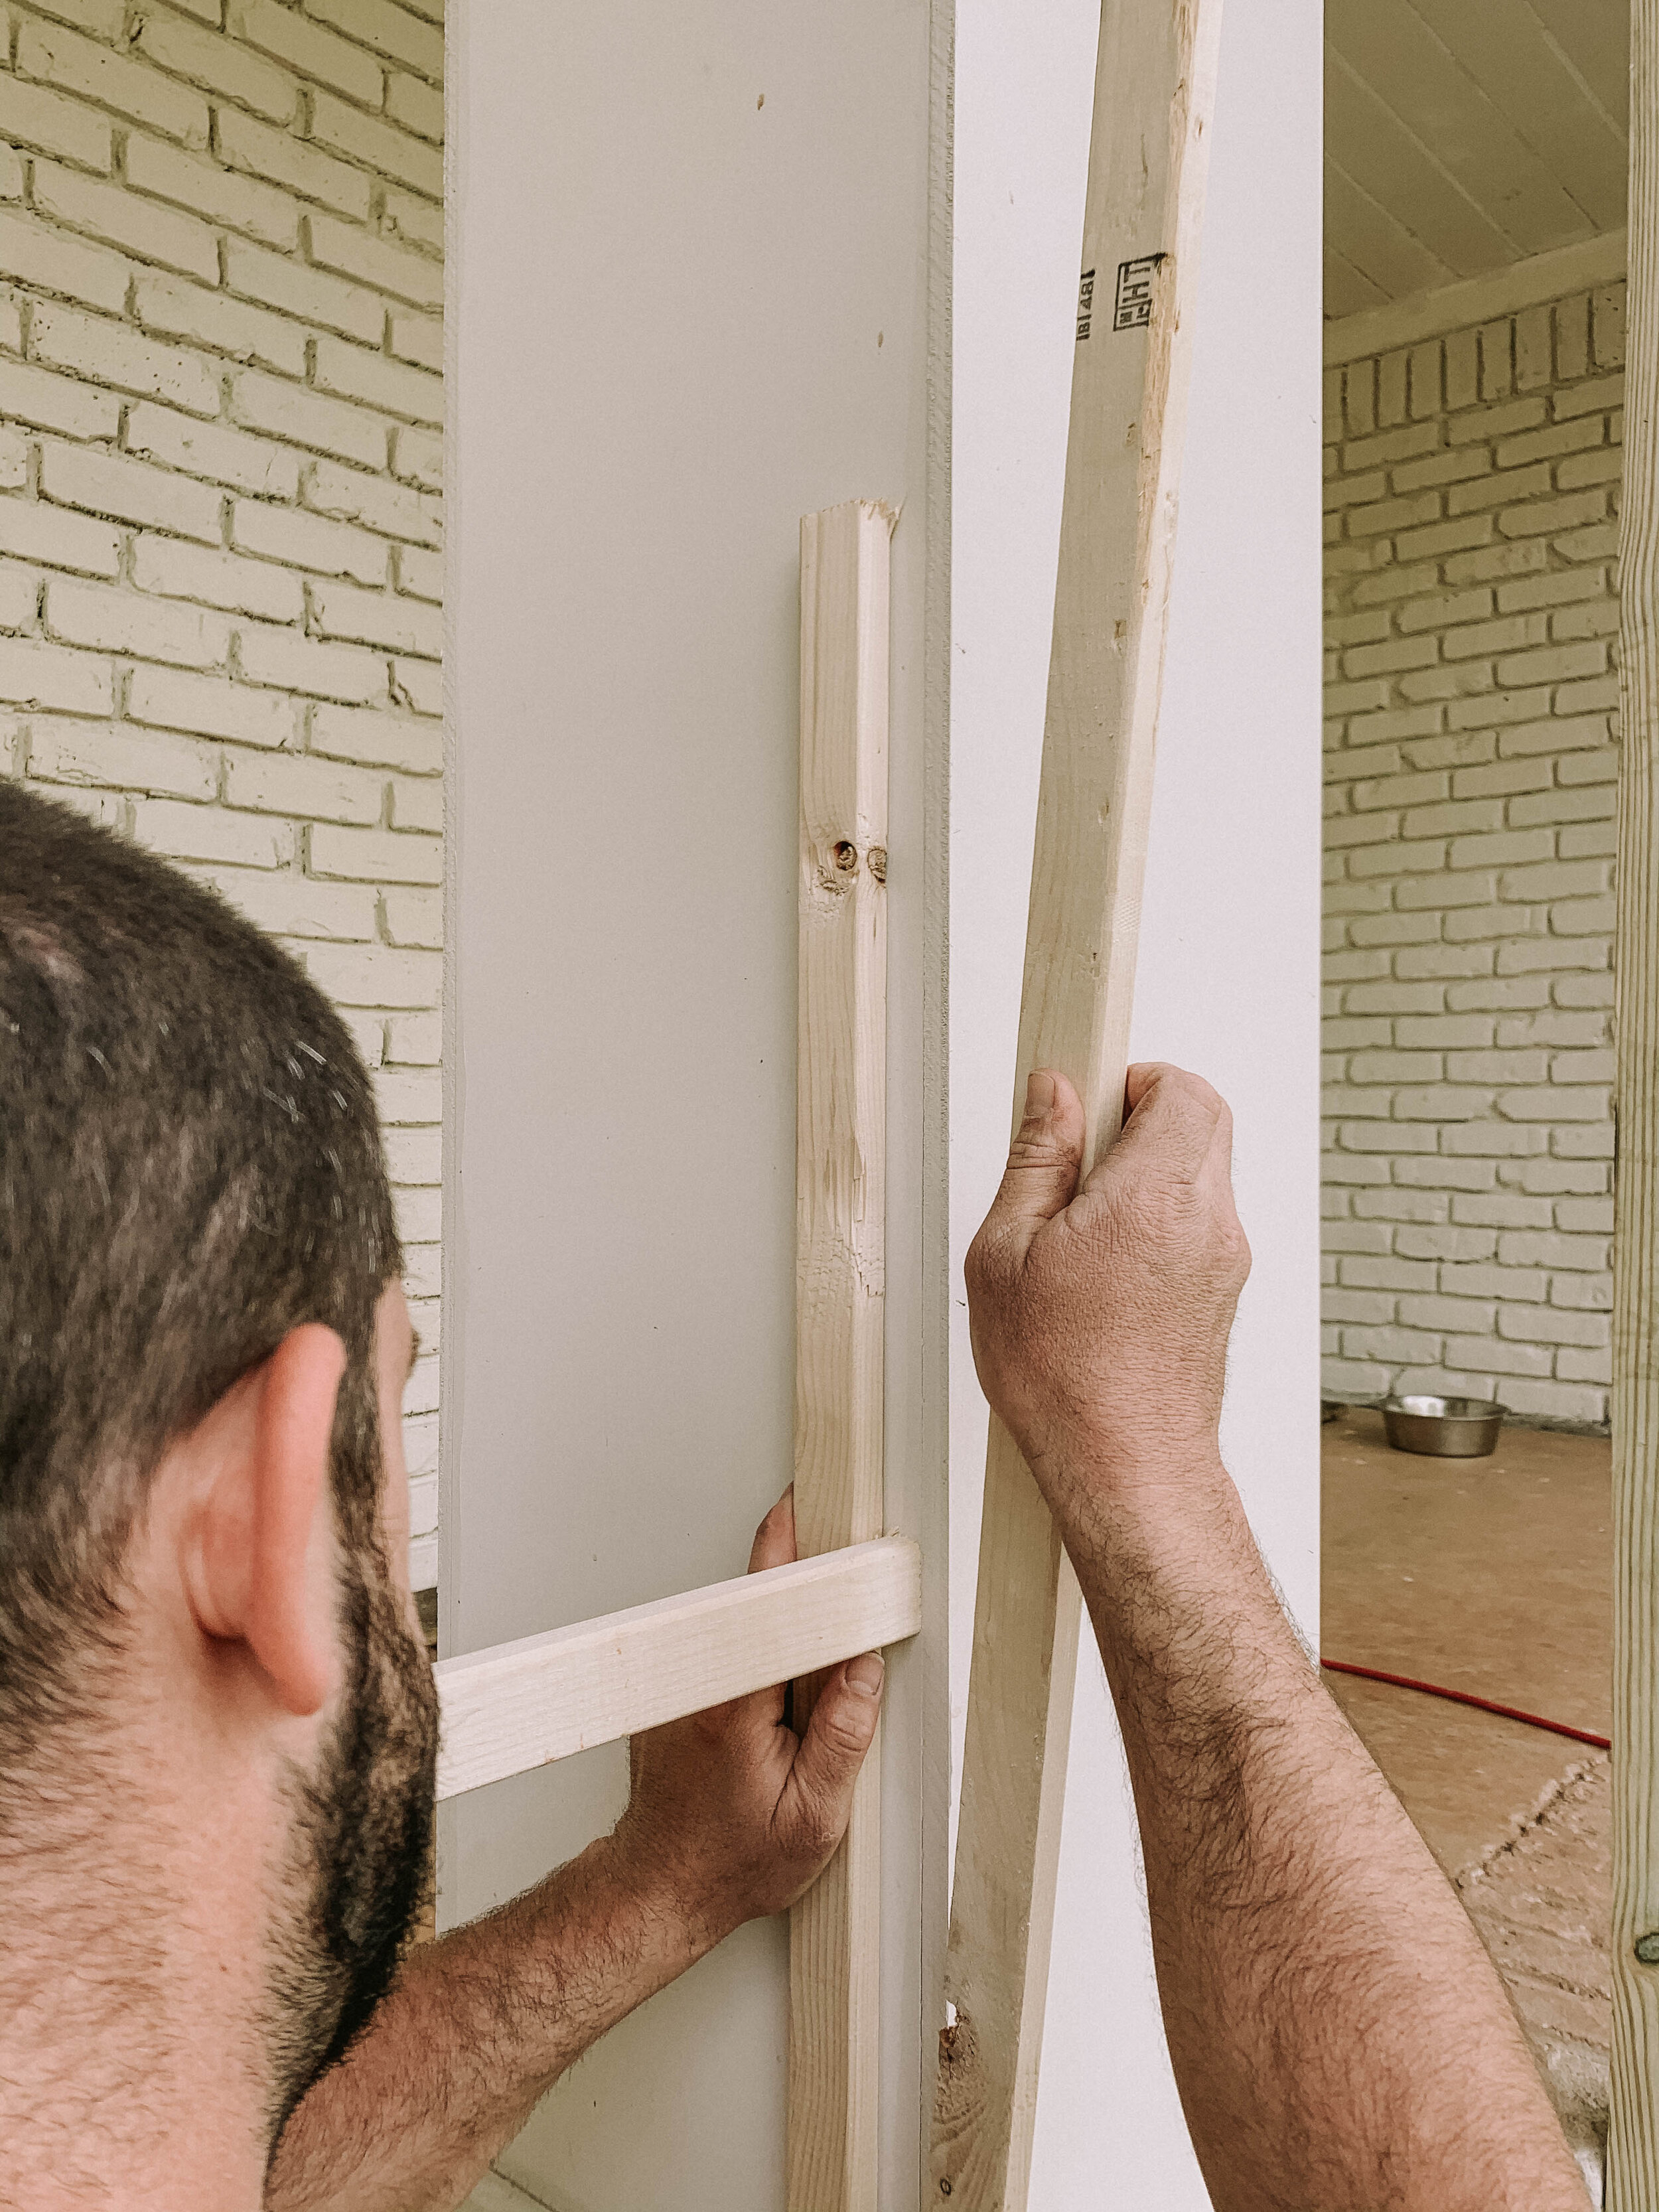
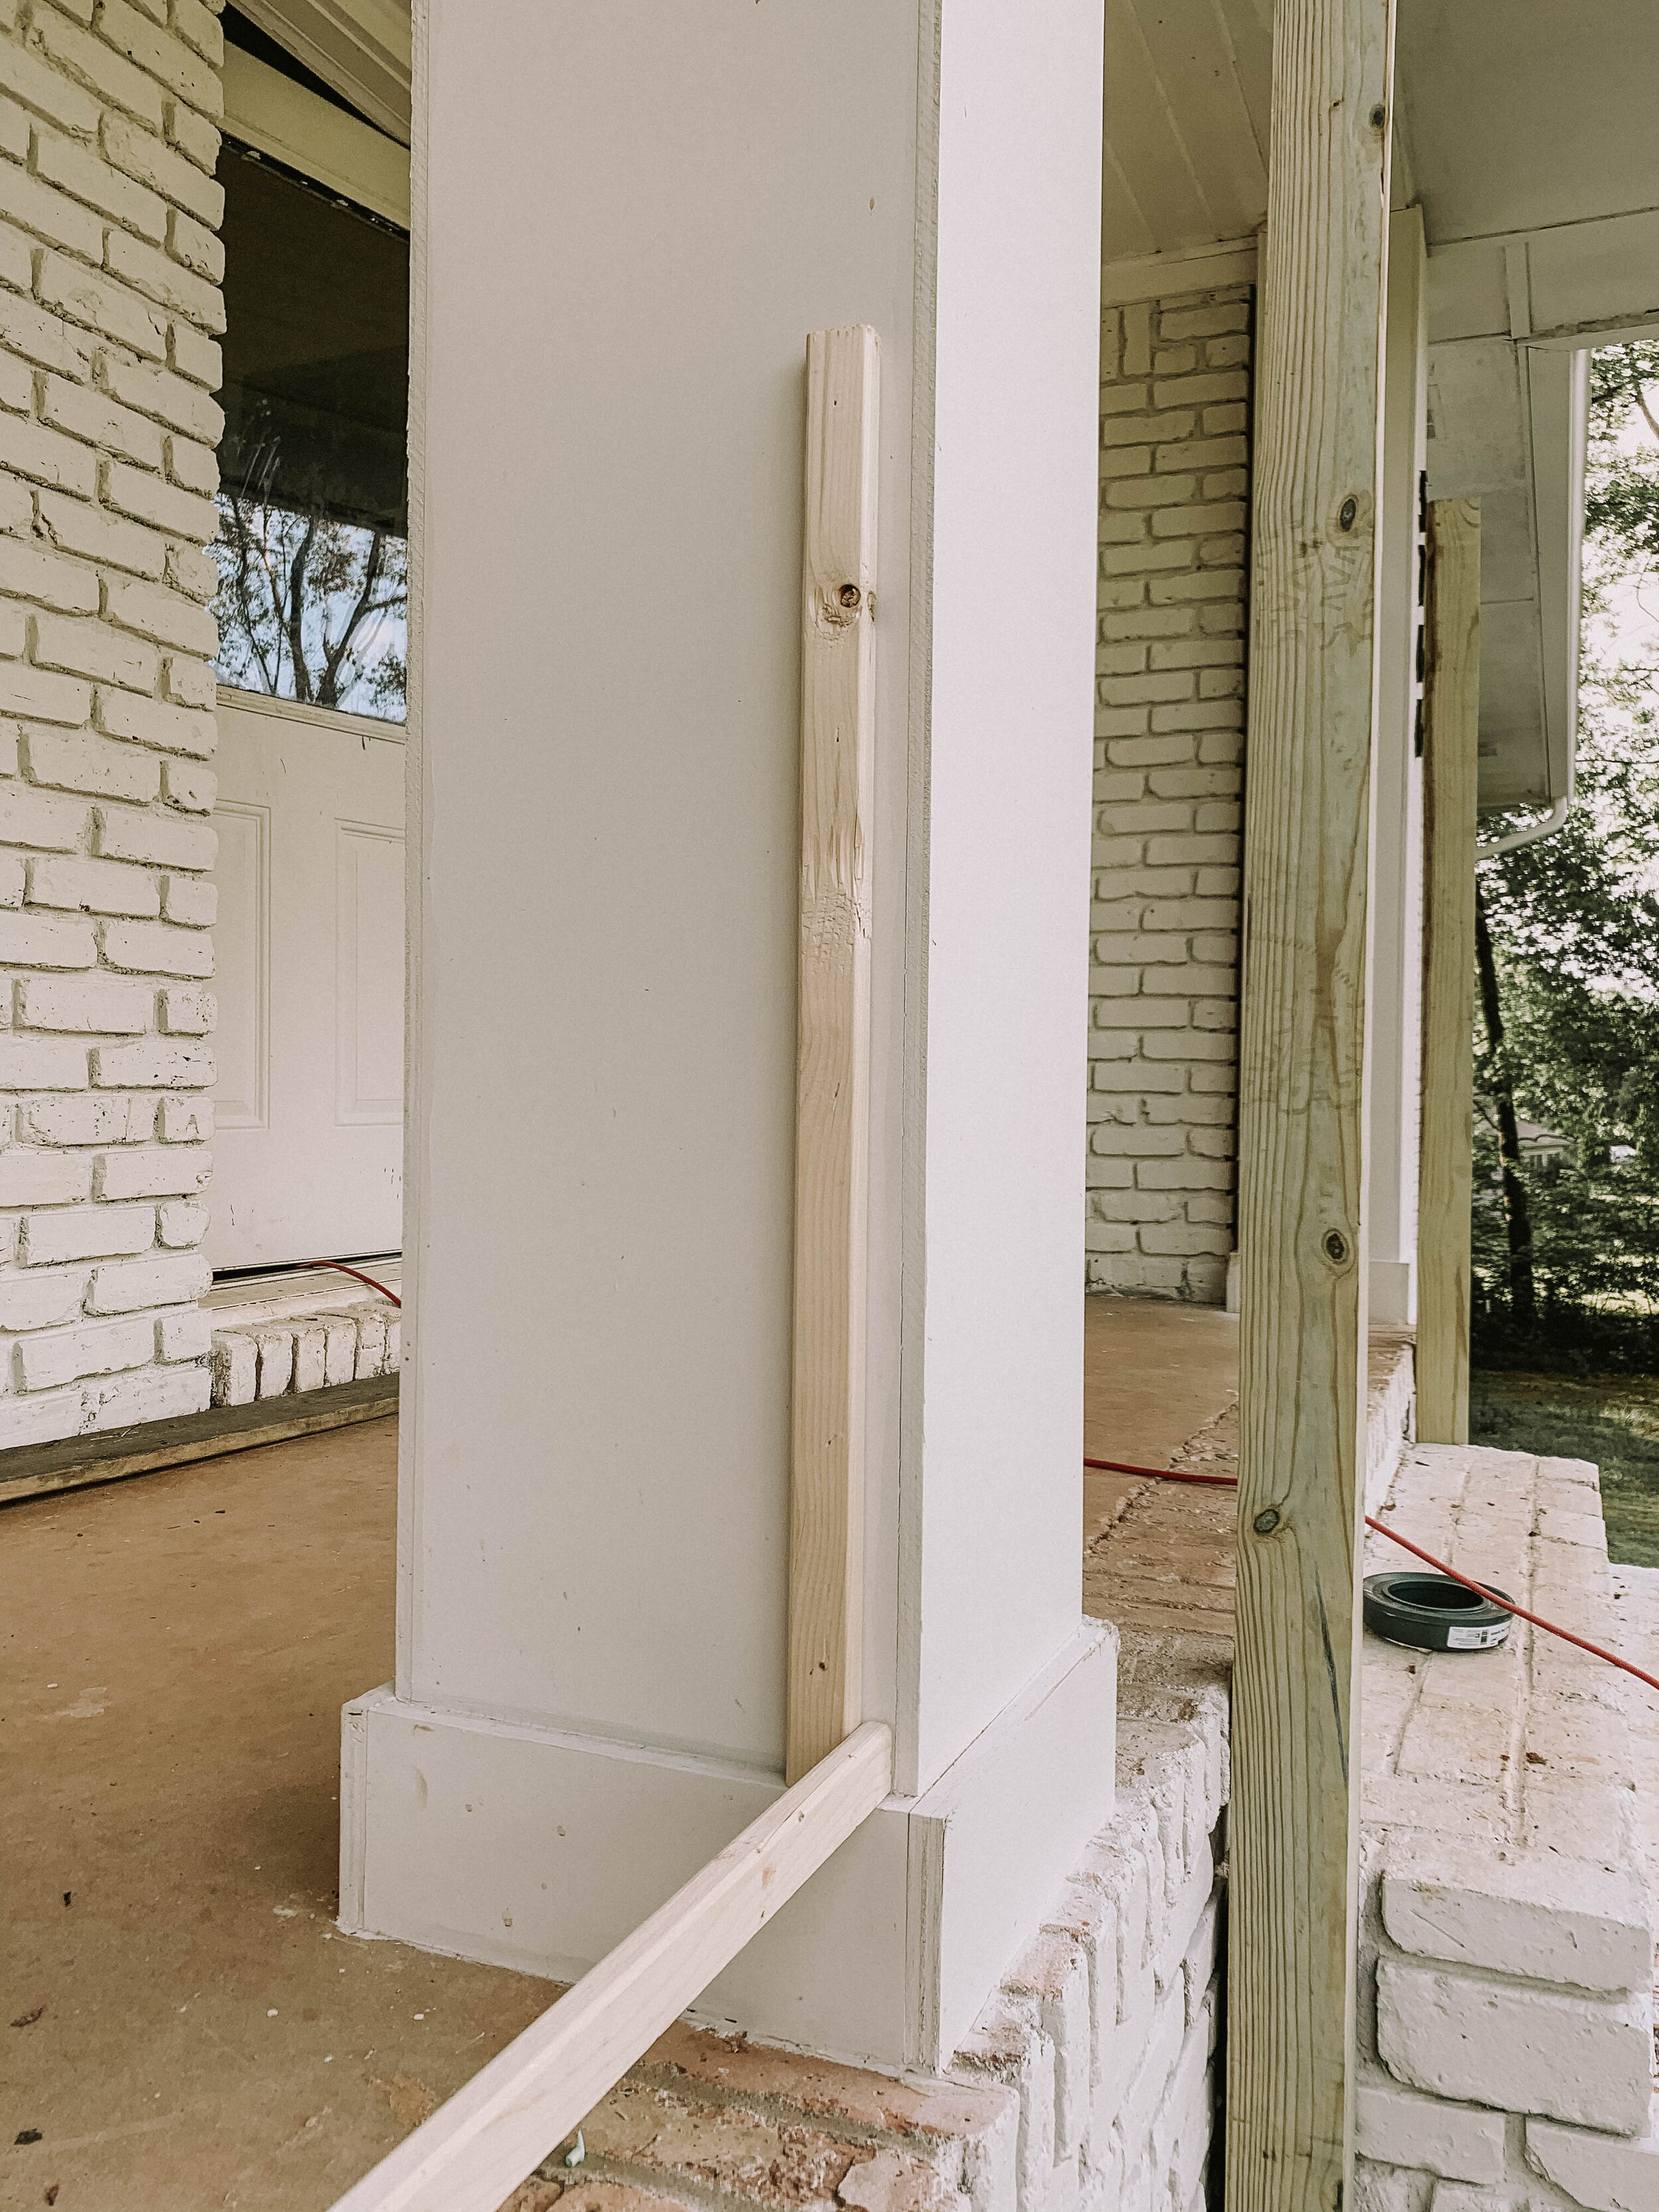
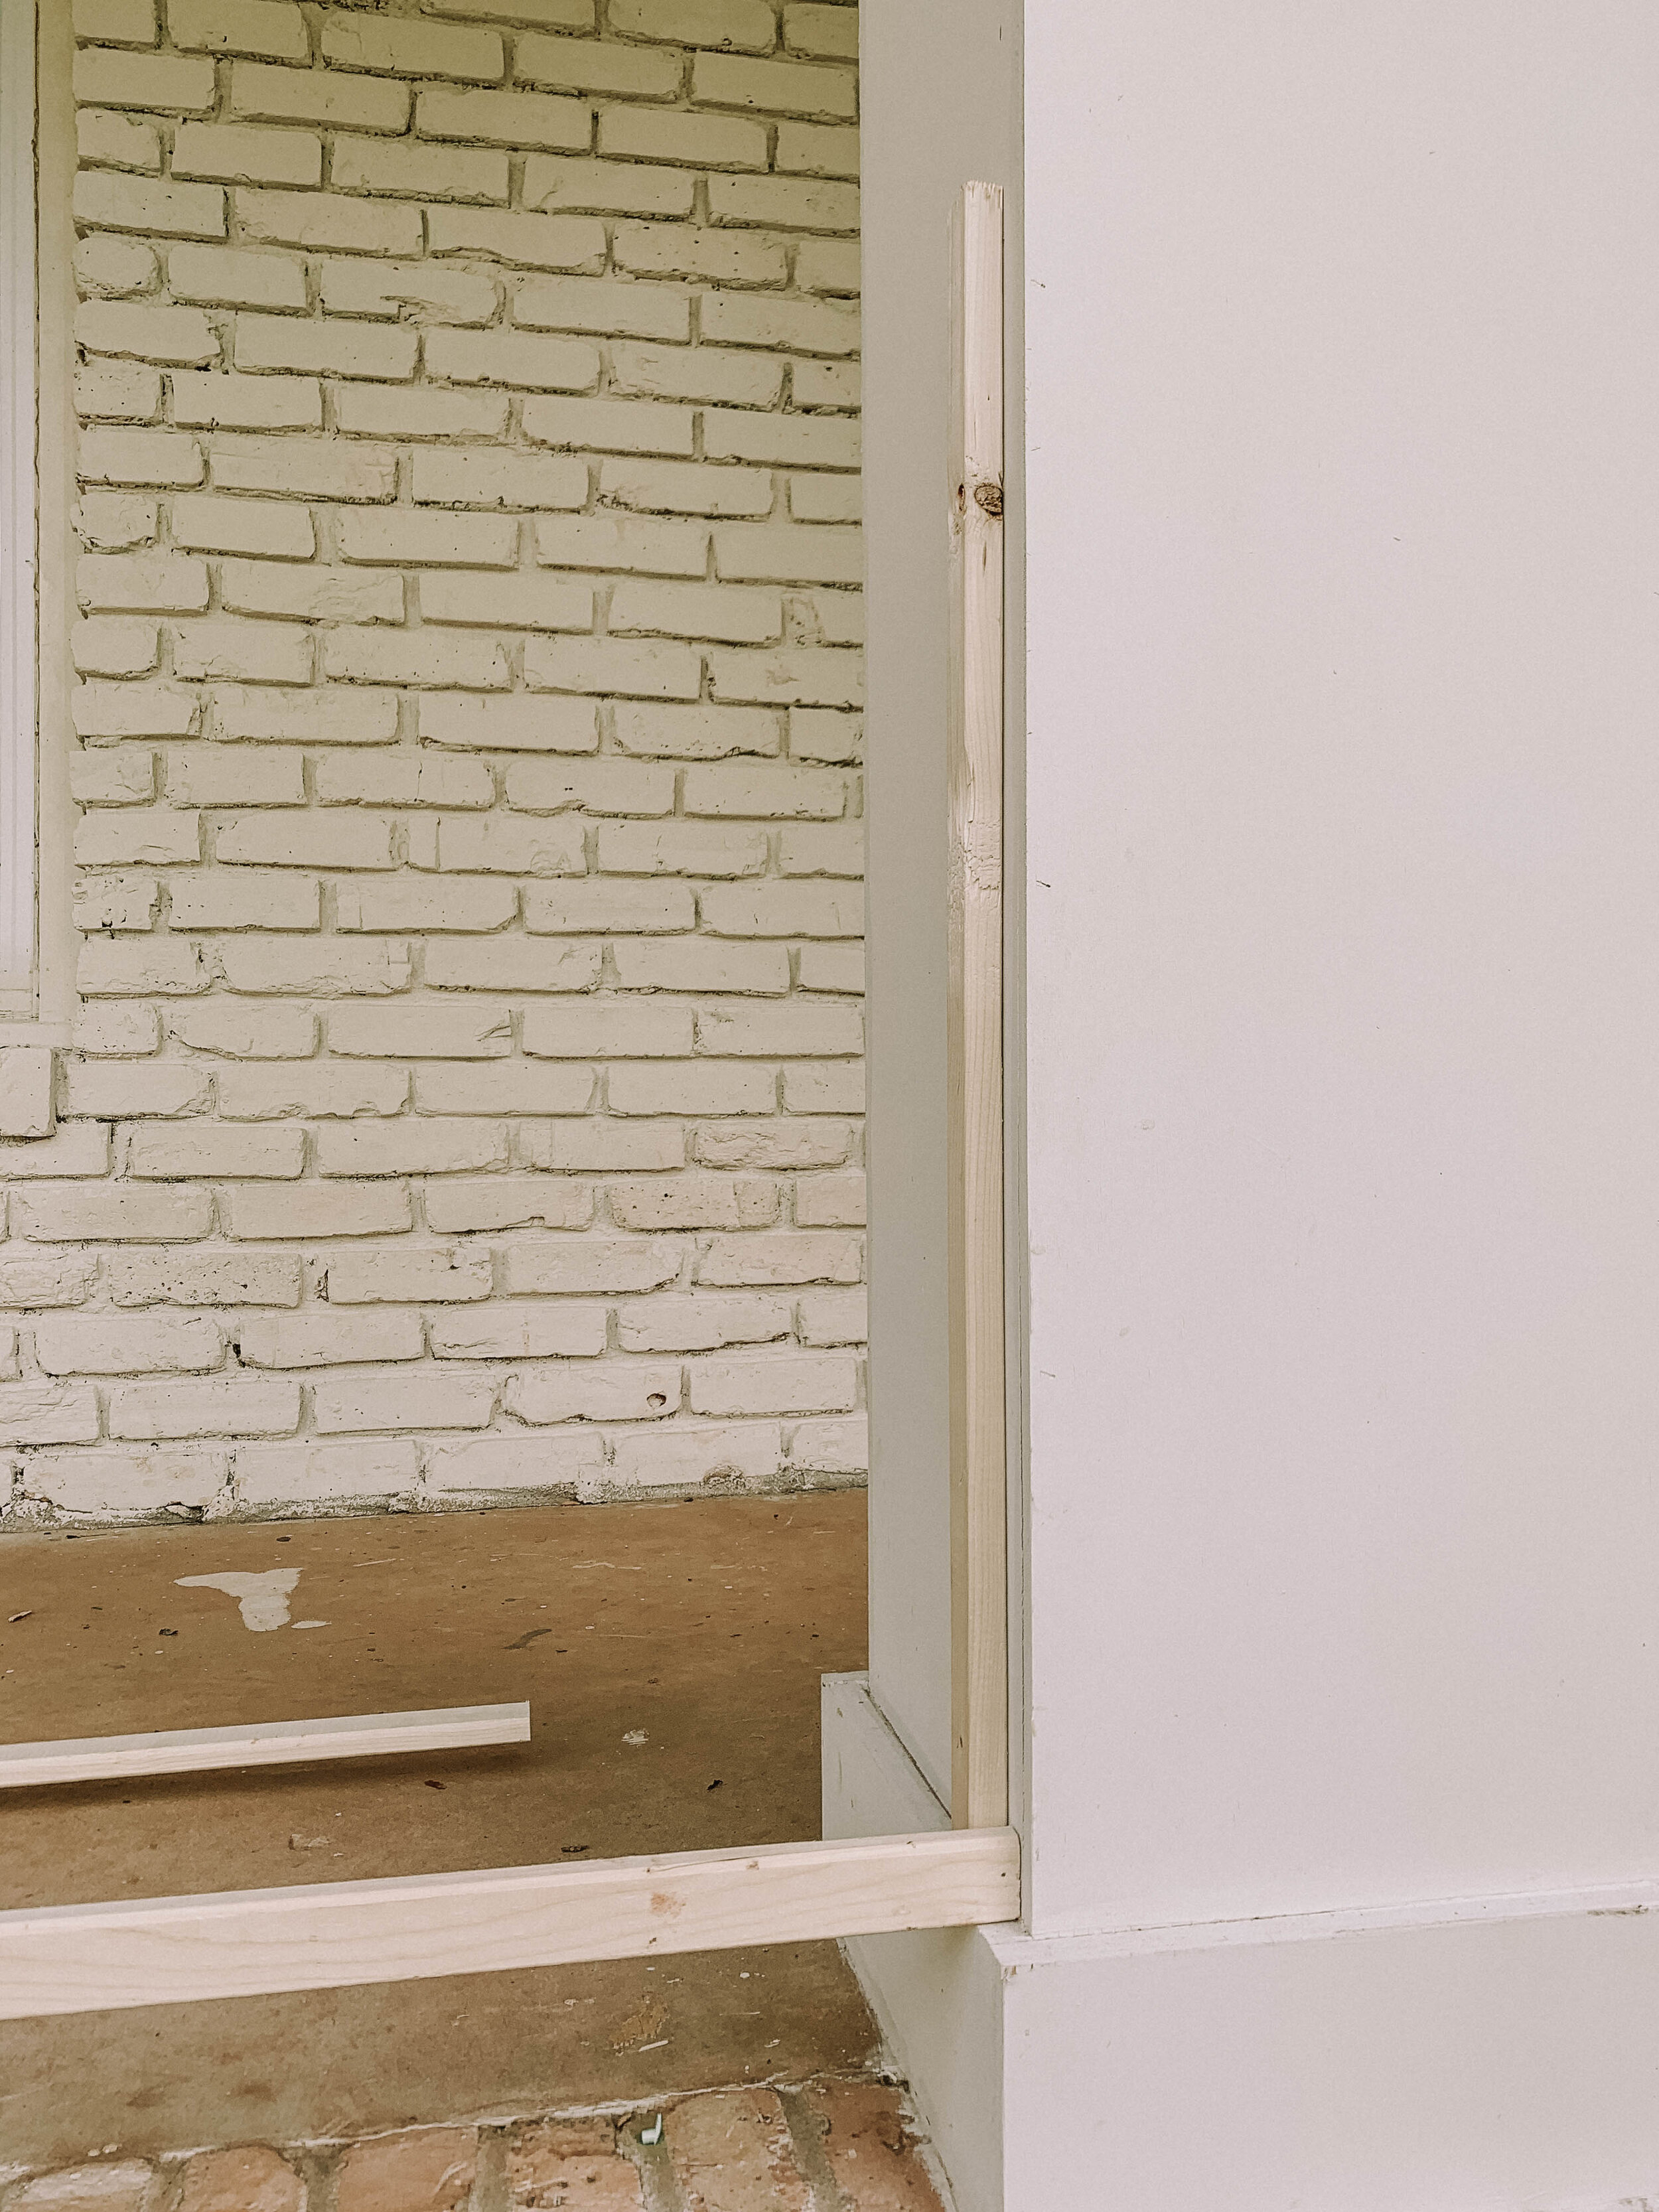
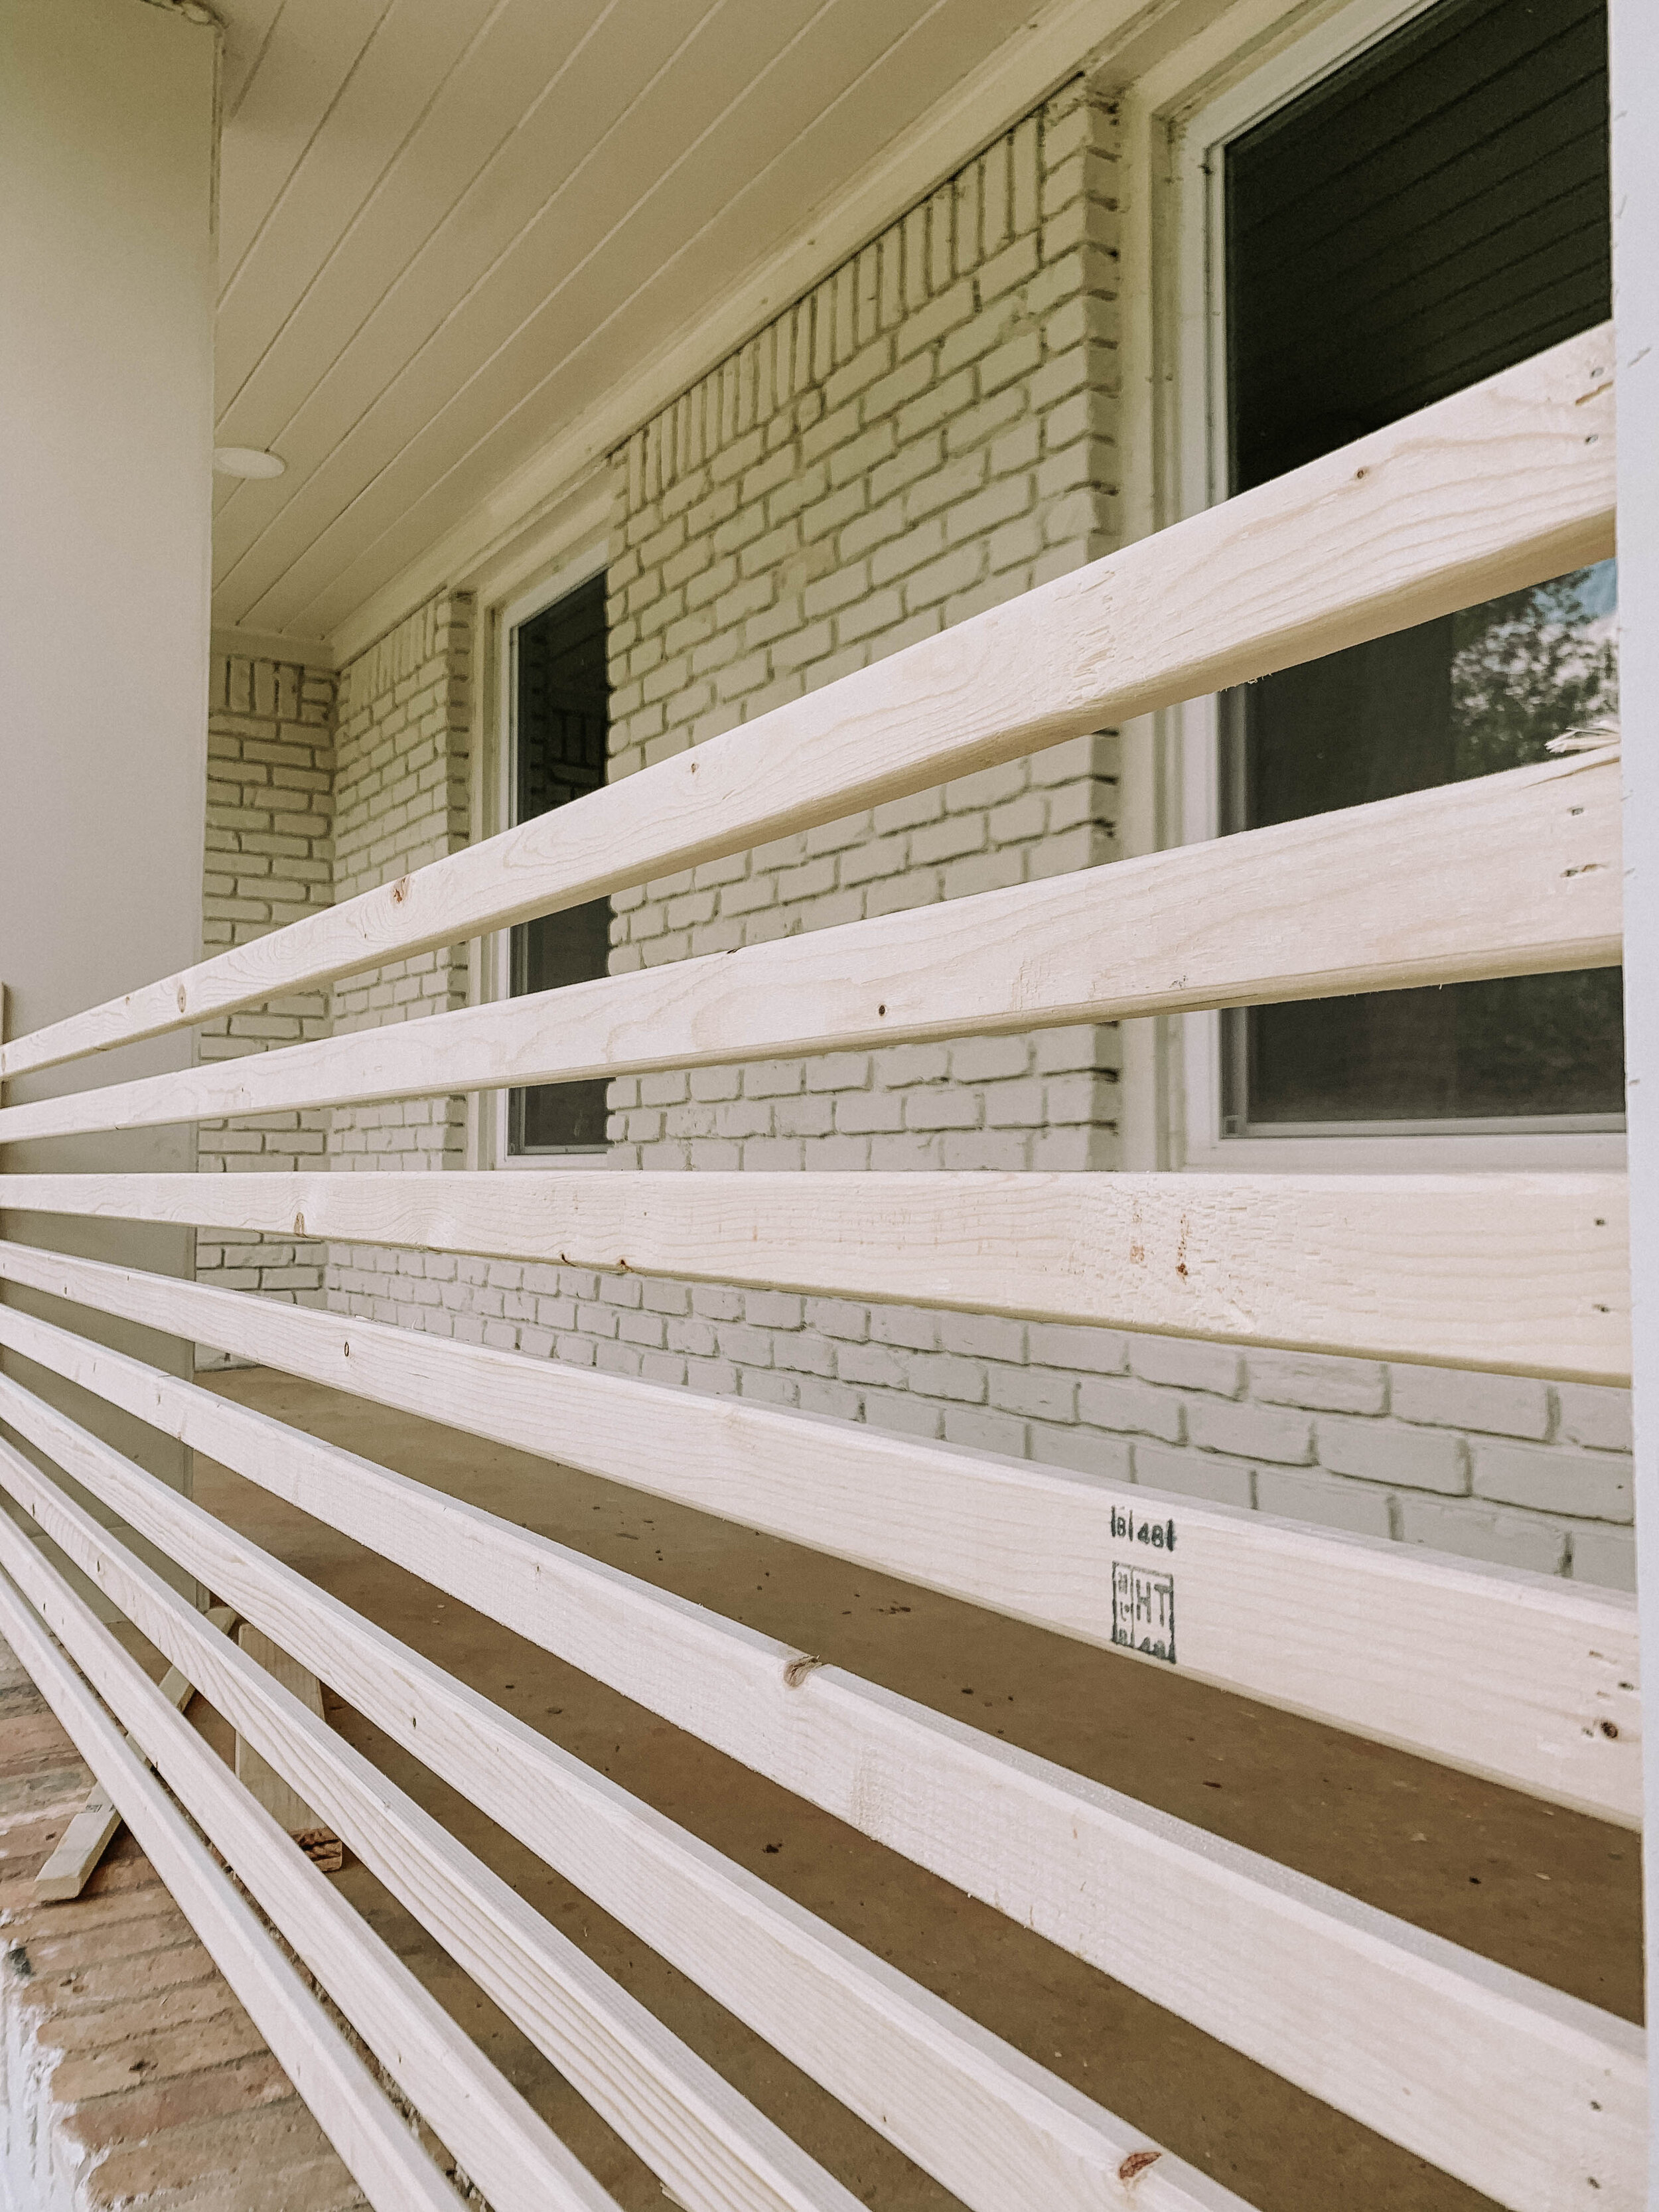
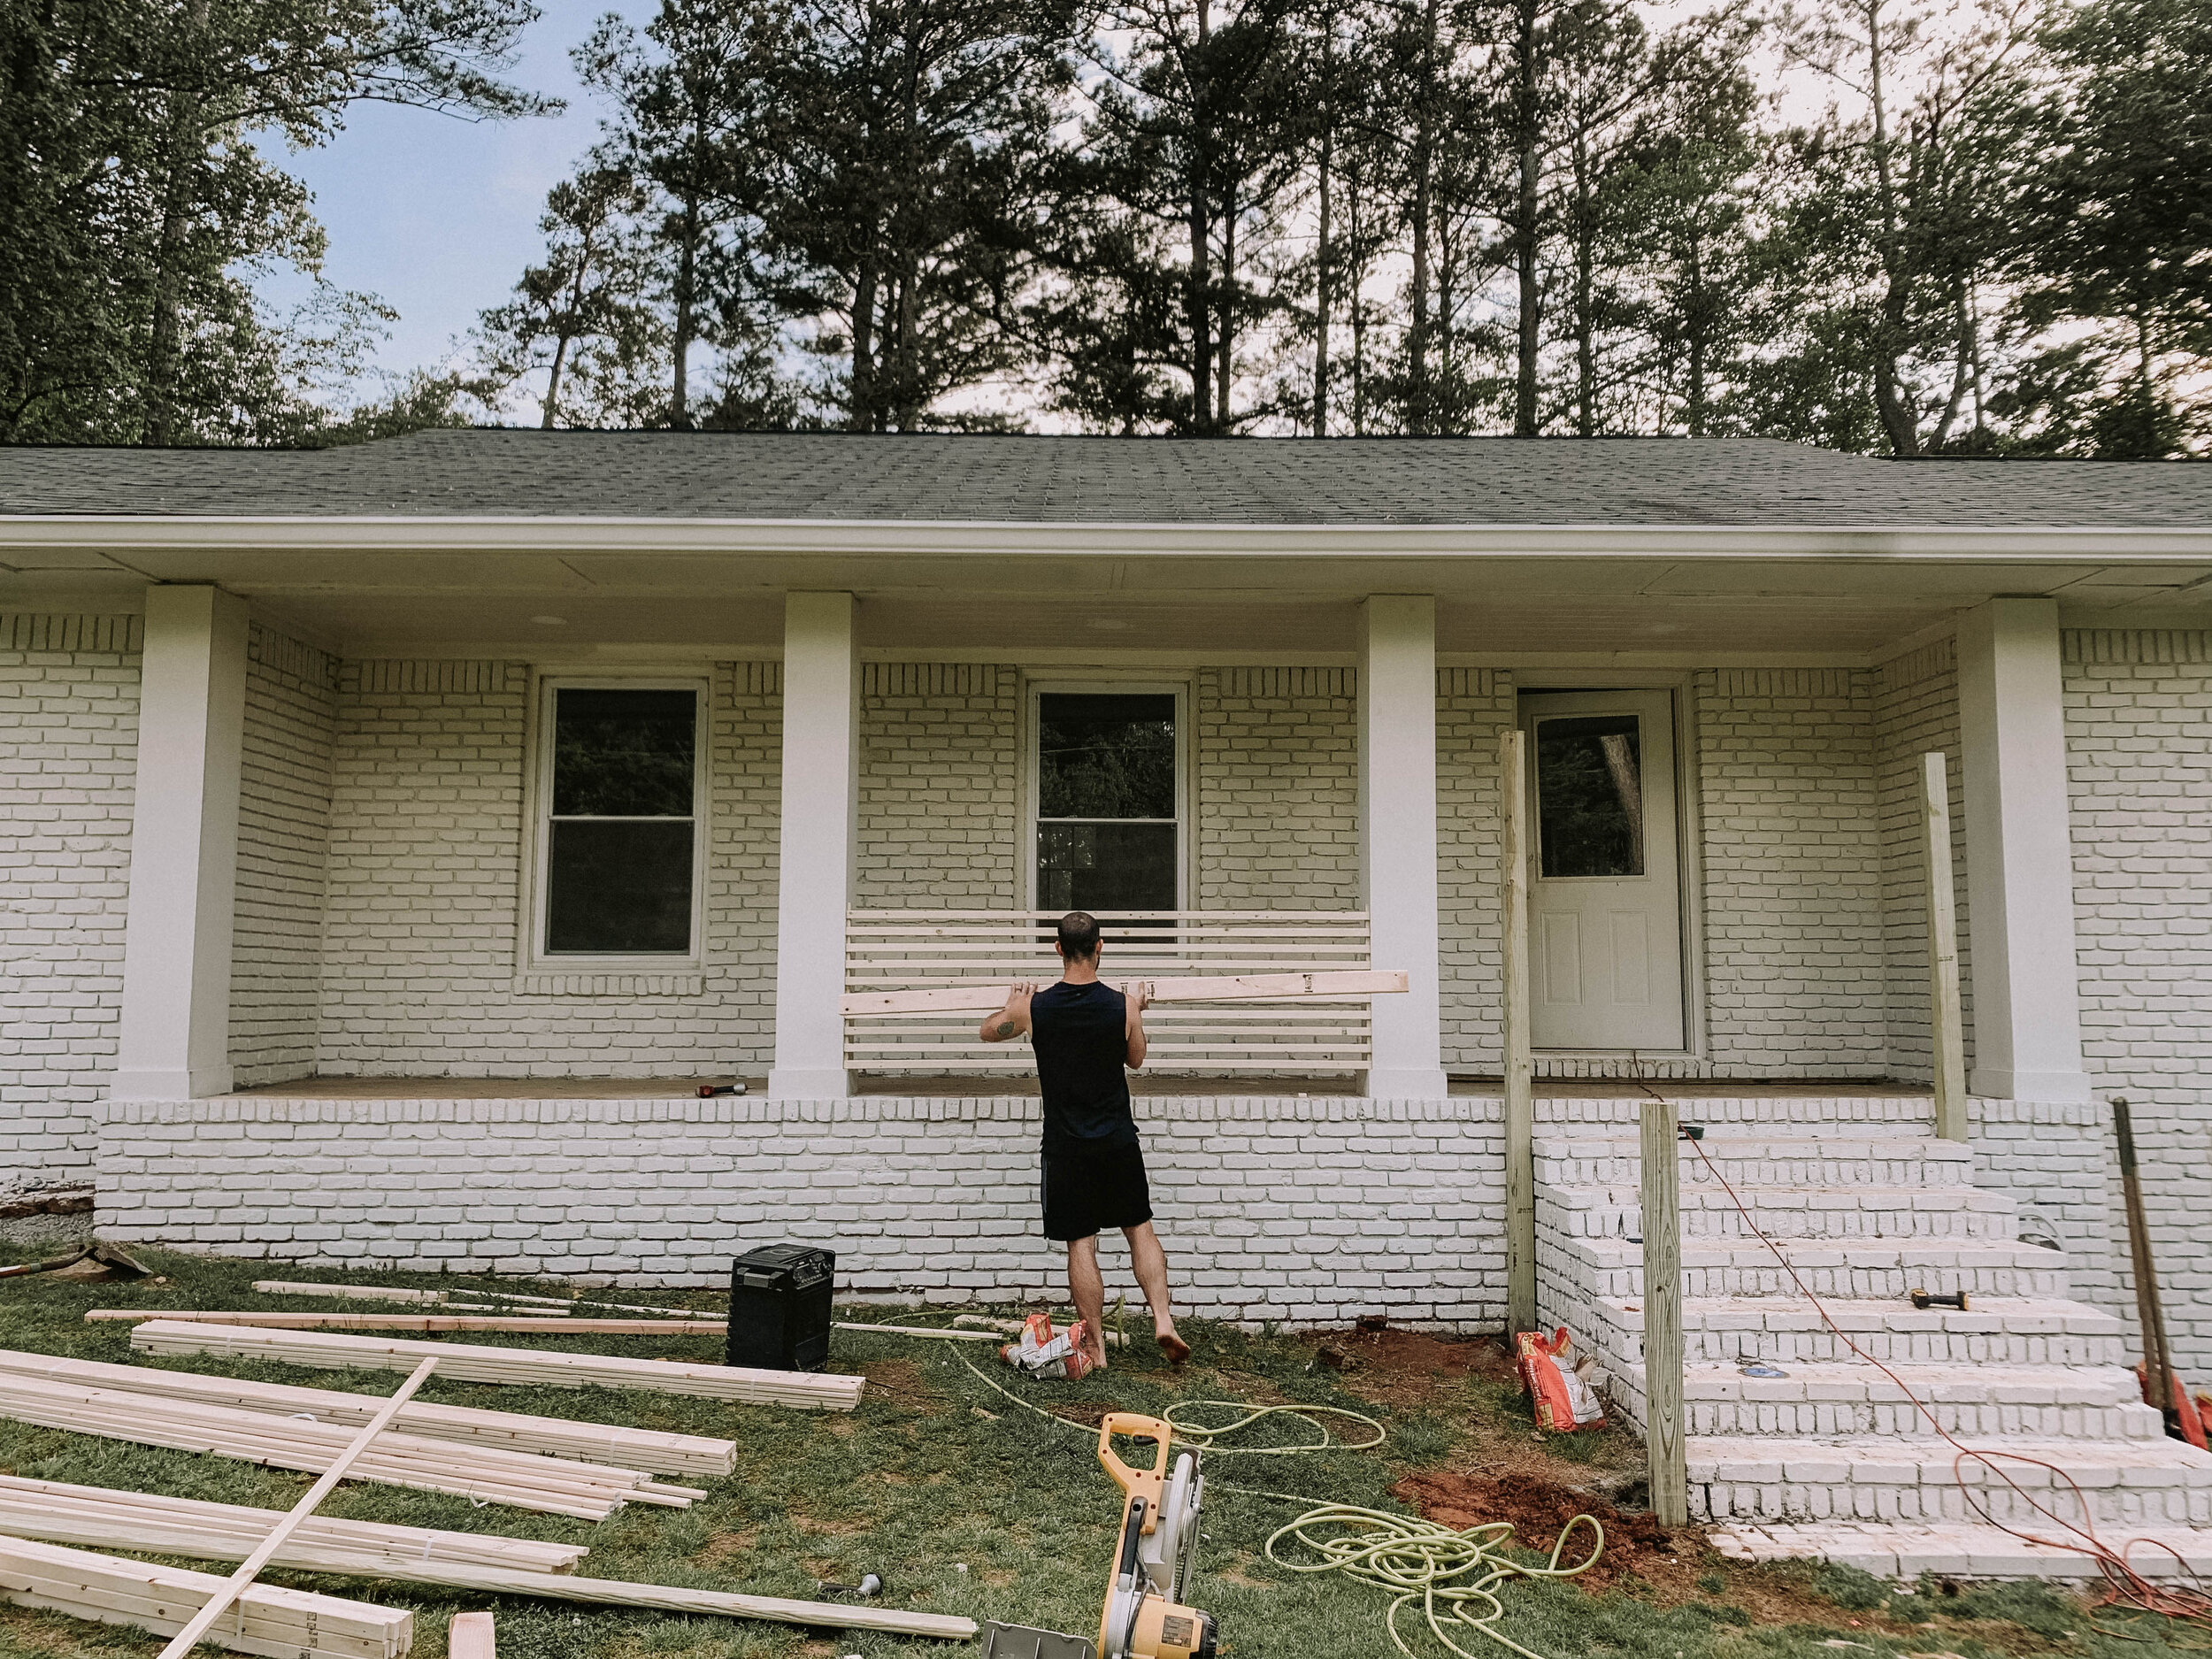
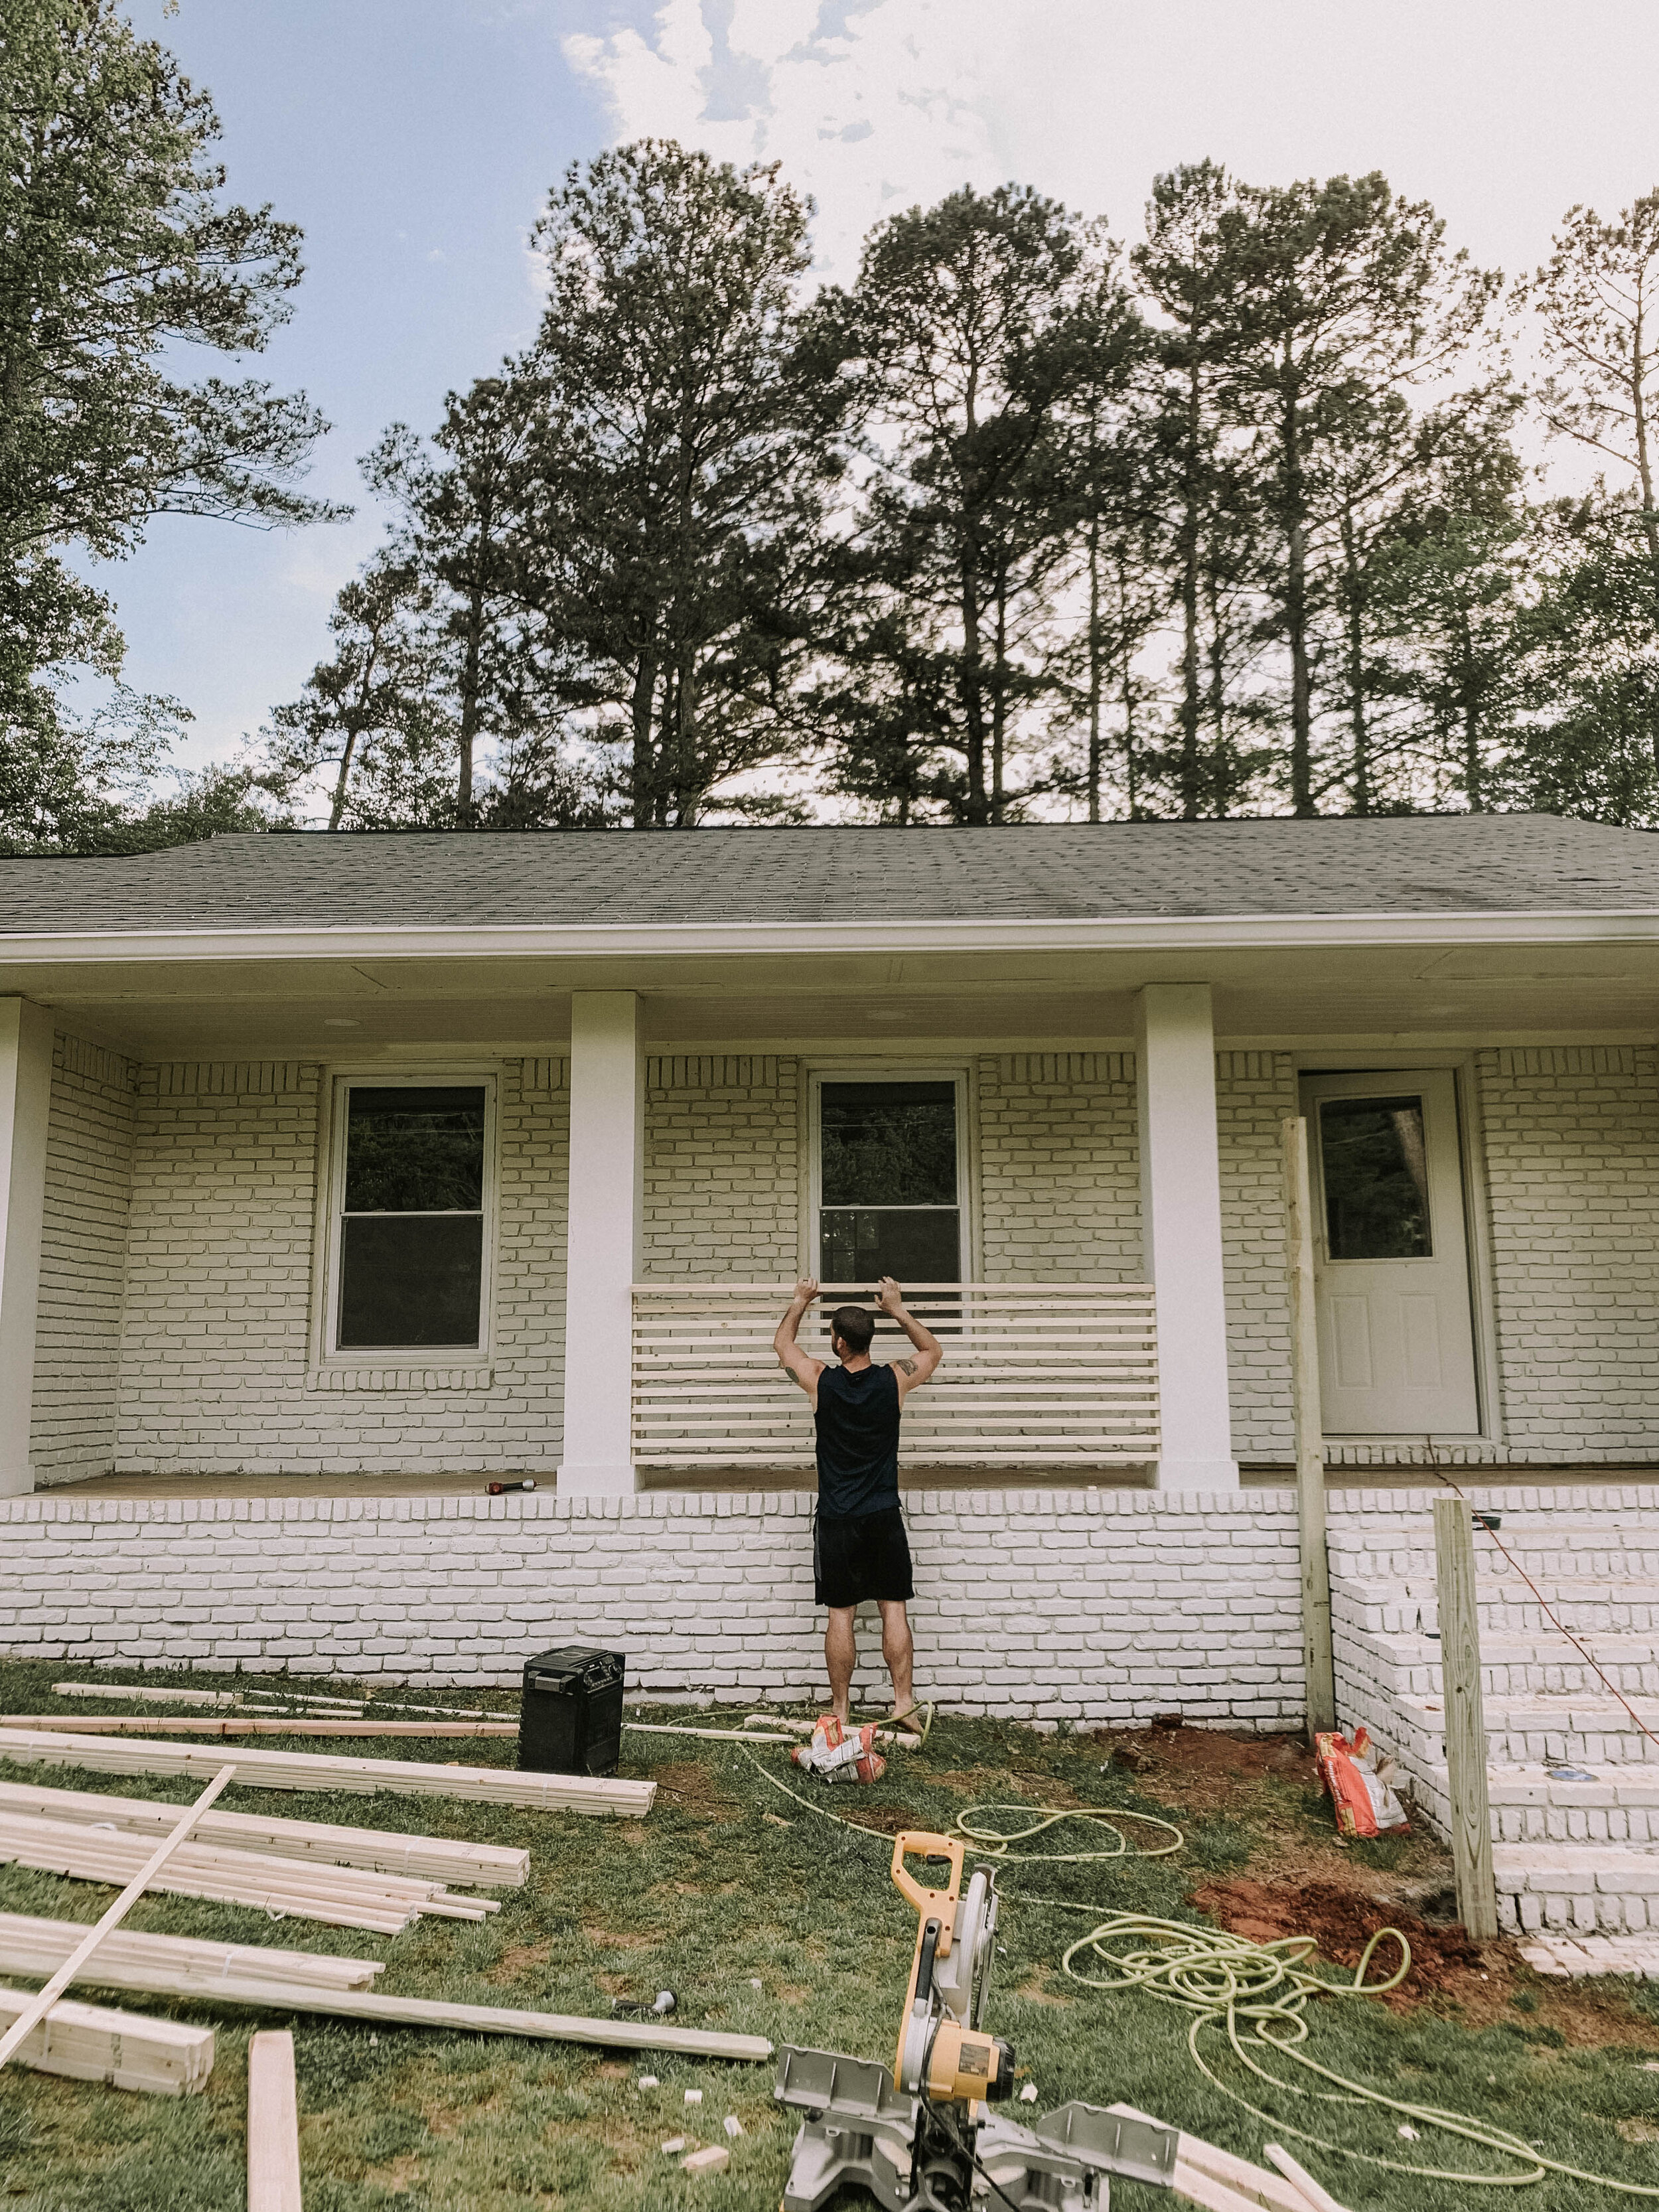
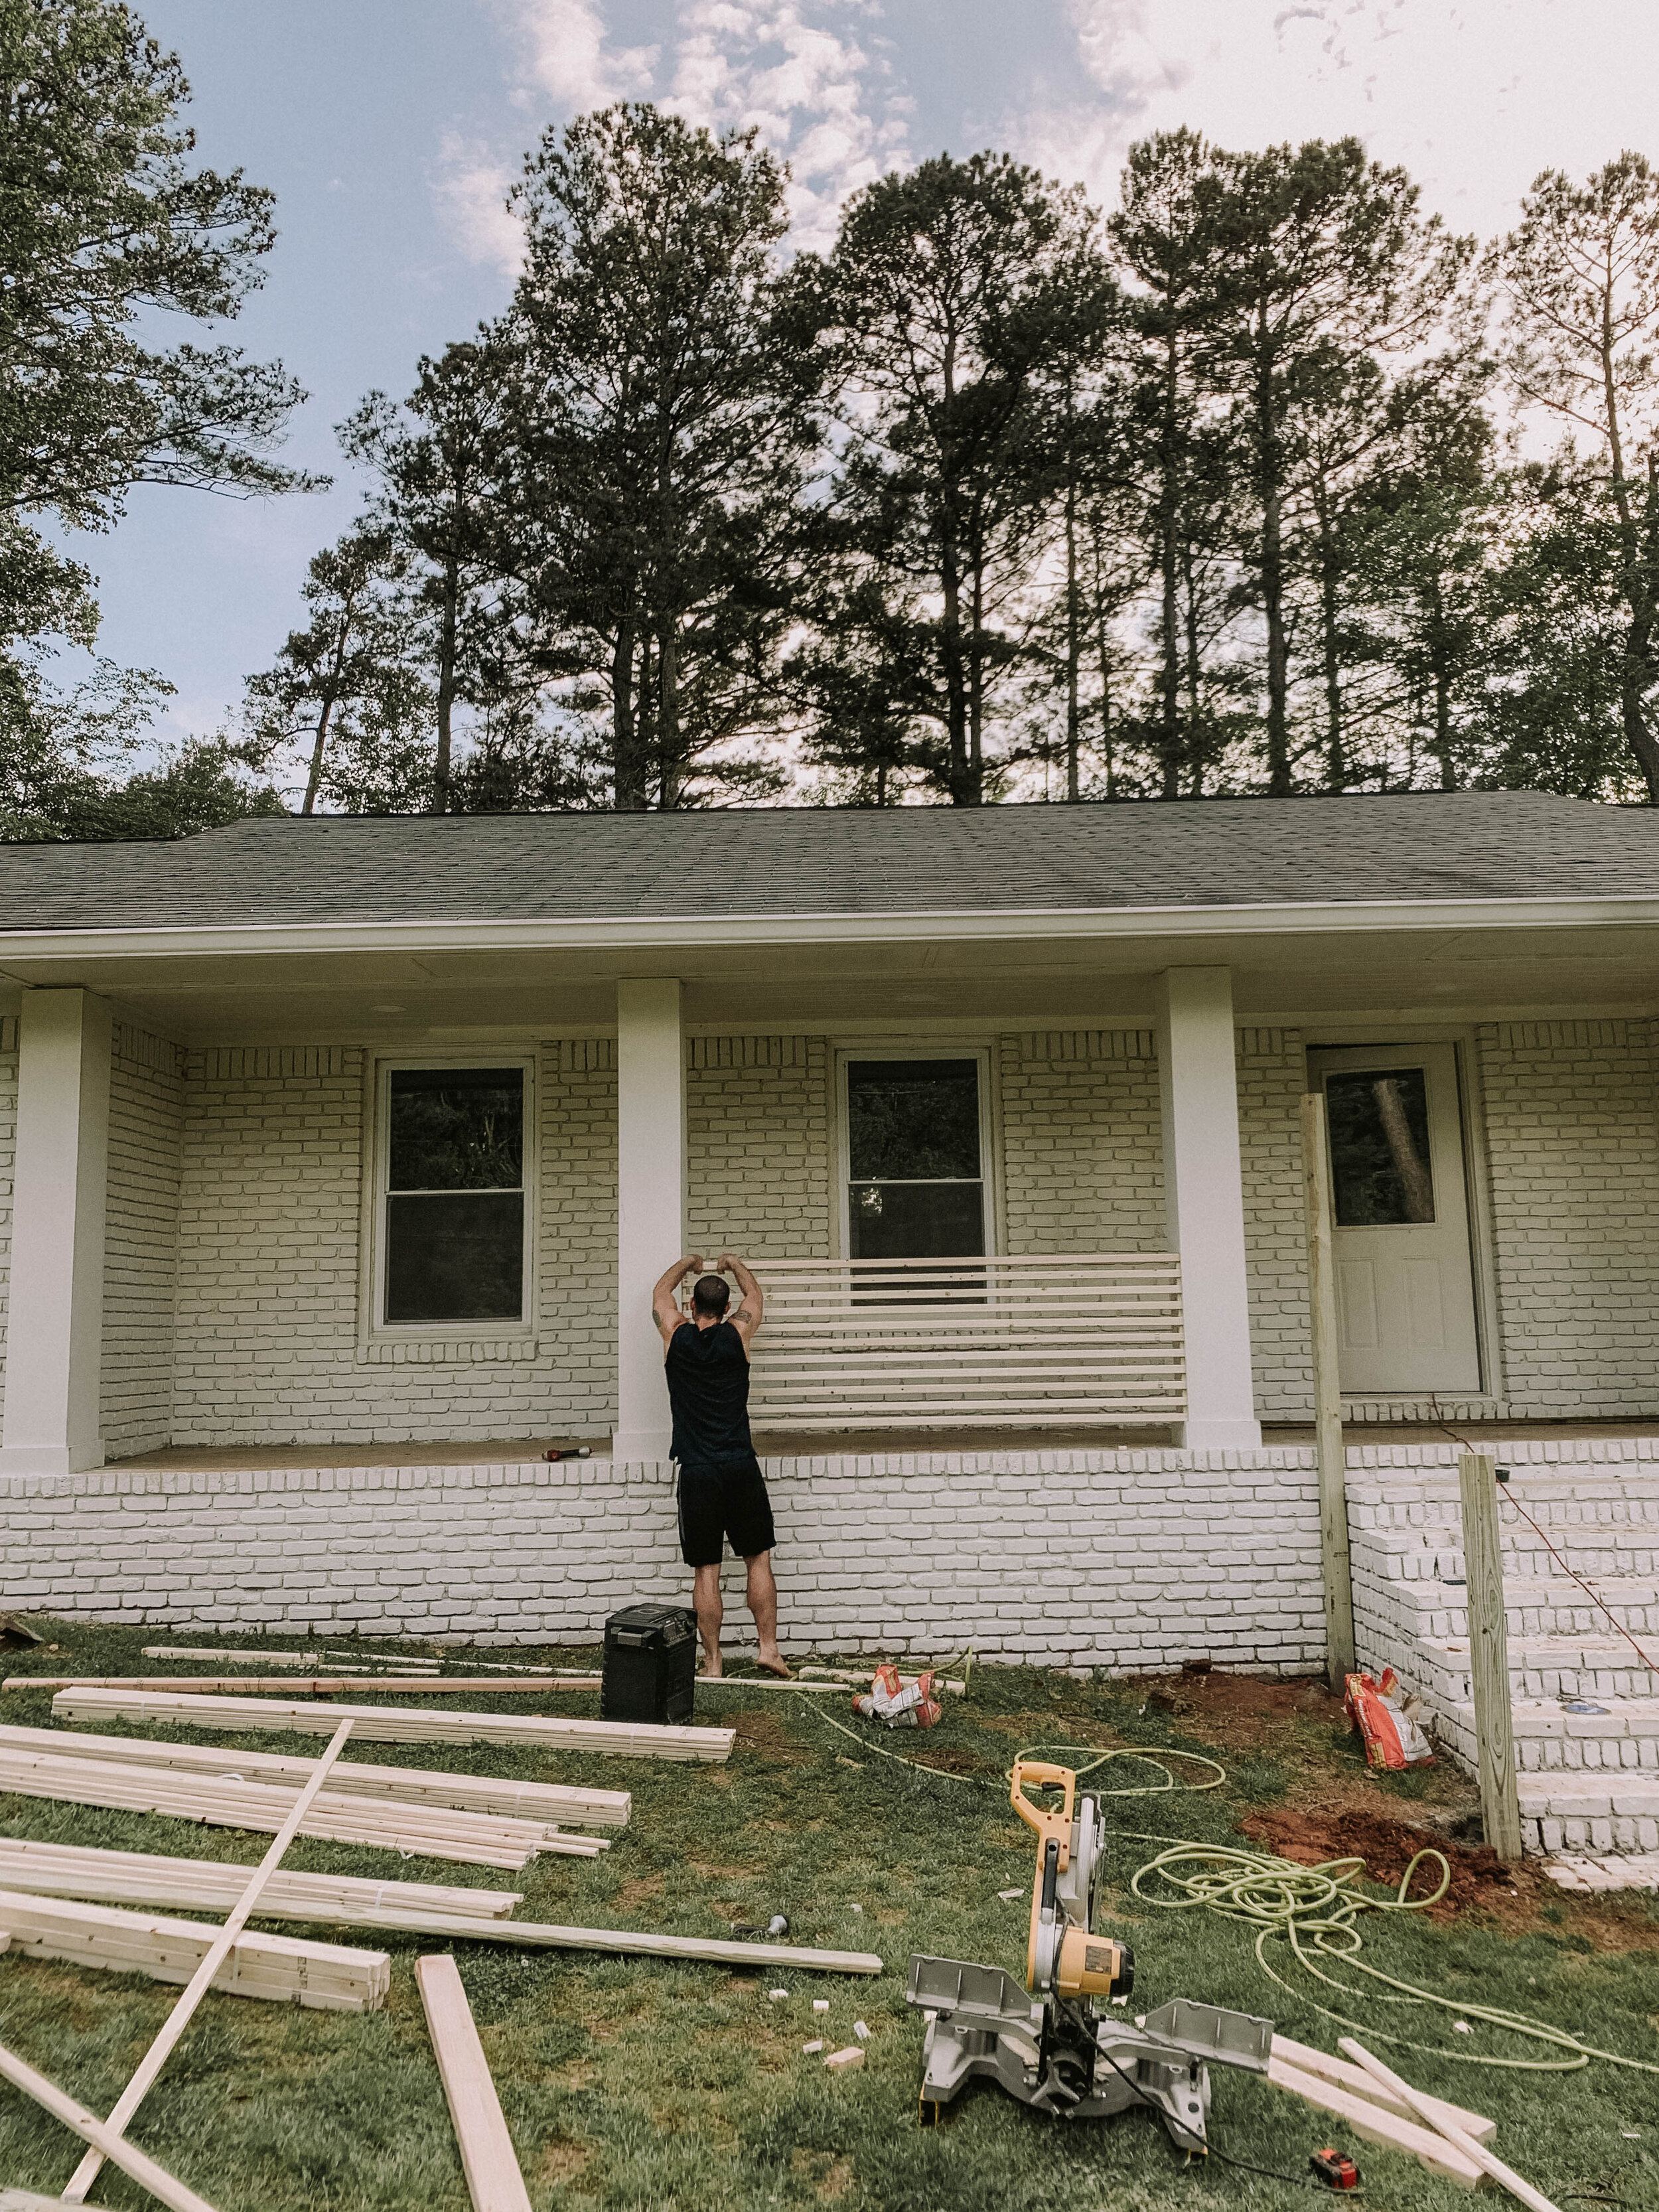
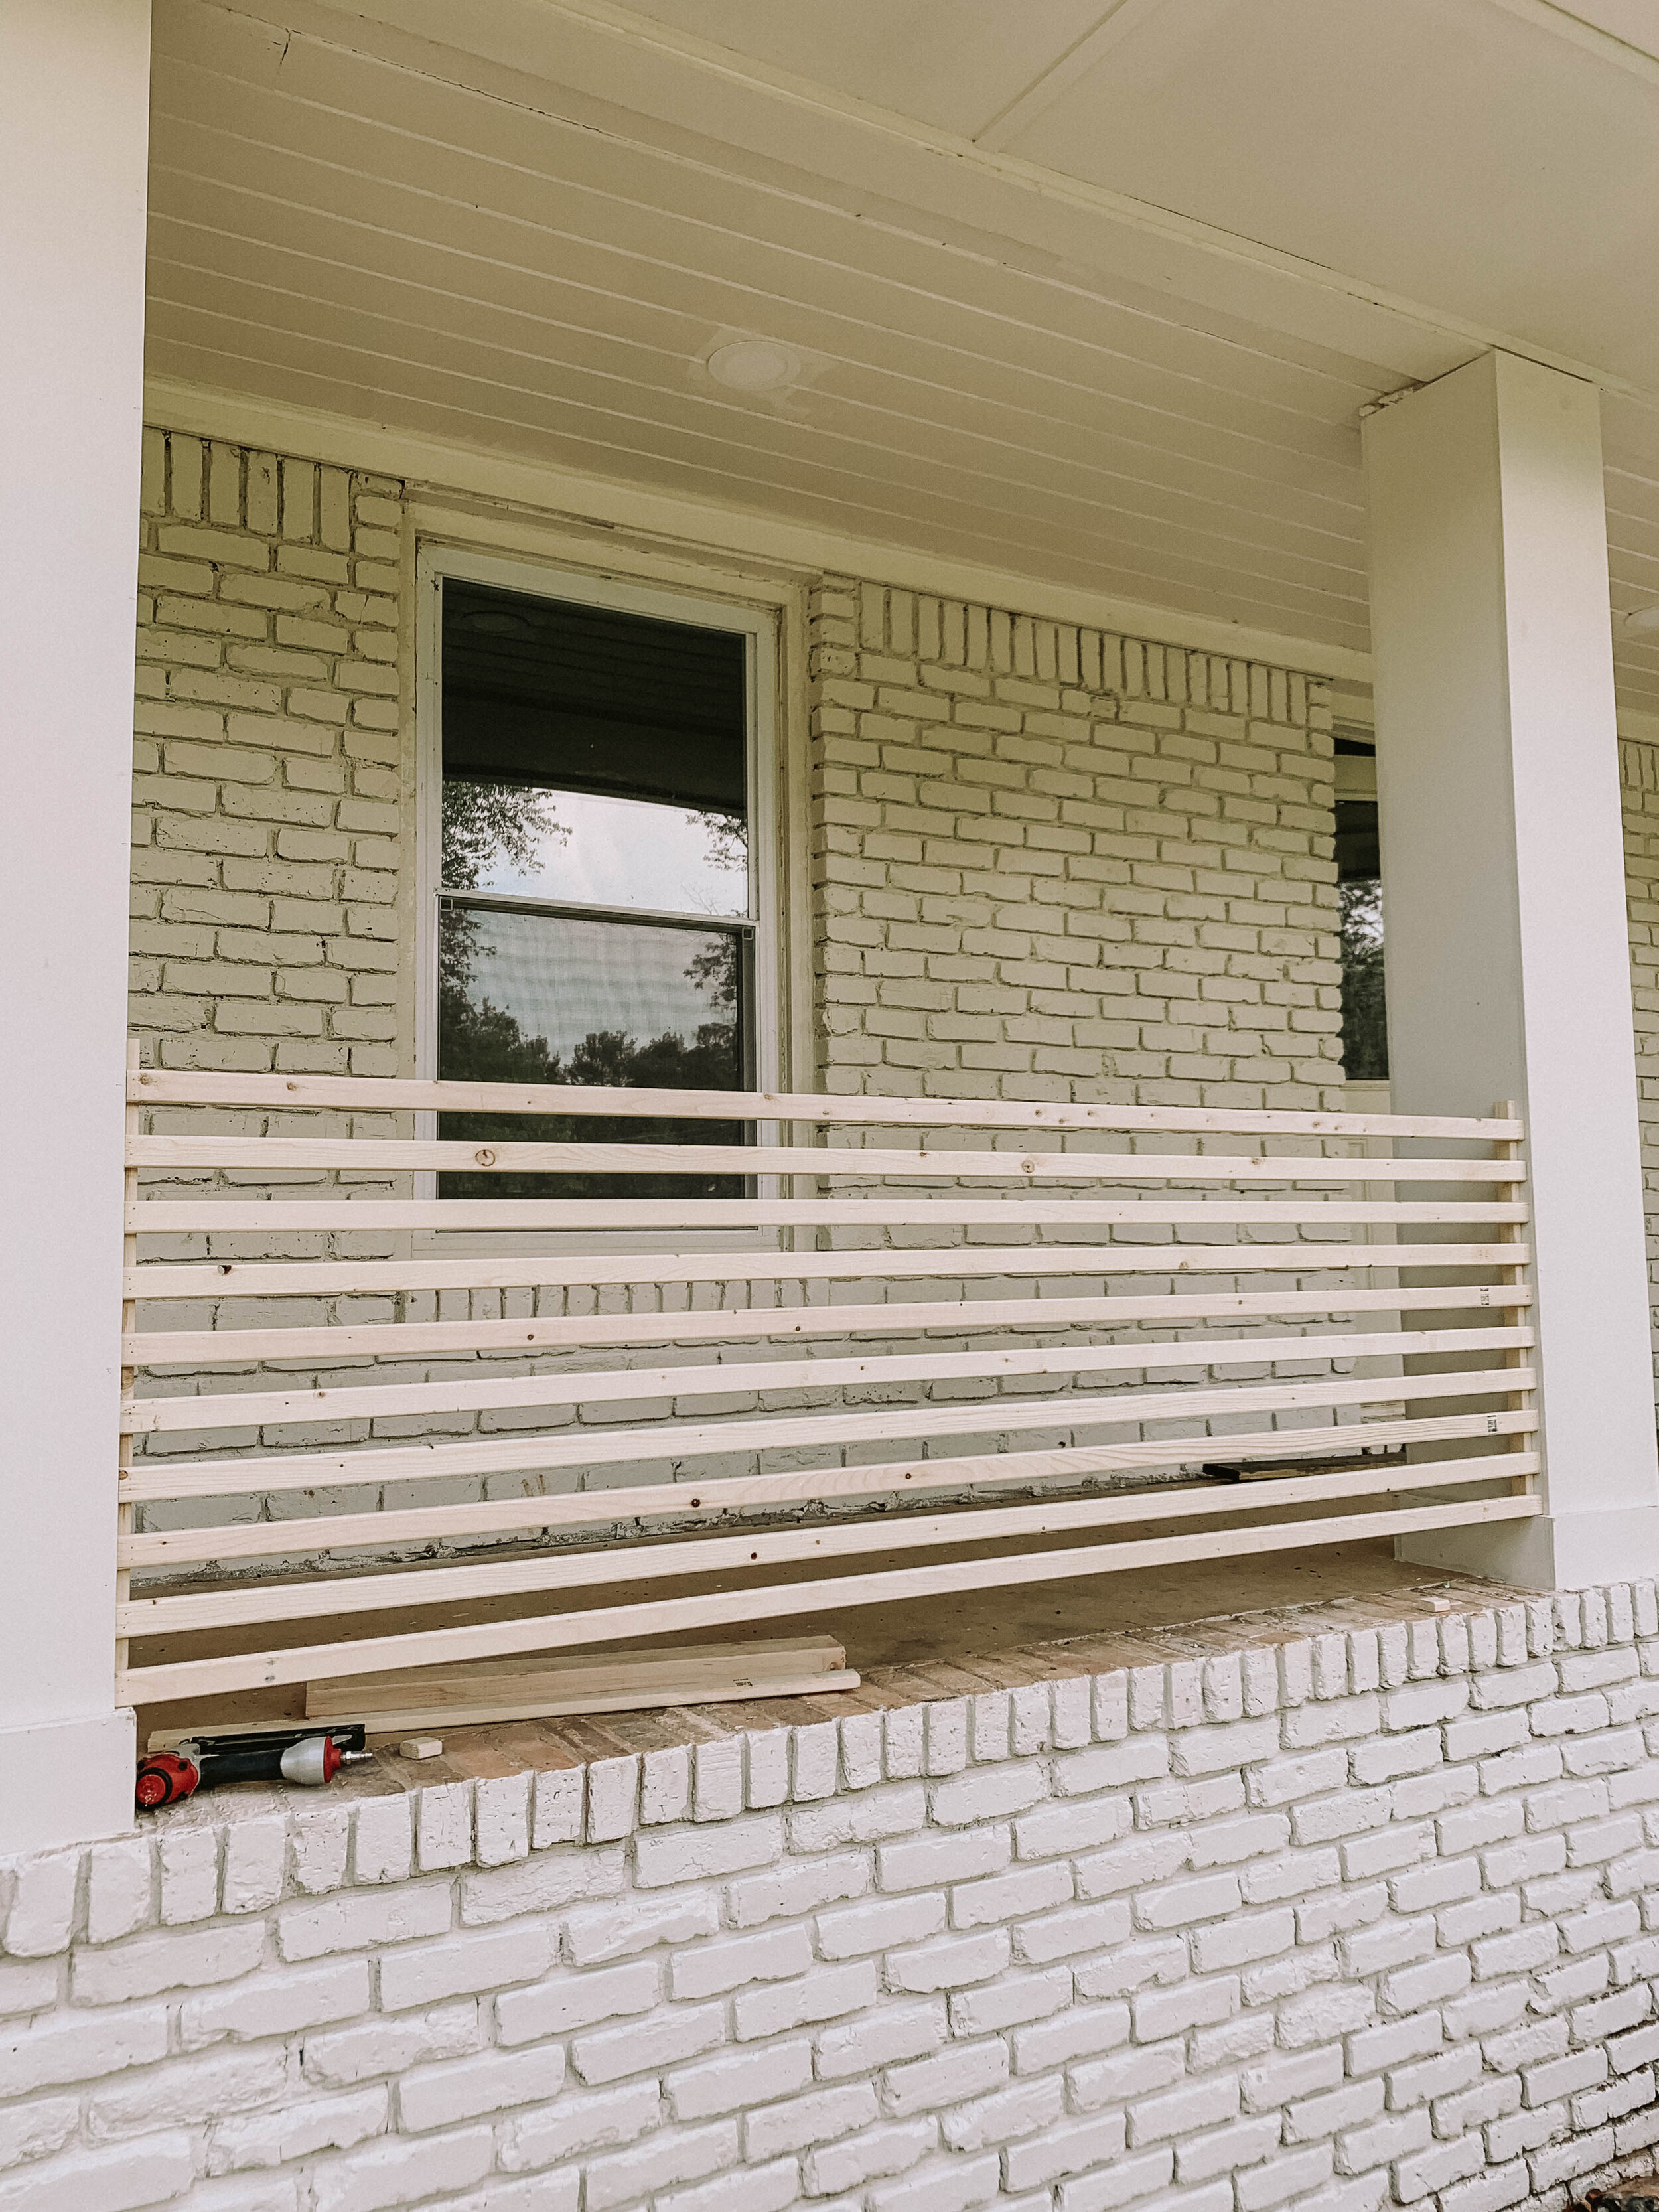
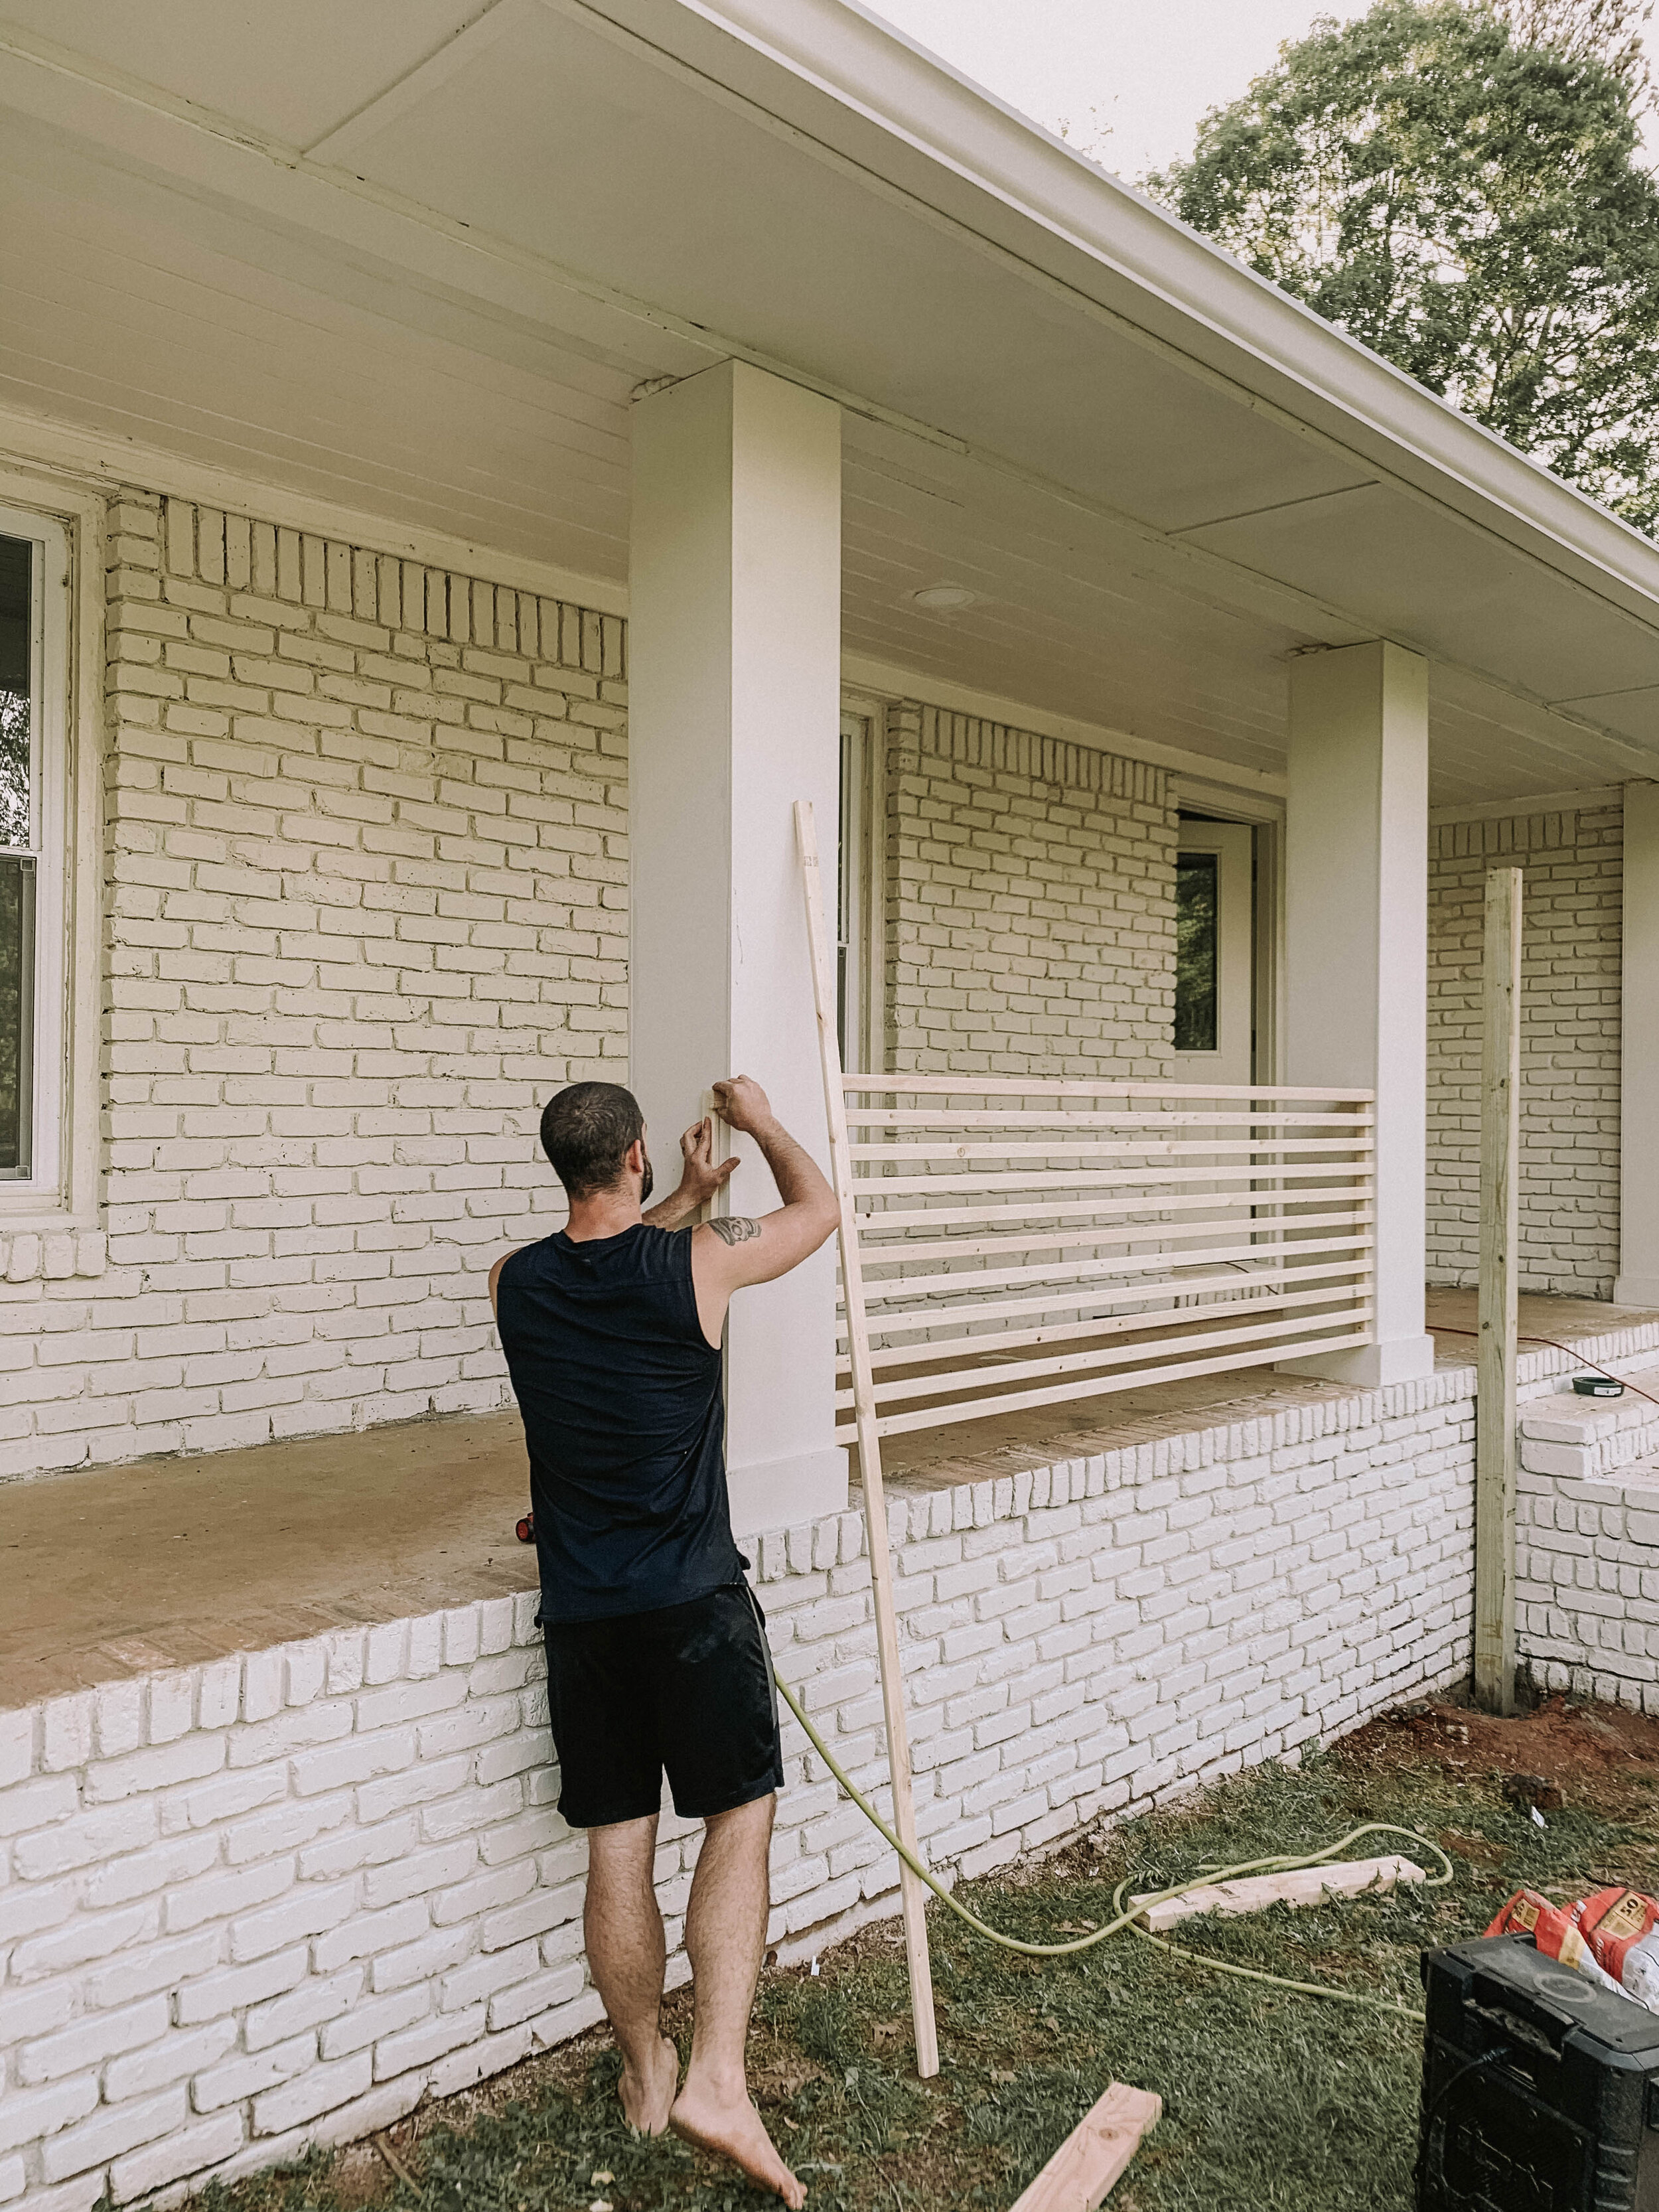
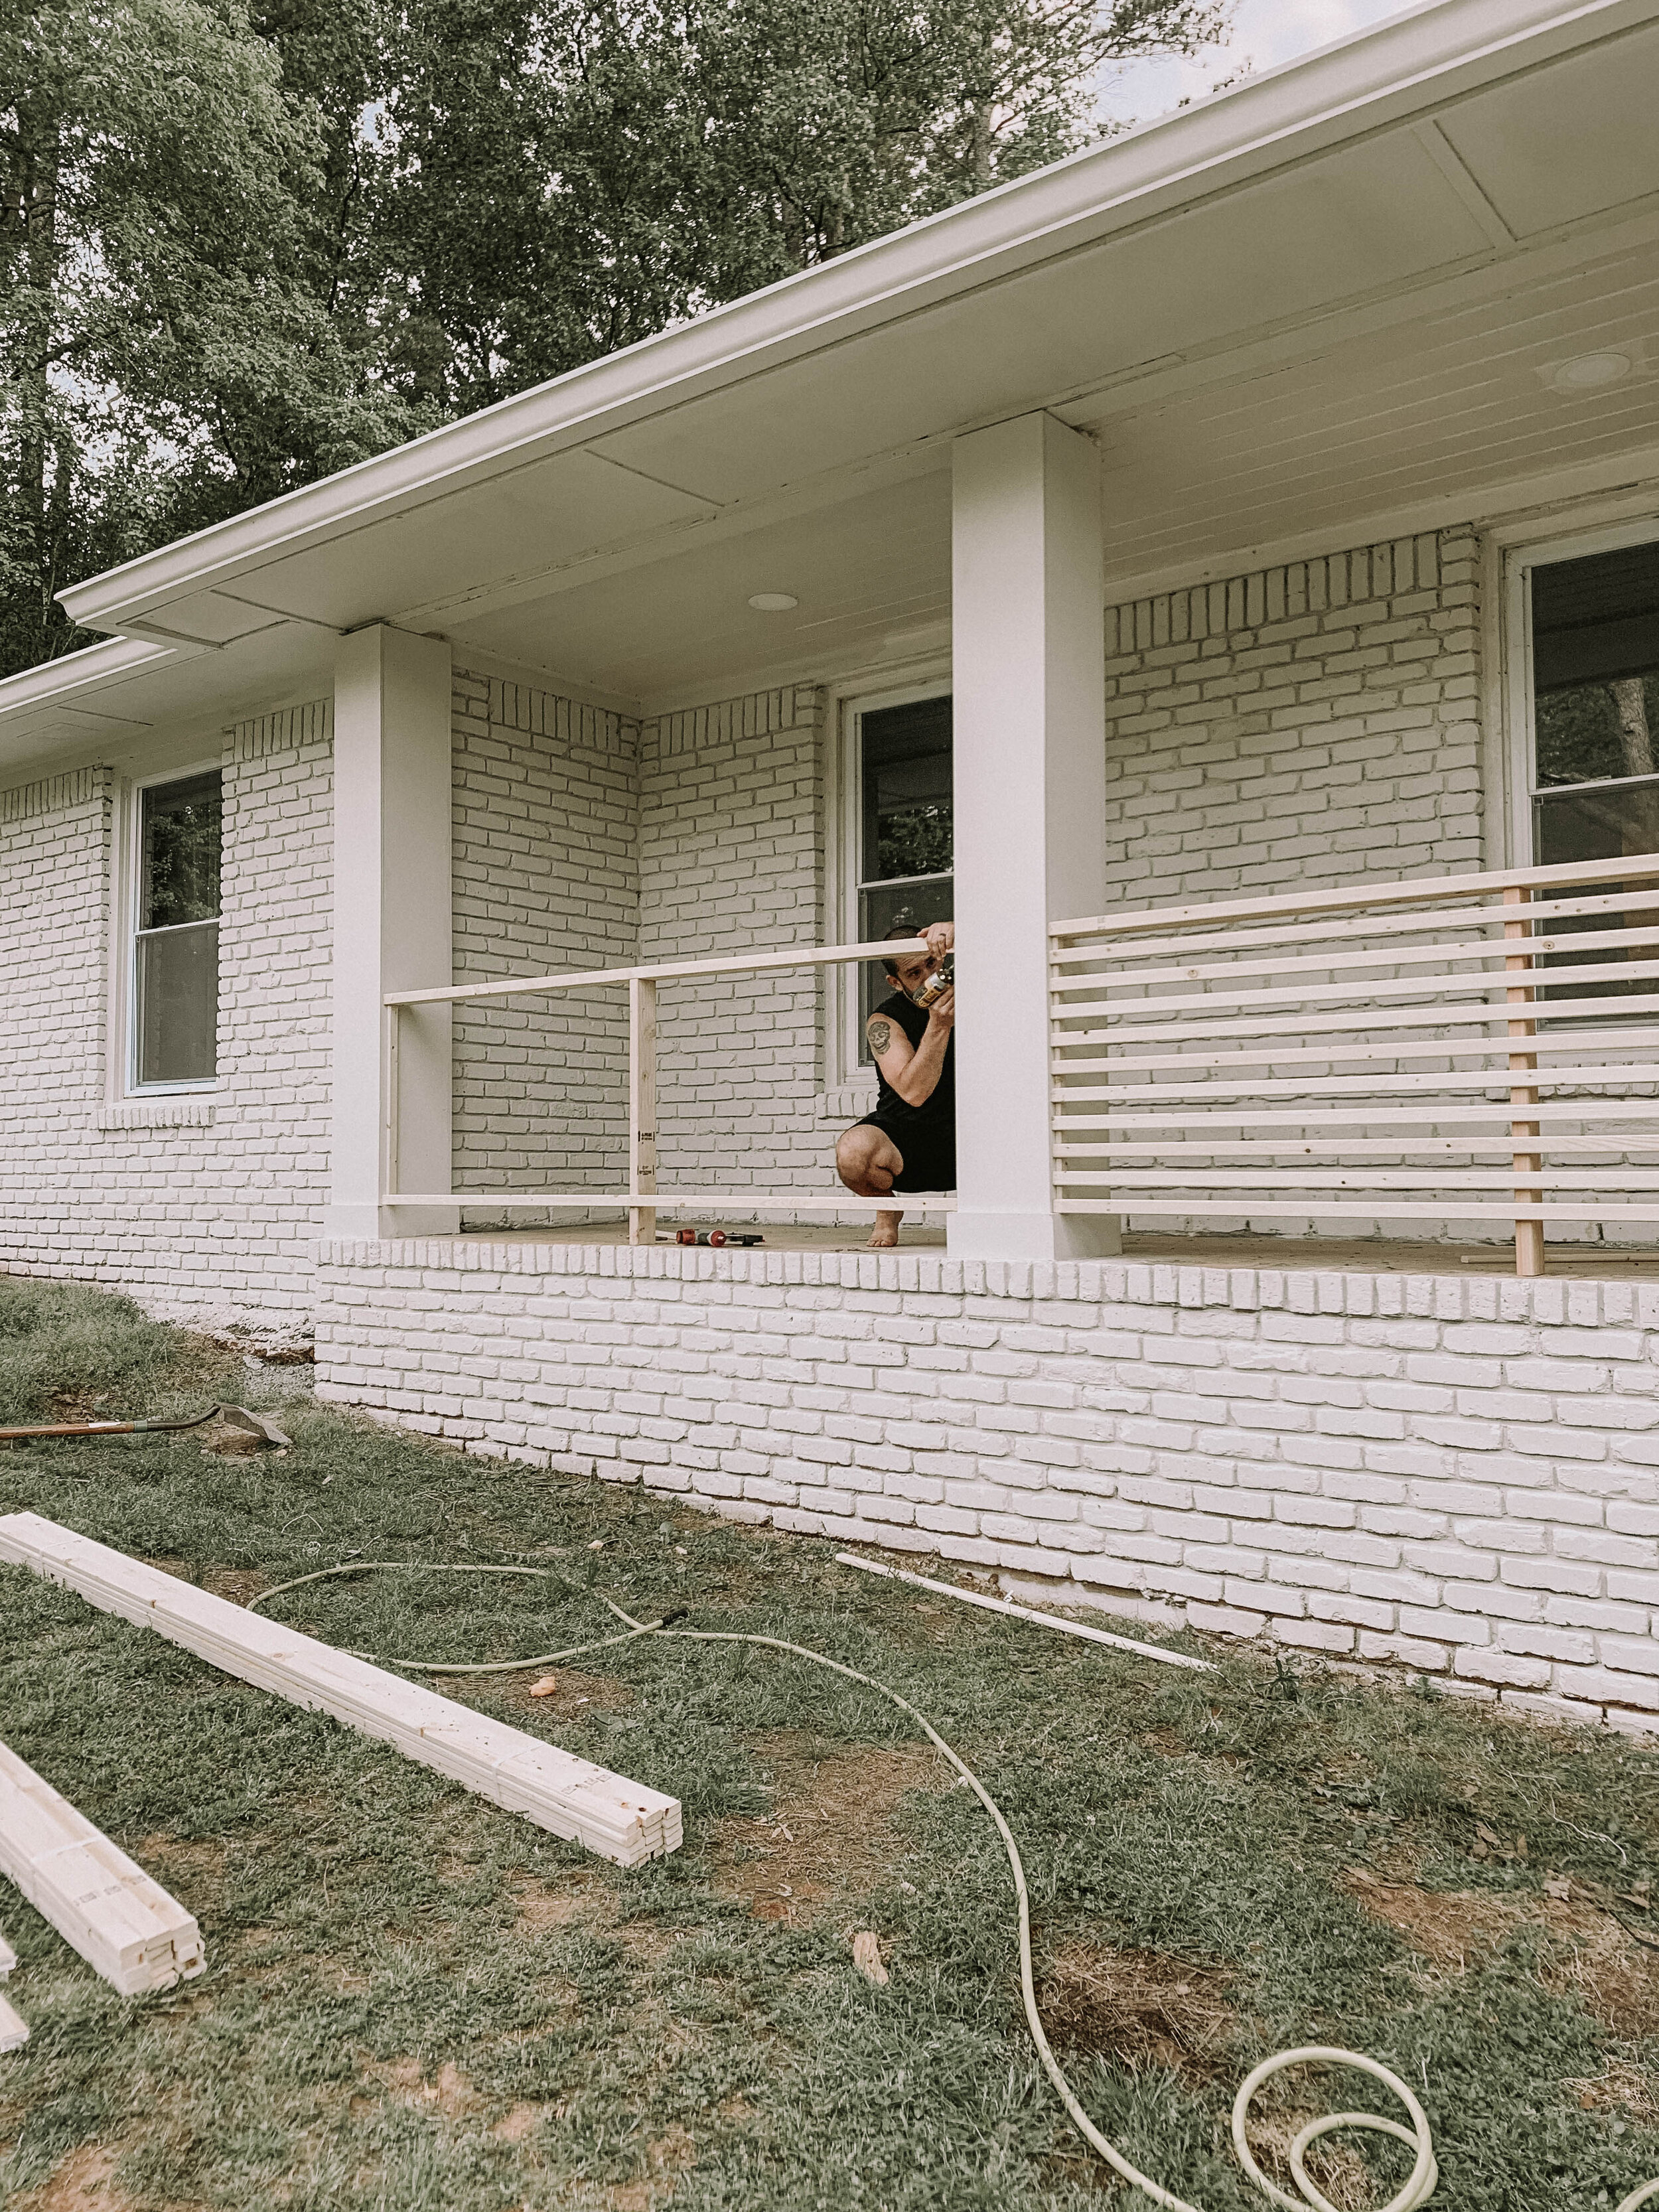
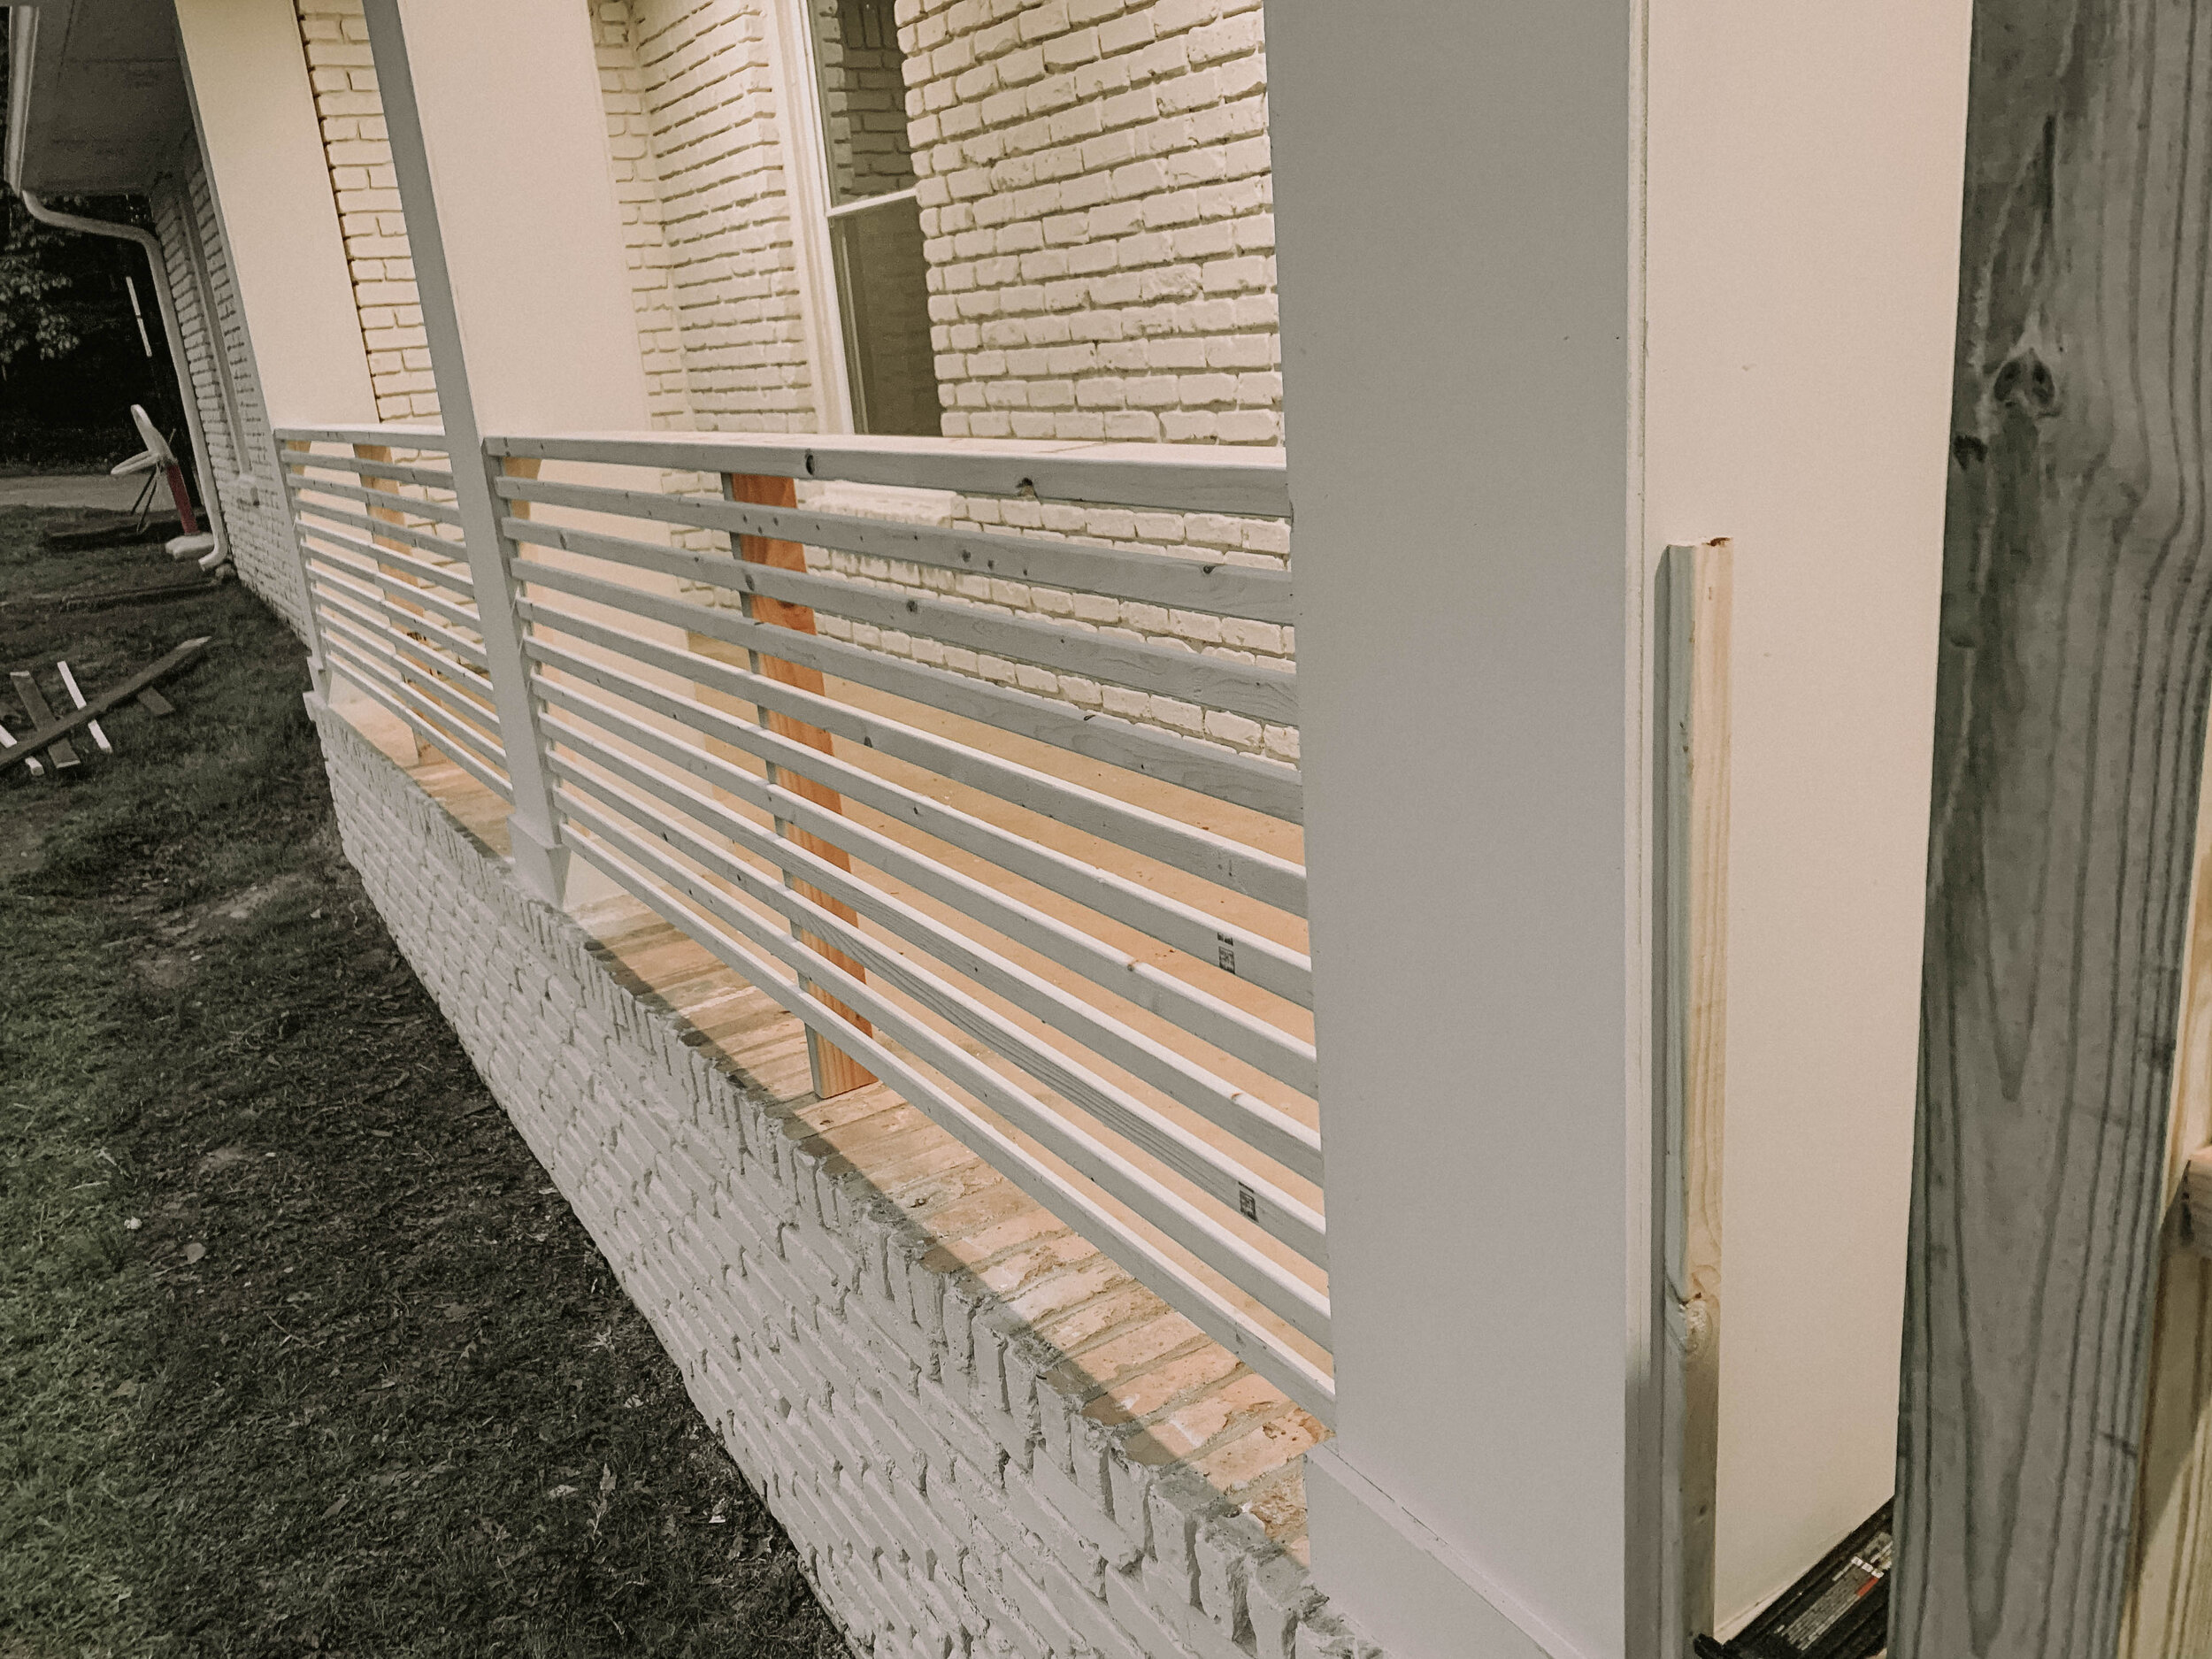
Once the posts were set we moved onto the wood slats in between the columns. First we measured and cut a 1x2 piece of wood for each side of the columns. This 1x2 piece is what you will nail your front slats to. You could easily do a larger board, but we didn’t want them to be super noticeable.

I believe our 1x2’s ended up being around 29 inches. Obviously if you create the same look, your cuts will slightly differ. We did a few dry fittings of the horizontal 1x2’s to make sure we were happy with everything when it came to spacing and depth on the column.

Here’s a few examples of our dry fitting prior to making our cuts. Use the arrow buttons to scroll through the photos!
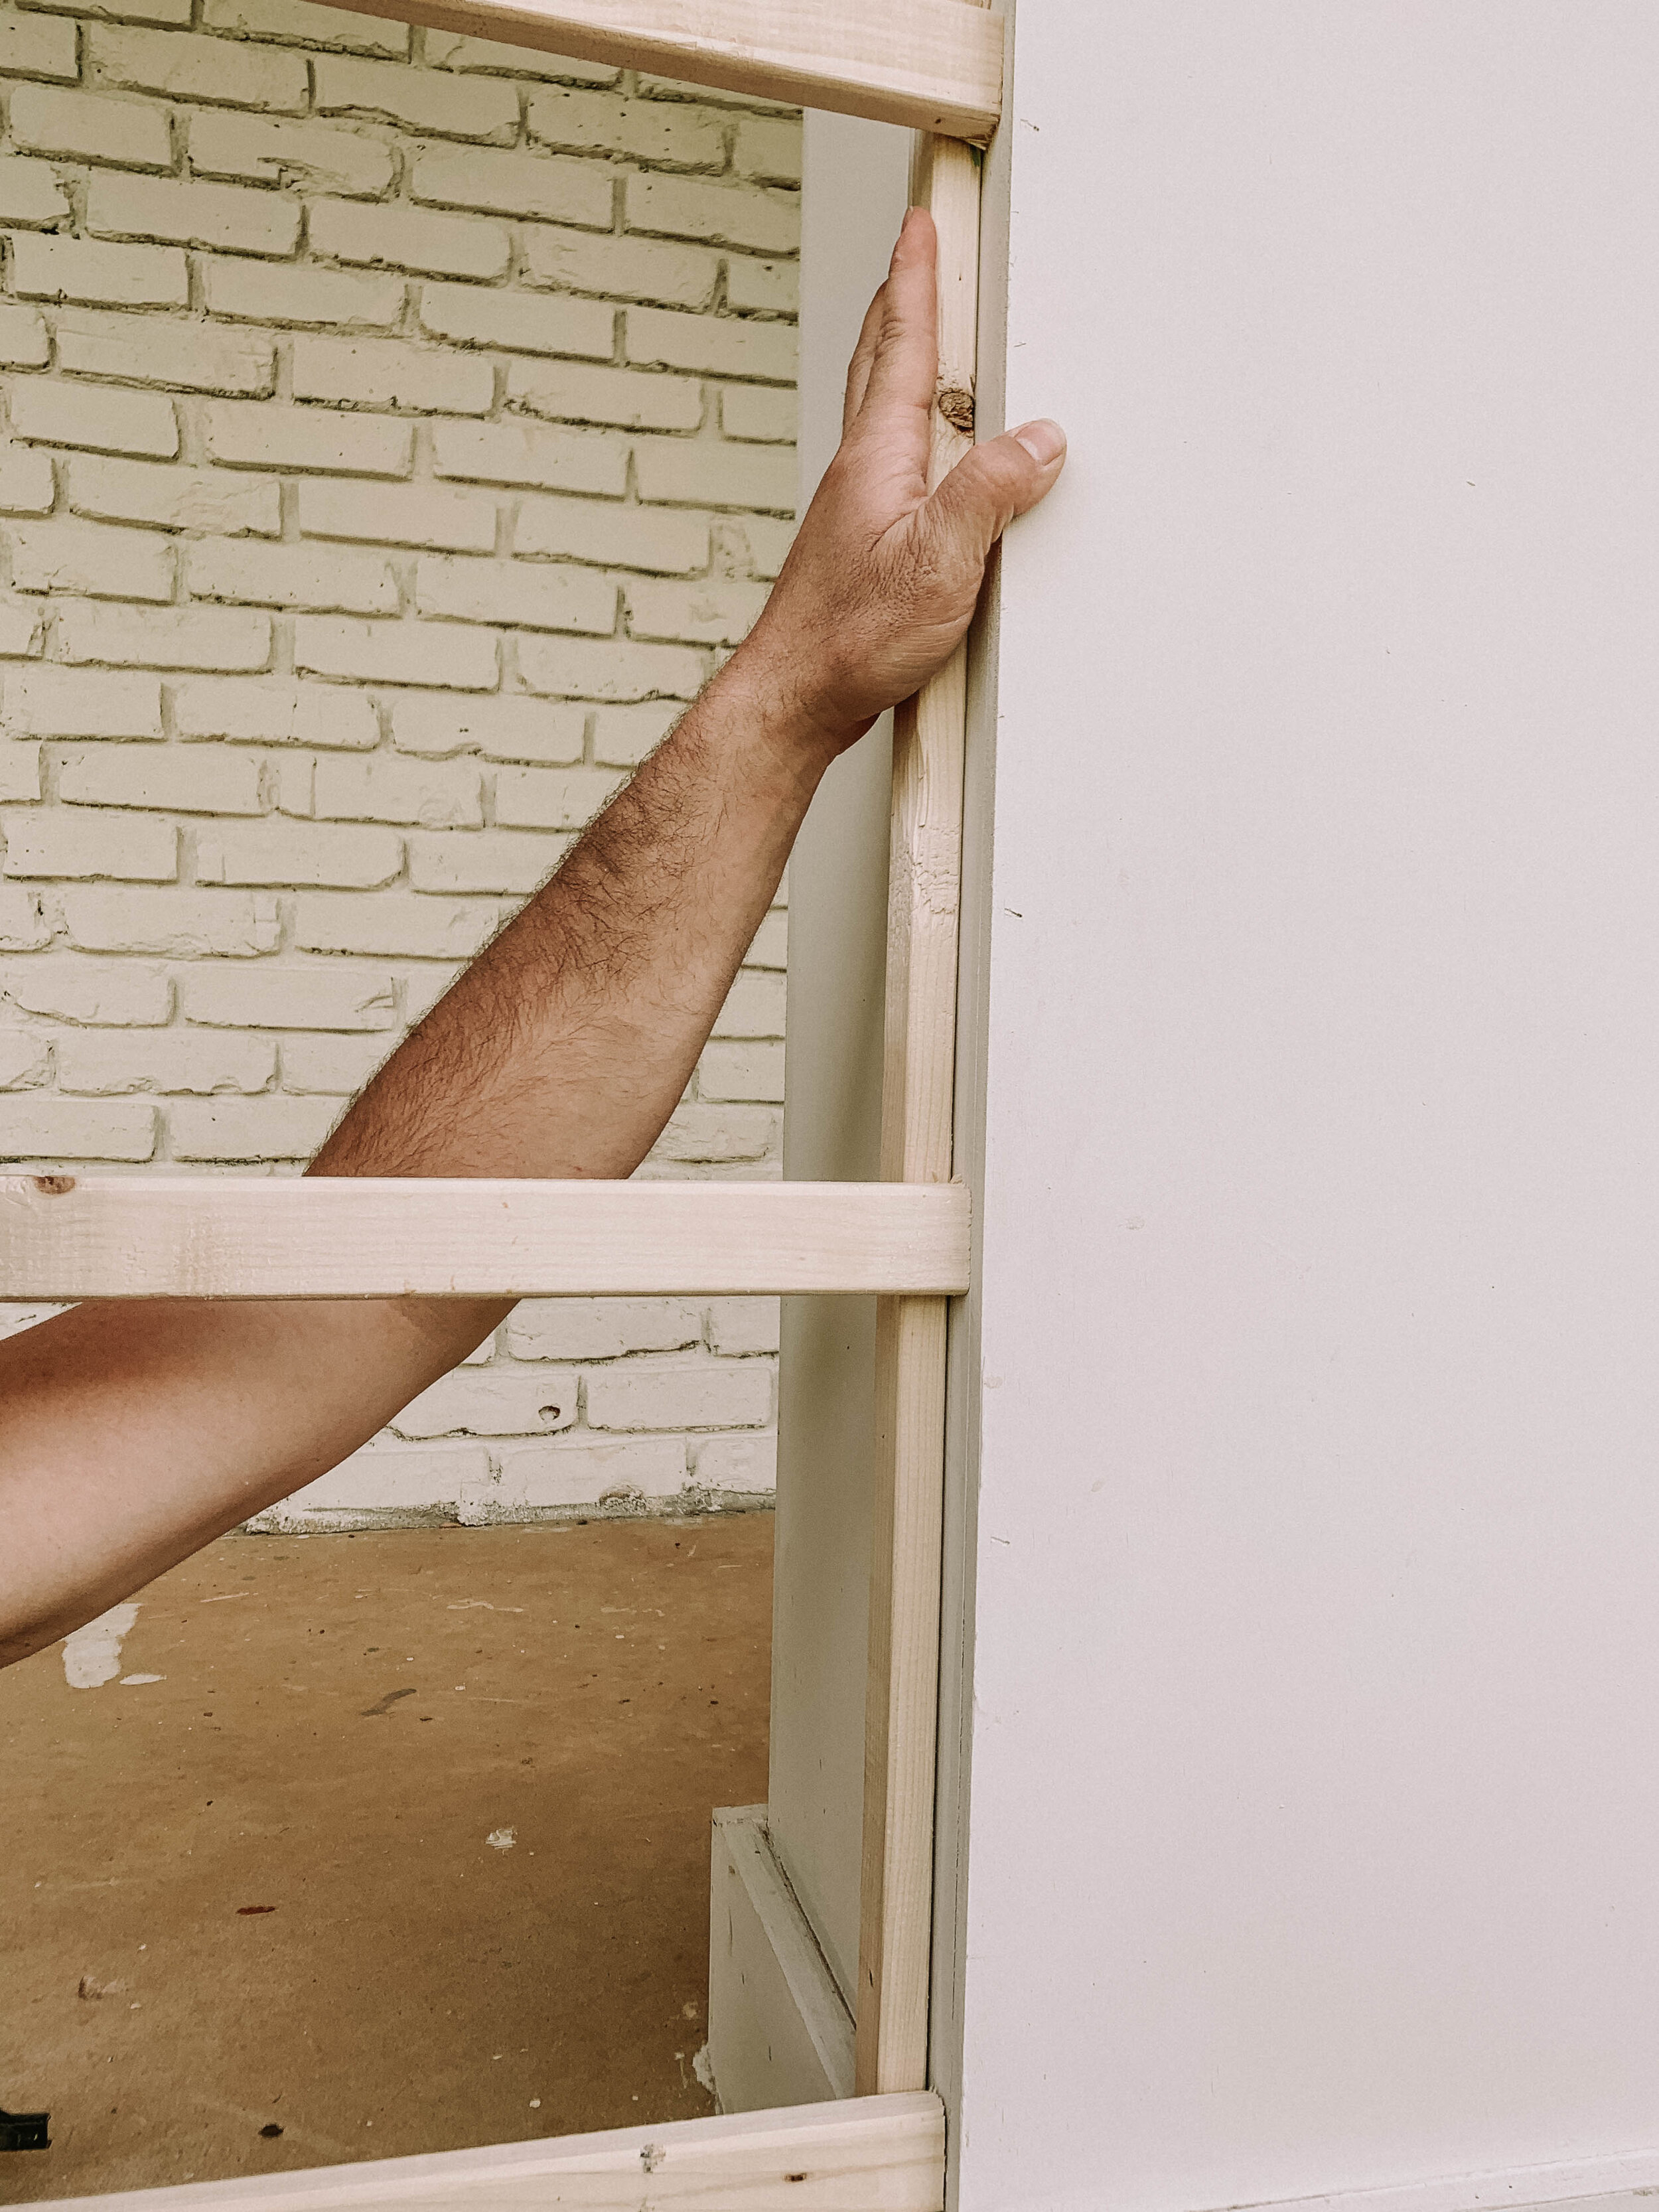
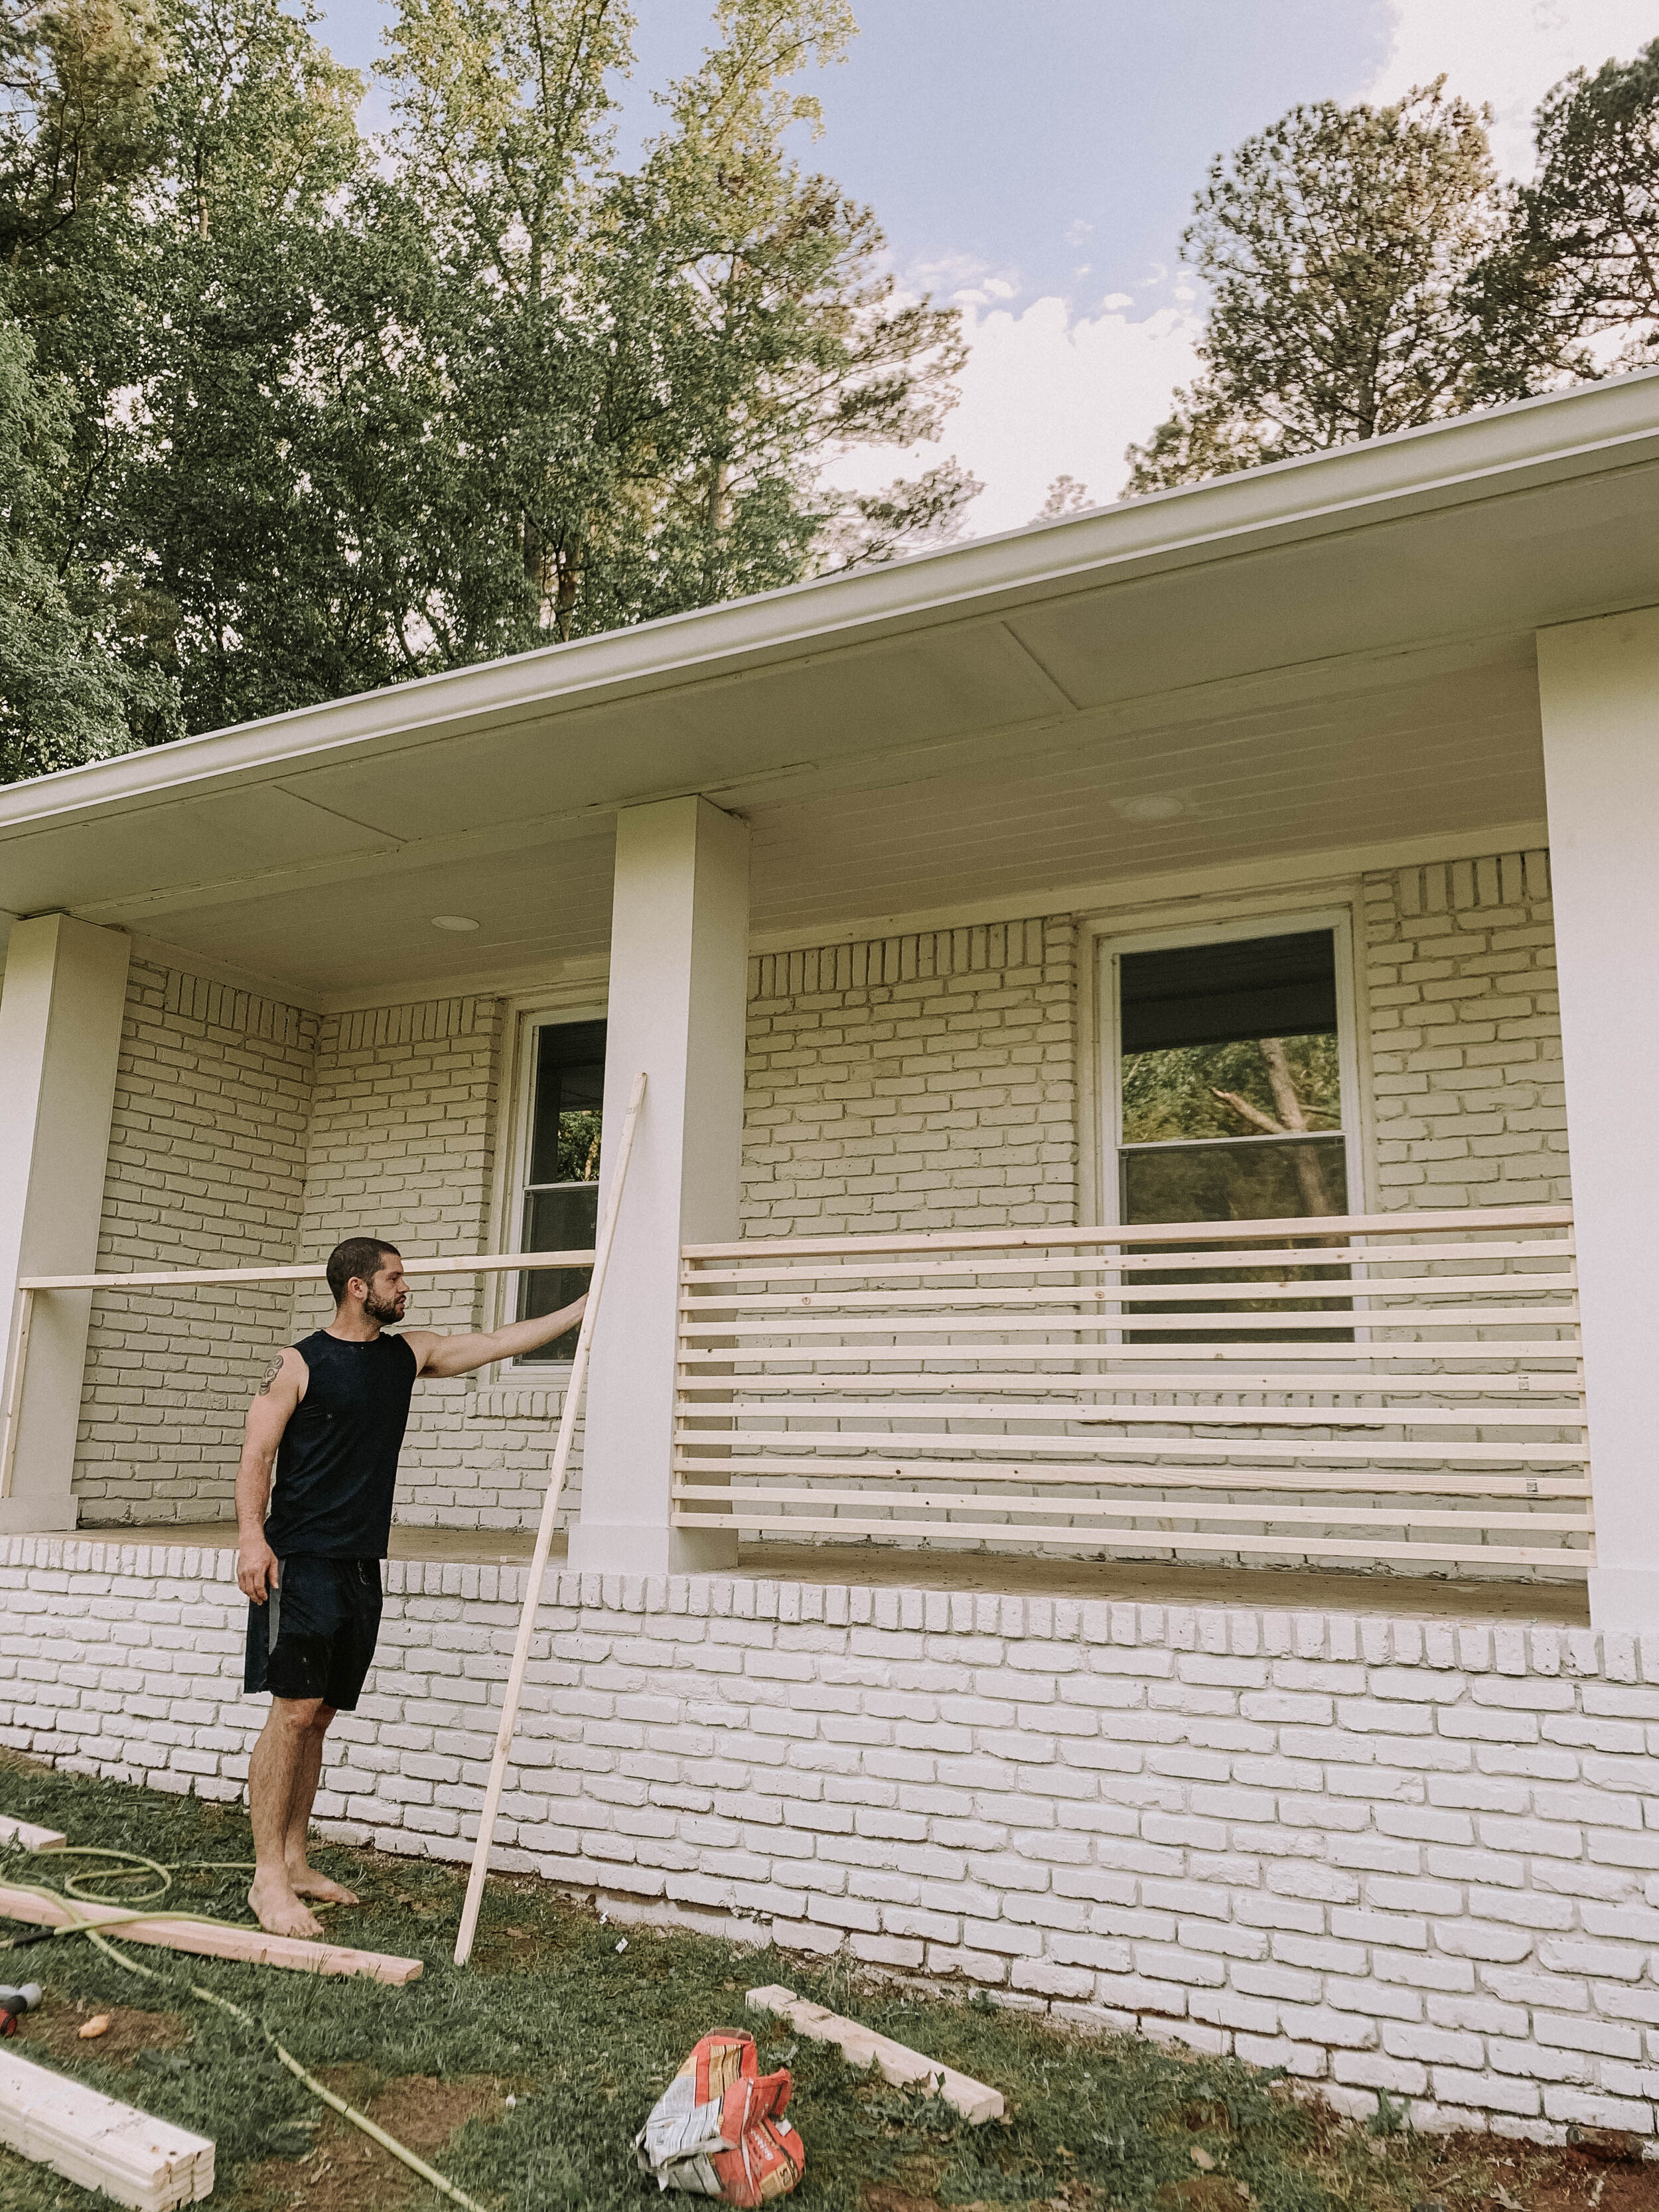
We used two pieces of scrap 1x2’s as our spacers. Scot stood at one end, and I stood on the other and we just worked our way up. We installed the horizontal 1x2’s before installing the center 2x4 support. Here’s a fun GIF of the horizontal railings going up!

I mean wood slats are a forever trend in my book. Look at these lines!!!
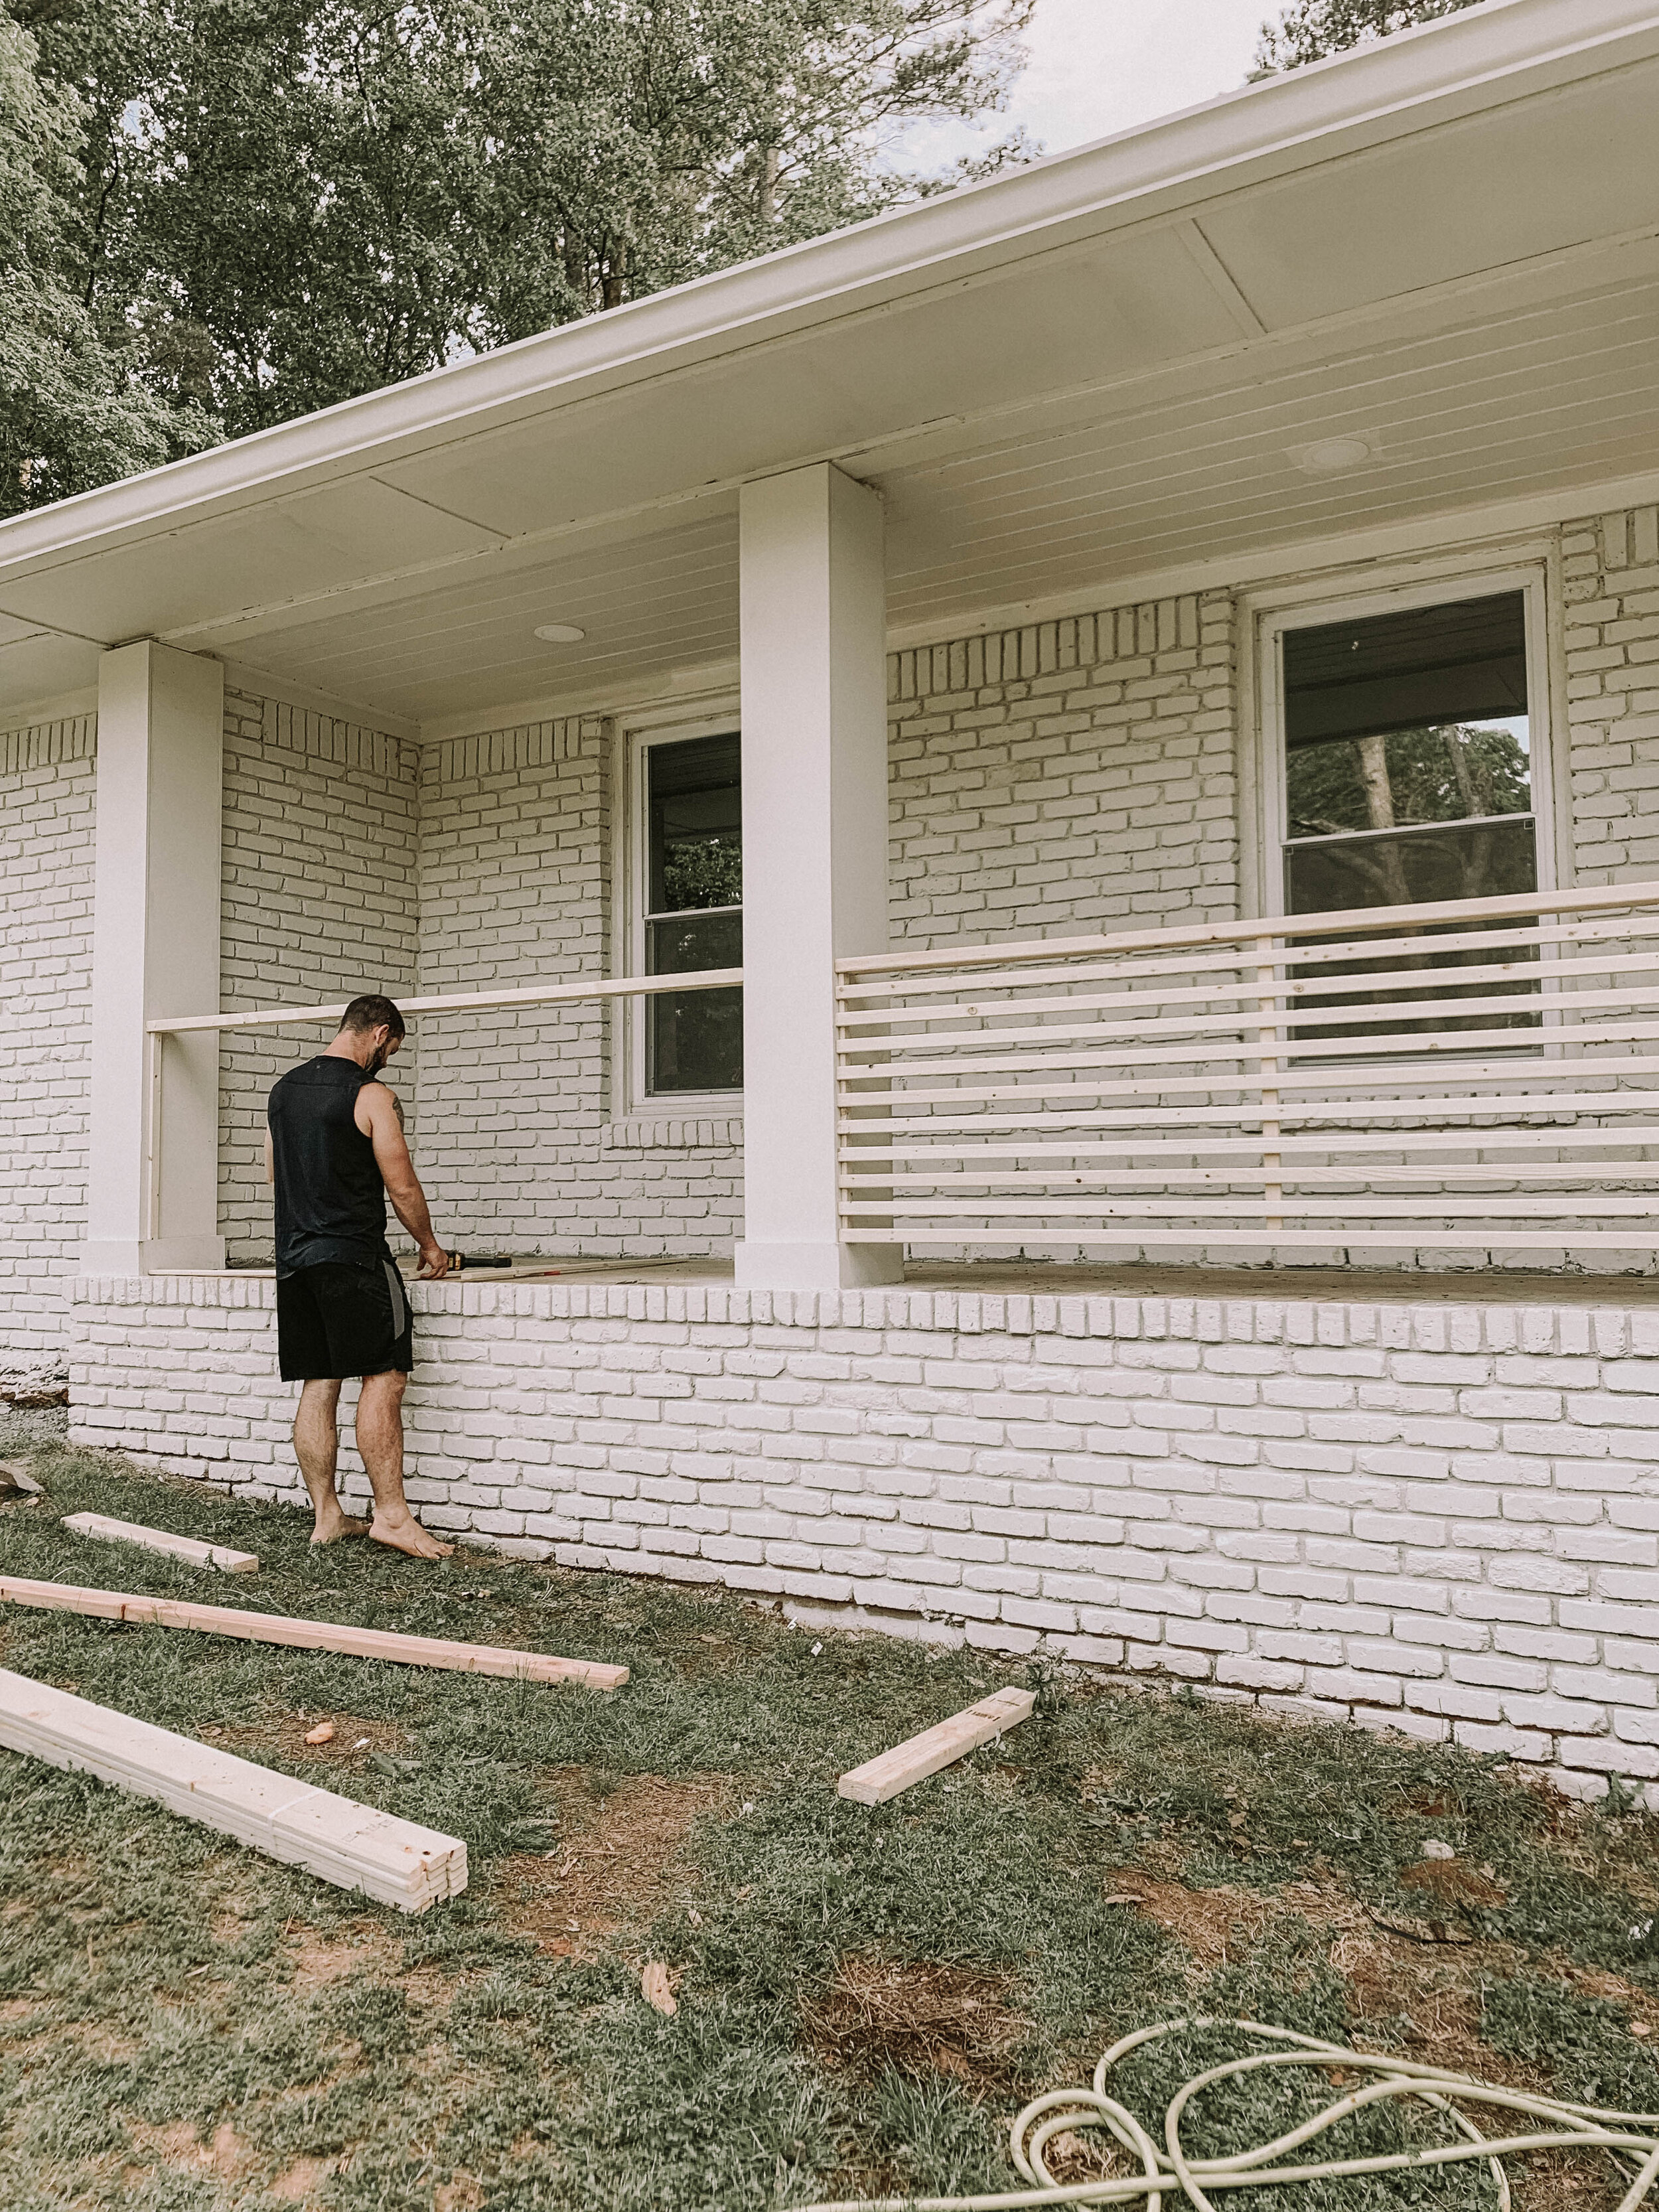
Once the 1x2’s were installed, Scot measured and cut a 2x4 for the top plate on the new railings. We wanted a “thicker” look on the top. Here are a few progress photos of that step. Use the arrows to scroll through the photos.
Here is a view from the other direction prior to Scot placing the 2x4 top plate on.
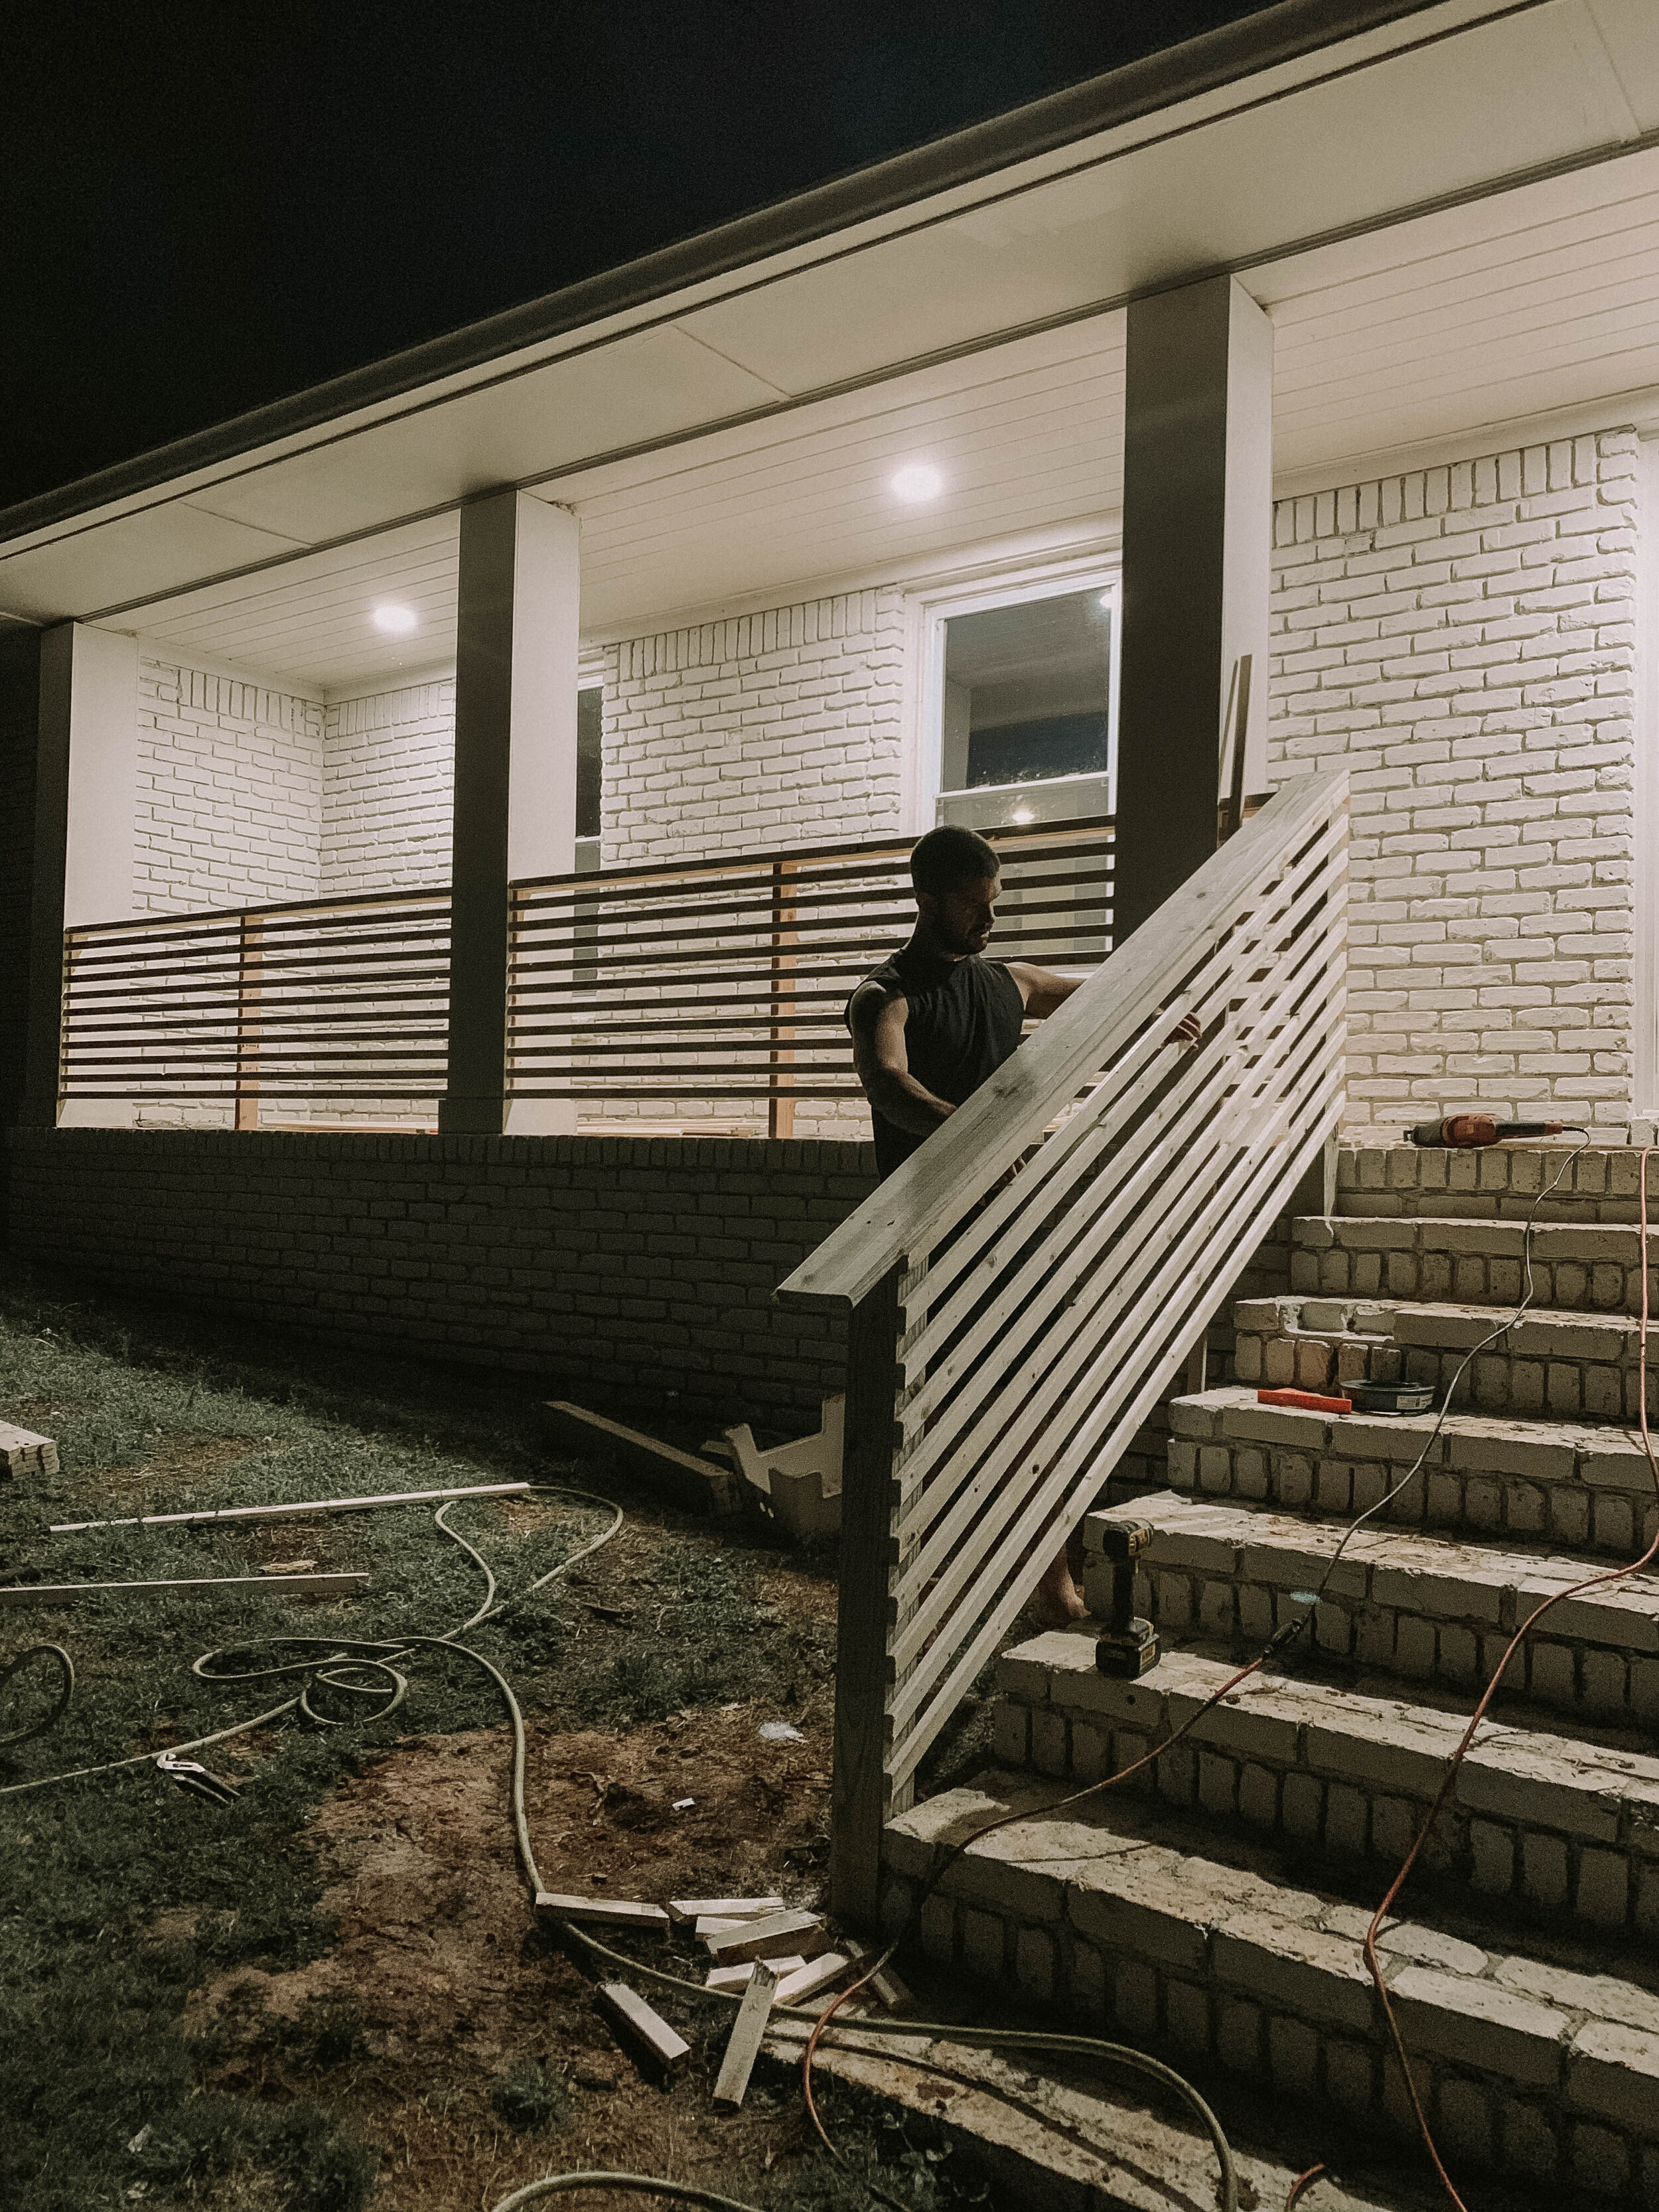
Once the right side was finished we moved onto the left columns. These were the tricky columns, as they were 102 inches so our 1x2’s wouldn’t reach all the way across to the next column. This is where our center supports came into action. We originally were going to do 1x2 center supports on inside of the horizontal 1x2’s, but knew it needed to be sturdier than that. What we had to end up doing on the left side was making the 1x2 cuts and nailing them onto the center 2x4 support.
Scroll through the photos using the arrows!
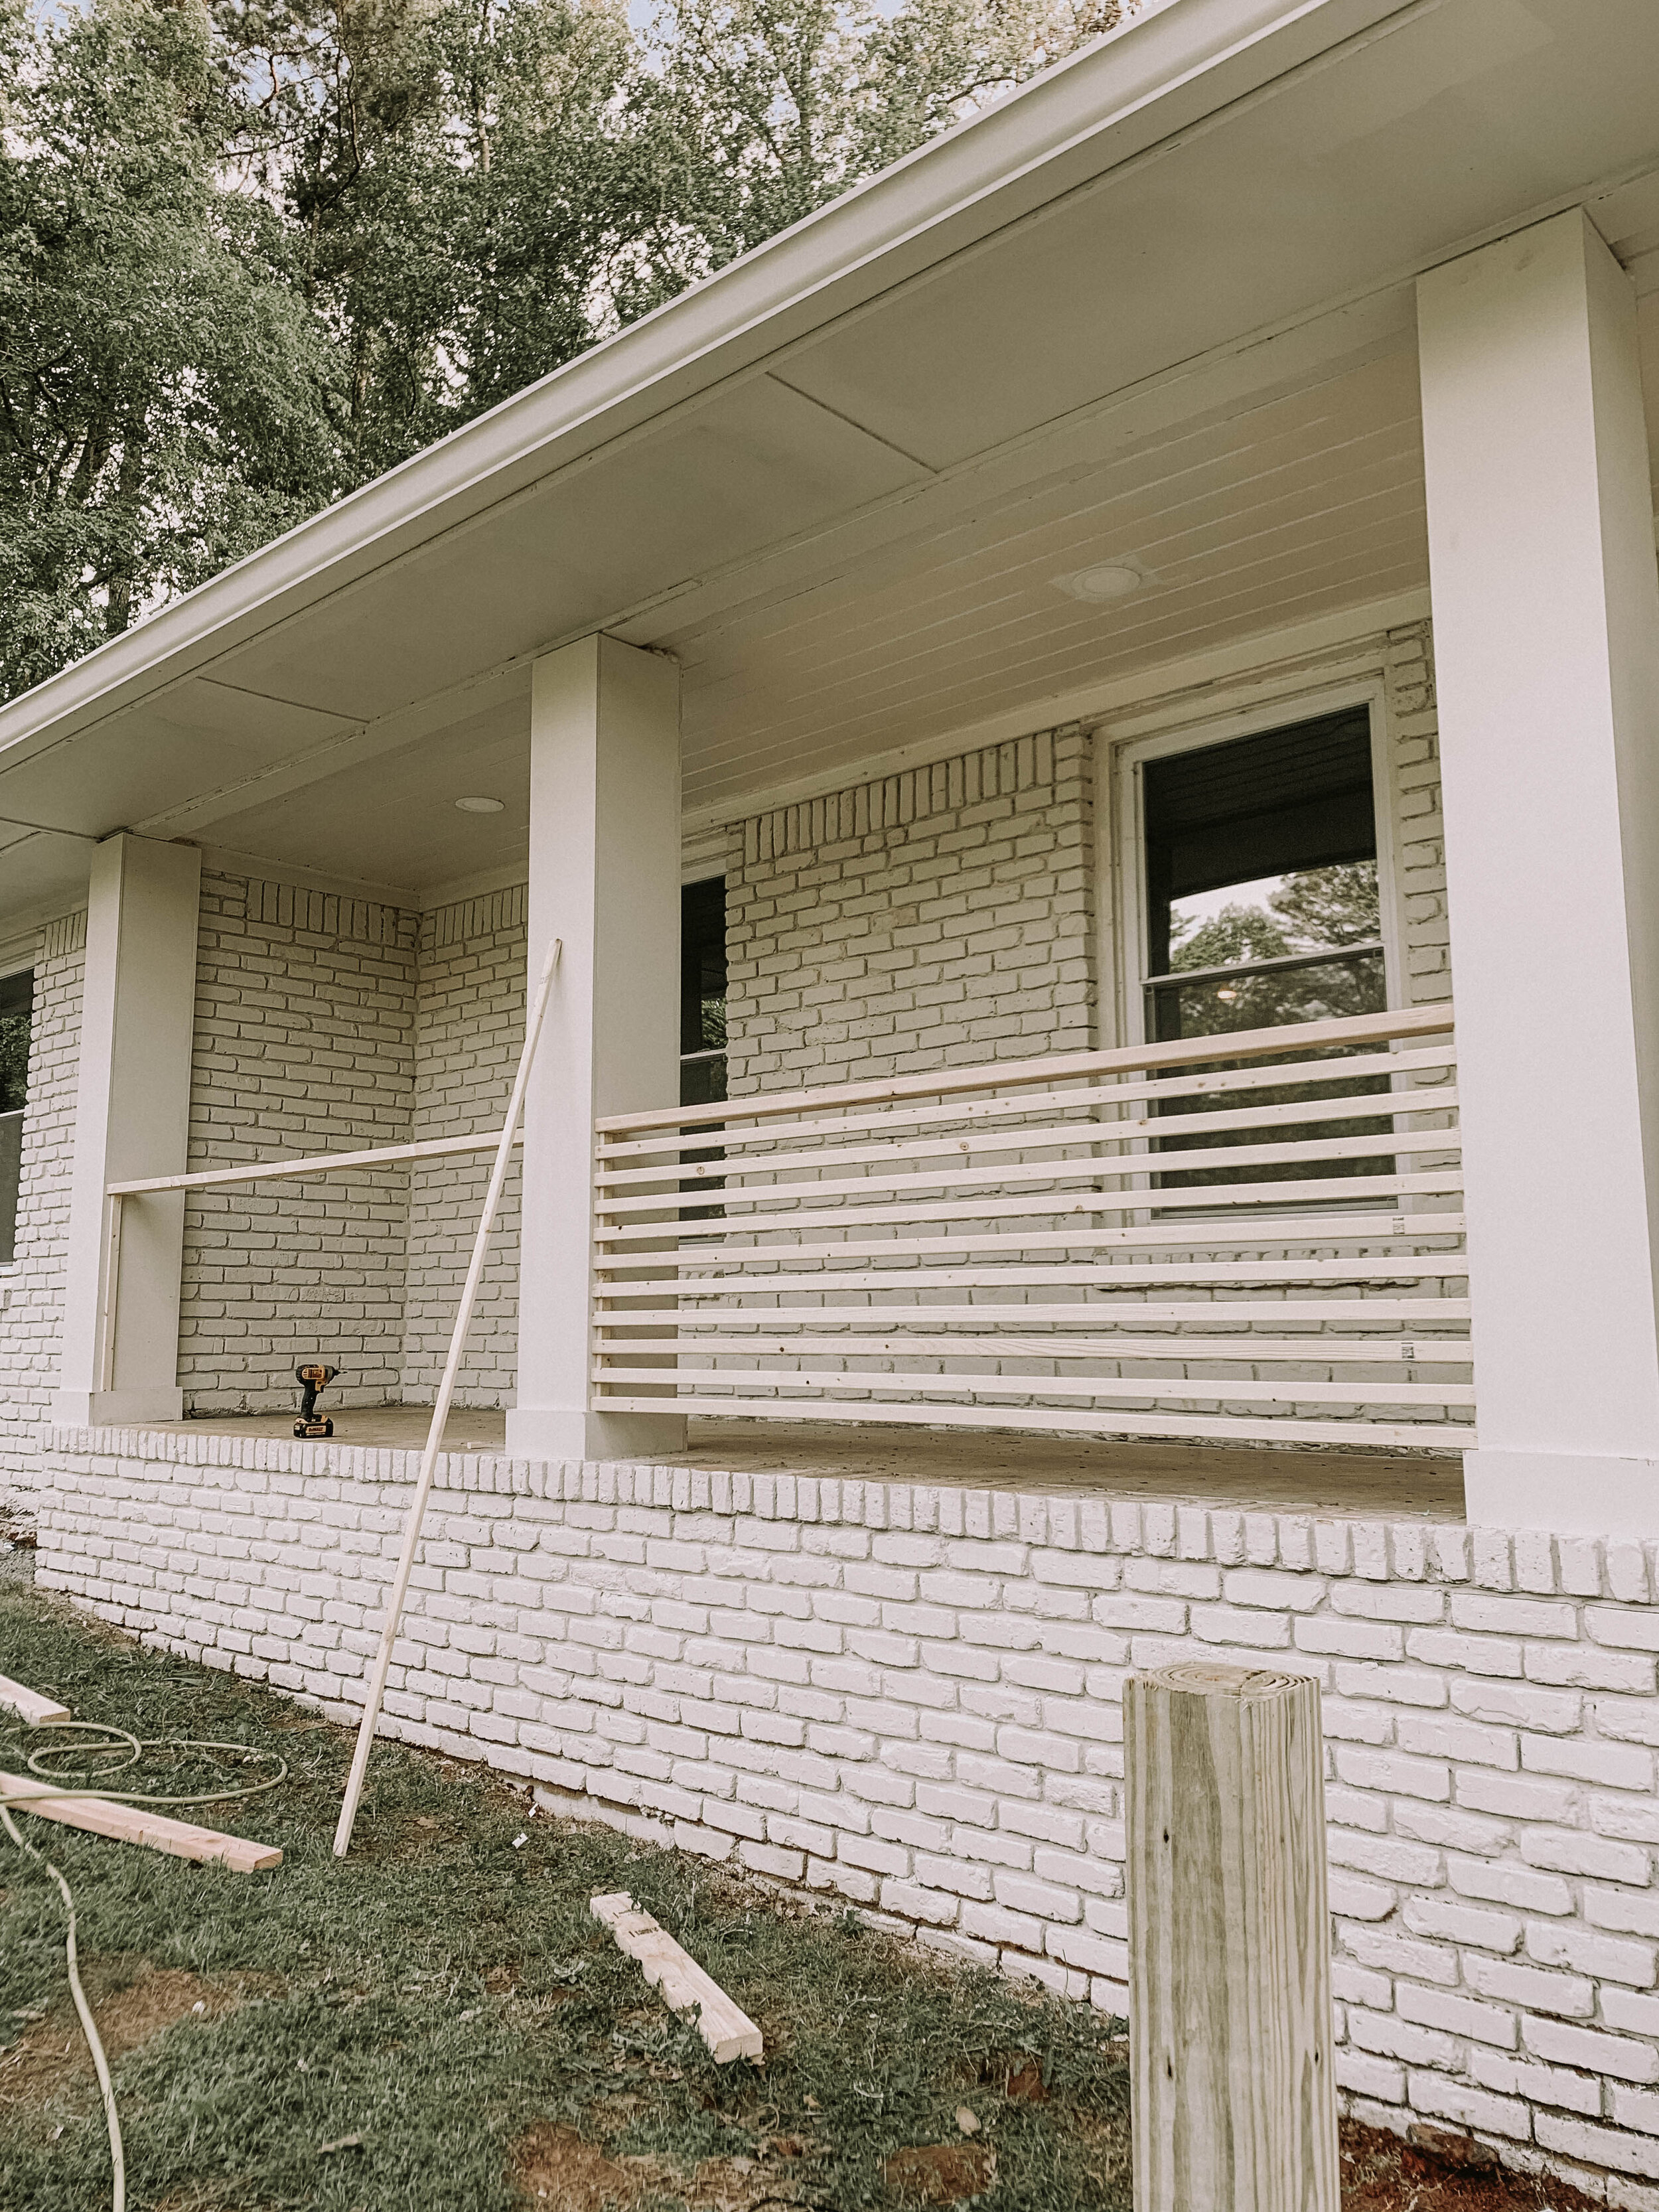


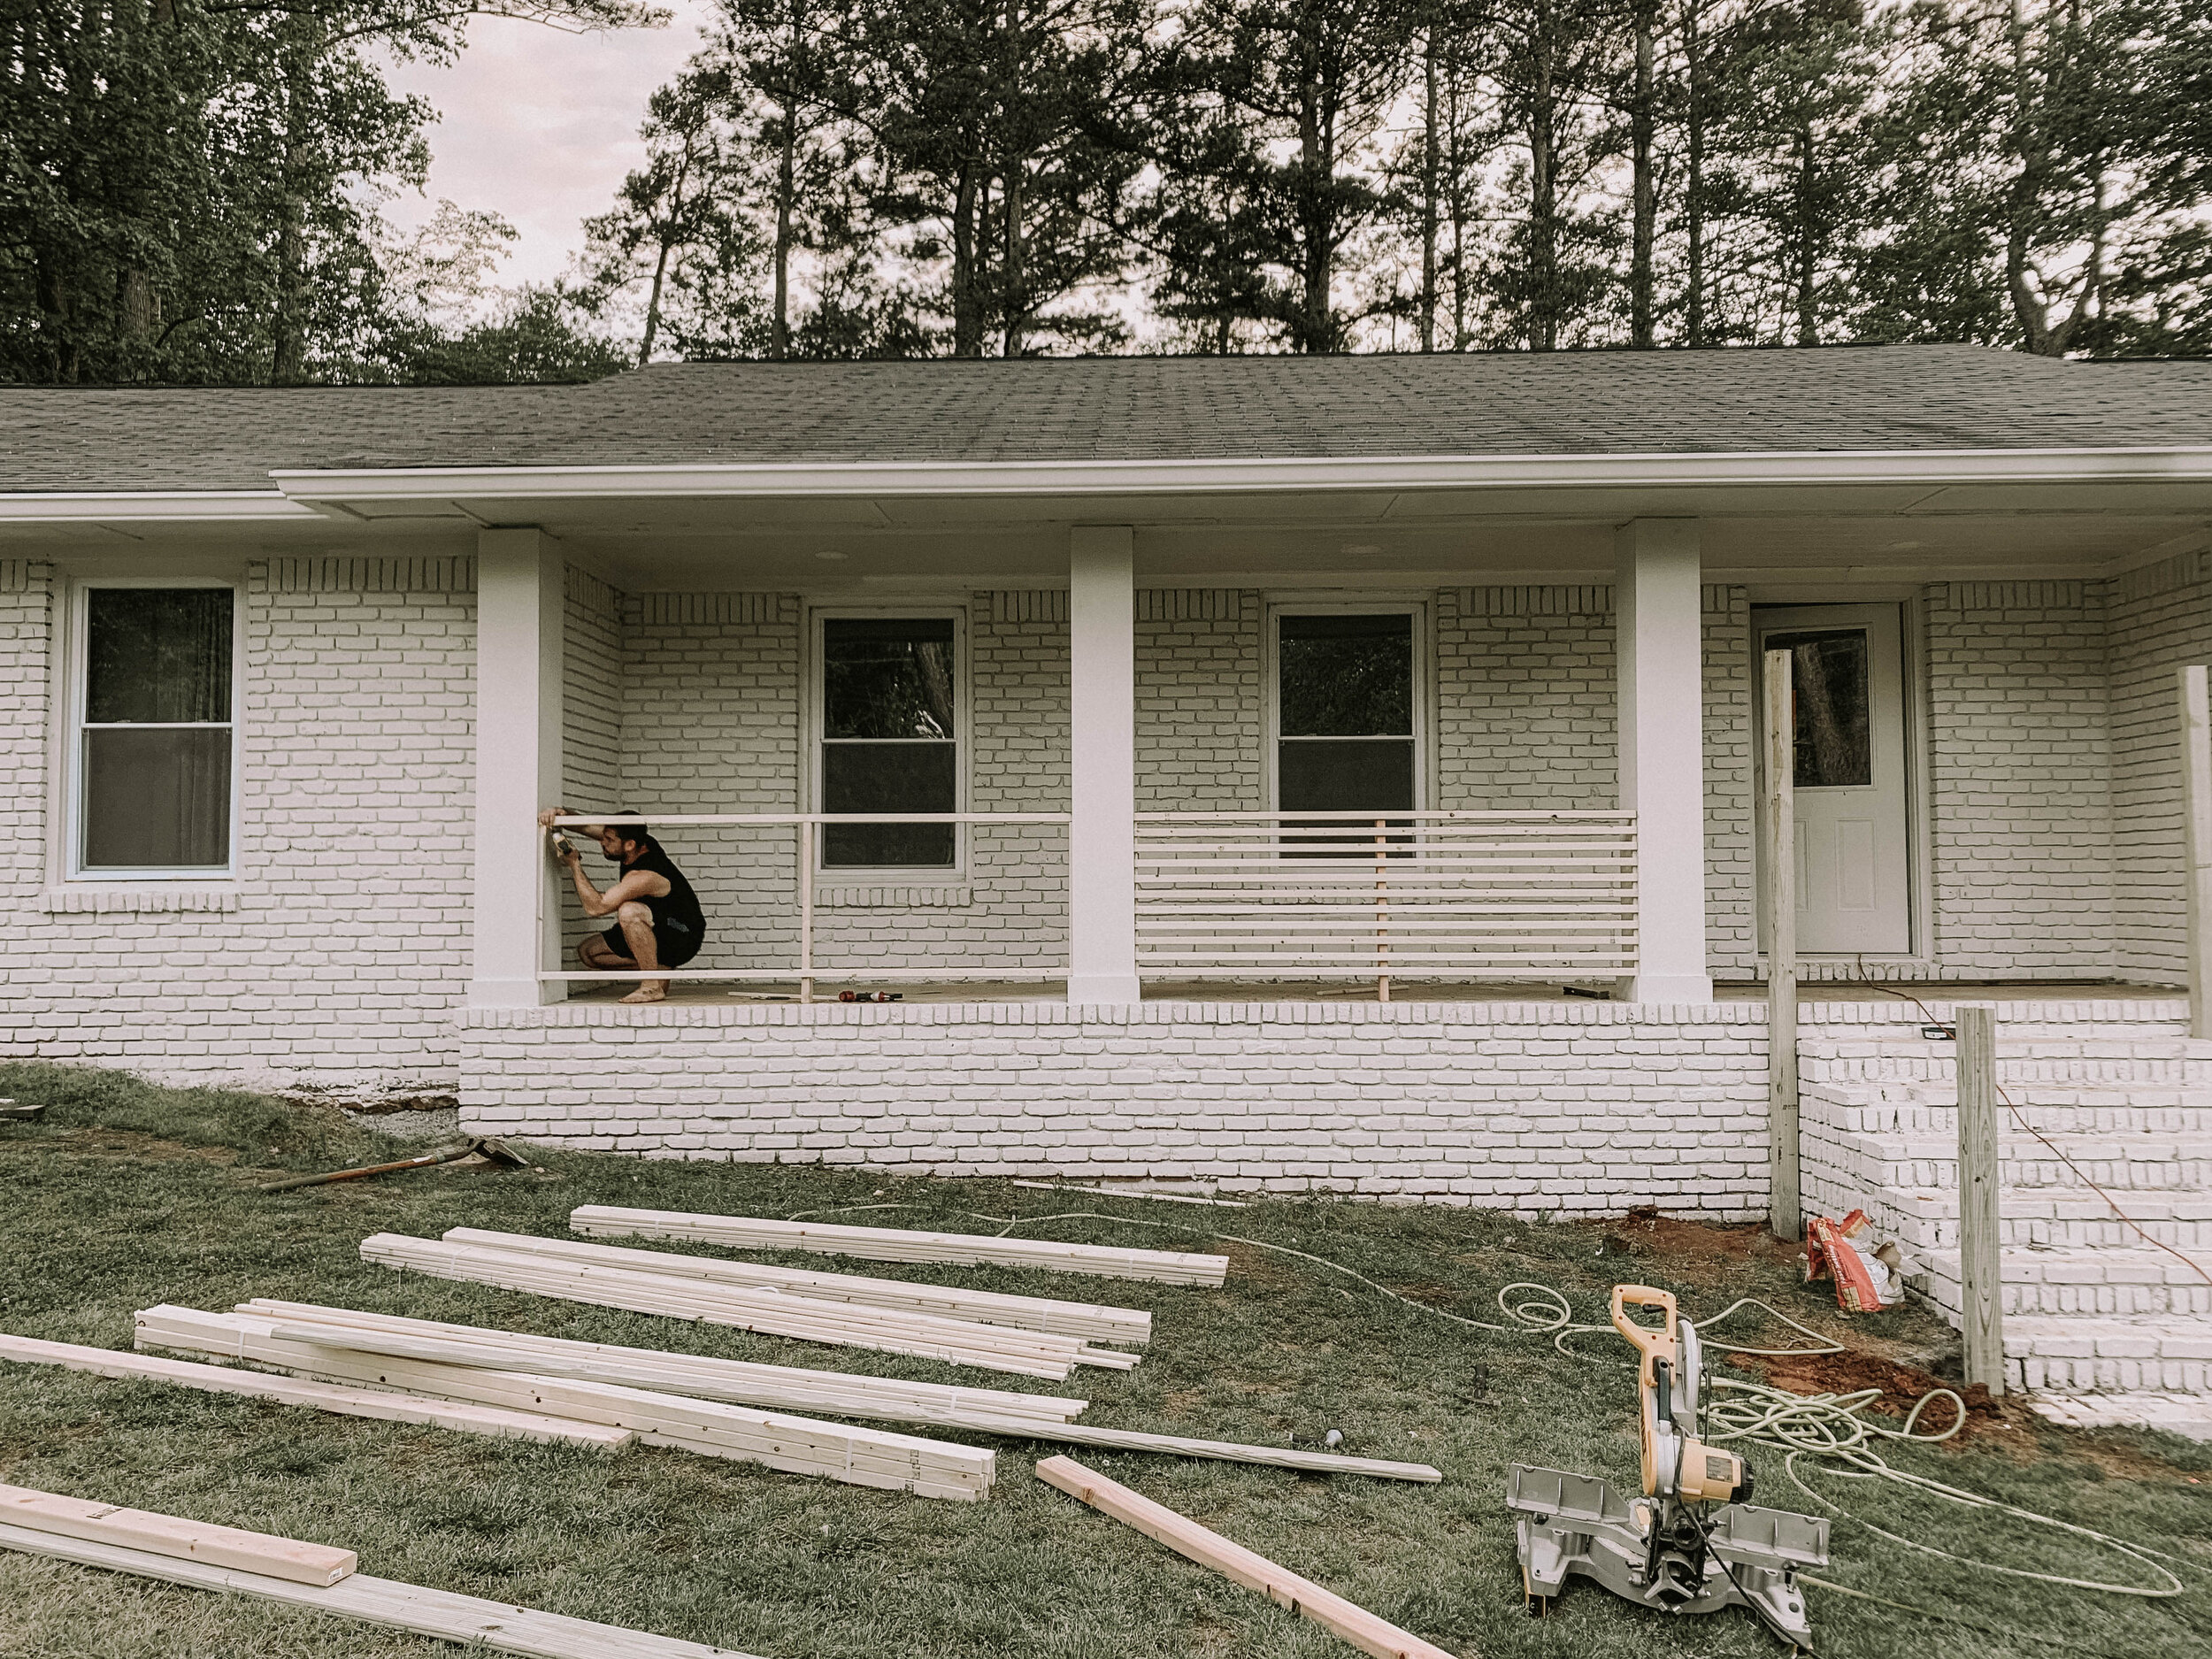


Here’s a side shot of the slats and 4x4 posts!

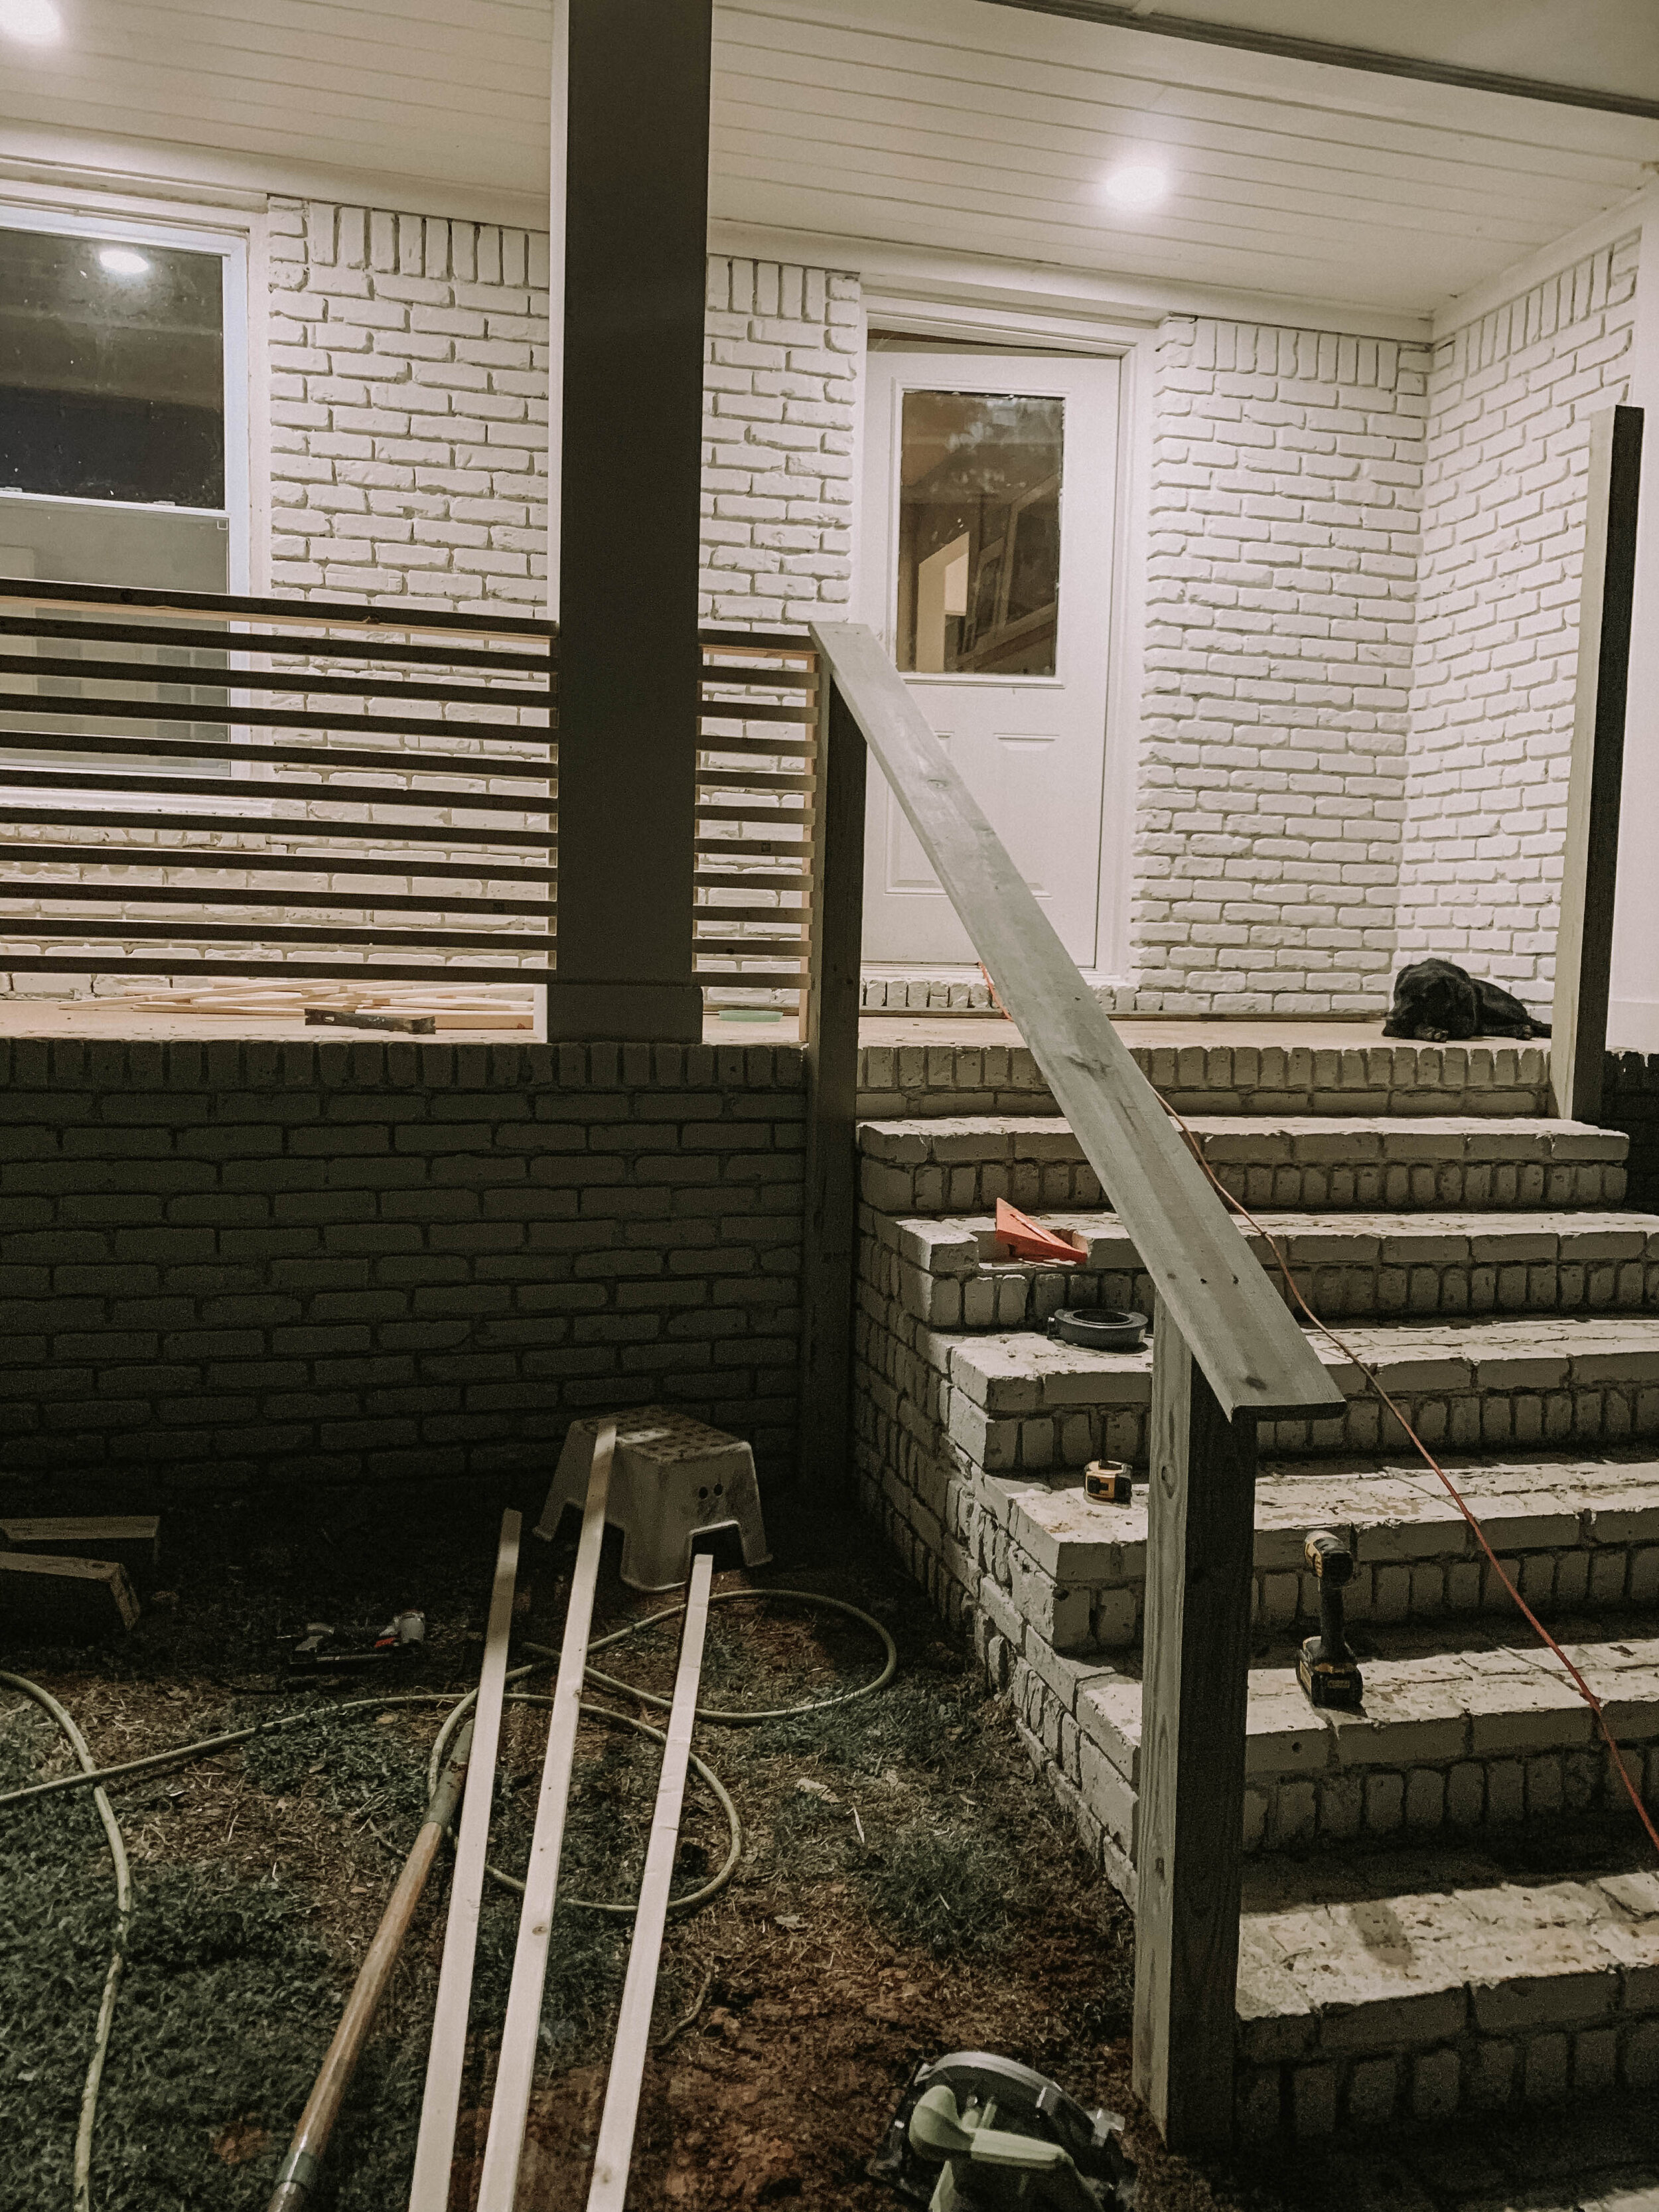
Here’s a couple shots of both 1x2 sides finished with the 2x4 center supports installed as well!


LIKE WHAT?!?!? I’m obsessed! Do you guys love them as much as I do??
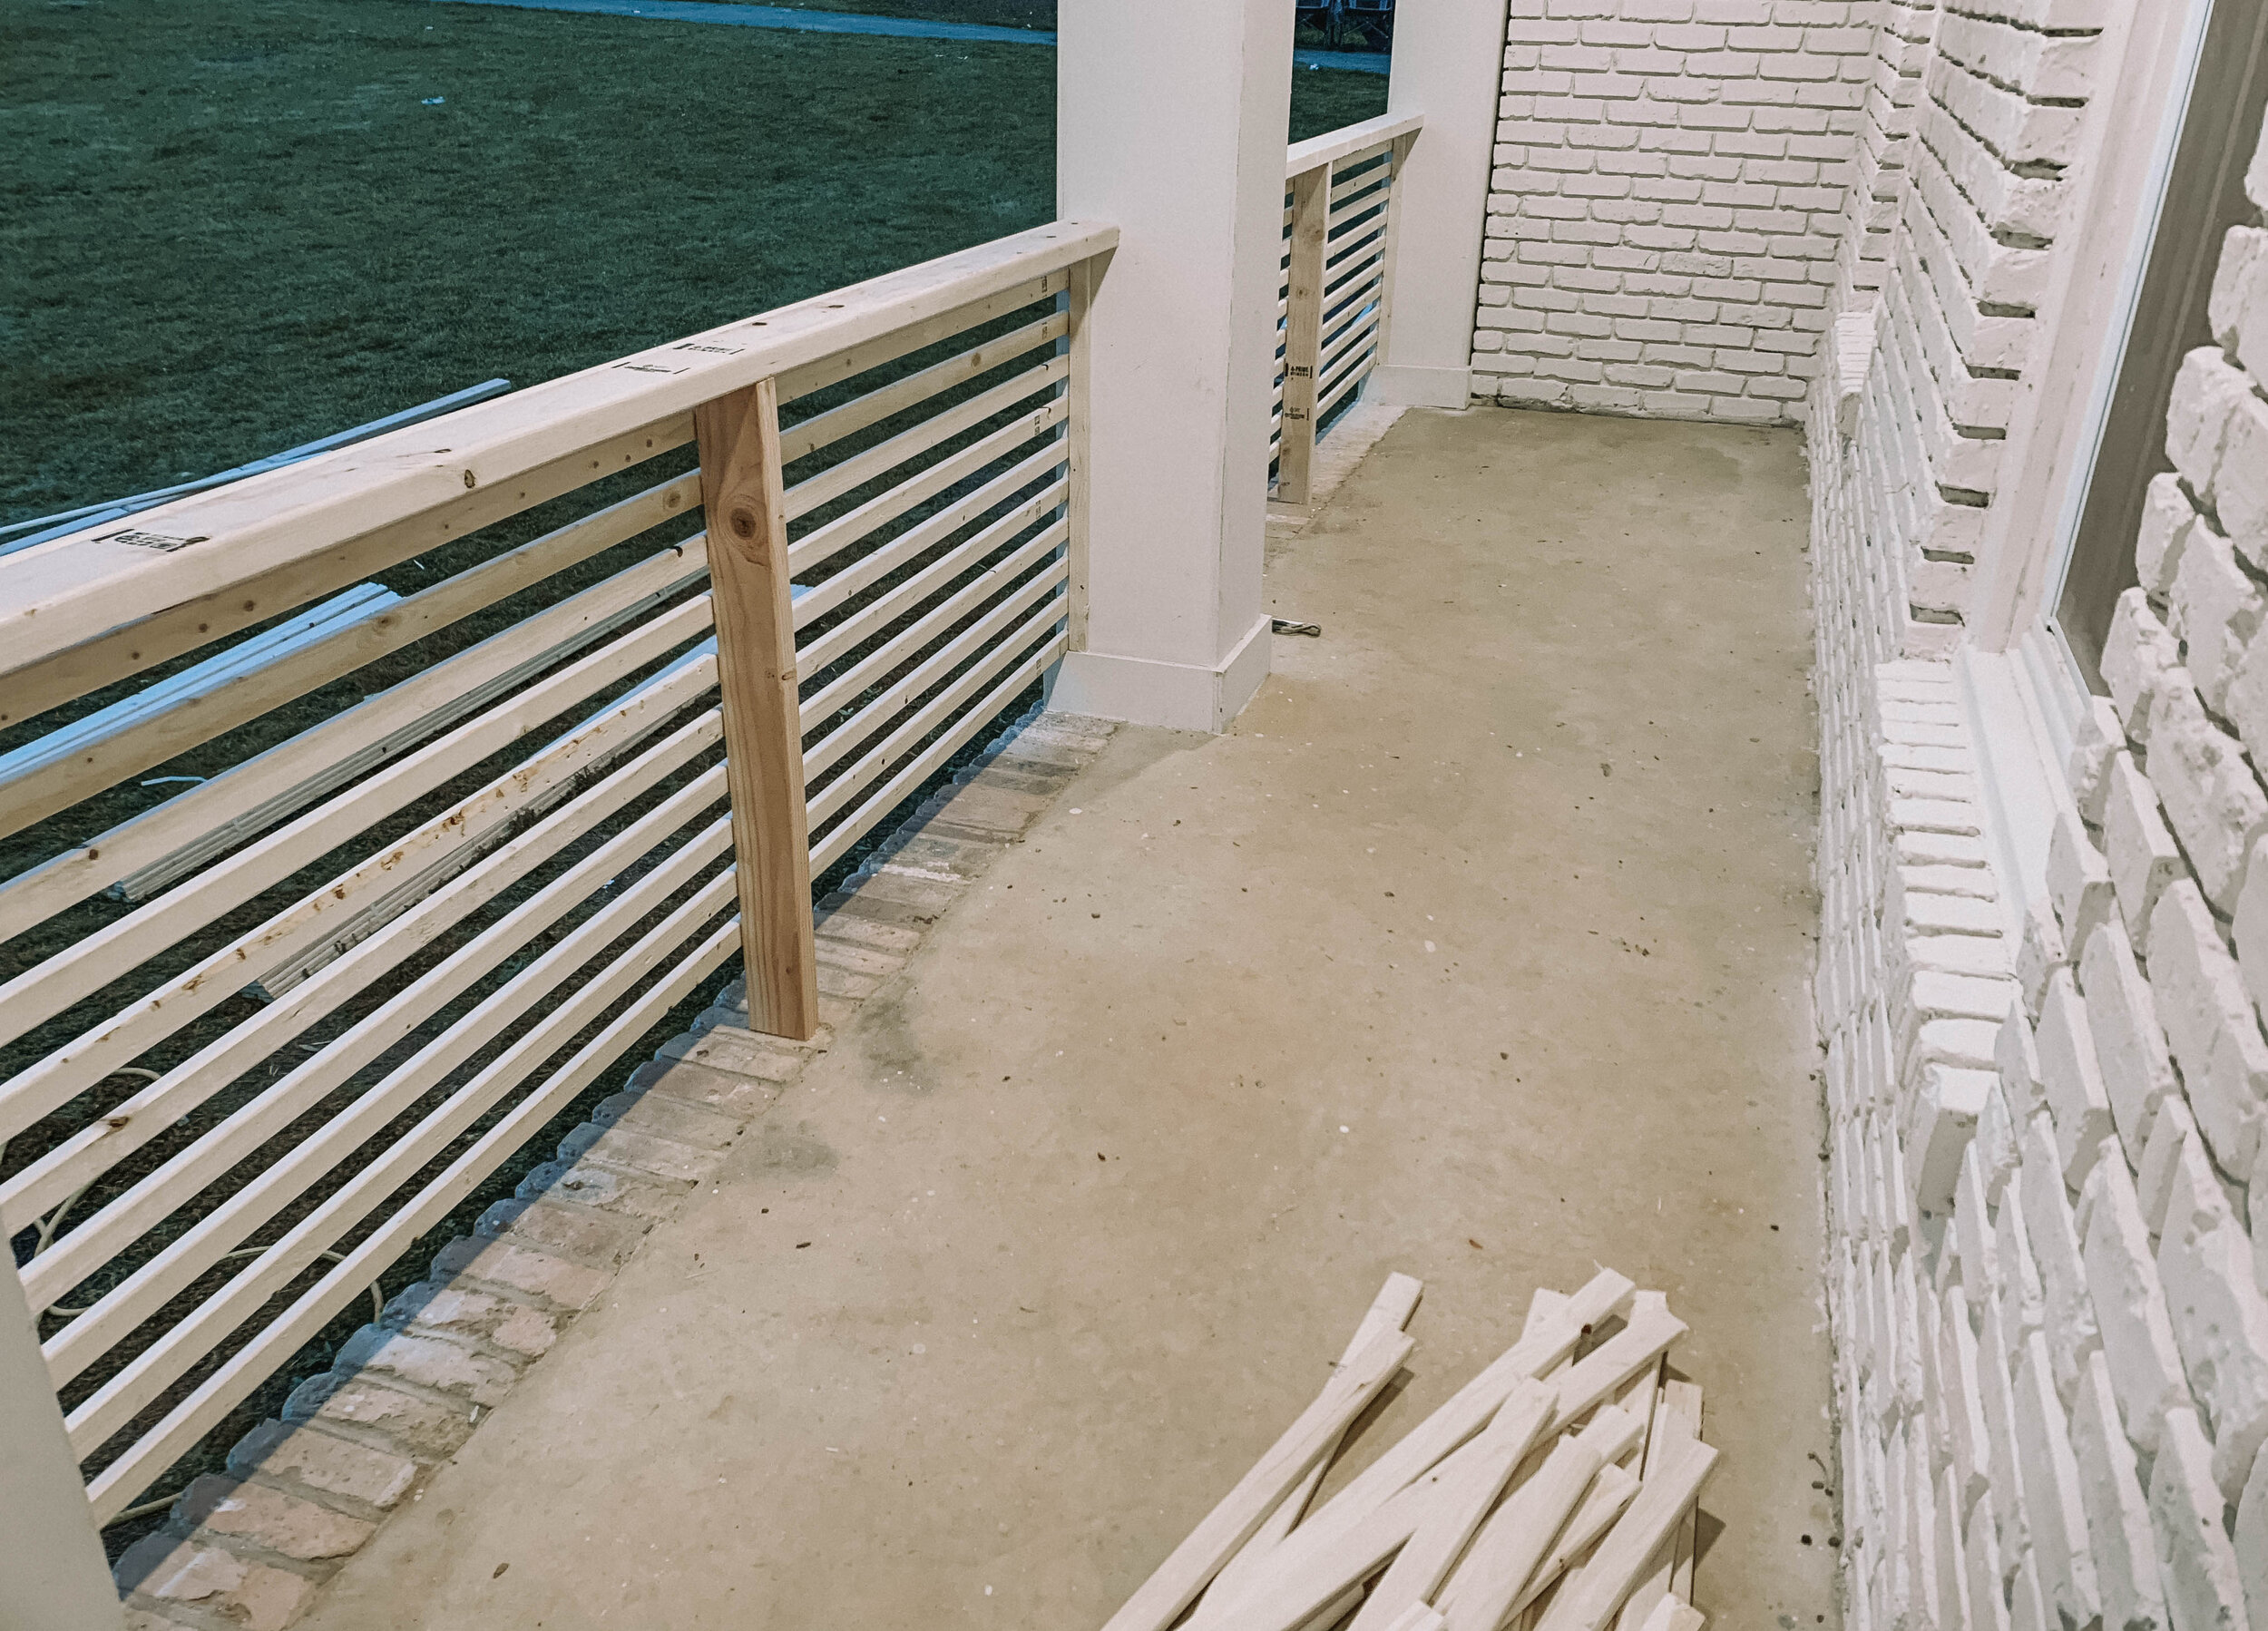
Here’s a pull back of the entire project.
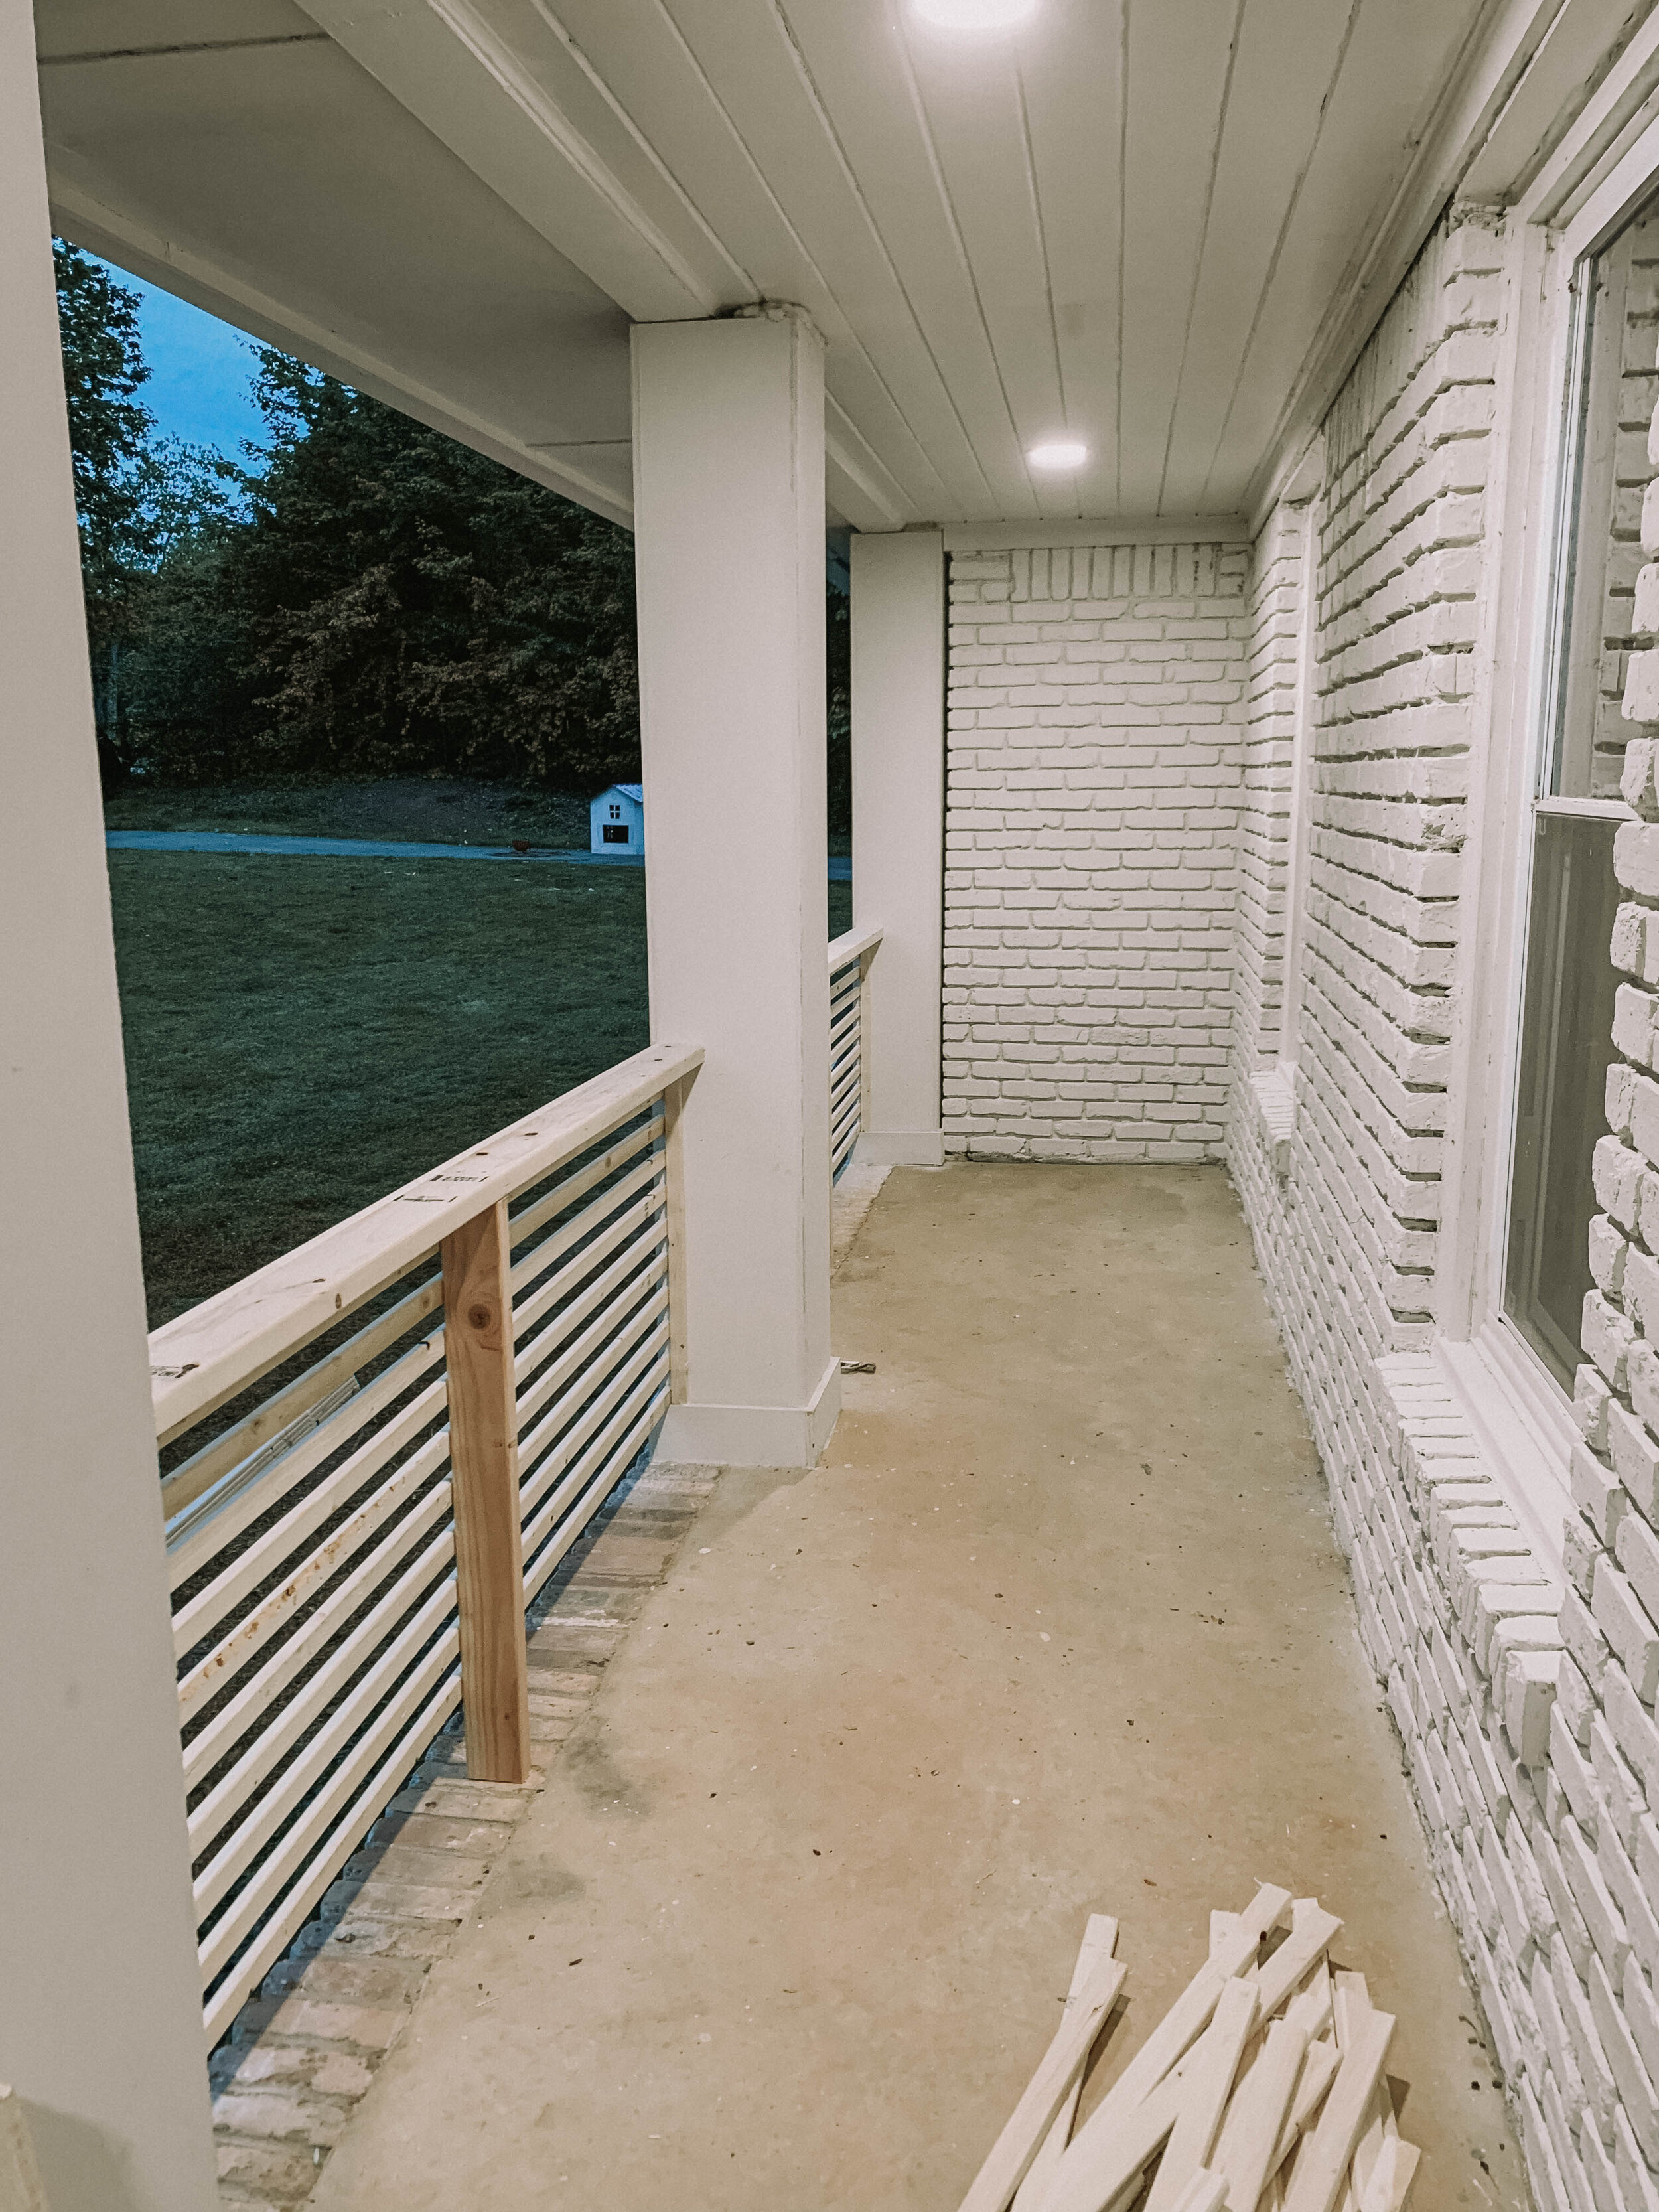
In case you’re curious what the inside of the front porch install looks like, here’s a couple photos!
We worked well into the night…10:24 pm to be exact, haha! We usually always make mistakes when we work late, and originally we nailed the stair railing 1x2’s to the OUTSIDE of the staircase, which left a HUGE gap on the inside. Once we realized our mistake, and that one of our children could fall through, we removed all the boards and nailed them on the INSIDE!
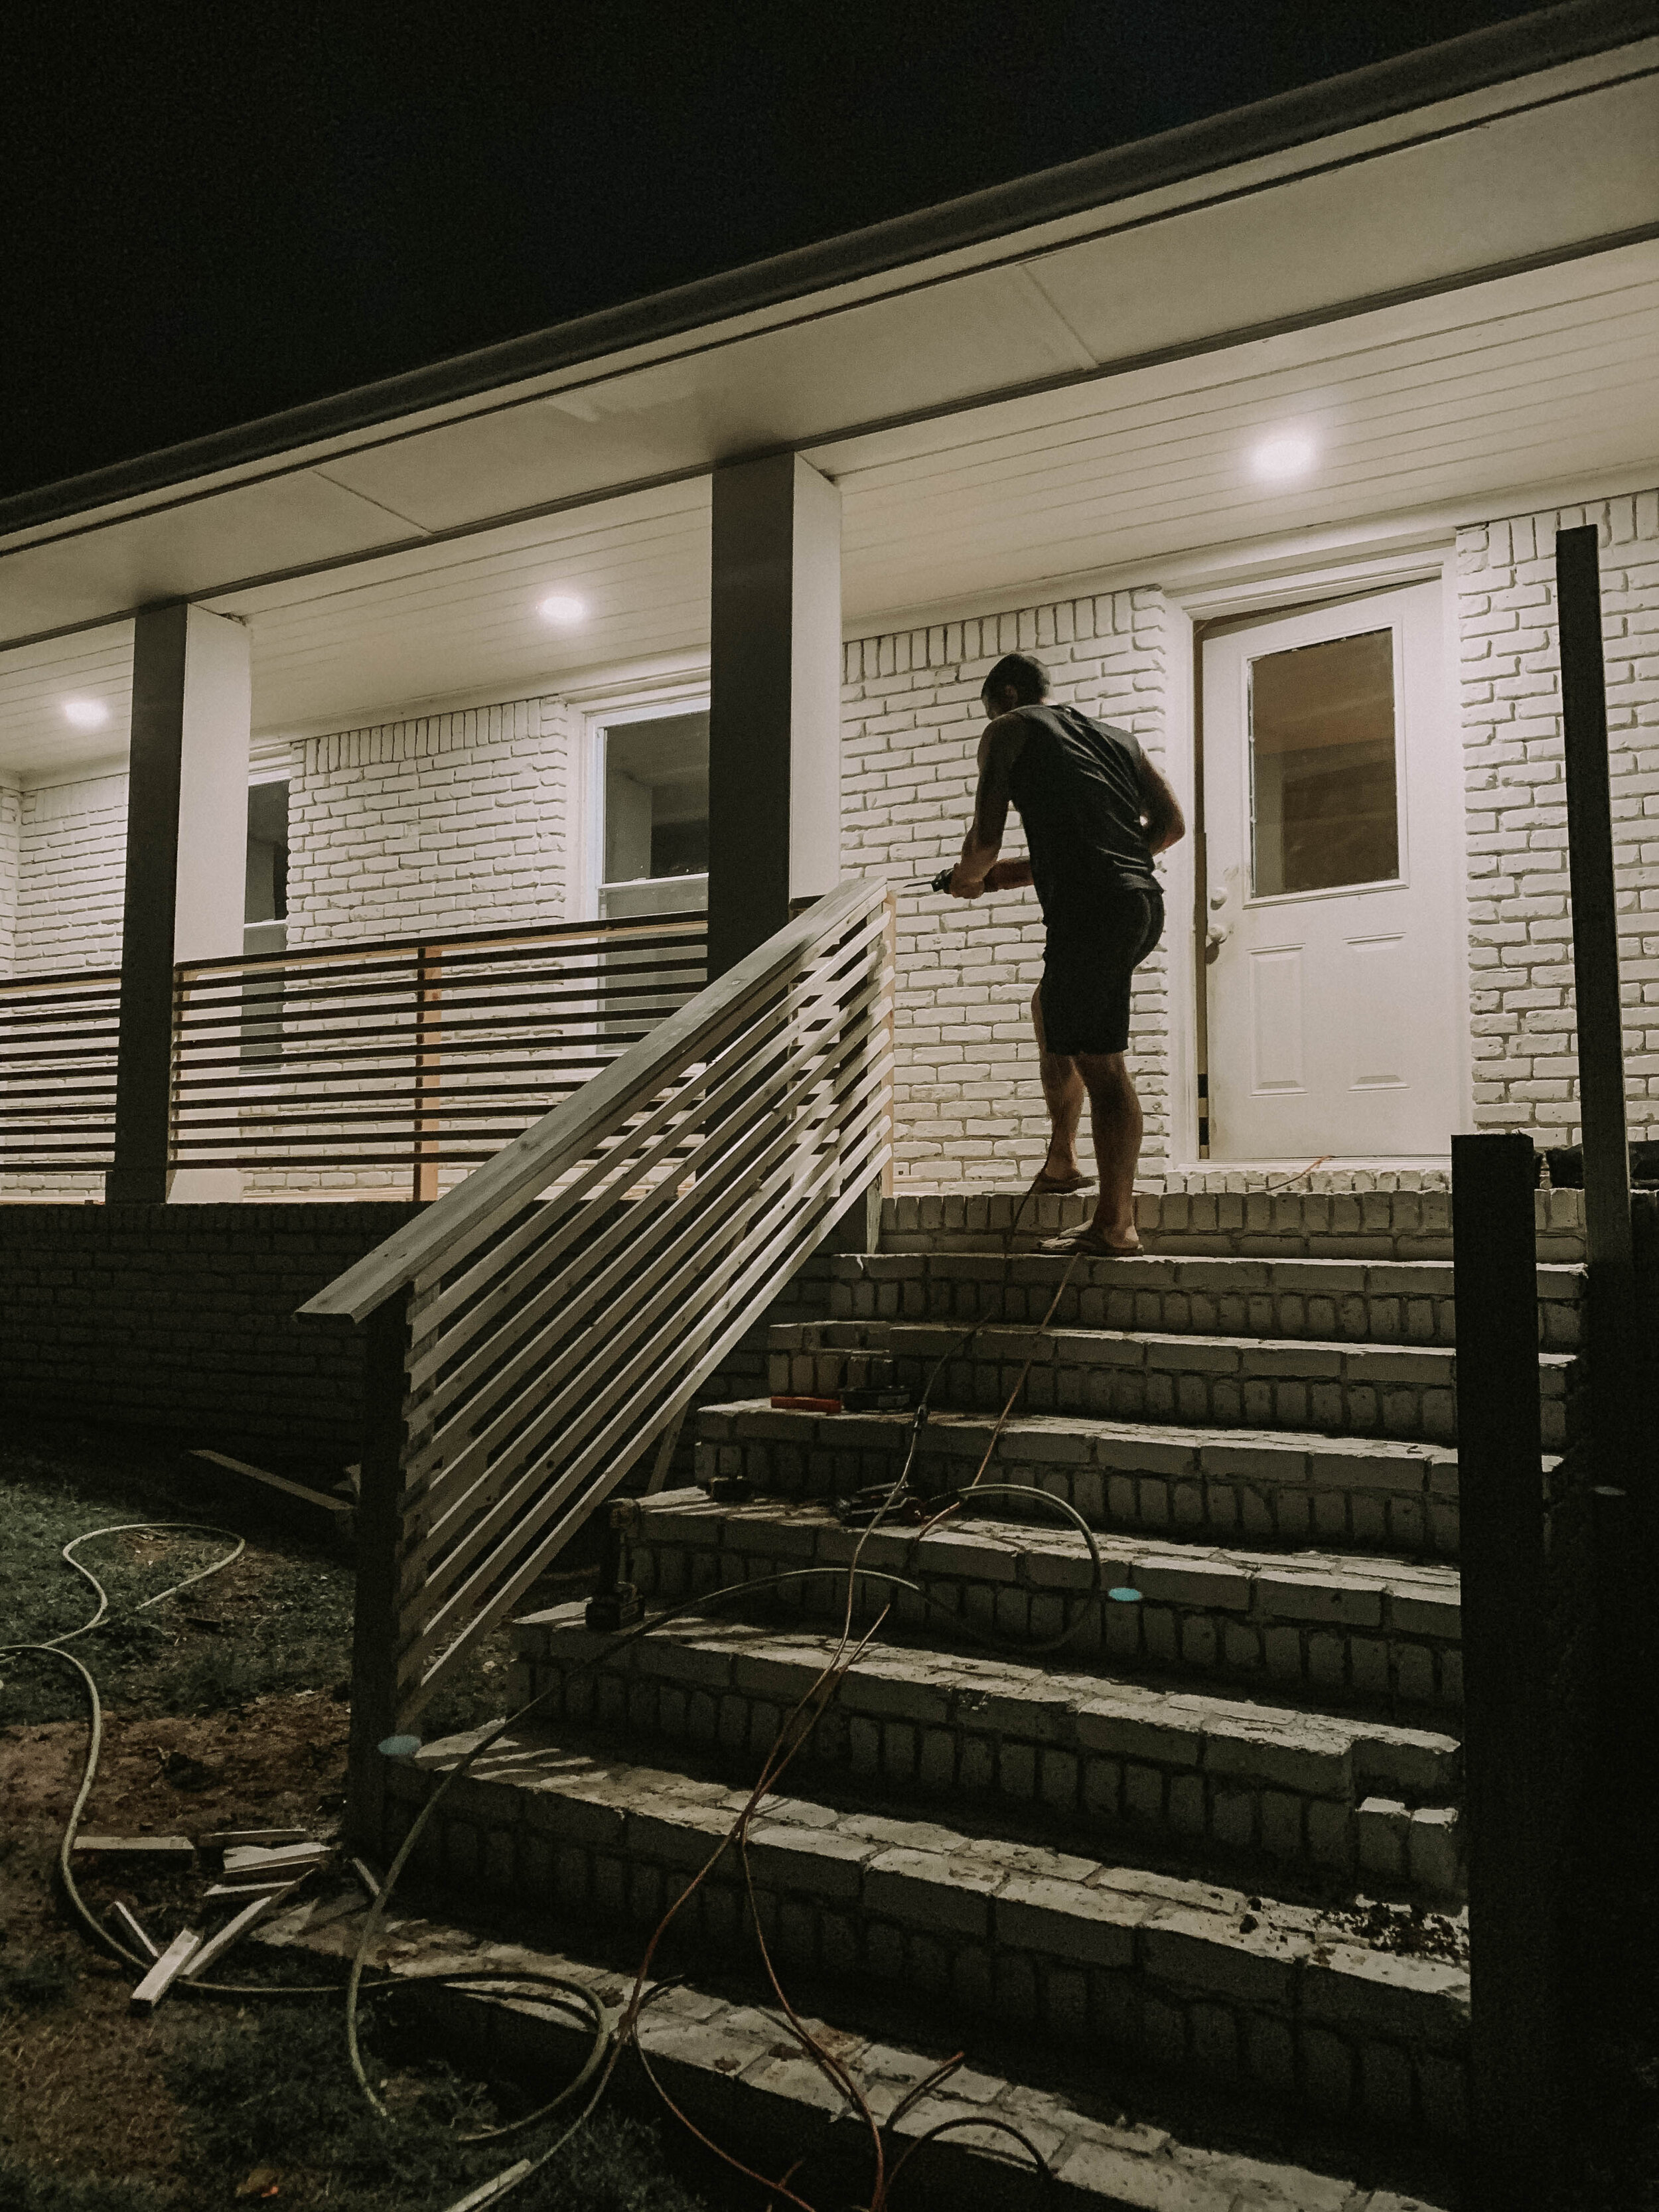
We called it quits after getting the left side of the stair railings done, and finished the right side this morning when we woke up to beat the storms that were headed our way! I LOVED waking up to this view this morning!

I love how the morning light hits the slats on the front porch!
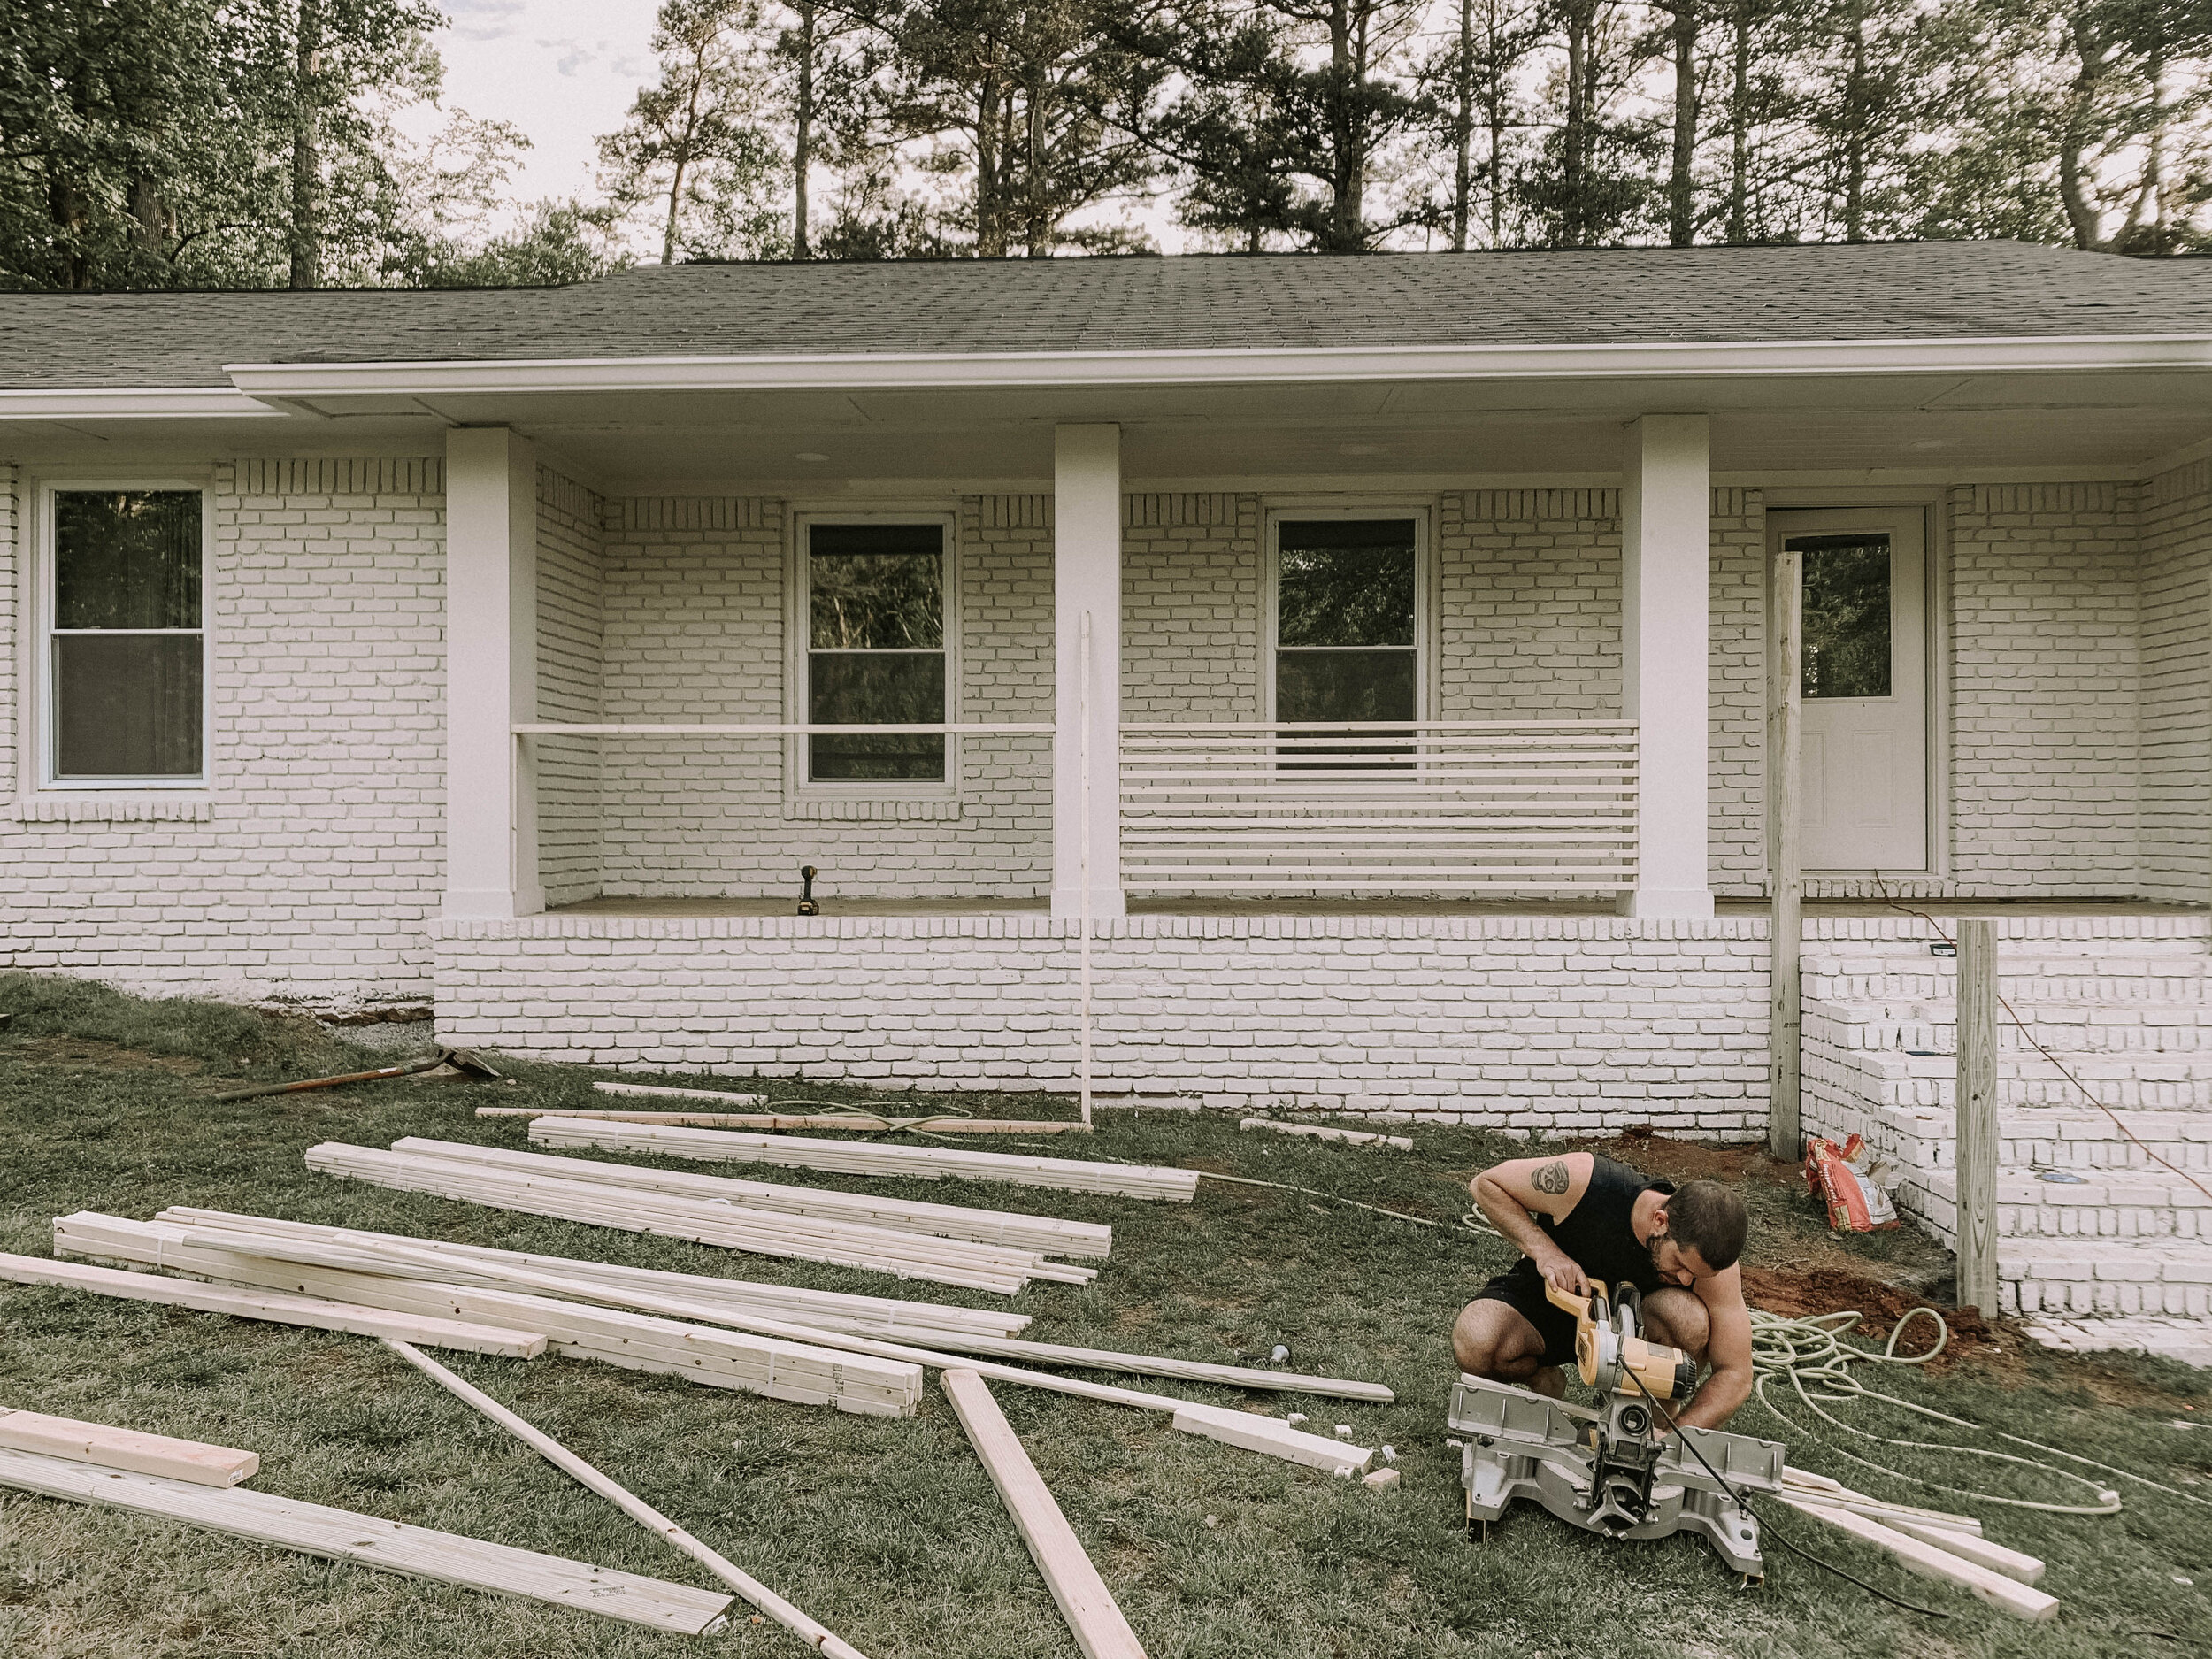
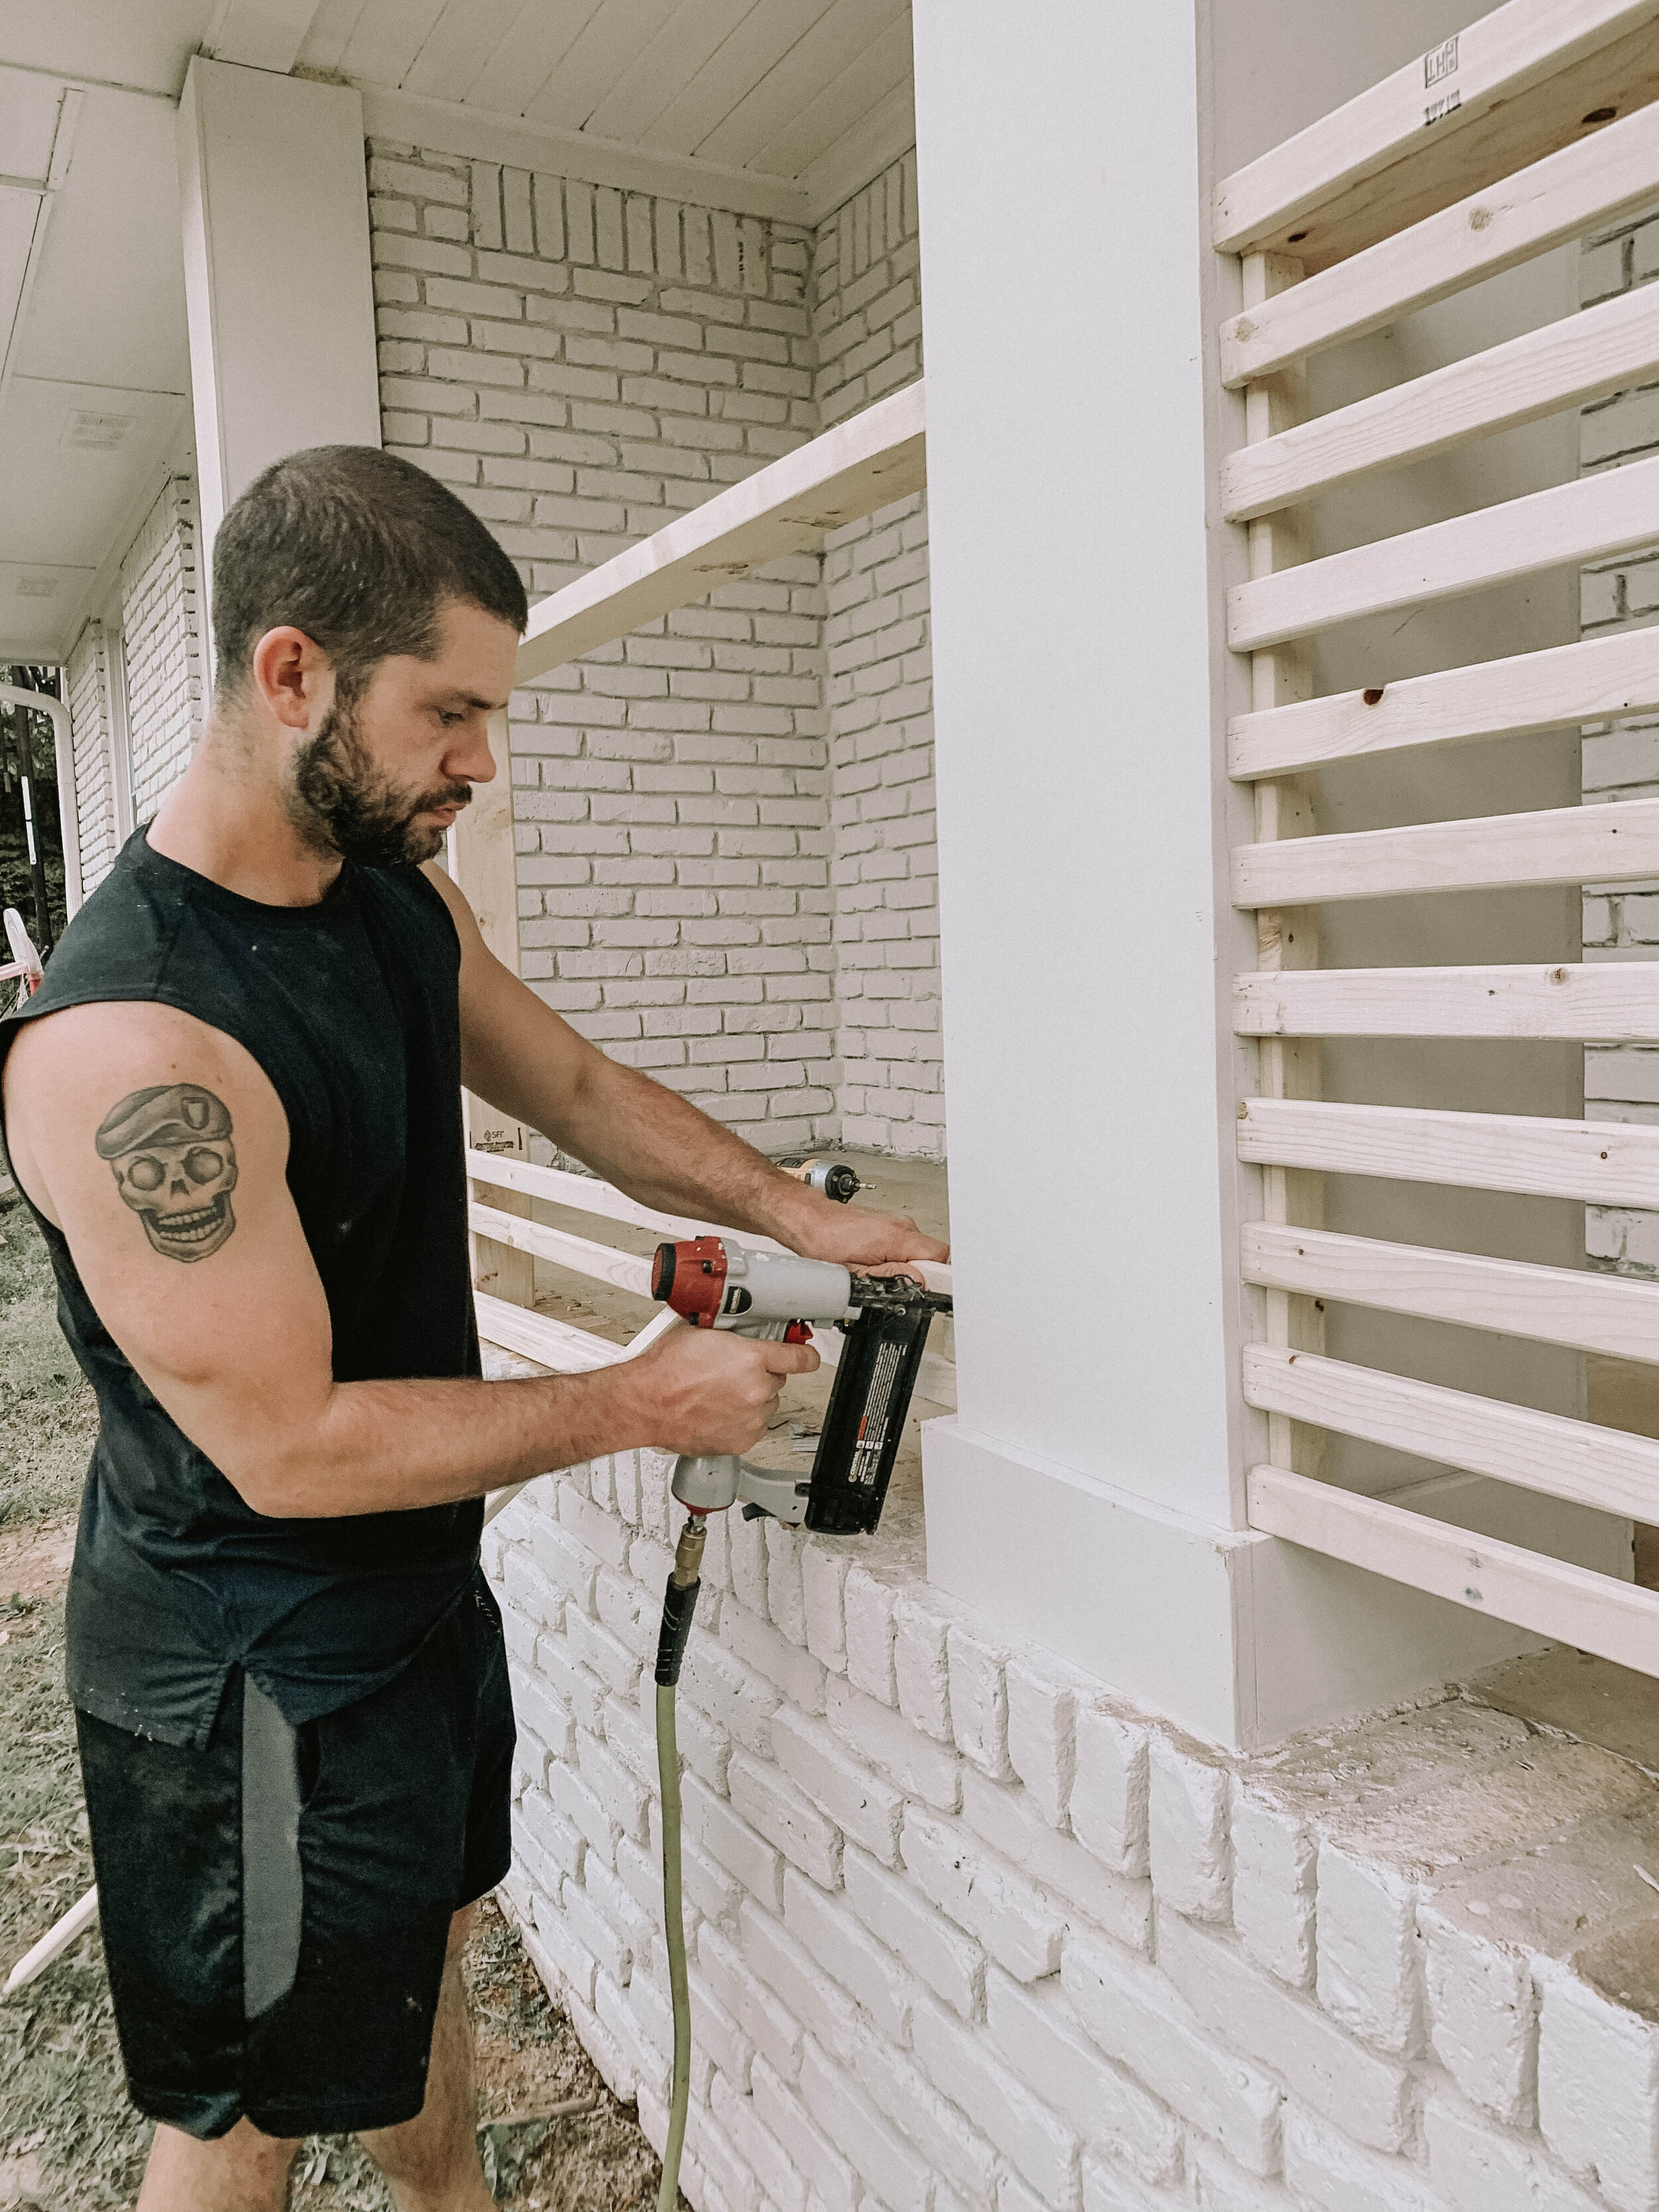
Scot cut the angles on the 4x4 using our miter saw! After he cut the angles, we made the cuts to the 5/4 pressure treated deck boards that were used as the top plates for the staircase! We angled the ends of the 5/4 deck boards, but that’s personal preference!

The last step was to install the front caps of the 4x4’s. We didn’t want to see the 1x2 pieces of wood on the front, and the deck board concealed all of them!
Are you guys ready for the final reveal??? Here’s how the modern porch railings looked after they were completely installed!

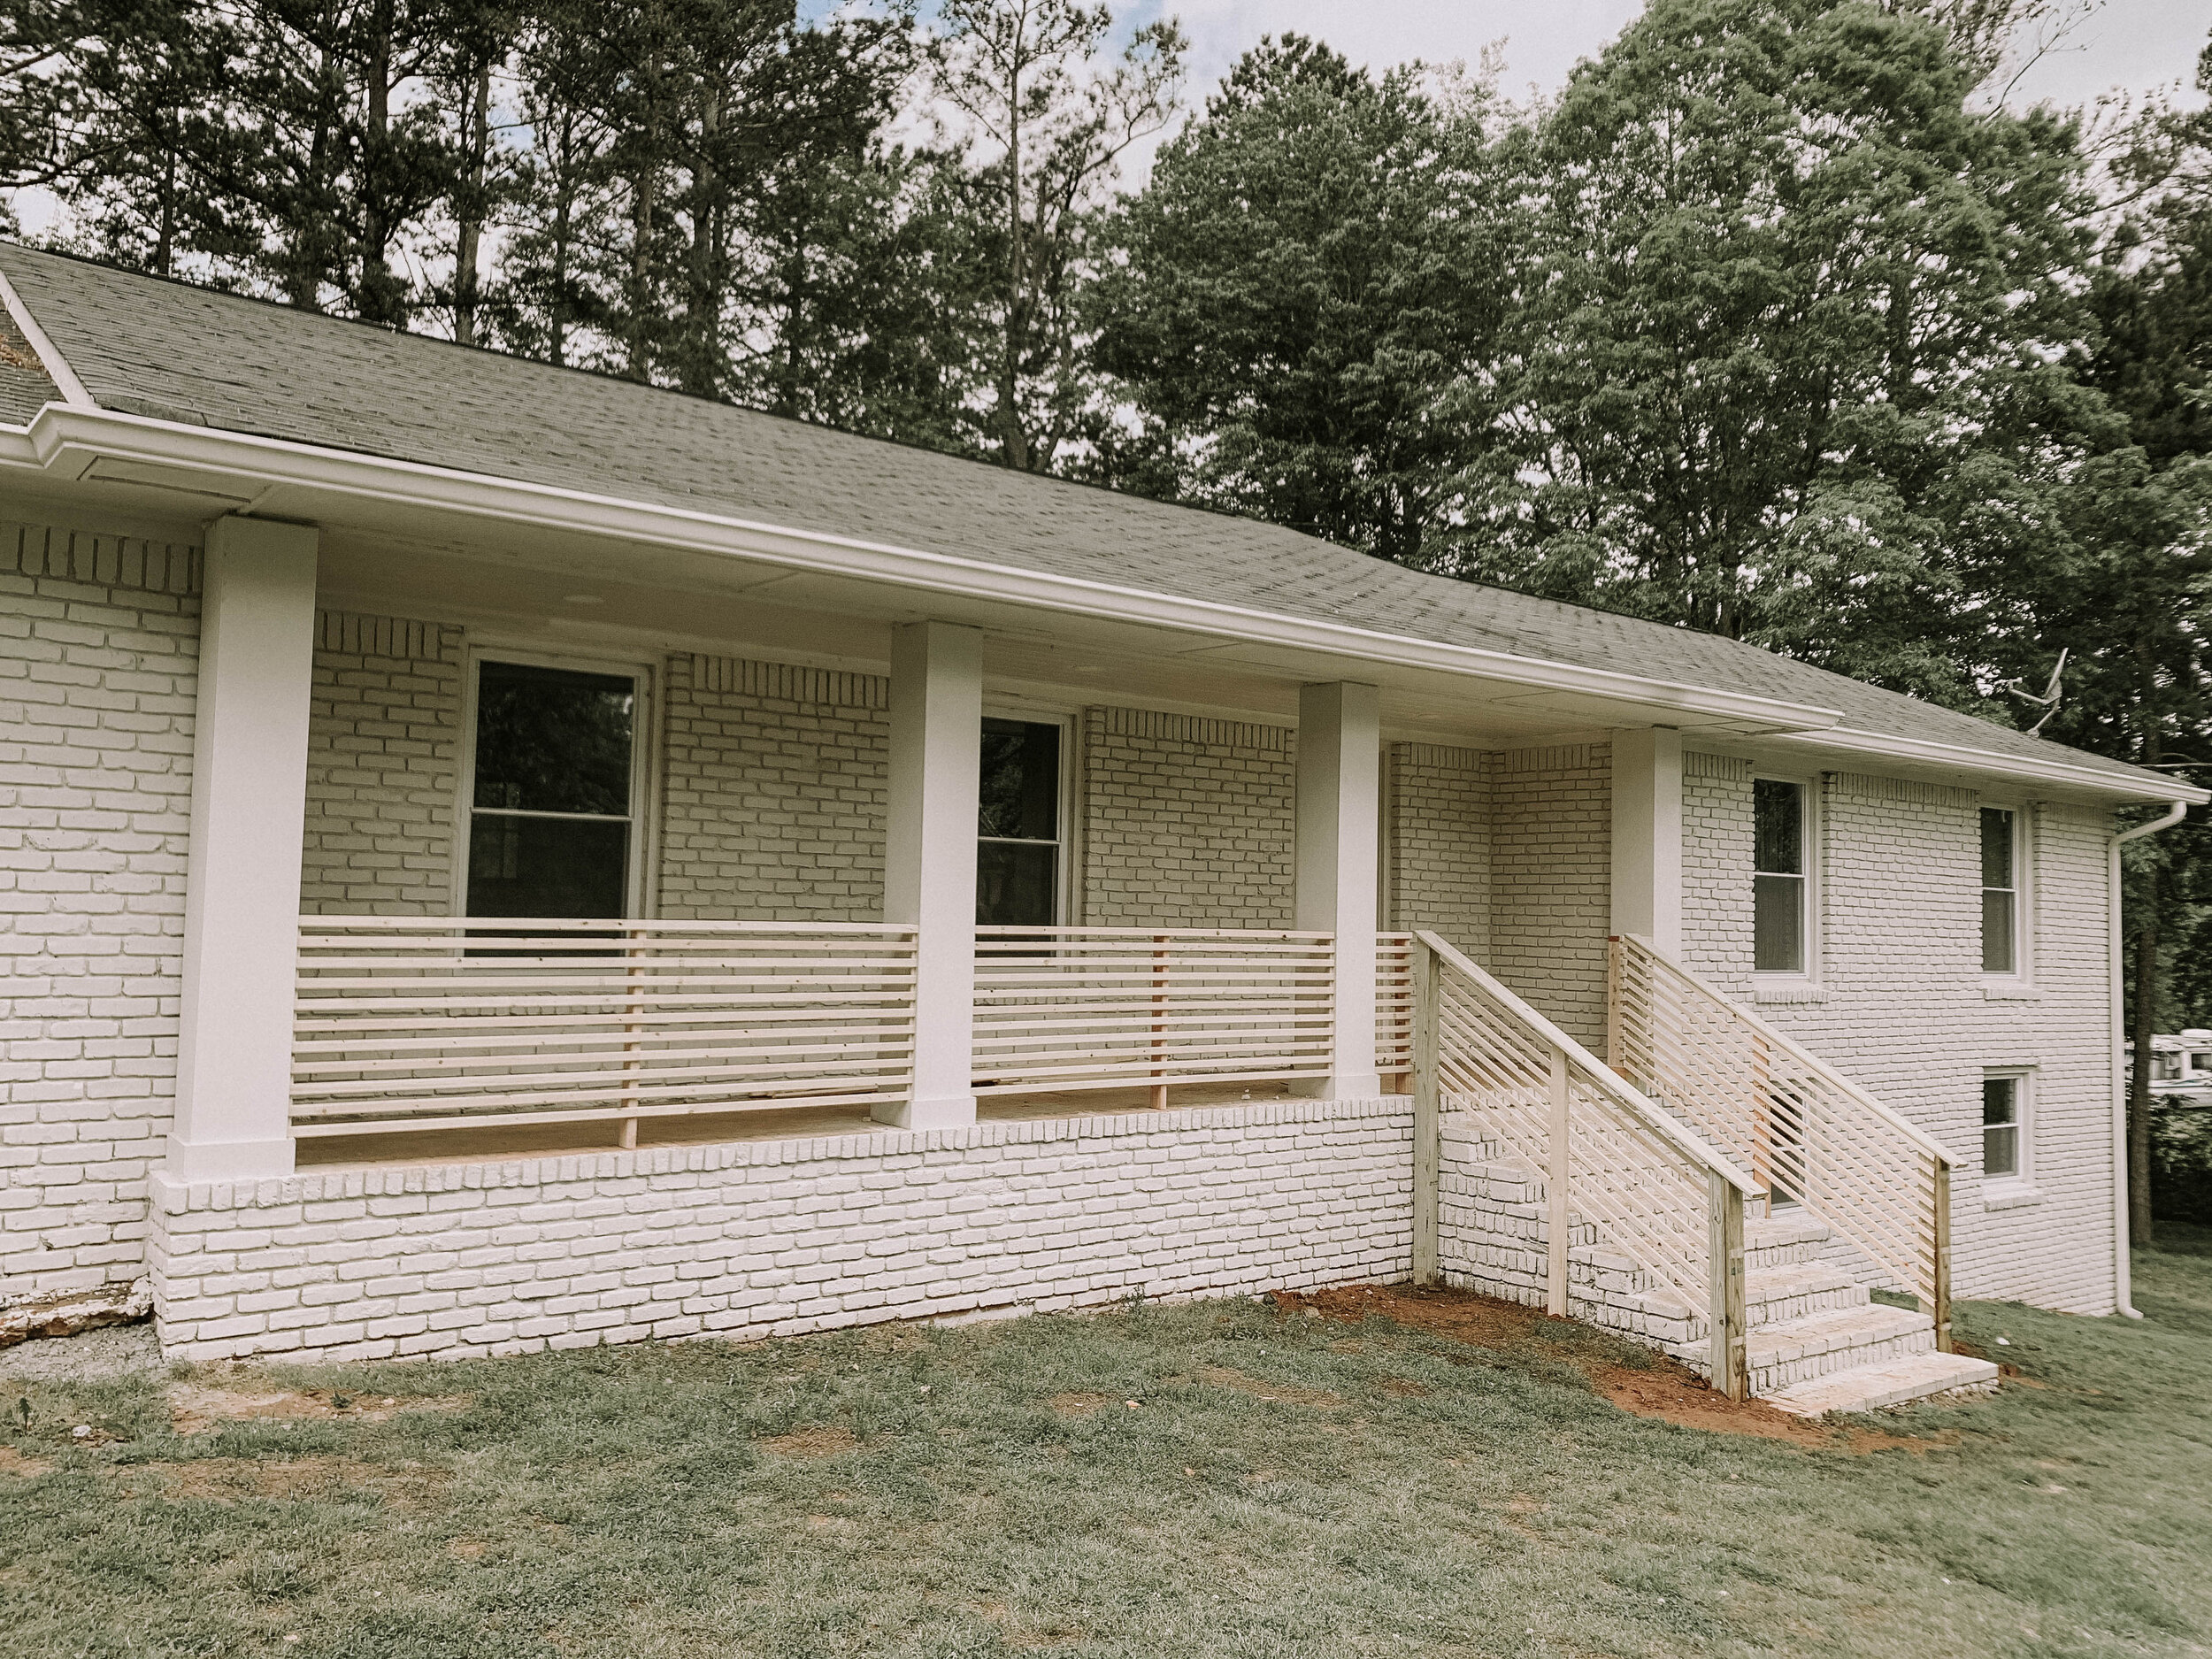

We are so incredibly pleased with our new DIY modern front porch railings! It has completely changed the entire look of our home. The exterior already feels upgraded, and it was basically instant curb appeal! We are looking forward to moving forward and starting on the landscaping and finishing touches!
What do you guys think? Does this inspire you to tackle your own front porch? Isn’t it insane how beautiful a couple pieces of wood can completely transform your home! If you try this project we would LOVE for you to share it with us so we can share on our social media accounts!
Shoot us an email at thisminimalhouse@gmail.com or come follow along on Instagram and send us a DM!
We’ve created a few pins for Pinterest if you’d like to save this project for later or for inspiration! We love sharing what were doing and what’s inspiring us on Pinterest!